Managing multiple email addresses without creating separate mailboxes can significantly simplify email administration. In SmarterMail, this can be achieved using email aliases. An alias allows additional email addresses to deliver messages to an existing mailbox, helping organizations manage multiple communication channels efficiently without increasing mailbox storage or user accounts.
This guide explains how to create a user alias in SmarterMail using the user account settings.
What Is an Email Alias?
An email alias is an alternative email address that forwards incoming messages to an existing mailbox. Instead of creating separate mailboxes for each address, an alias allows multiple email addresses to point to a single user account.
Example:
| Primary Mailbox | Alias Email Address | Result |
| [email protected] | [email protected] | Emails to [email protected] are delivered to [email protected] |
| [email protected] | [email protected] | Emails to [email protected] are delivered to [email protected] |
This approach helps maintain a clean email structure while reducing administrative overhead.
Prerequisites:
Before creating an alias, ensure the following:
- You have Administrator or Domain Administrator access to SmarterMail.
- The primary user mailbox already exists.
The domain is active and configured in SmarterMail.
Steps to Create a User Alias in SmarterMail:
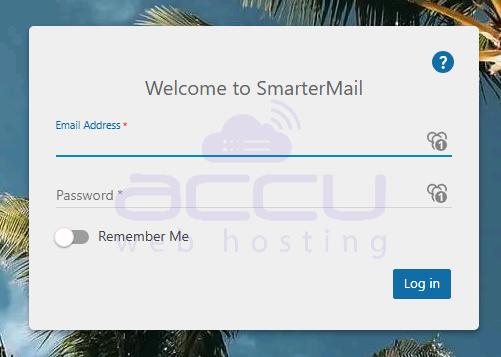
Step 1: Log in to SmarterMail
Log in to the administrator or domain administrator interface using your credentials.
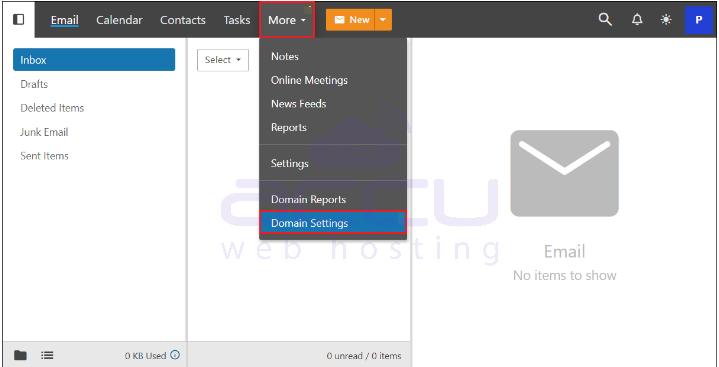
Step 2: Navigate to Domain Settings
- From the main dashboard, click Settings.
- Select Domain Settings.
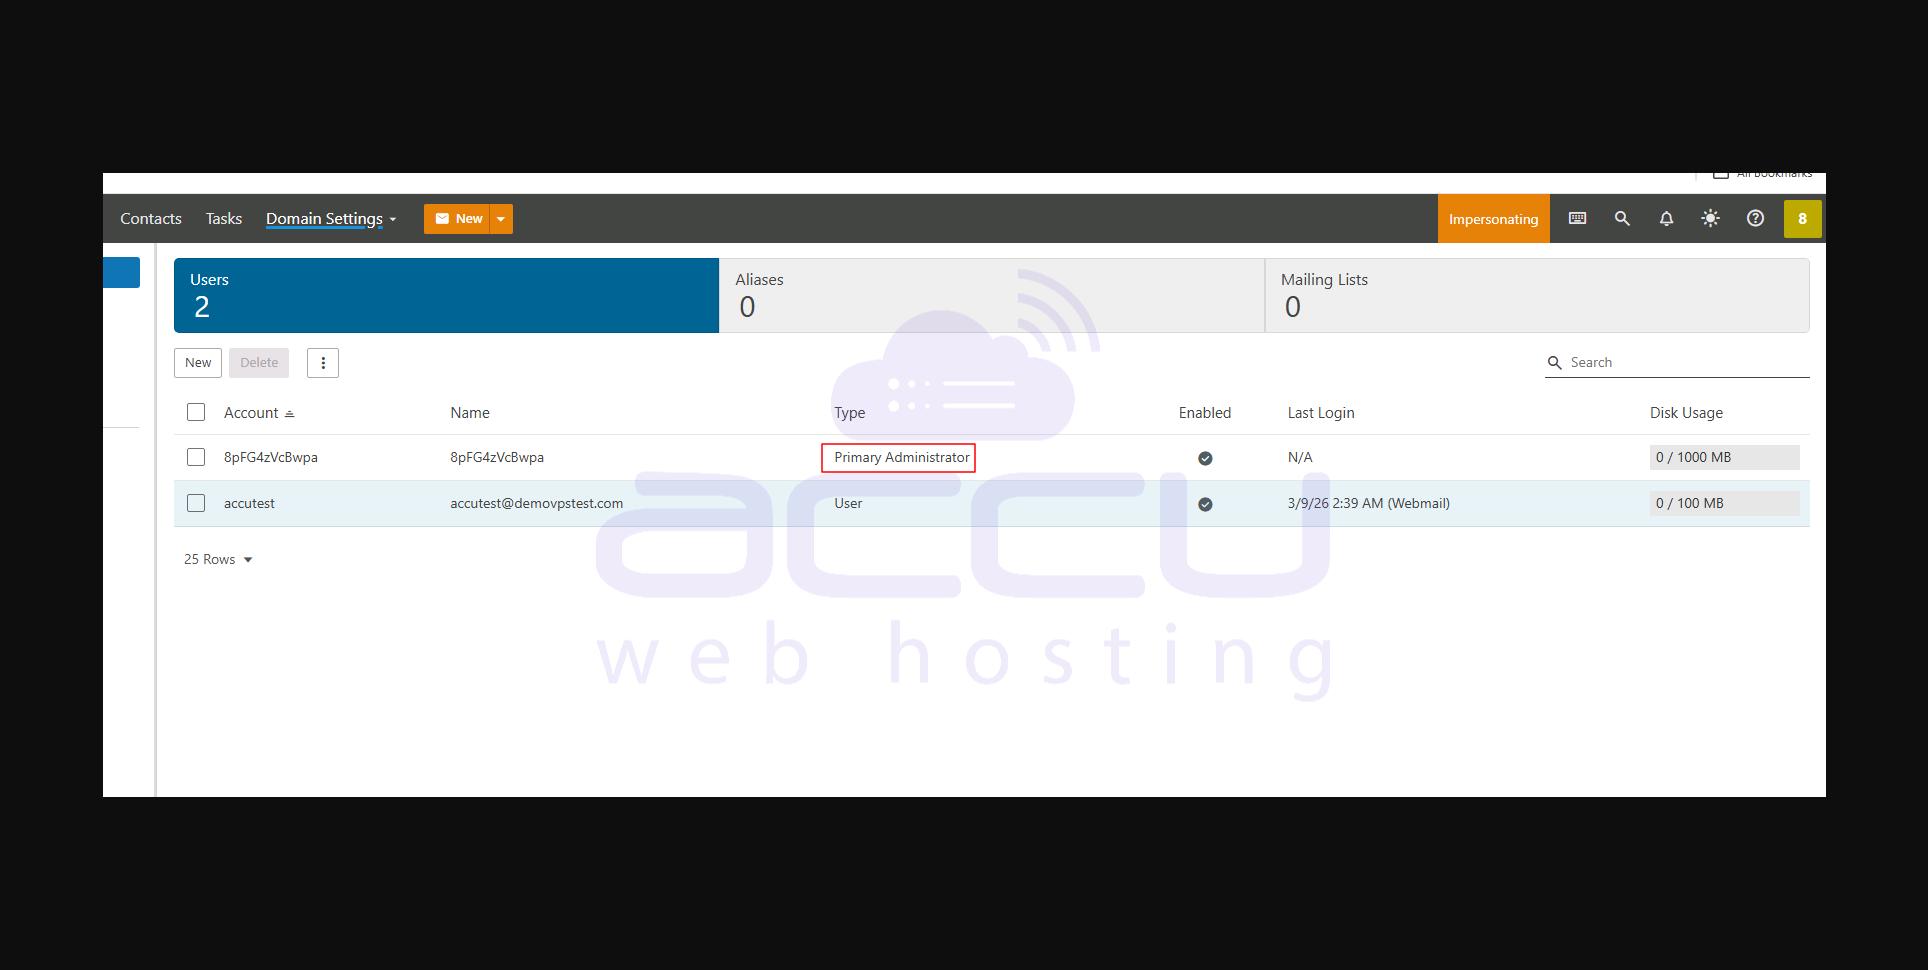
Step 3: Open the Users Section
- Click Users.
- A list of users will appear.
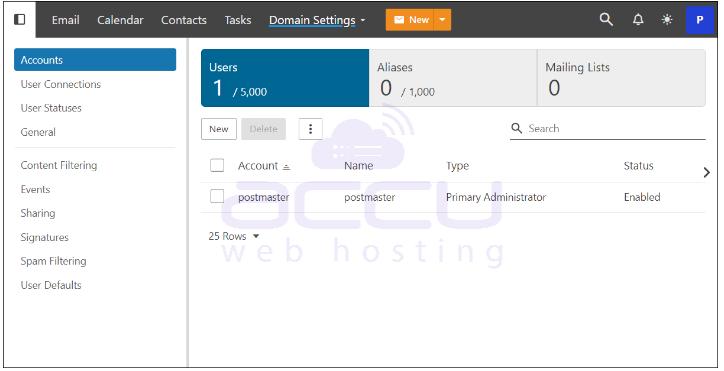
Step 4: Select the User Account
- Locate the user account.
- Click the email address to open settings.
Step 5: Access the Aliases Tab
- Go to the Aliases tab.
- Existing aliases will be displayed.
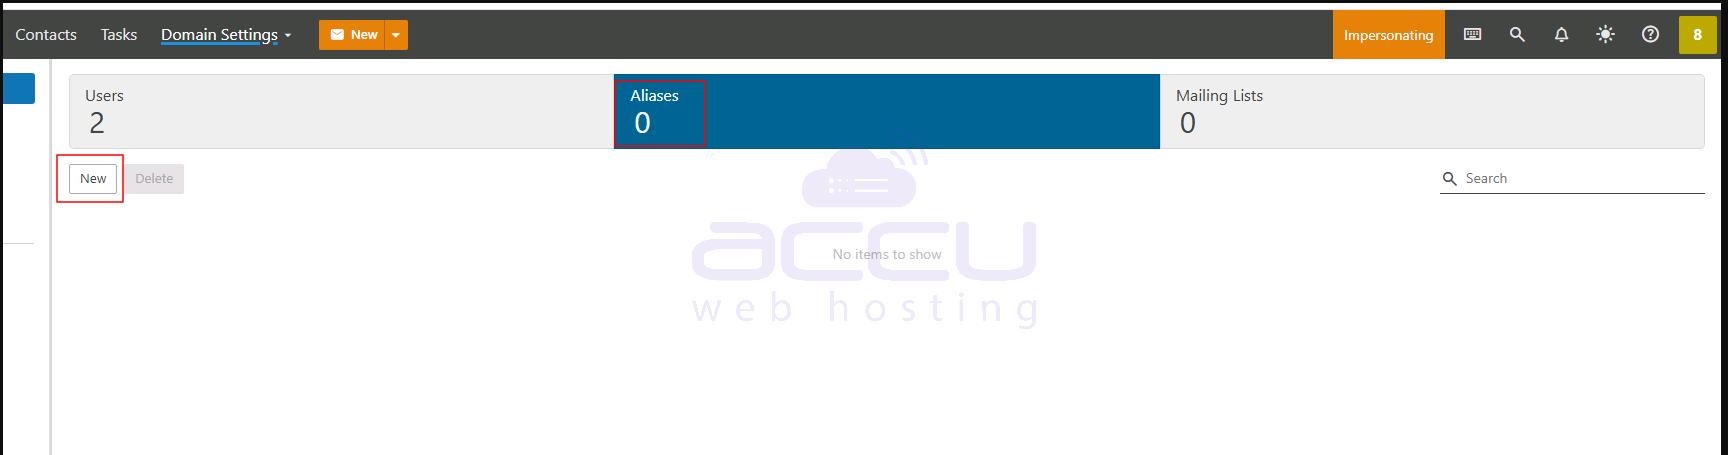
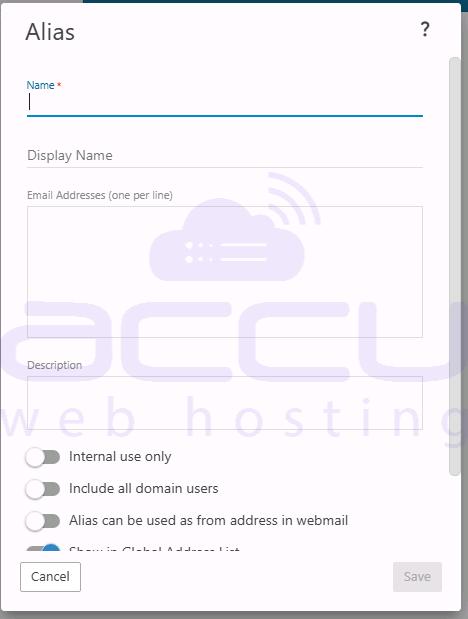
Step 6: Add a New Alias
- Click Add Alias.
- Enter the alias name.
Example:
- Primary mailbox: [email protected]
- Alias: [email protected]
Step 7: Save the Configuration
Click Save to apply the changes.
Verifying the Alias:
To confirm that the alias is working correctly:
- Send a test email to the alias address.
- Check the primary mailbox inbox.
- The email should appear in the same mailbox associated with the user account.
Key Points to Remember:
- An alias does not create a separate mailbox.
- Emails sent to the alias are delivered to the existing user account.
- Multiple aliases can be assigned to a single mailbox.
- Storage usage remains tied to the primary mailbox, not the alias.
Practical Use Cases:
Email aliases are commonly used for:
- Department addresses such as [email protected] or [email protected]
- Alternate contact addresses like [email protected]
- Brand or campaign-specific email addresses
- Simplifying email management for small teams
By using aliases, organizations can maintain multiple contact addresses while managing only one mailbox.
Conclusion:
Creating a user alias in SmarterMail is a practical way to manage multiple email addresses without creating additional mailboxes. By routing several email addresses to a single inbox, administrators can streamline communication, reduce mailbox management overhead, and maintain a structured email system for their organization.
Proper use of aliases can significantly improve operational efficiency, especially for teams that handle multiple types of inquiries through email.
