Normally, you would not need to activate the SmarterMail license on your end because we deliver Windows VPS with a pre-activated SmarterMail license. Though, you would find this article quite helpful when you upgrade the SmarterMail edition to Enterprise.
To activate the SmarterMail license, you would need the license key and Activation details. You must have received an email that contains the license details when we assigned a SmarterTools bundle to your billing email address. If you lost that email, you can obtain the details by login to SmarterTools portal. If you do not recall the SmarterTools portal login details, you will need to reset the password by clicking on the Reset Password link.
When you have the necessary details handy to activate the SmarterMail license, follow the below-mentioned steps.
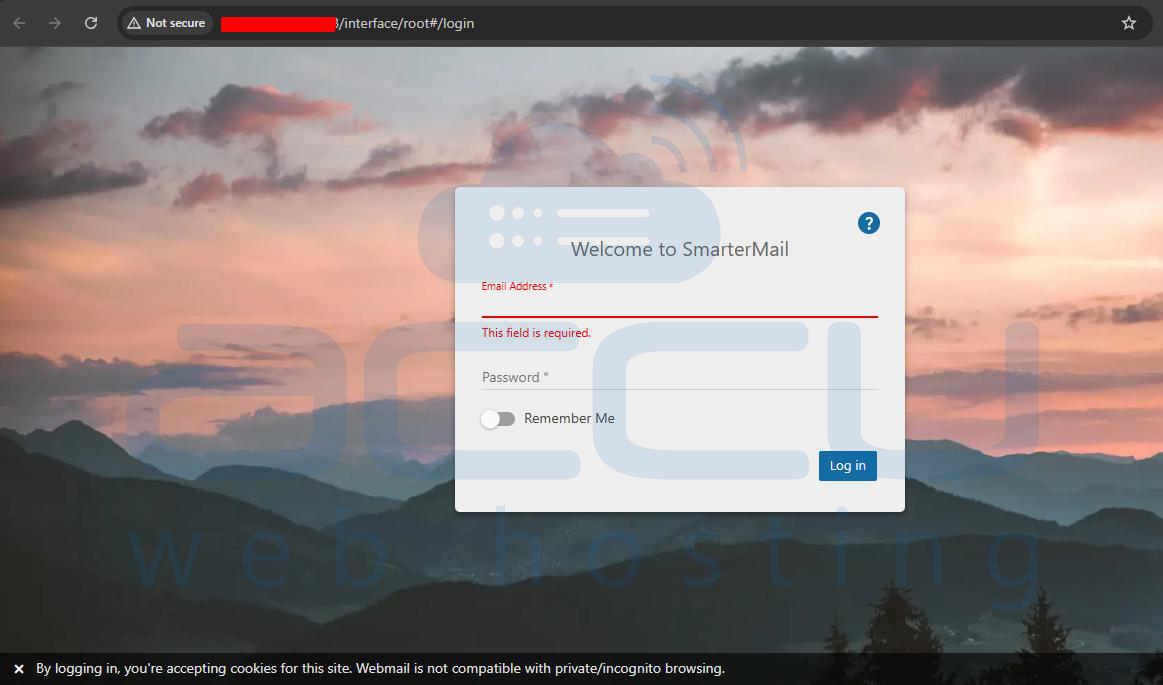
1. Log in to SmarterMail [http://IP_ADDRESS:9998].
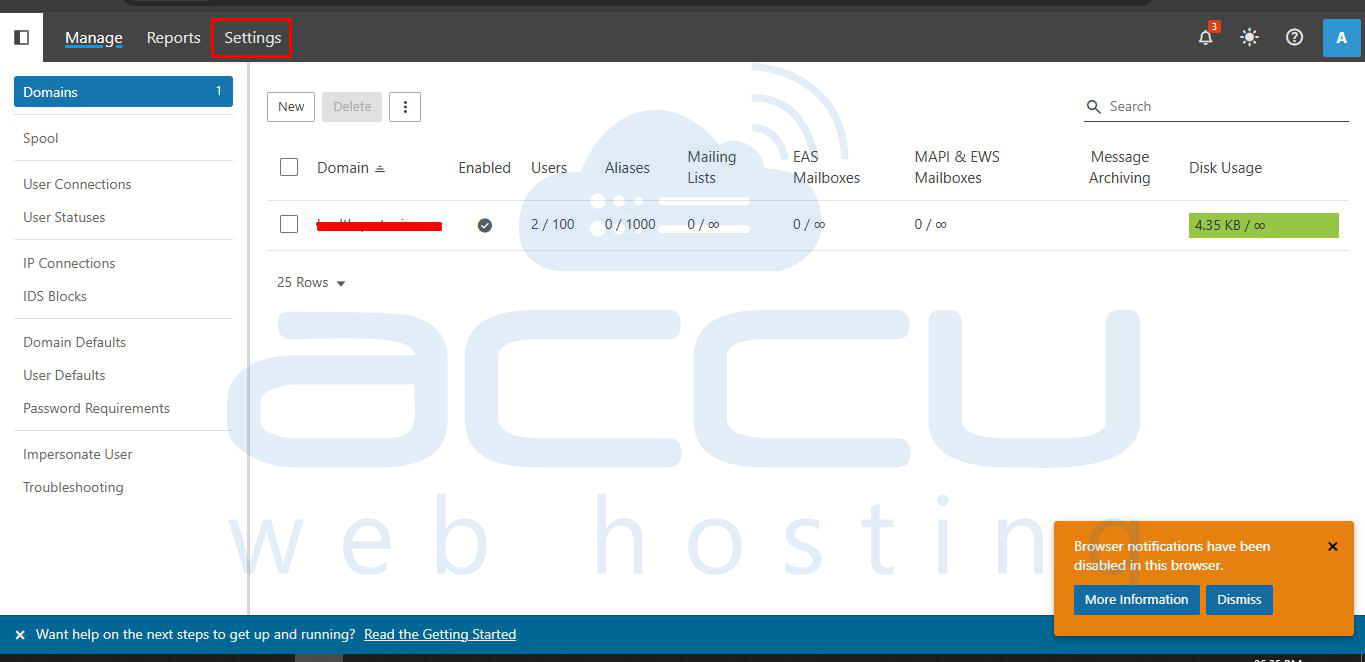
2. Click on the Settings option.
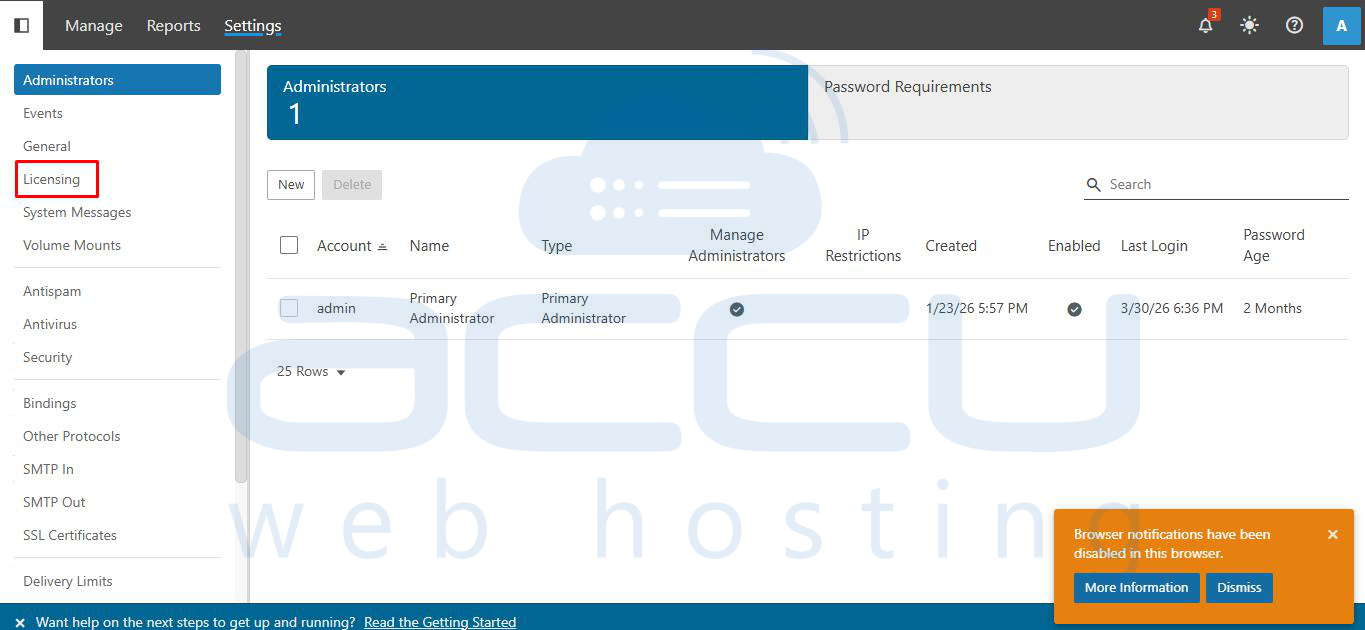
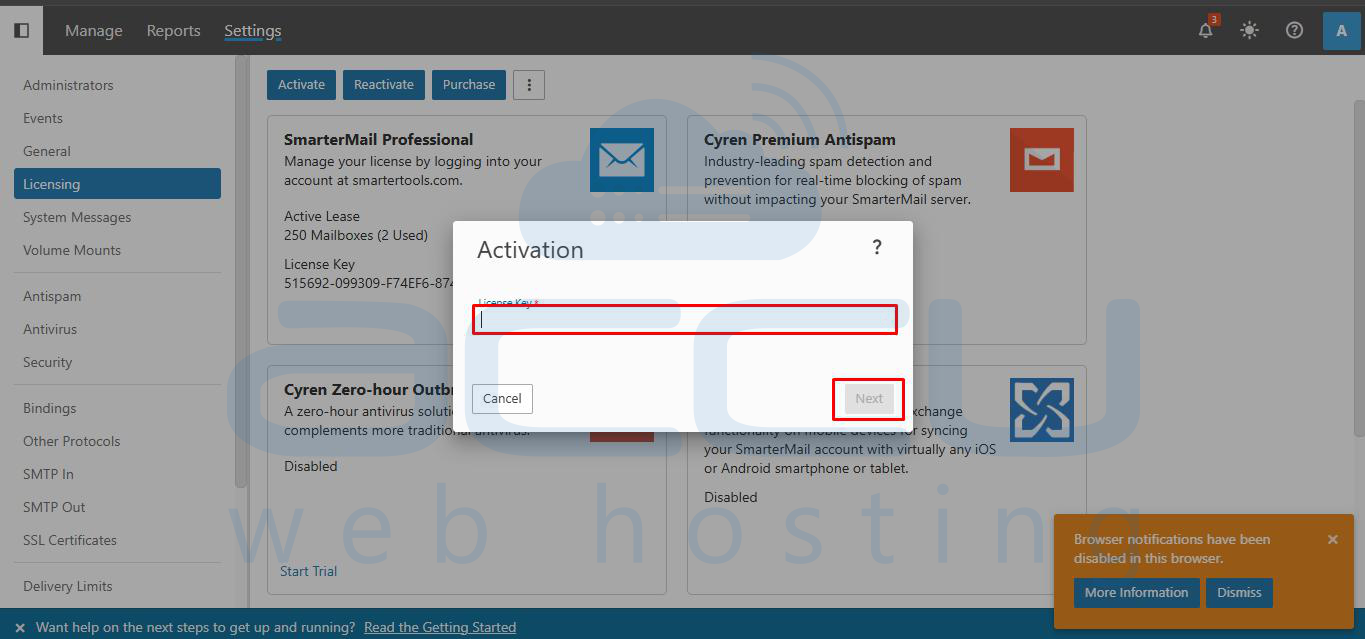
3. Click on Licensing.
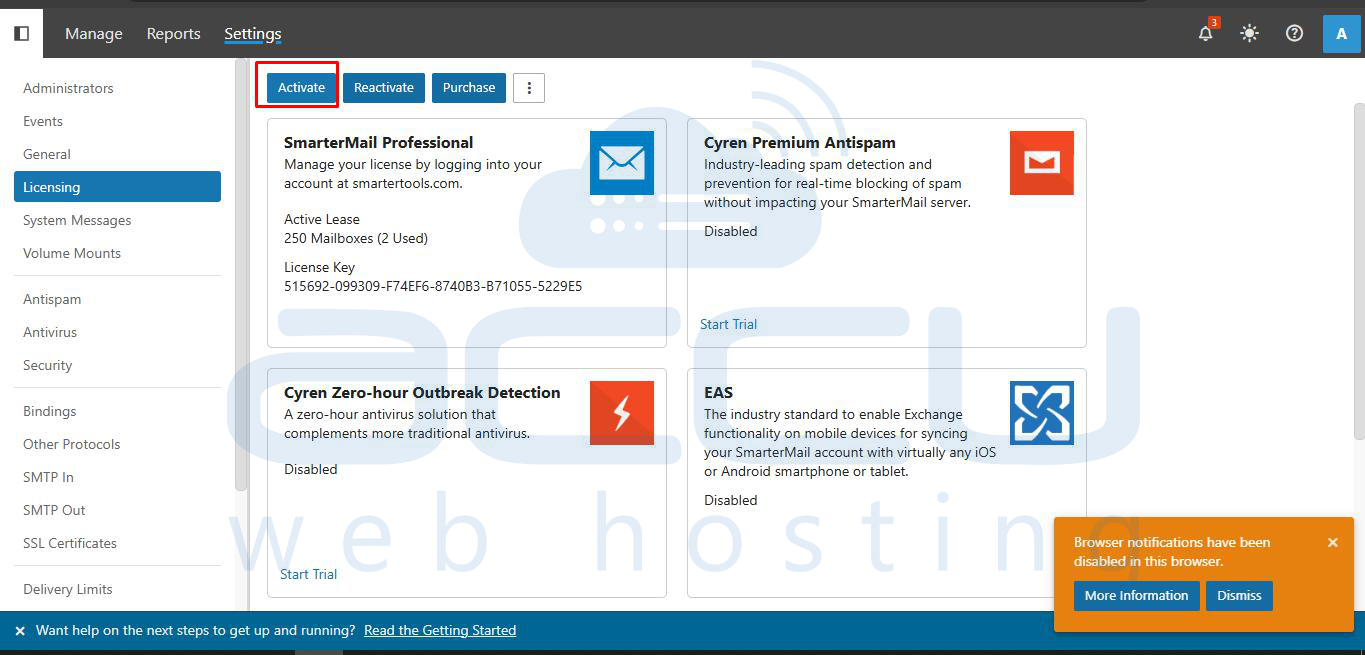
4. Right-click on SmarterMail Free Edition, then select the Activate option.
5. In the License Key field, you will need to provide the license key. Click on Next.
6. Provide the email address and password in the Email Address and Password fields, respectively.
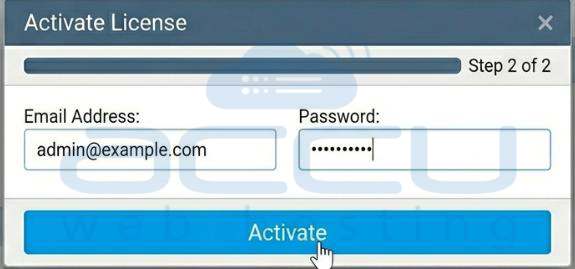
7. Finally, click on Activate.
Once the activation is complete, your SmarterMail installation will be upgraded and fully licensed, allowing you to access all features of your selected edition. Make sure to keep your license details safe for future reference, especially if you plan to upgrade or migrate your SmarterMail instance later.
