Migrating a website from cPanel to CWP (CentOS Web Panel) involves a series of straightforward steps, but it's essential to follow the correct process to ensure all your website files, databases, and configurations are moved successfully. CWP provides an easy to use platform for server management, and it also includes a built-in migration tool to facilitate the transfer of cPanel accounts. This article will guide you through the steps involved in migrating your website from a cPanel server to a CWP hosting panel.
Steps to Migrate a Website from cPanel to CWP Hosting Panel
Step 1: Generate and Download a Full cPanel Account Backup
The first step in the migration process is to create a full backup of your cPanel account. This ensures that you have a complete copy of your website files, databases, configurations, email accounts, and all associated data.
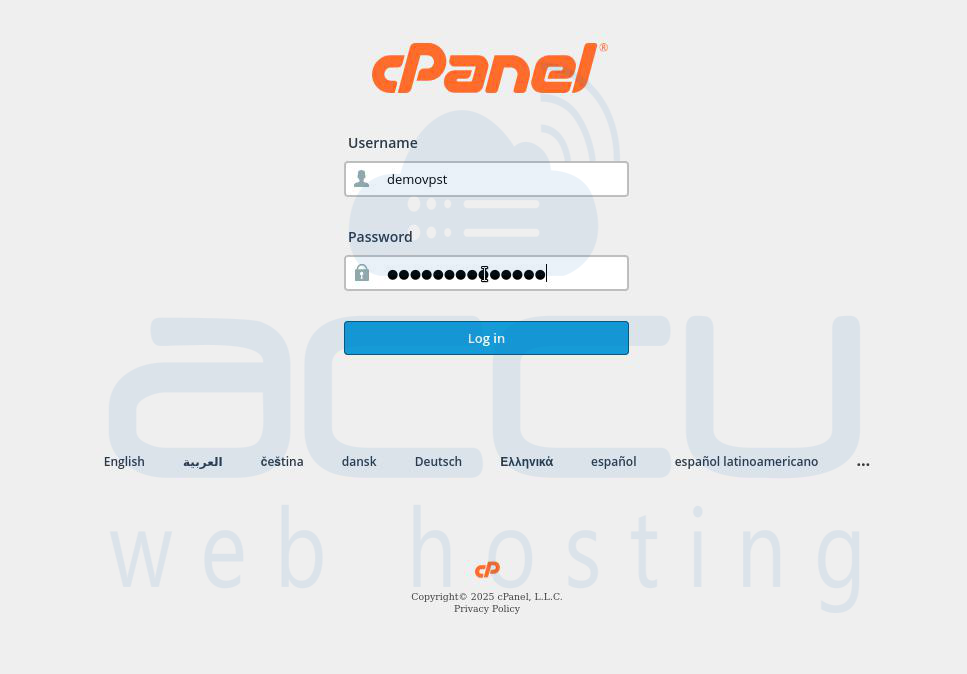
Step 1.1: To begin the backup process, log in to your cPanel account using your cPanel username and password. Once logged in, you’ll be taken to the cPanel dashboard.
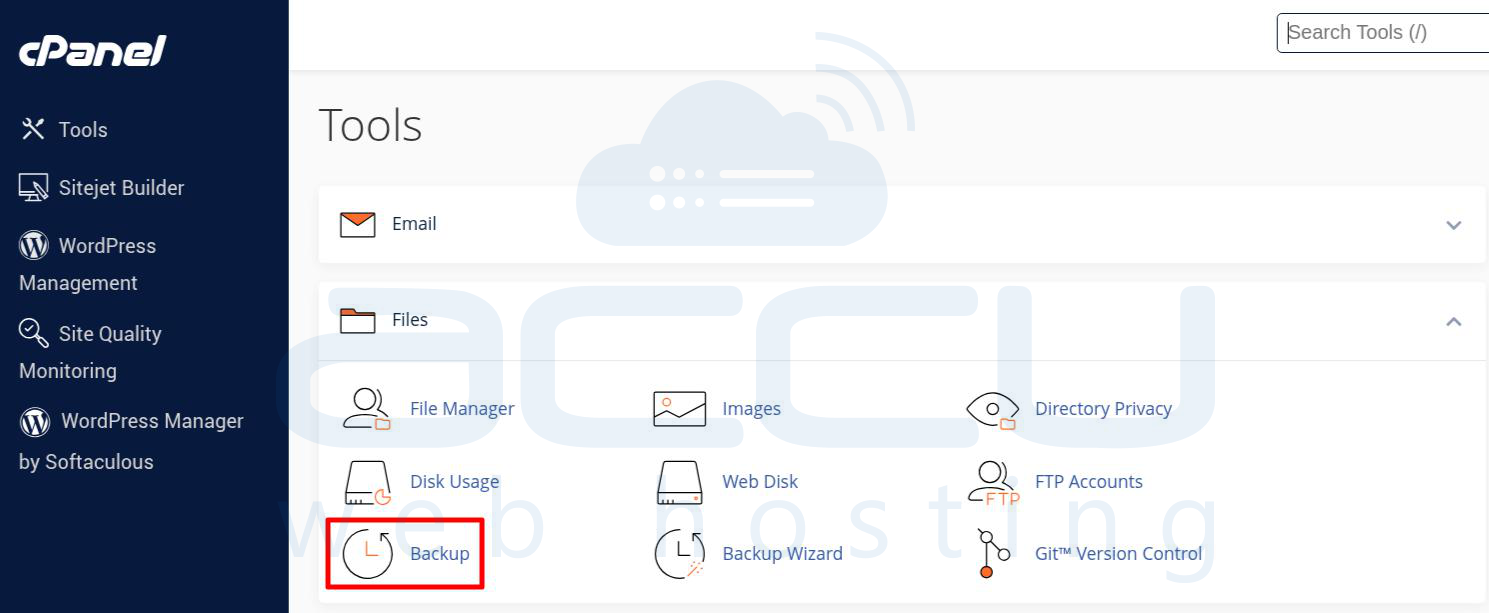
Step 1.2: After logging in, use the search bar at the top of the cPanel dashboard or scroll down to the "Files" section. Click on the Backup icon to access the backup tools.
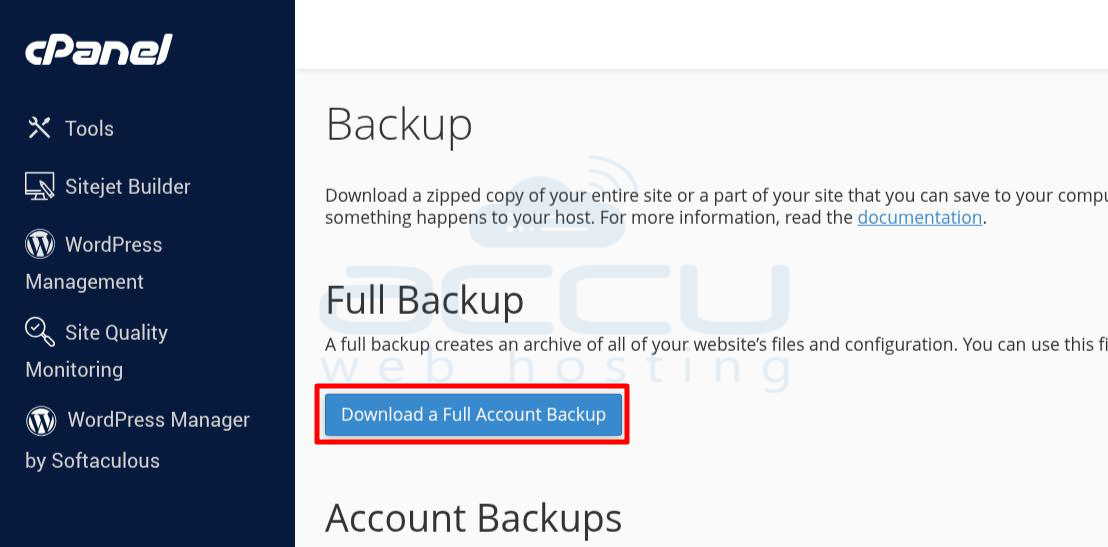
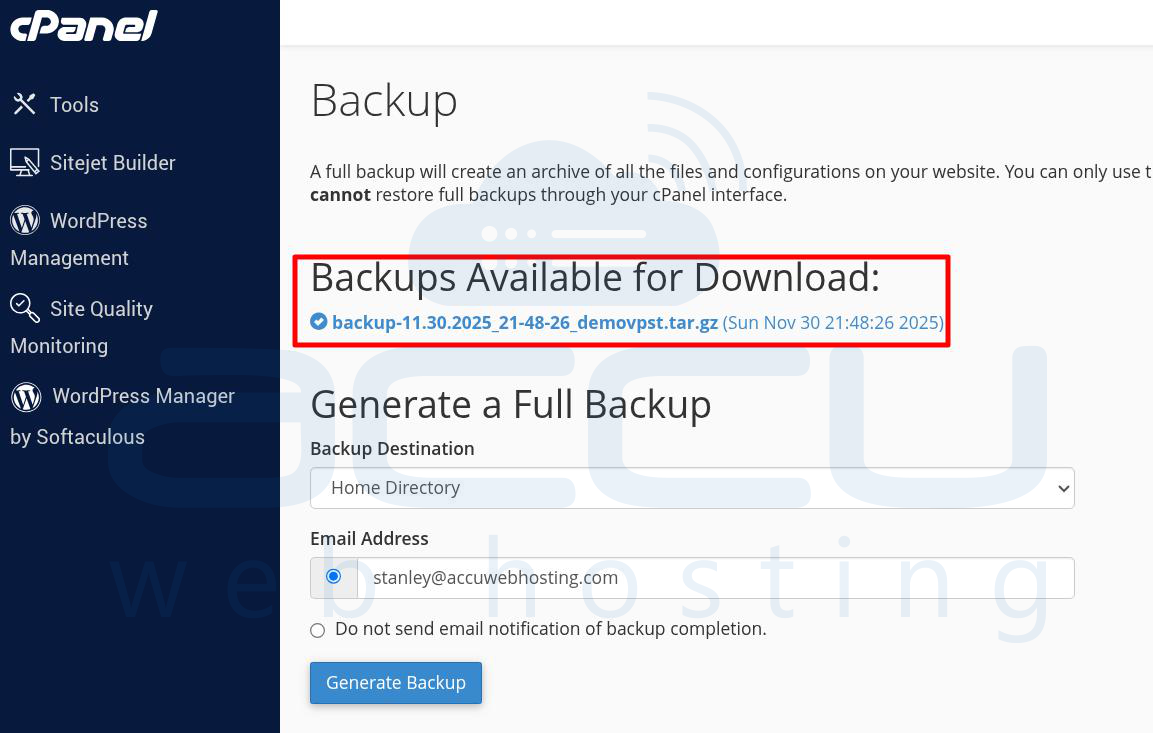
Step 1.3: On the Backup page, click on the Full Backup button. This is the recommended option as it backs up everything in your cPanel account, including all domains, files, databases, email accounts, and configurations.
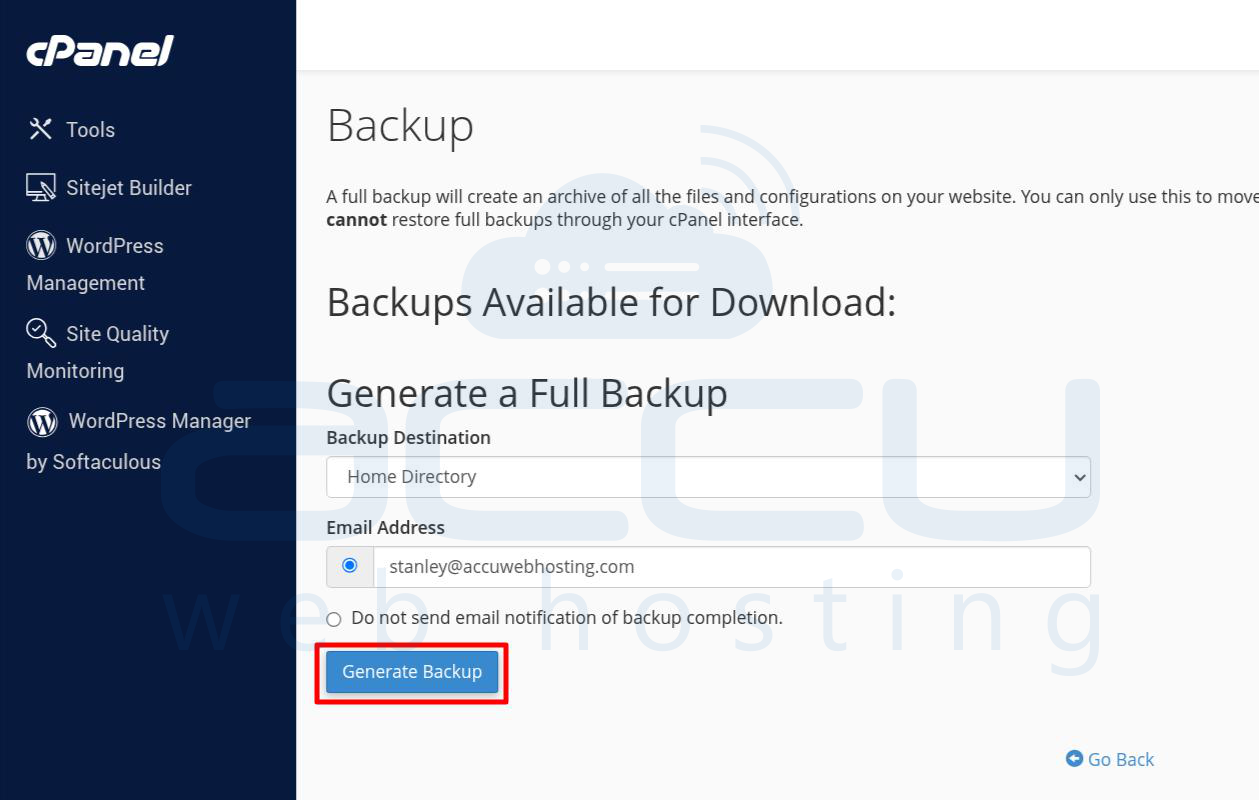
Step 1.4: You will need to configure the backup settings. Here’s what you need to do:
- Backup Destination: From the dropdown menu, select Home Directory. This is the standard choice because it stores the backup file in your main account folder on the server.
- Email Address: Enter an email address where you want to receive a notification once the backup is complete.
Once these settings are configured, click on the Generate Backup button to begin the process. cPanel will now compile all the account data into a single compressed file (usually a .tar.gz file). Depending on the size of your account, this process may take anywhere from a few minutes to several hours.
Step 1.5: Once the backup is complete, cPanel will send you an email notification. To download the backup, return to the Backup Wizard in cPanel, navigate to the Full Backup section again, and you will see a link to the generated backup file. It will typically be named something like backup-MM-DD-YYYY_HH-MM-SS_user.tar.gz. Click on the link to download the file to your local computer.
Step 2: Upload and Restore the Backup in CWP (Control Web Panel)
CWP has a built-in migration tool that allows you to restore a cPanel backup. This tool simplifies the process of transferring your website data to the CWP server. Follow these steps to upload and restore the cPanel backup in CWP.
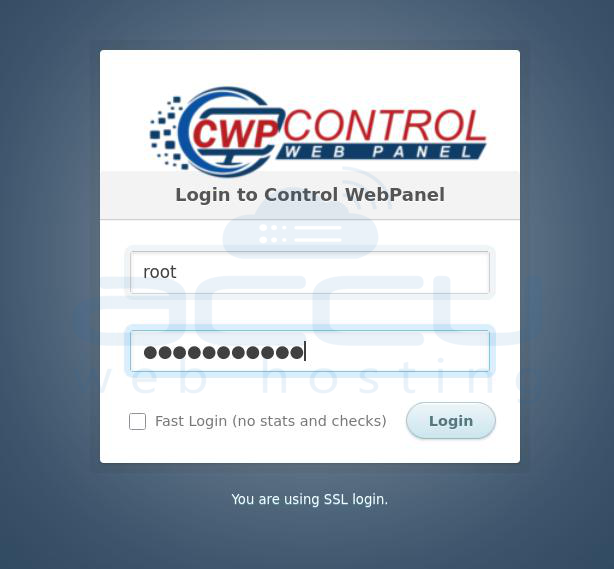
Step 2.1: Start by logging into your CWP admin panel.
Step 2.2: Once logged in, locate the File Management section in the CWP admin panel.
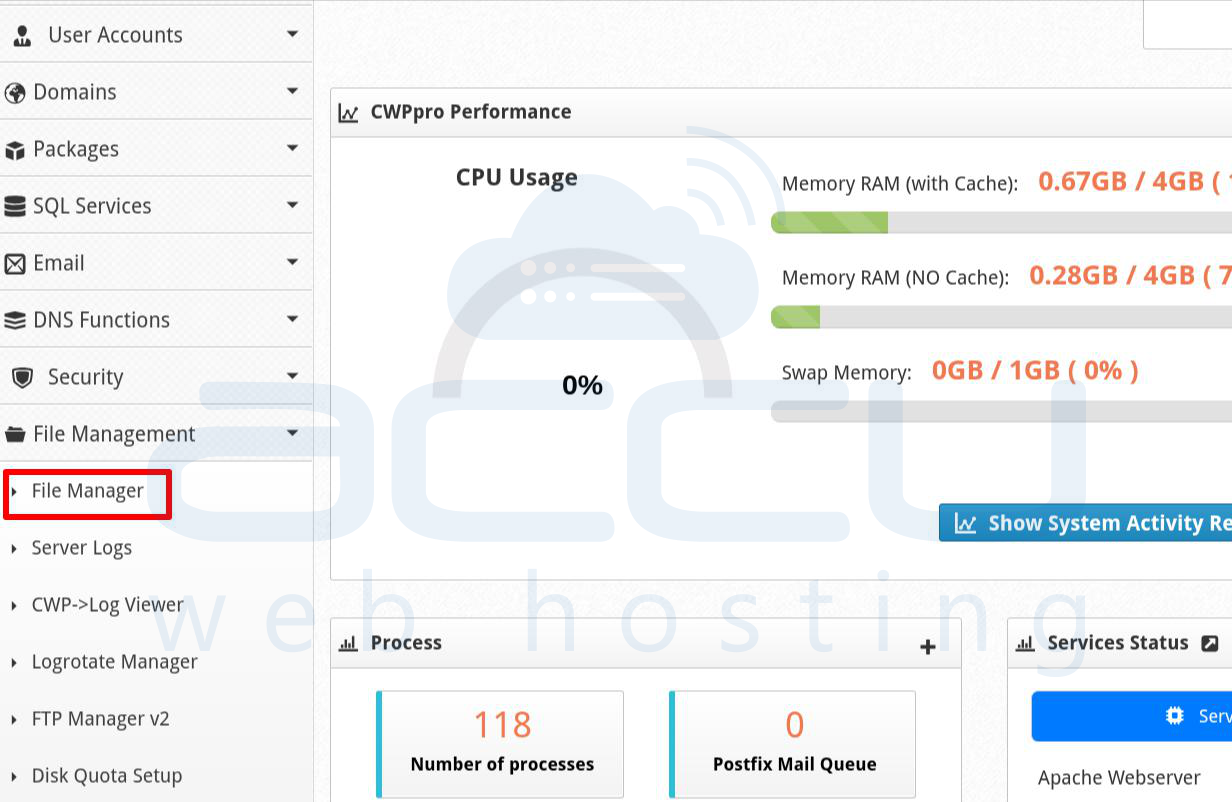
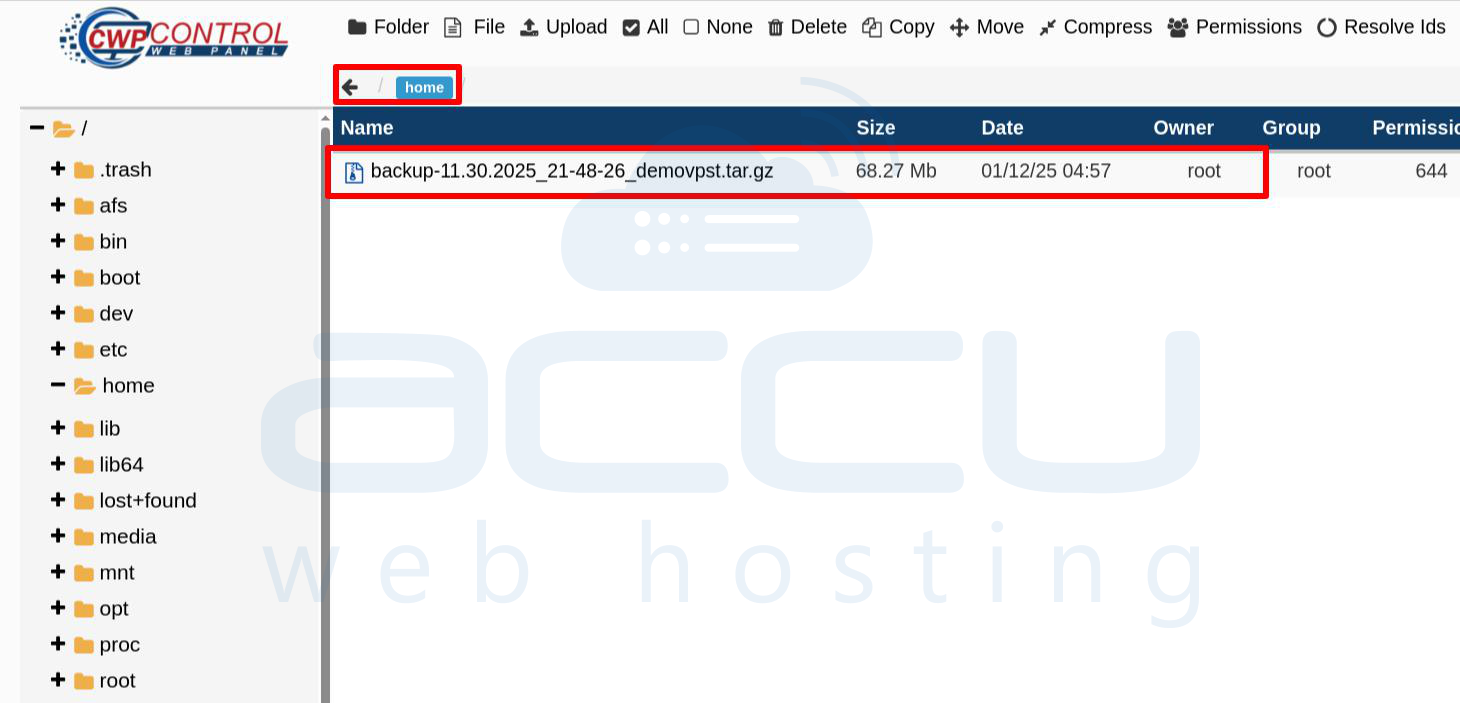
Step 2.3: In the File Management section, navigate to the /home directory. This is where the backup file will be uploaded.
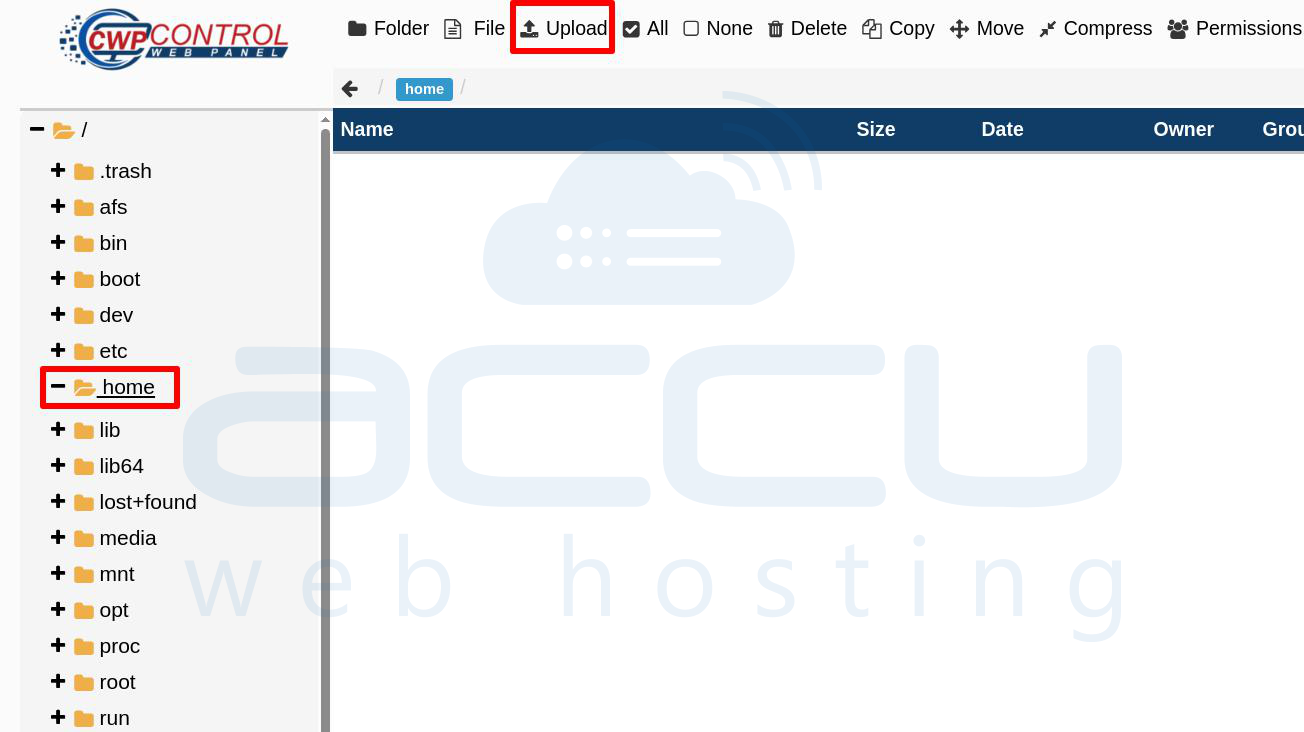
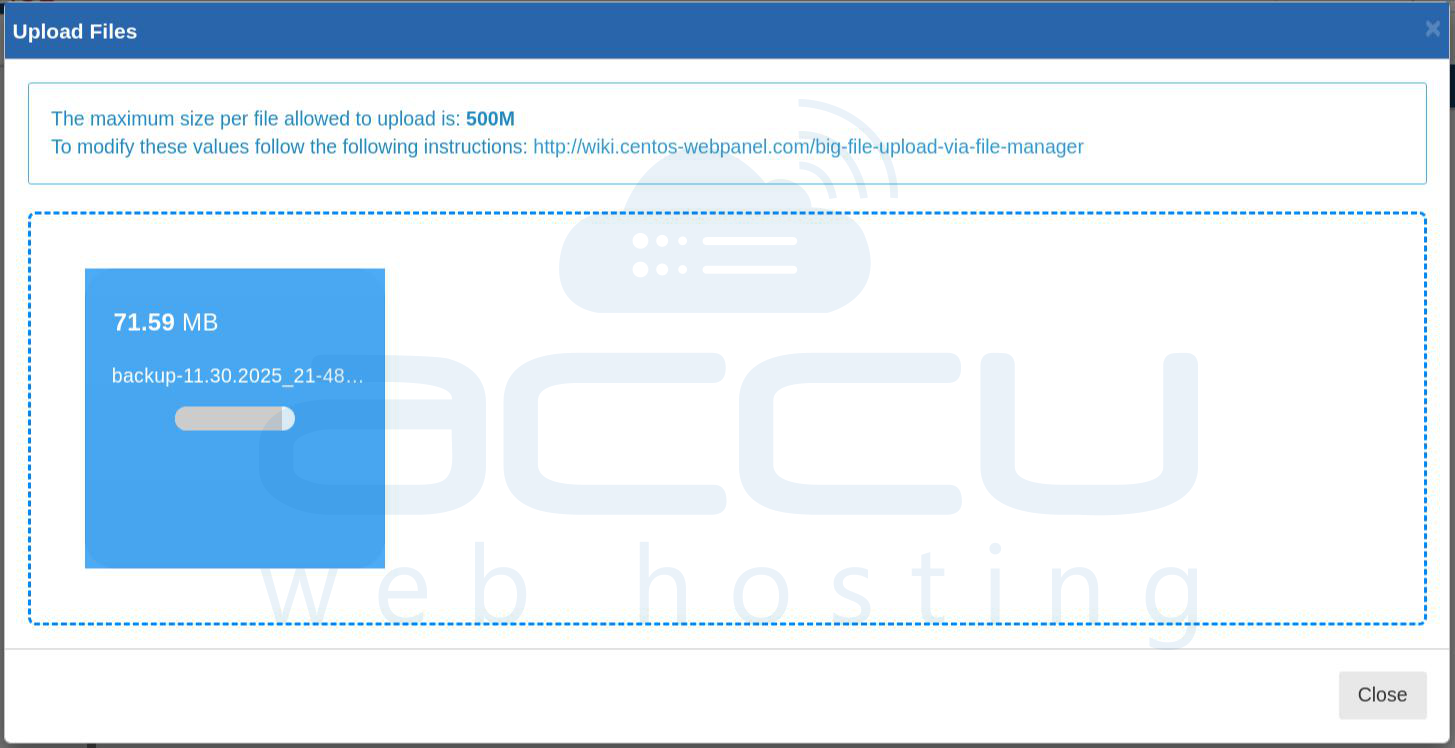
Step 2.4: You can upload the backup file using the Upload button in the CWP interface. Since the backup file can be quite large, you may find it easier to upload the file using an FTP client or SSH. Upload the .tar.gz backup file to the /home directory.
Step 2.5: Once the file is uploaded, check the /home directory to ensure the backup file is present.
Step 3: Restore a cPanel Backup in CWP
After uploading the backup file to the CWP server, it’s time to restore it using the CWP migration tool. Here’s how to do that:
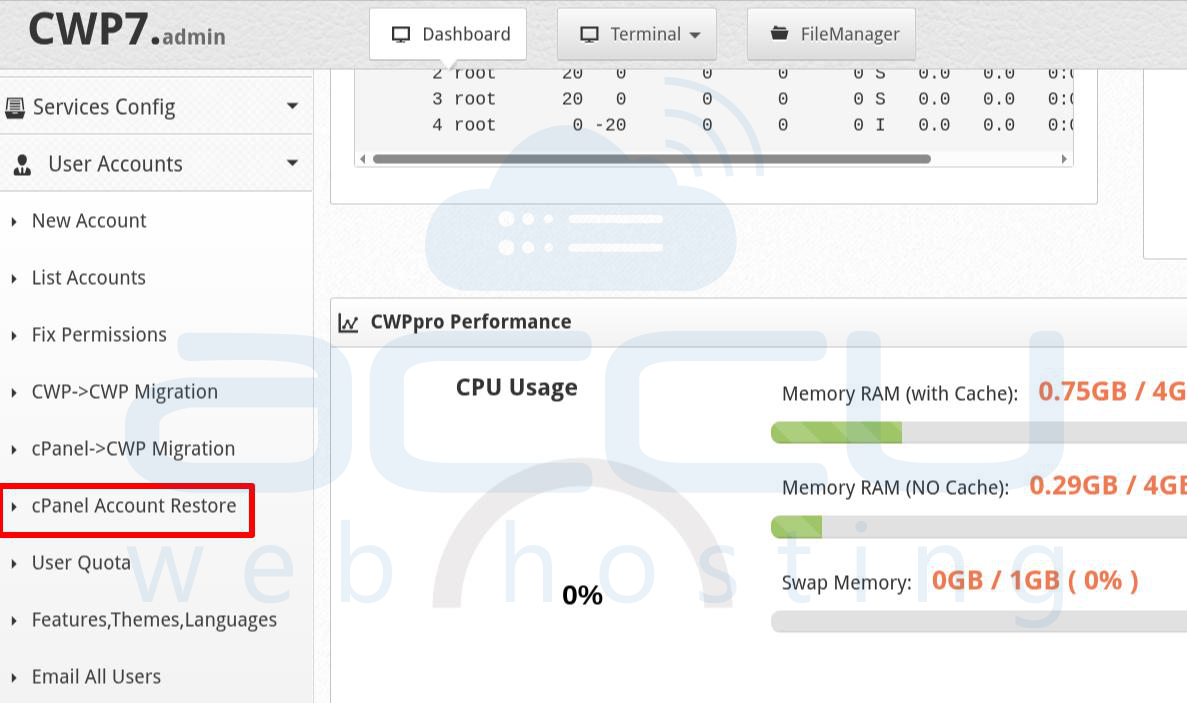
Step 3.1: In the left-hand menu of the CWP panel, click on User Accounts to access the account management section.
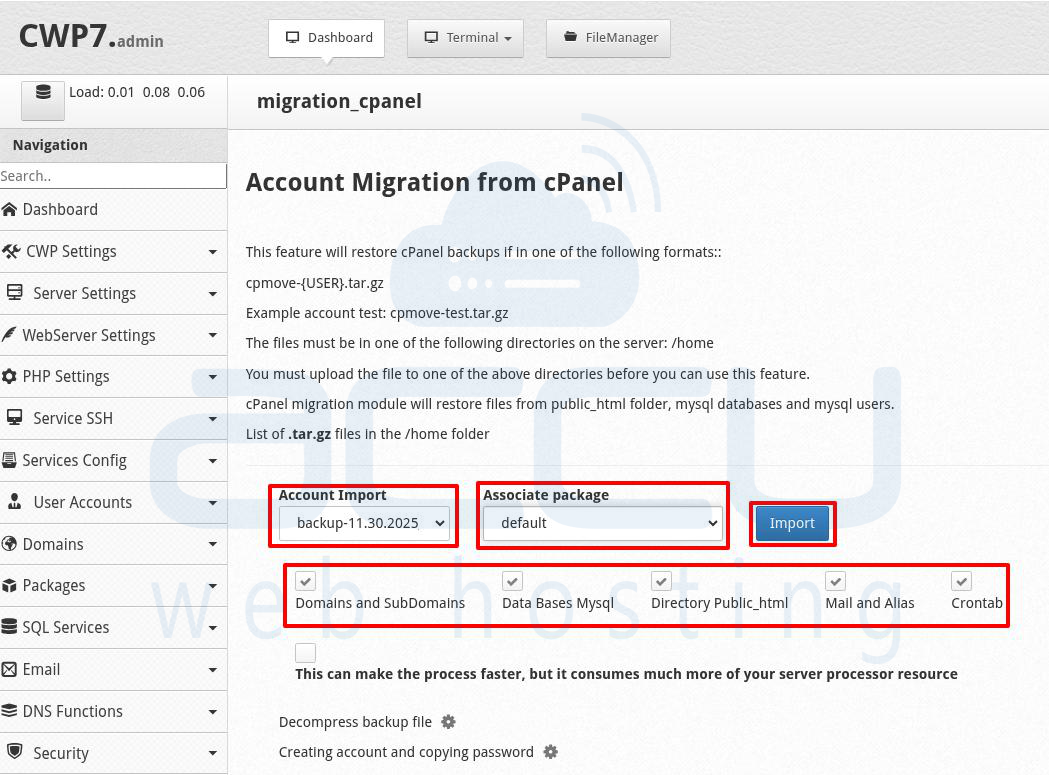
Step 3.2: Within the User Accounts section, click on cPanel Account Restore. This will take you to the restoration interface.
Step 3.3: CWP will automatically detect the cPanel backup file that you uploaded in the /home directory. Select the backup file from the list of available backups. You’ll also need to choose a Package for the new account, which defines the resource allocation (such as disk space, bandwidth, etc.).
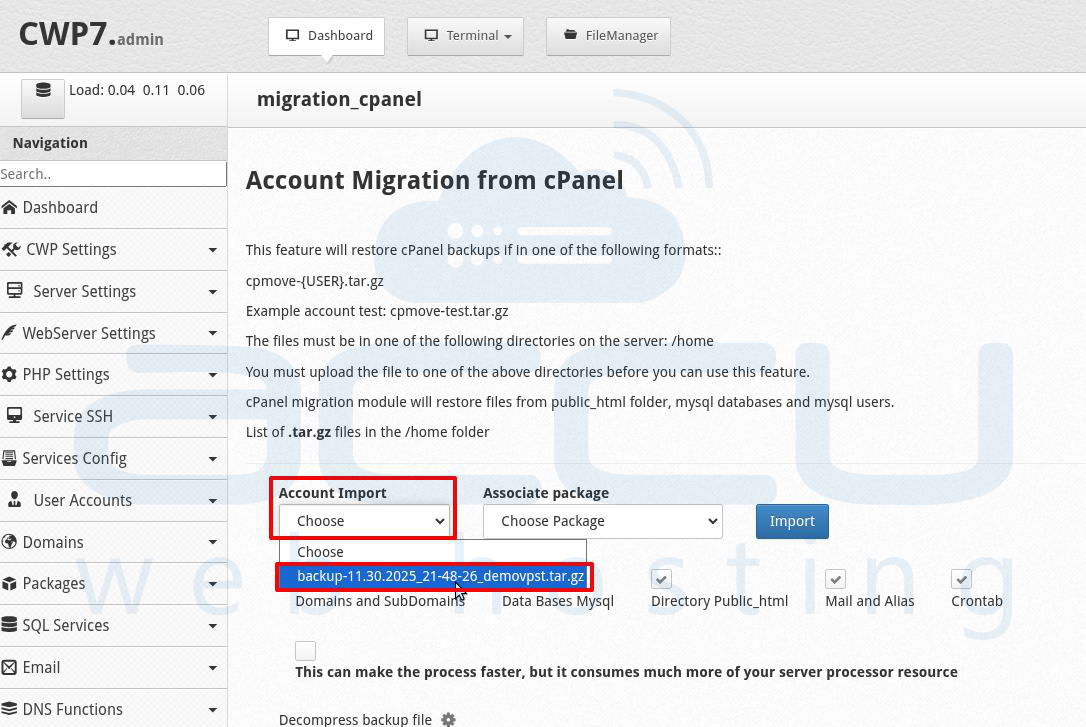
Step 3.4: You will be presented with options for what data to restore. Typically, you will want to check all available options to ensure a full restore. These options may include email accounts, databases, website files, and configurations.
Once you’ve selected the data to restore, click the Import button to start the restoration process.
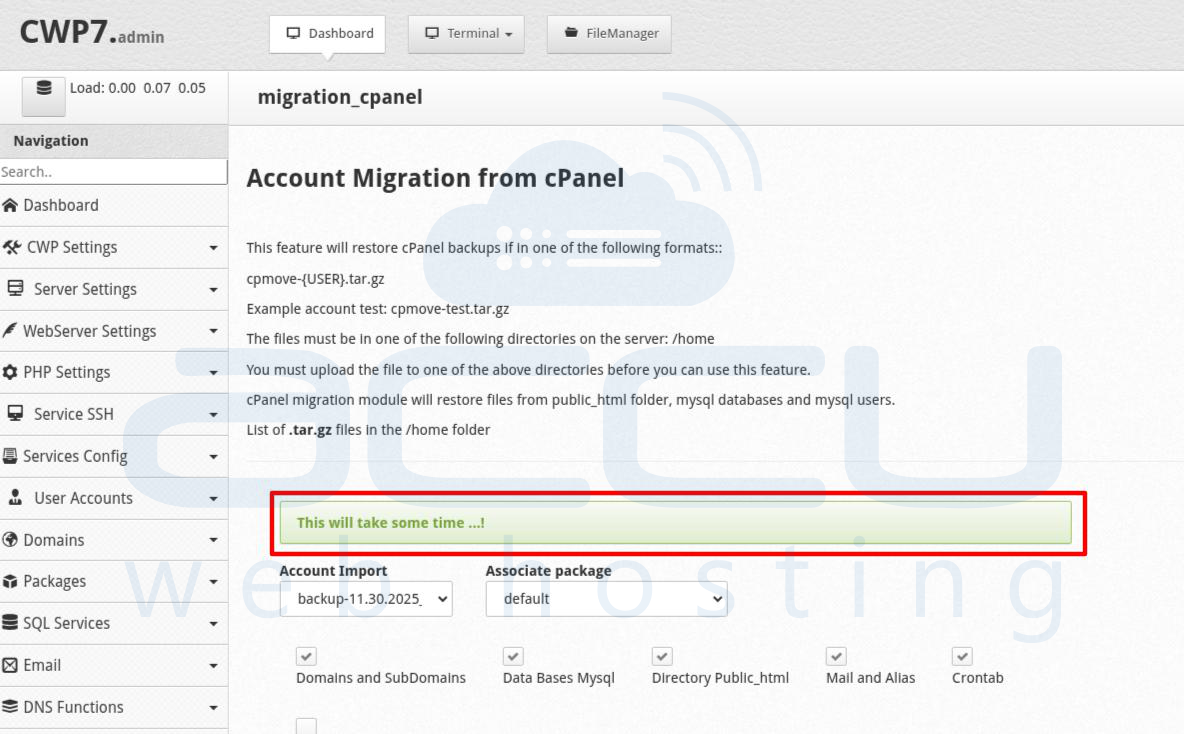
Step 3.5: The restoration process will begin immediately, and you should see a progress bar or status updates on the screen. The duration of the process depends on the size of the backup file, so it may take some time.
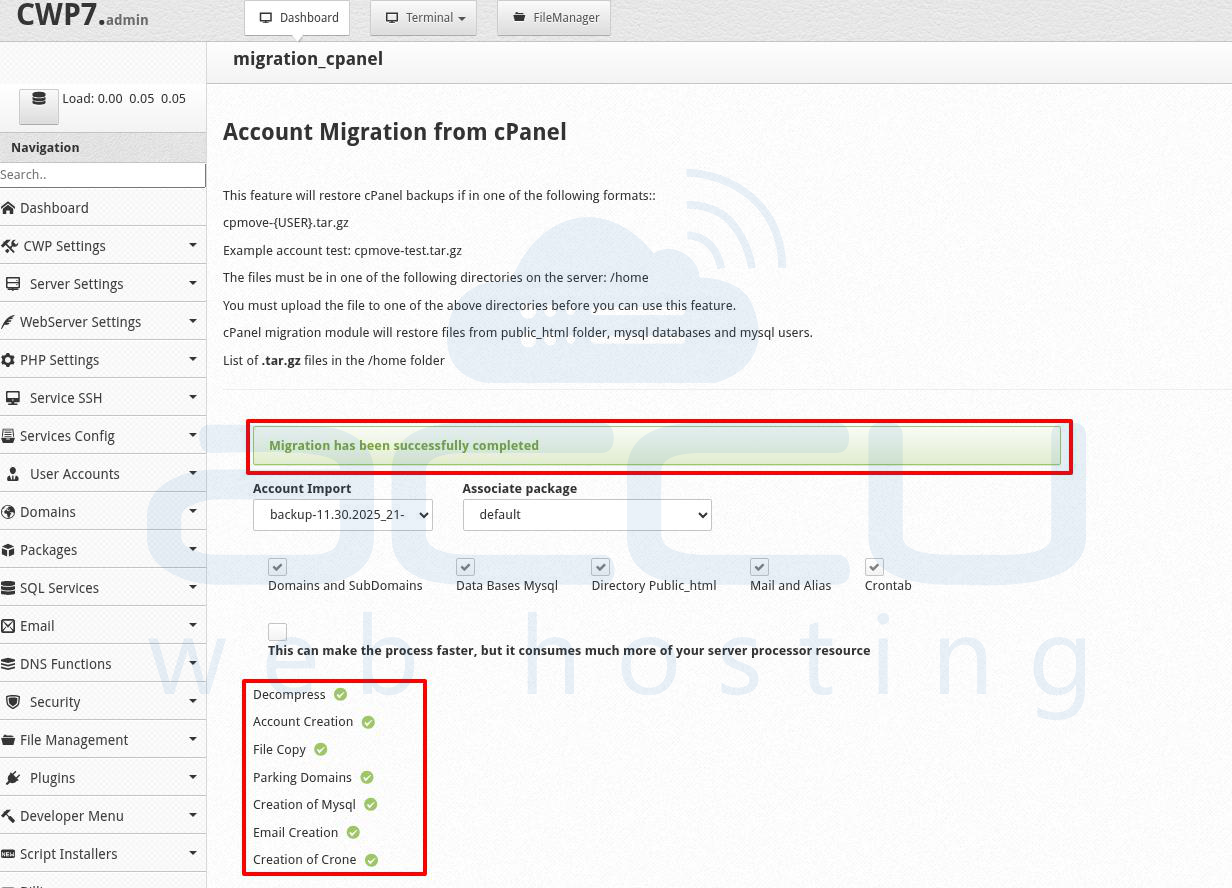
Step 3.6: Once the restoration is complete, you will receive a notification confirming that the process has been successful.
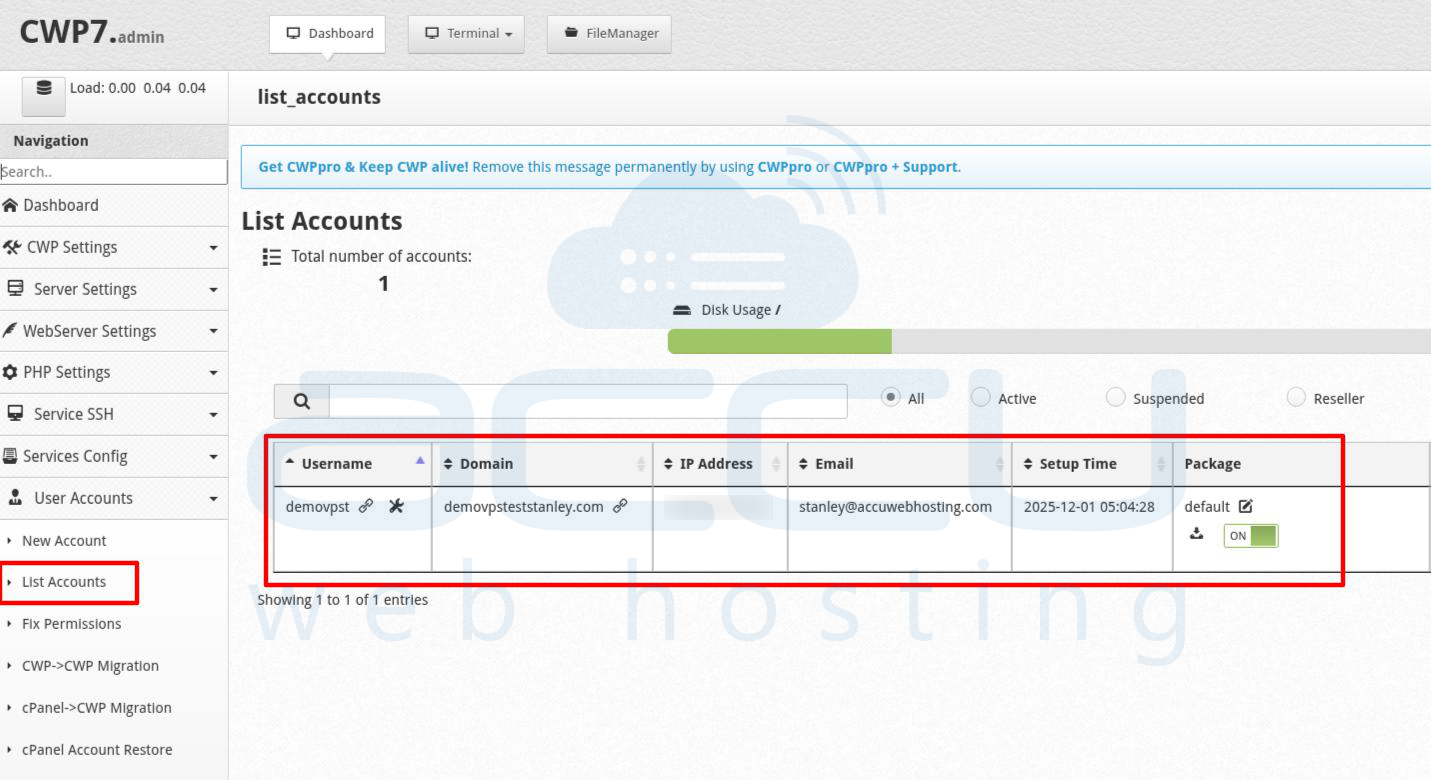
Step 3.7: To verify that the account has been restored properly, go to the User Accounts section and click on List Accounts. Your newly restored account should now be listed and active.
Step 3.8: Finally, you’ll need to update your DNS settings to point to the new server’s IP address. You can either update the DNS records with your domain registrar or temporarily use your hosts file to point the domain to the new server. Once DNS propagation is complete, test your website to ensure that all files, databases, and emails are functioning correctly.
Conclusion
Migrating a website from cPanel to CWP Hosting Panel is a relatively simple process. By following the steps outlined above, you can easily create a full backup of your cPanel account, upload it to your CWP server, and restore it to ensure a seamless transfer of your website.
