Follow the steps below to migrate a cPanel account from an old server to a new server using WHM.
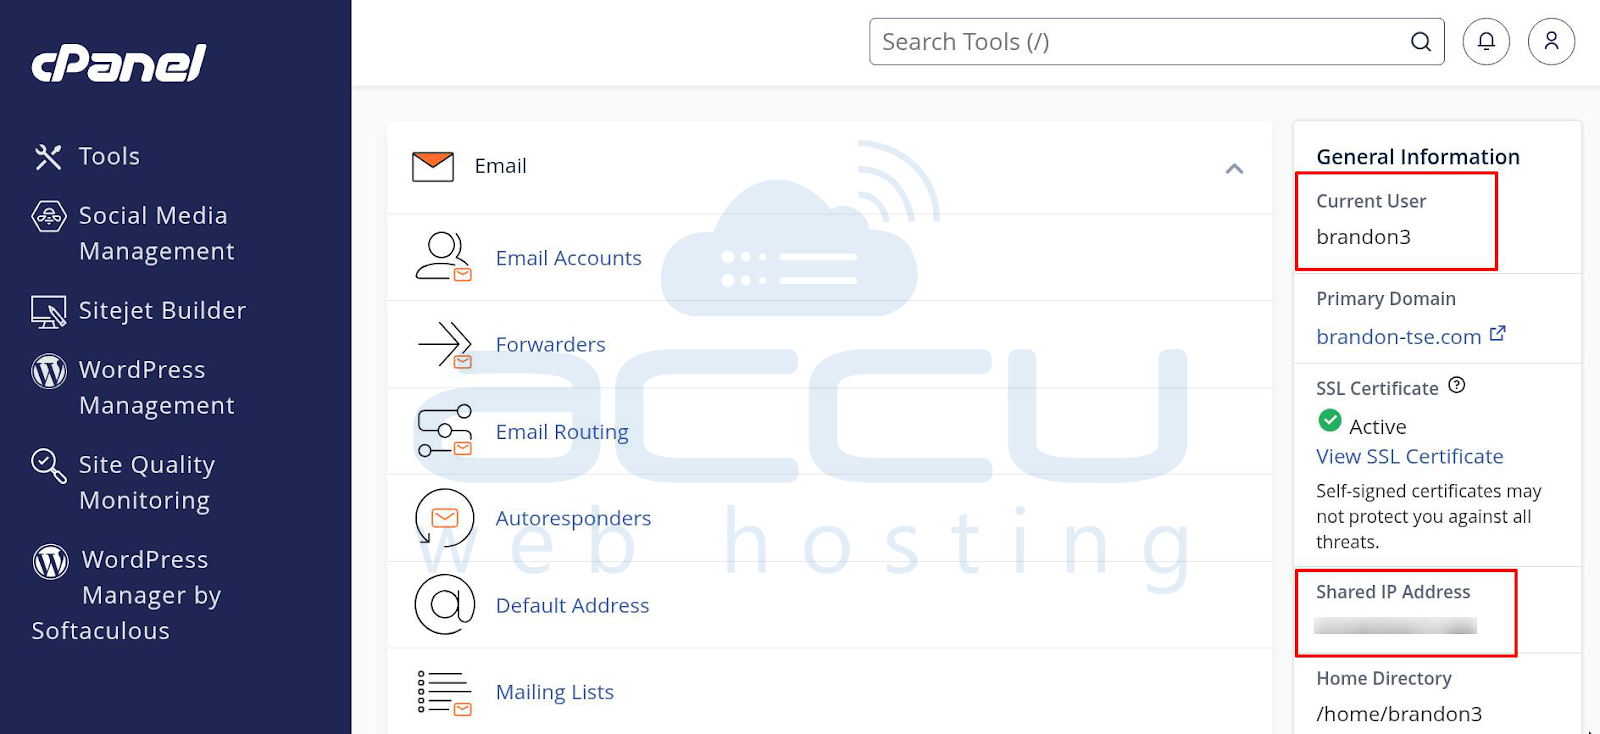
Step 1: Collect Old cPanel Account Details
Before starting the migration, make sure you have the following information from the old server:
-
IP address of the old cPanel account
-
Username of the old cPanel account
-
Password of the old cPanel account
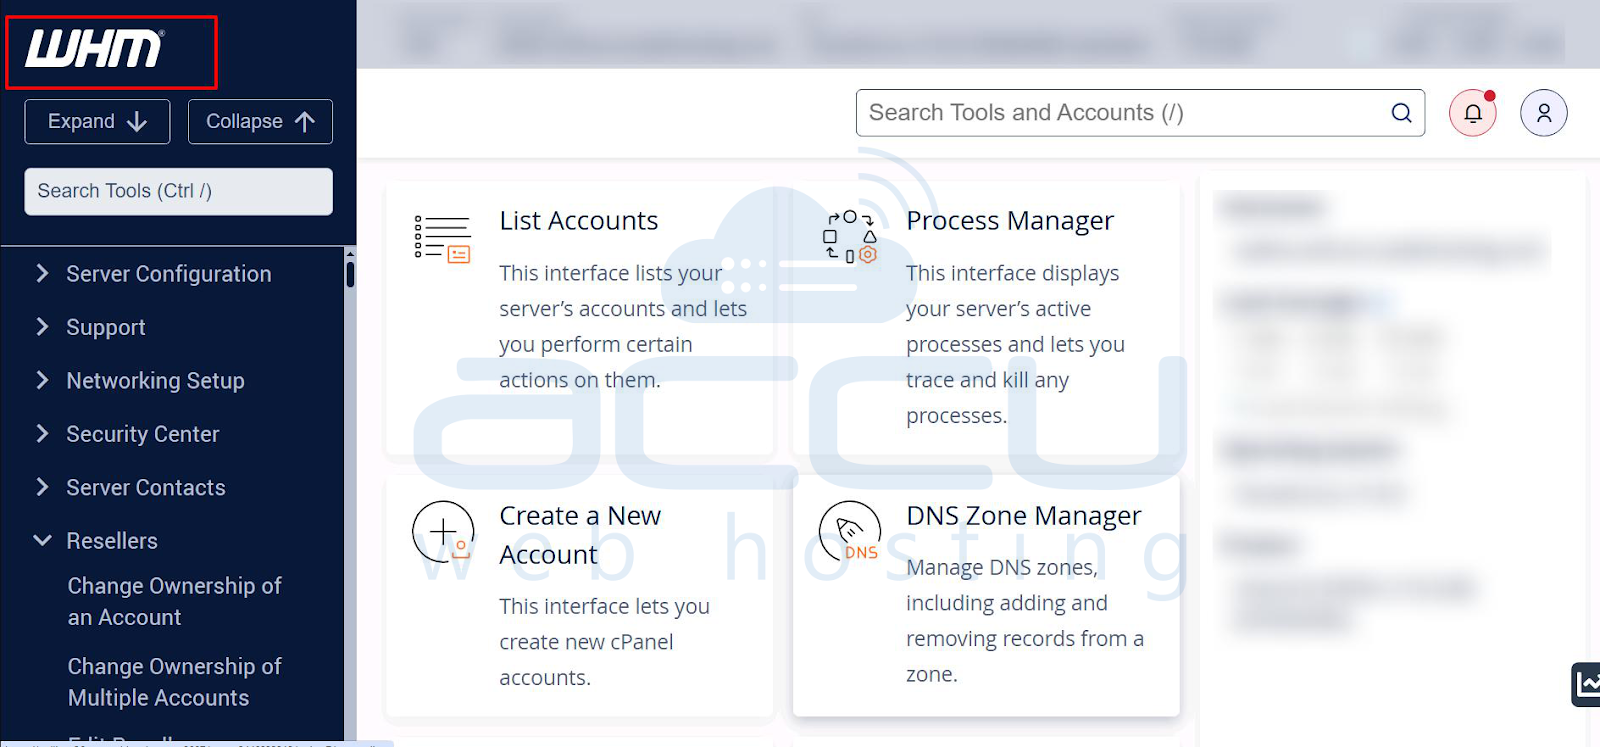
Step 2: Log in to WHM on the New Server
Log in to the WHM panel of the server where you want to migrate the cPanel account.
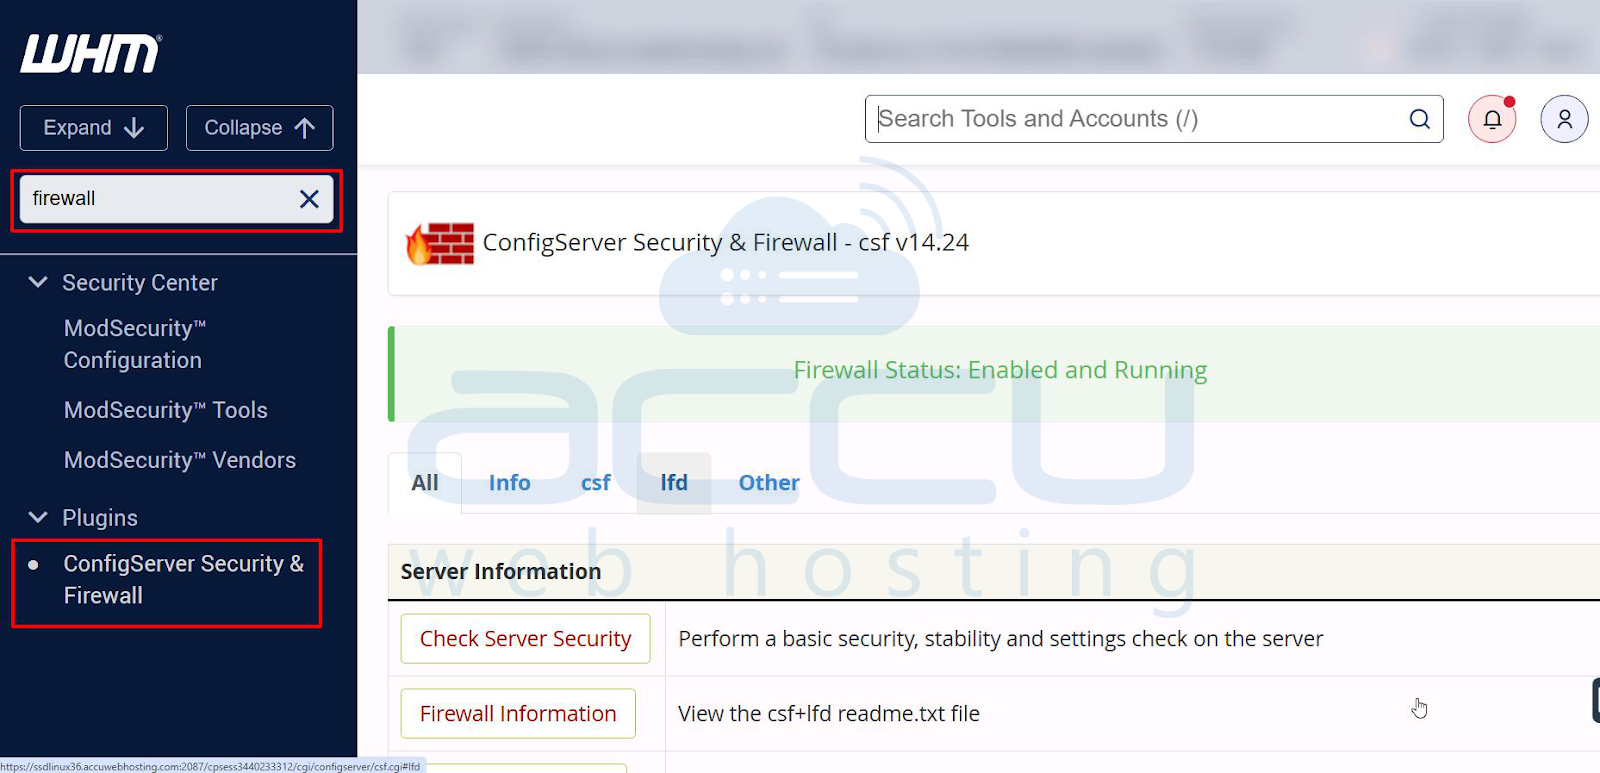
Step 3: Temporarily Allow the Old Server IP in the Firewall
To avoid connection issues during the transfer, allow the old server IP address in the firewall:
1. In WHM, search for Firewall from the left-hand menu.
2. Click on ConfigServer Security & Firewall (CSF).
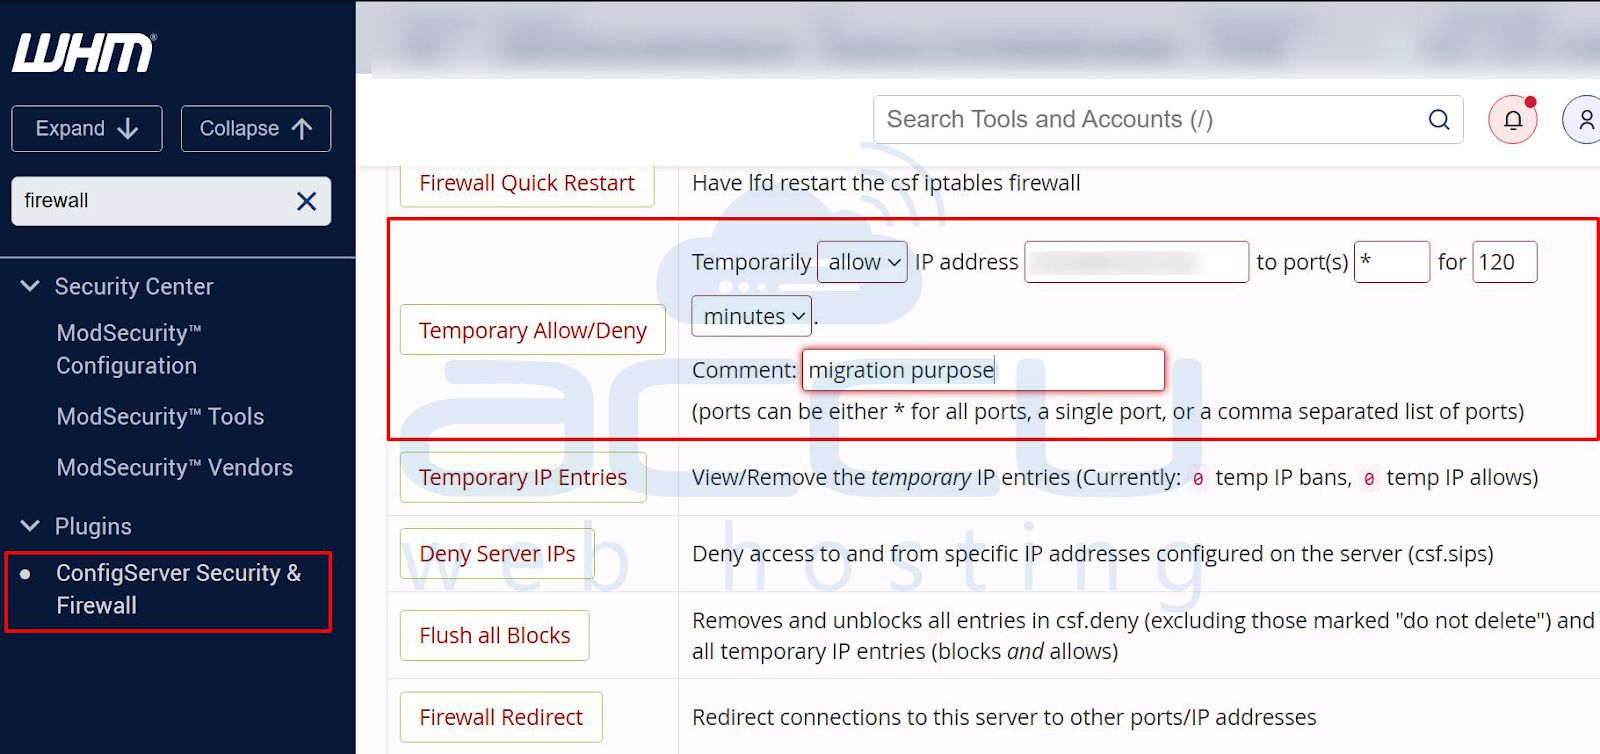
3. Scroll down to the Temporary Allow/Deny section.
4. Select Allow.
5. Enter the IP address of the old cPanel account.
6. If your old cPanel uses a custom port, enter the port number; otherwise, leave it blank.
7. Set the time range to a minimum of 120 minutes.
8. In the Comment field, enter: migration purpose.
9. Click on Temporary Allow/Deny to save the rule.
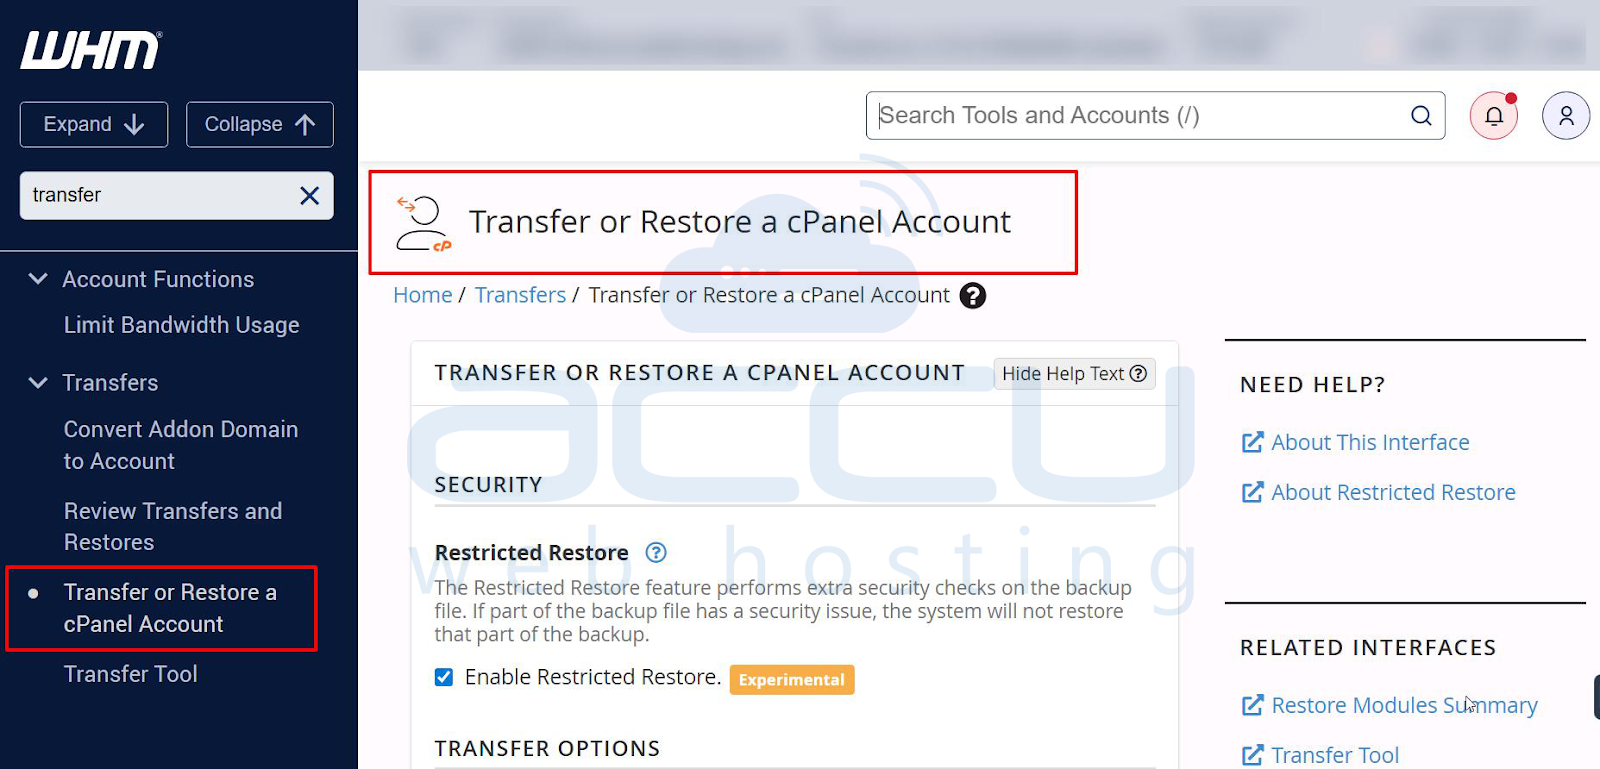
Step 4: Open the cPanel Account Transfer Tool
1. In WHM, search for 'Transfer' or 'Restore' in the left-hand menu.
2. Click on Transfer or Restore a cPanel Account.
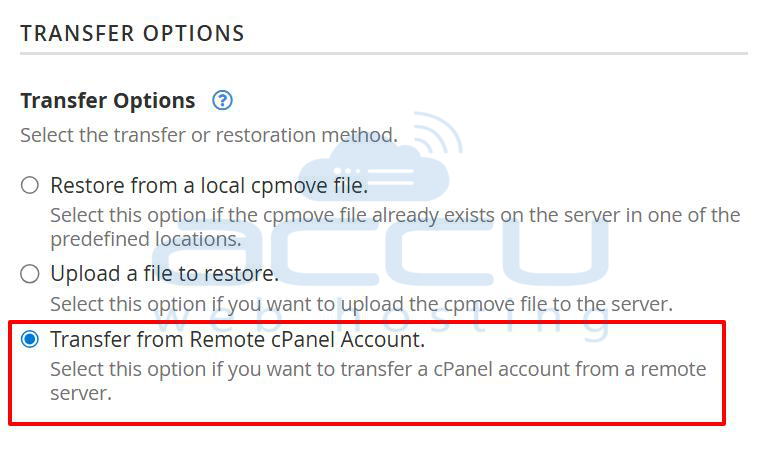
Step 5: Start the Account Transfer
1. Under Transfer Options, select Transfer from Remote cPanel Account.
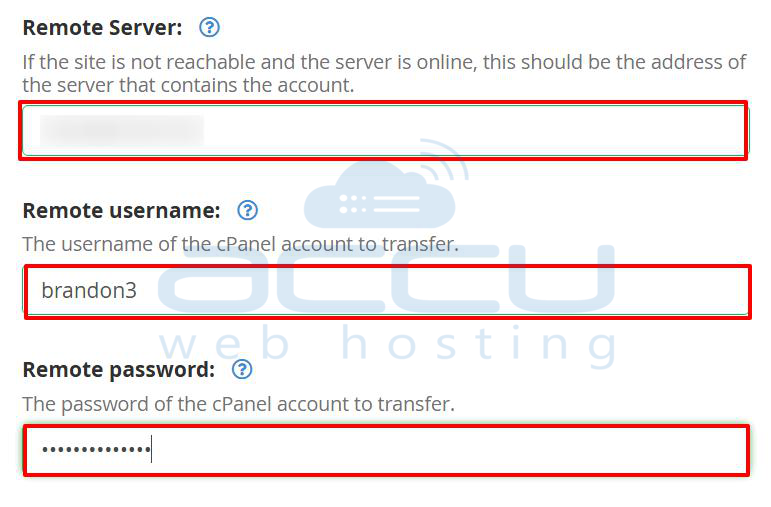
2. Enter the following details:
-
Old server IP address
-
Old cPanel username
-
Old cPanel password
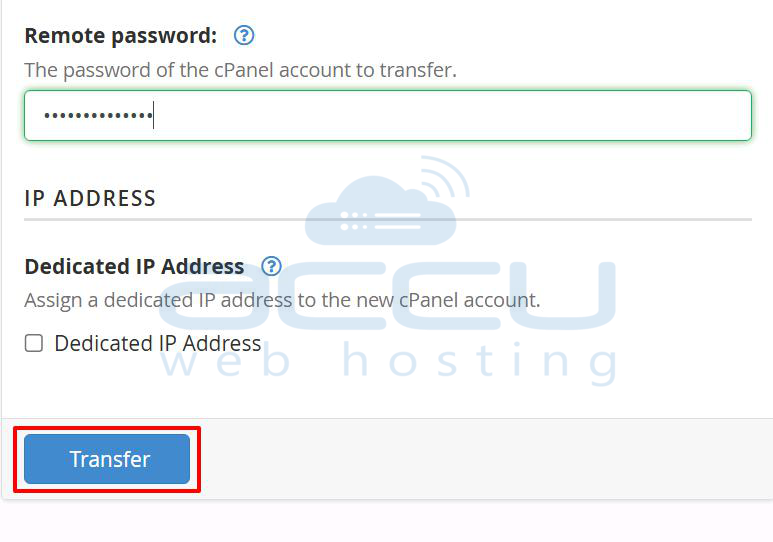
3. Click on the Transfer button to begin the migration.
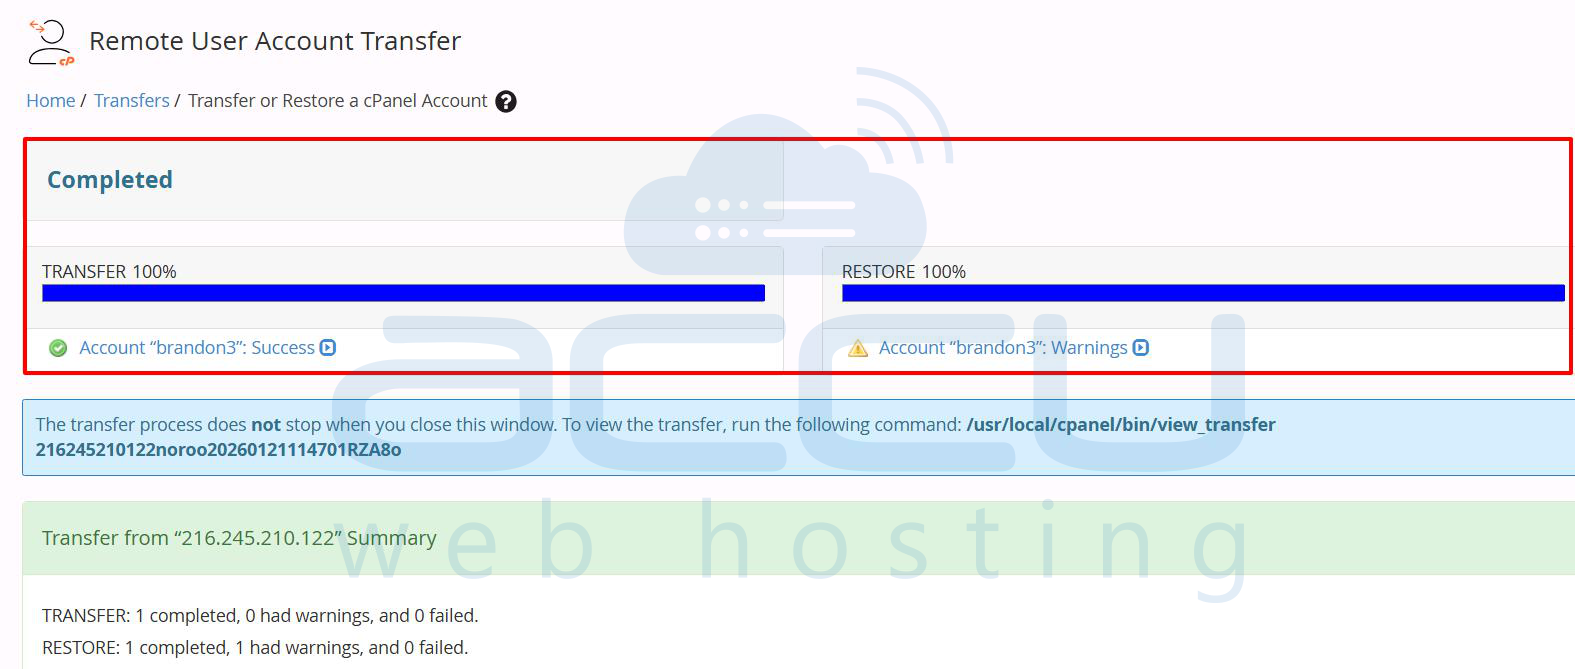
Step 6: Verify Transfer Completion
Once the transfer is completed successfully, you will see a confirmation screen.
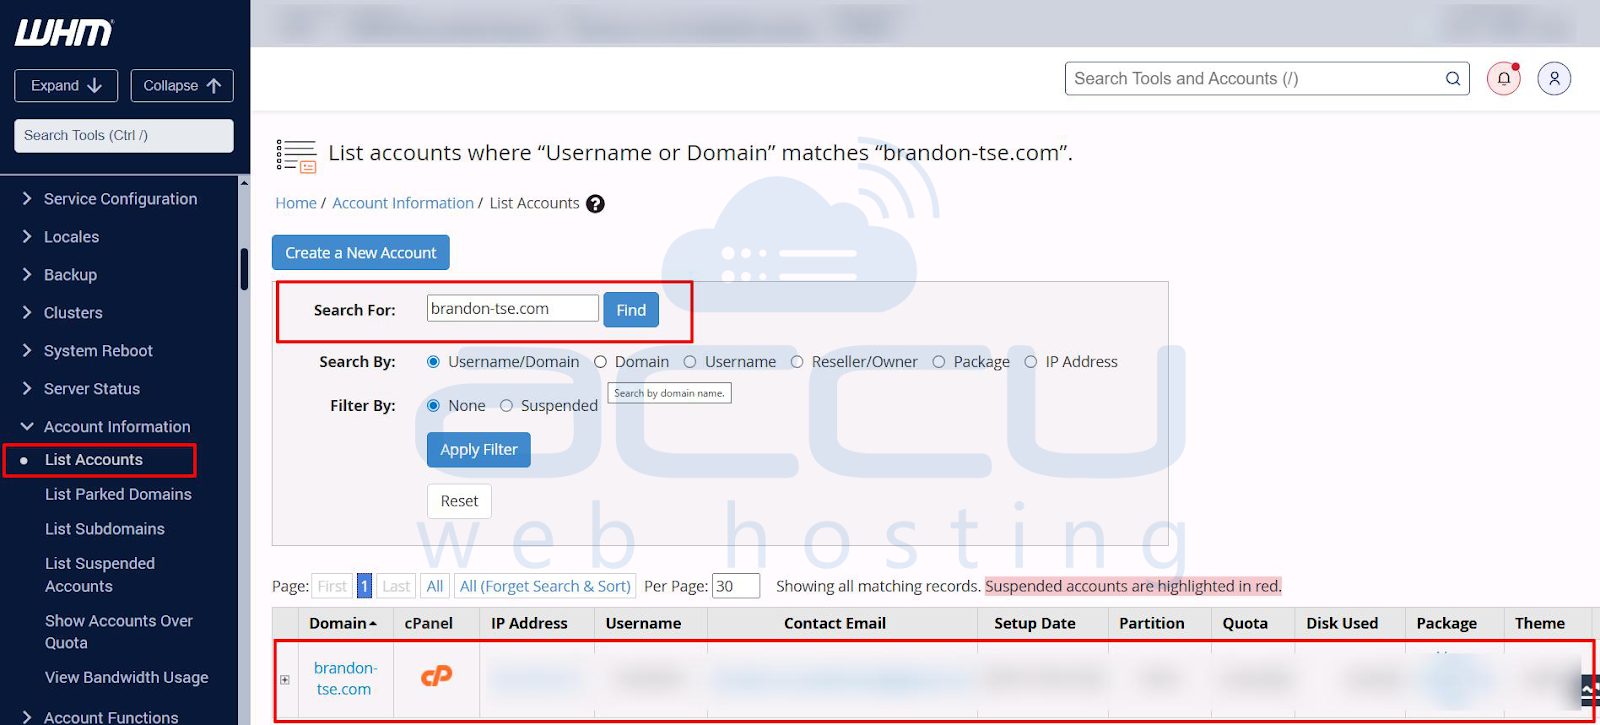
Step 7: Locate the Migrated Account
1. In WHM, go to List Accounts.
2. Find the newly migrated cPanel account in the list.
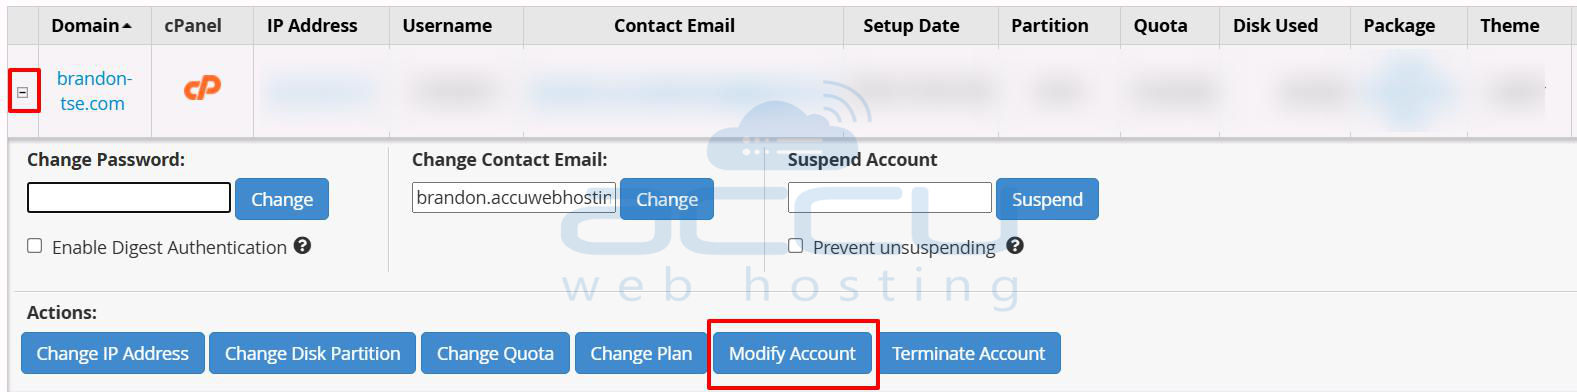
Step 8: Change Account Ownership
To assign the correct owner to the migrated account:
1. Click on the “+” icon next to the account.
2. Select Modify Account.
3. Under Account Owner, change the owner to the appropriate reseller or admin.
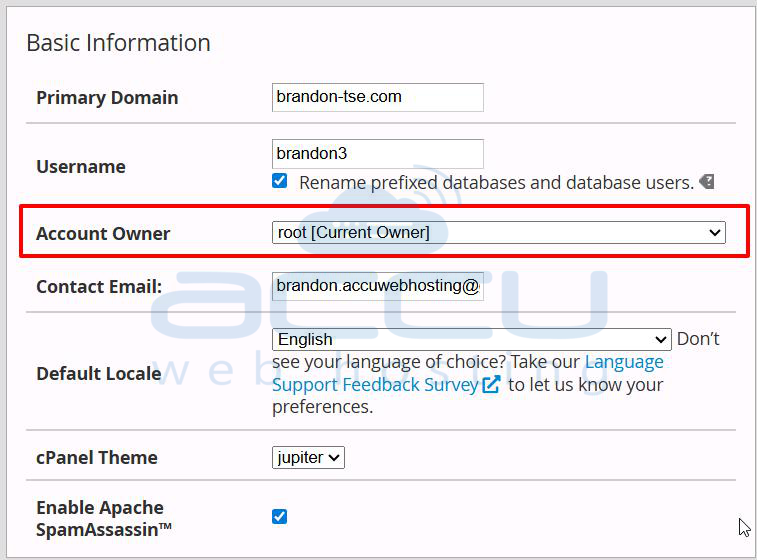
4. Scroll down and update the package to match the original cPanel hosting plan.

5. Click Save to apply the changes.
Step 9: Verify the Migrated Account
After migration, verify that all data has been transferred correctly:
-
Website files and content
-
Email accounts and emails
-
Databases and database users
Important Note
Always thoroughly test the migrated account before updating DNS or going live to ensure everything is working as expected.


