MailEnable stores the bulk of configuration details in text files. Therefore, migrating the configuration and data are mostly involves copying directories from one server to another and ensuring proper permissions have been set.
Important Note: The migration is only applicable to migrate to a Destination Server, and it can not be completed under any of the following situations:
- Suppose the new server has a different version of MailEnable. This includes minor version differences. When you migrate, you should do this to the same version.
- If you want to move from 32bit to 64bit Windows (or vice versa).
- If the installation paths are different on the new server.
1. Export the MailEnable registry branch:
- Open "Regedit".
- Navigate to the following location: HKEY_LOCAL_MACHINE\Software\Wow6432Node\Mail Enable
- Select "File" in the top menu and select "Export registry file." Then, save the file as "MailEnable.reg."
- Copy the .reg file to the new server and double click the file to import the saved MailEnable registry settings on the new server.

2. Copy the MailEnable data and configuration files:
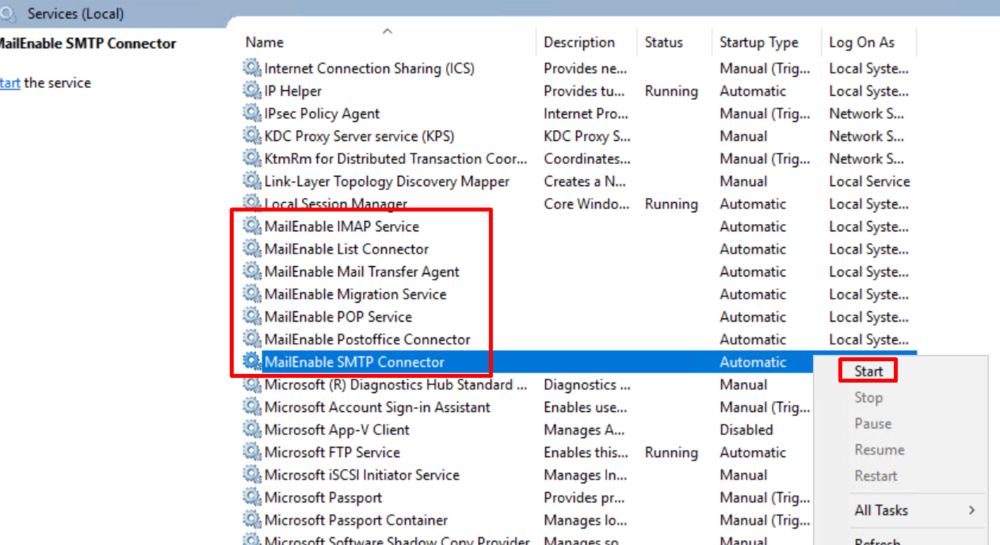
- Stop all MailEnable services on the source server.

- Go to services.
- Locate the "MailEnable Mail Transfer Agent" service in the list, and disable it from the properties.

- Stop all MailEnable services on the destination server.
- Copy the following directories and subdirectories from the source server to the destination server via FTP:
- C:\Program Files (x86)\Mail Enable\Config (Mandatory - contains configuration information)
- C:\Program Files (x86)\Mail Enable\Postoffices (Mandatory - contains postoffices and messages)
- C:\Program Files (x86)\Mail Enable\Bad Mail (Optional - contains Bad Mail messages)
- C:\Program Files (x86)\Mail Enable\Logging (Optional - contains log files)
- C:\Program Files (x86)\Mail Enable\Queues (Optional - contains messages queued for delivery)
- Note: If you have installed MailEnable on another path, you must adjust the above paths appropriately.

3. Set appropriate permissions:
- Once the data files are migrated to the new server, it may be necessary to ensure that any security settings associated with the migrated data have been reset.
- Run the below commands one by one in command prompt on the destination server, we need to adjusting the install paths as required:
- CACLS "C:\Program Files (x86)\Mail Enable\Config" /t /e /g IME_ADMIN:F
- CACLS "C:\Program Files (x86)\Mail Enable\Queues" /t /e /g IME_ADMIN:F
- CACLS "C:\Program Files (x86)\Mail Enable\Bad Mail" /t /e /g IME_ADMIN:F
- CACLS "C:\Program Files (x86)\Mail Enable\Postoffices" /t /e /g IME_ADMIN:F
- CACLS "C:\Program Files (x86)\Mail Enable\Logging" /t /e /g IME_ADMIN:F
- CACLS "C:\Program Files (x86)\Mail Enable\Queues" /t /e /g IME_SYSTEM:F
- CACLS "C:\Program Files (x86)\Mail Enable\Logging" /t /e /g IME_SYSTEM:F
- CACLS "C:\Program Files (x86)\Mail Enable\Bad Mail" /t /e /g IME_SYSTEM:F
- CACLS "C:\Program Files (x86)\Mail Enable\Config" /t /e /g IME_SYSTEM:F
- CACLS "C:\Program Files (x86)\Mail Enable\Postoffices" /t /e /g IME_STORE_GROUP:F
4. Start all services and check Post Offices on the destination server.

In the end, you can check all mailboxes are imported successfully.

5. Change all DNS MX entries of your domain and point to the destination server.


