Clearing the LiteSpeed cache is a vital step in ensuring your website runs well. Whether you're updating content, troubleshooting performance issues, or making changes to your site, clearing the cache helps your visitors see the most up-to-date version. In this guide, we’ll walk you through the steps to quickly clear your LiteSpeed cache and boost your site’s performance. We'll also cover all methods you can use to clear the cache, ensuring you have the right option for your needs.
Method 1: Clear the LiteSpeed Cache Using WordPress
Install the LiteSpeed Cache Plugin (if not already installed):
1. Go to your WordPress CMS Dashboard.
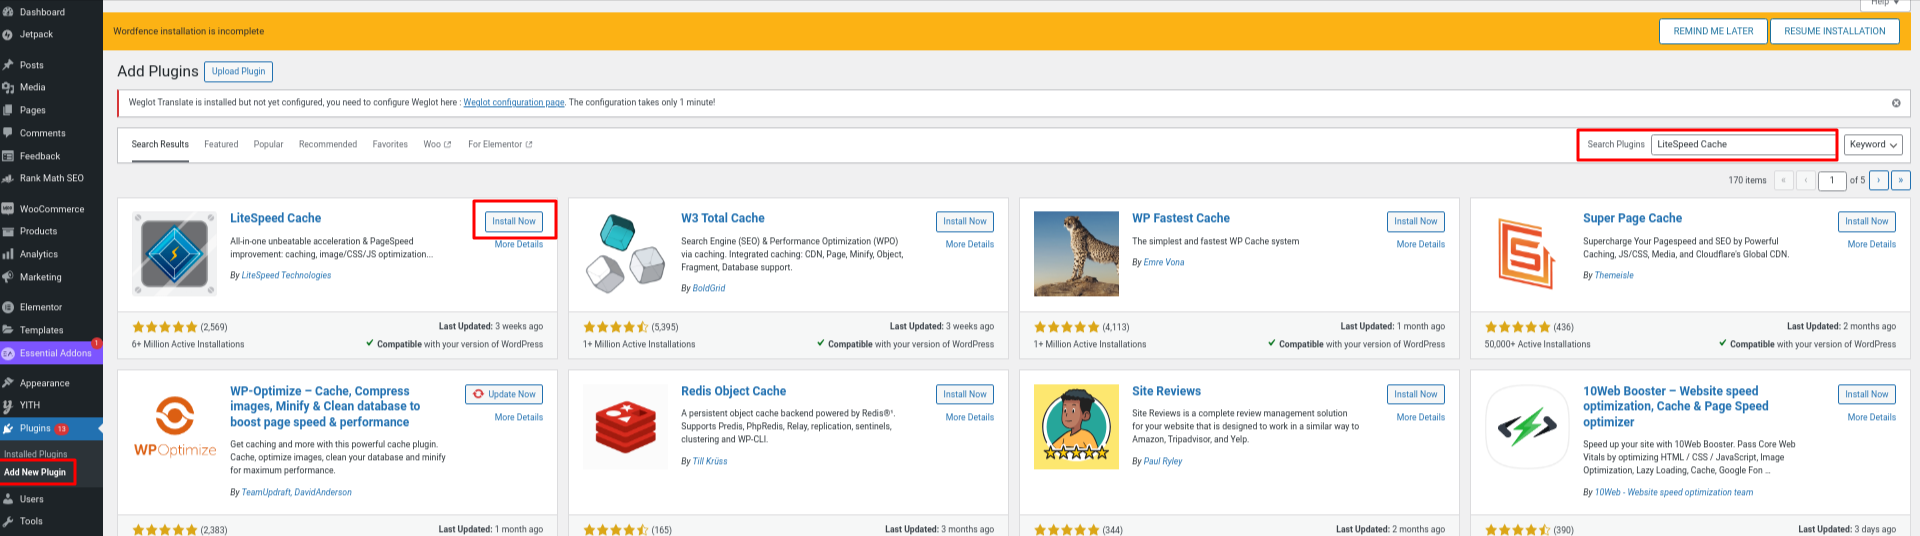
2. On the left sidebar, click on Plugins > Add New Plugin.
3. In the search bar, type LiteSpeed Cache.
4. Click on the Install Now button next to the LiteSpeed Cache plugin.
5. On the left sidebar, click on Plugins > Add New Plugin.
6. In the search bar, type LiteSpeed Cache.
7. Click on the Install Now button next to the LiteSpeed Cache plugin.
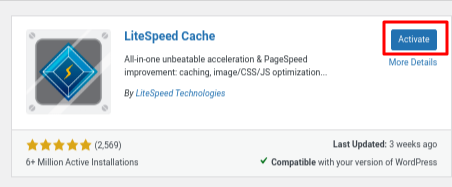
8. After installation, click on Activate.
9. Once the plugin is activated, a LiteSpeed menu will appear on the left side of your WordPress dashboard.
10. Hover over the LiteSpeed menu to reveal the flyout menu.
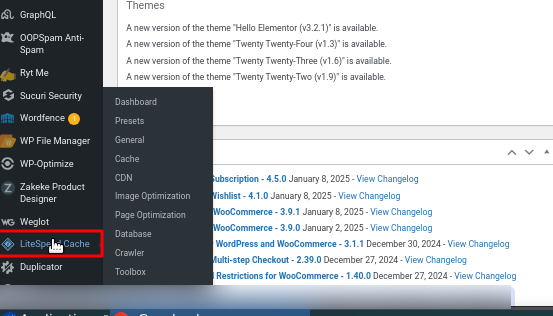
11. In the flyout menu, click on ToolBox. This will take you to the LiteSpeed Cache Management page, where you can control cache settings and clear the cache.
12. On the Manage page, you’ll see a button labeled Purge All.
13. Click the Purge All button to clear all cached content on your website. This will remove cached files for your entire site, ensuring visitors see the most up-to-date content.
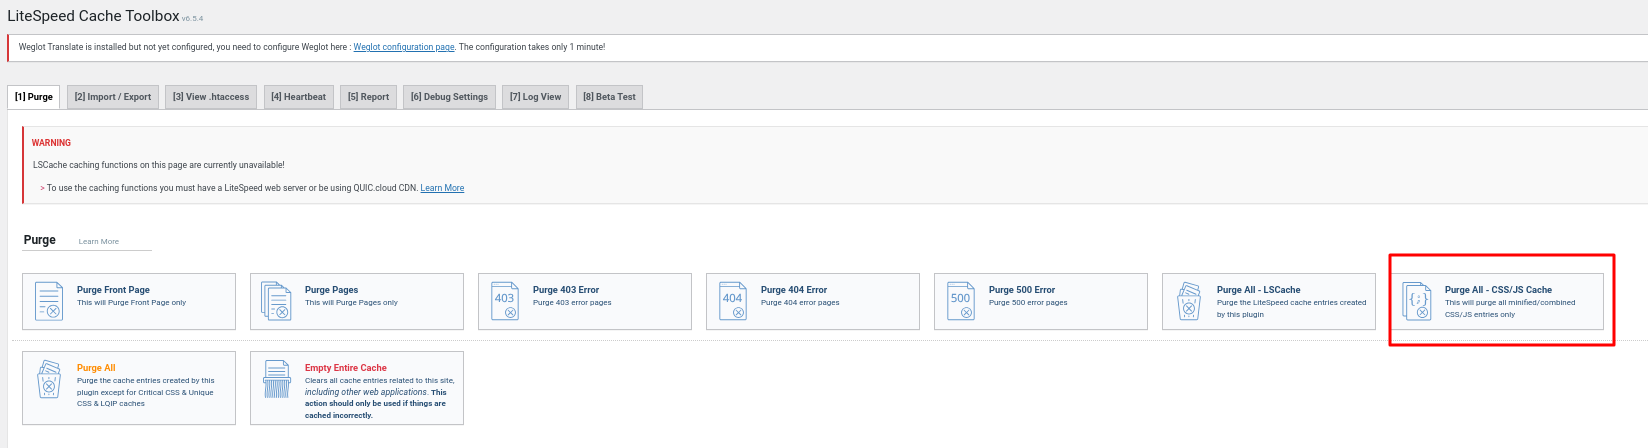
After clicking Purge All, refresh your website to verify that the content has been updated and changes are visible, confirming the cache has been successfully cleared.
With all our shared hosting plans, you get the speed and reliability of LiteSpeed Webserver to make your website run faster and more efficiently!
Method 2: Clearing the LiteSpeed Cache Manually in cPanel
1. "Login" to your cPanel account provided by your web hosting provider.
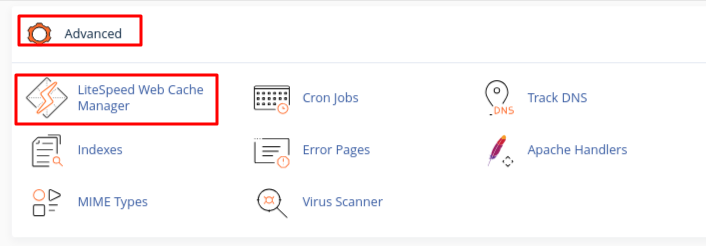
2. Navigate to the Advanced section and click on LiteSpeed Web Cache Manager.
3. In the application window, find the section labeled Flush LSCache.
4. Click the Flush All button.
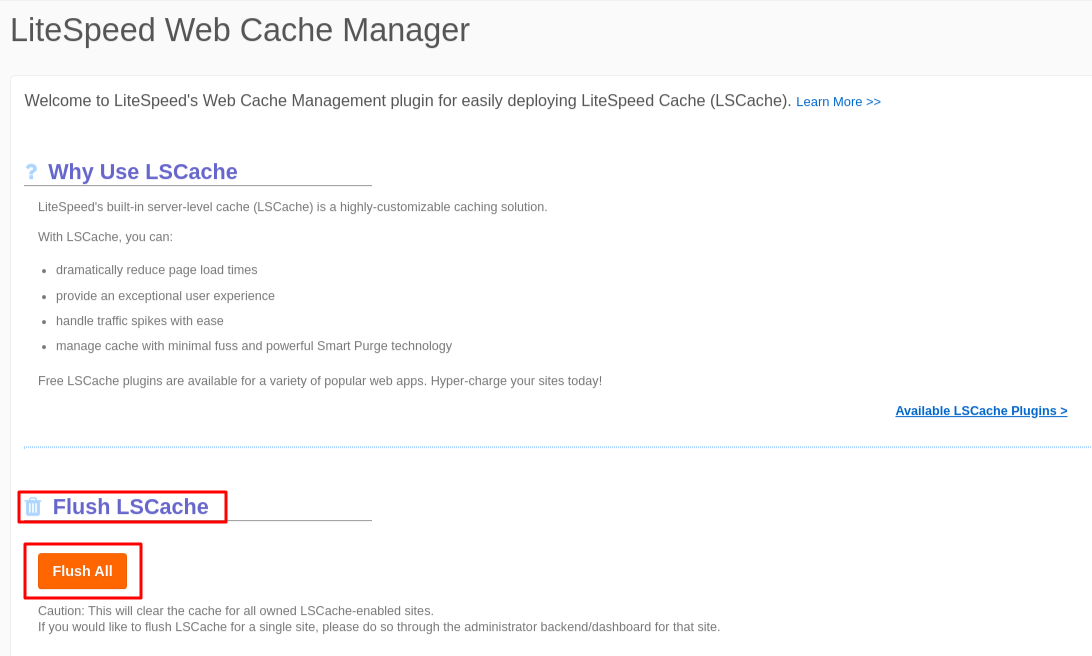
5. Confirm your action in the pop-up window by clicking OK.
Method: 3 Clear LiteSpeed Cache Using File Manager in cPanel
1. Log into your cPanel account.
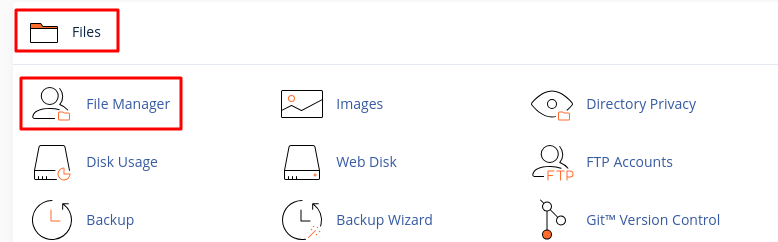
2. Click on the File Manager icon in the Files section.
3. Navigate to the lscache folder.
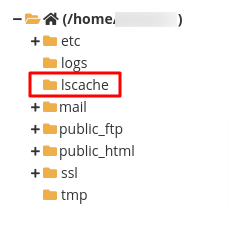
4. Select all files and folders.
5. Click on the Delete option in the top menu and confirm the deletion.
Clearing the LiteSpeed cache is essential for maintaining optimal website performance and ensuring that visitors see the latest content. This guide provides straightforward methods for clearing the cache, empowering users to manage their sites efficiently, and enhancing user experience.


