Support for Node.js has been added to the latest v80 release of cPanel. Previously, cPanel didn't support Node.js, so users had to install it manually or use Cloud Linux if it offered support.
Node.js is a free, open-source platform that runs JavaScript and is used to build various types of applications. While Node.js isn’t a complete JavaScript framework, many key modules are written in JavaScript. It's often used to host applications like the Ghost blogging platform.
The requirements for using cPanel's NodeJS package are:
-> Almalinux 8 or 9, Red Hat® Enterprise Linux® (RHEL) 6 or 7, or Cloud Linux™ 6 or 7 OS
-> EasyApache 4
-> Root-level access
Pre-installation steps for setting up a Node.js application:
Before you begin, ensure that your web host has installed the following EasyApache4 packages on your server:
Step 1: Click on the 'Customize' option in EasyApache4.

Step 2: Go to 'Apache Modules' and 'Ruby via Passenger' to install these required packages:
ea-apache24-mod_env
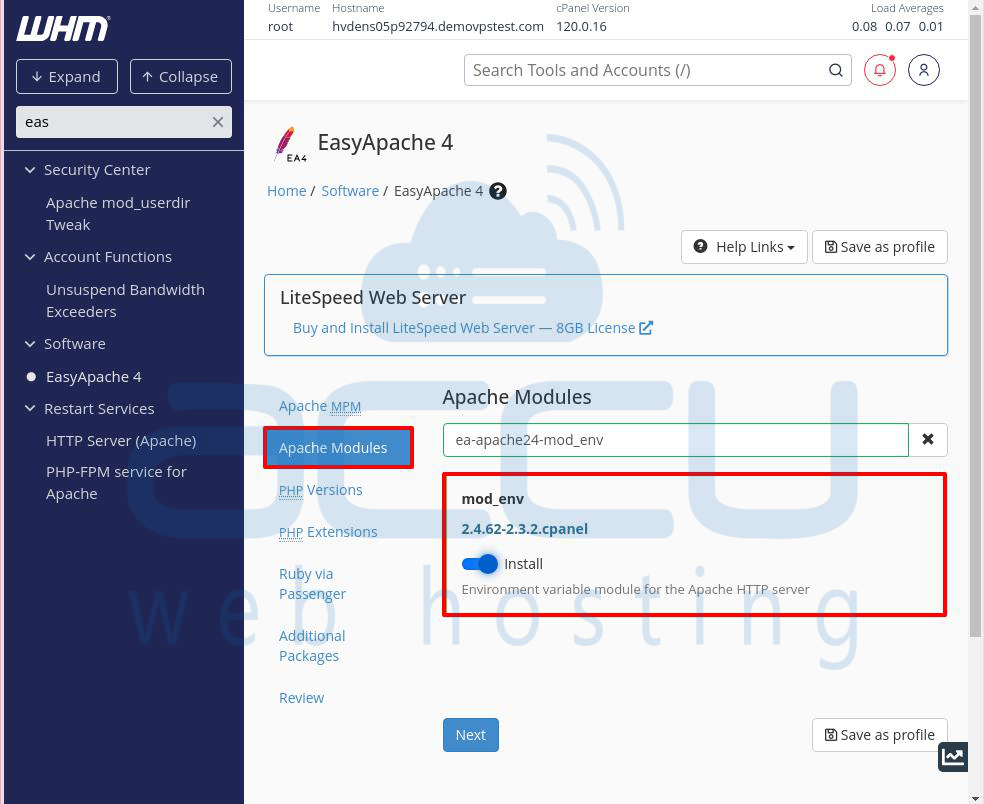
ea-ruby27-mod_passenger

ea-ruby27-ruby-devel

Installing Node.js:
There are two ways to install Node.js on a cPanel server through the WHM Panel.
Method 1: Installing Node.js via Terminal
Here’s how to install Node.js on a cPanel server using the WHM Panel through the terminal:
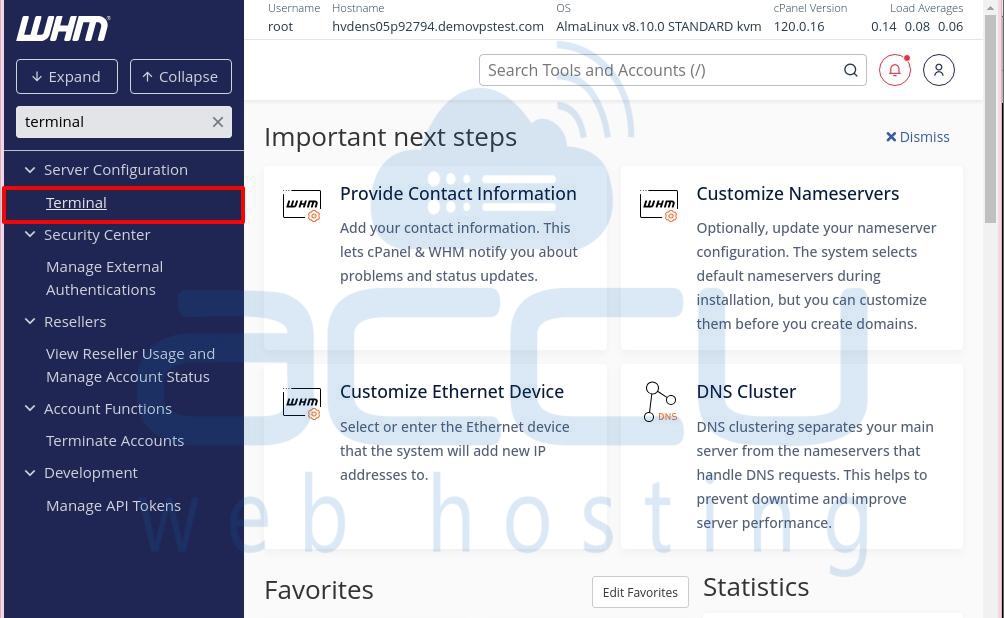
Step 1: Log in to WHM with root access.
Step 2: In the search bar on the left side, type 'Terminal' and click on it. A terminal window will open on the screen.
Step 3: To install Ruby 27 with Passenger and mod_env, enter the following command in the terminal and press Enter:
# yum install ea-ruby27-mod_passenger ea-apache24-mod_env
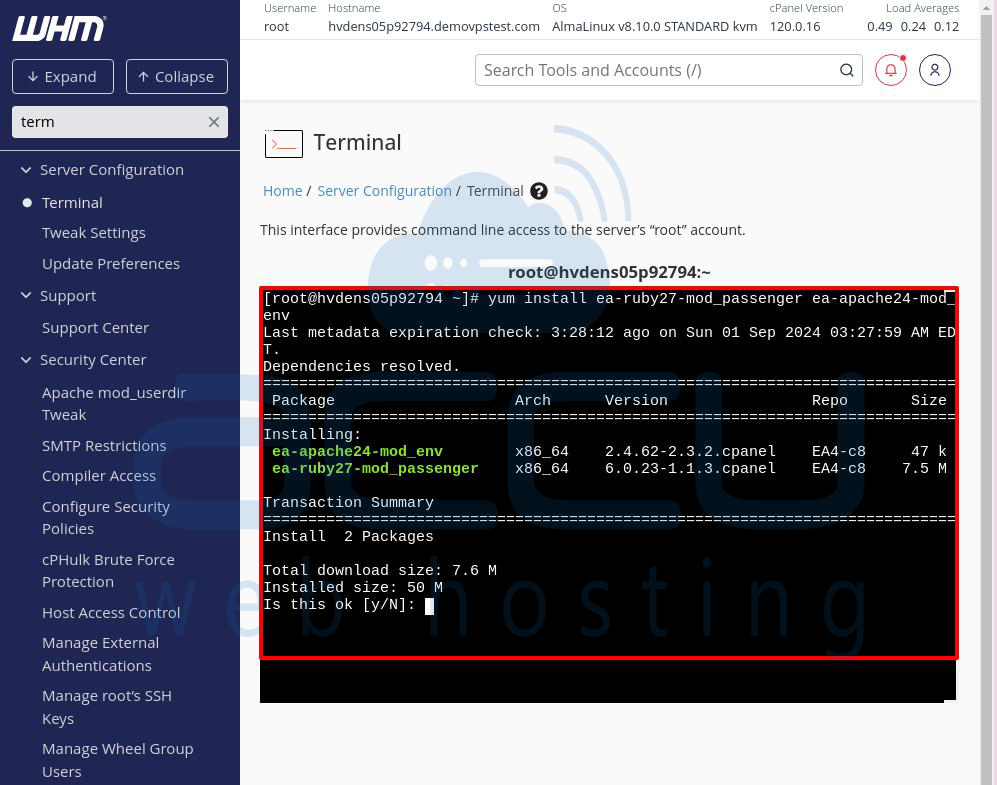
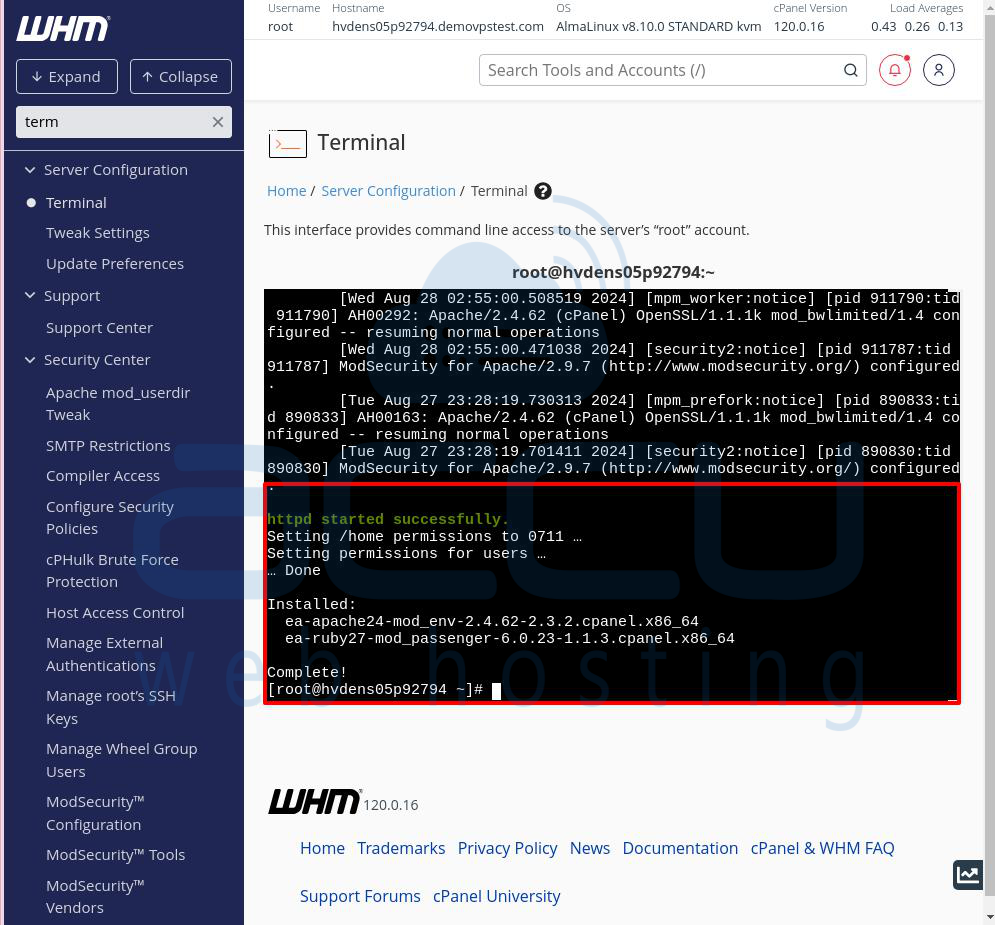
When asked for confirmation, type "y" and press Enter. You'll see a success message.
Step 4: To install Node.js, enter the following command in the terminal and press Enter:
# yum install ea-nodejs20
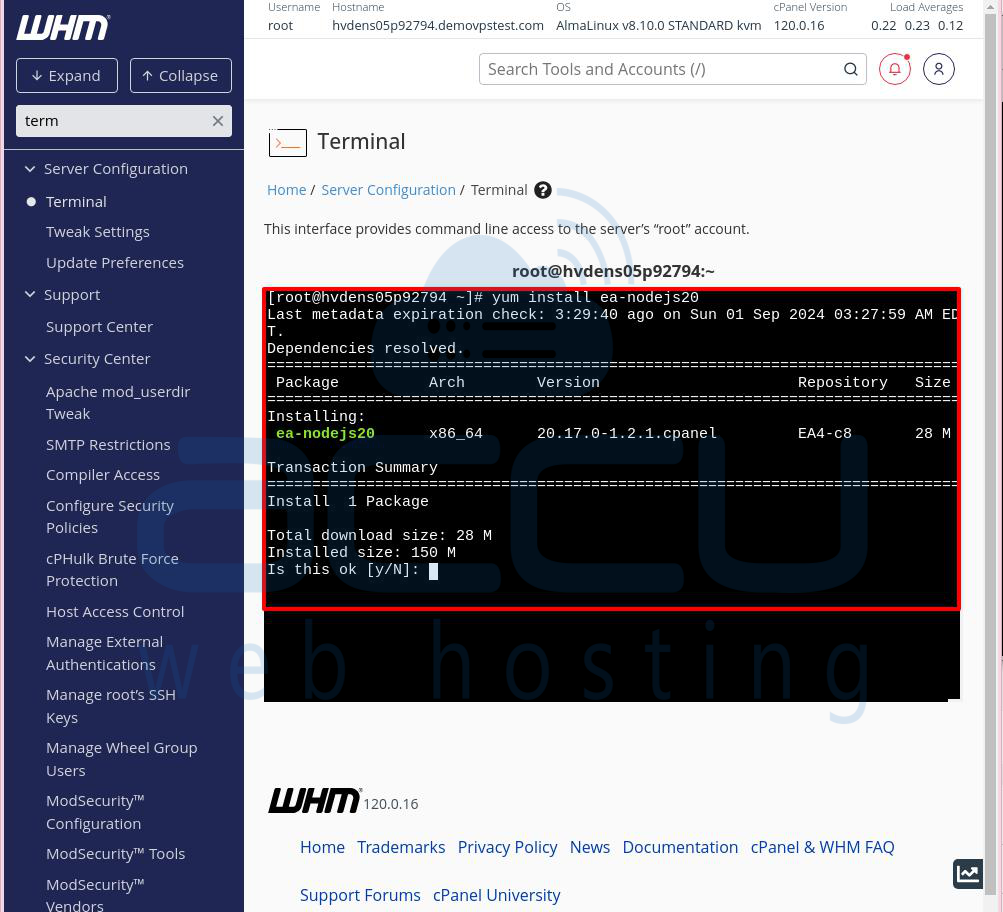
In this example, Node.js version 20 is being installed, but you can choose and install any available Node.js version on the cPanel server.
When asked for confirmation, type "y" and press Enter.
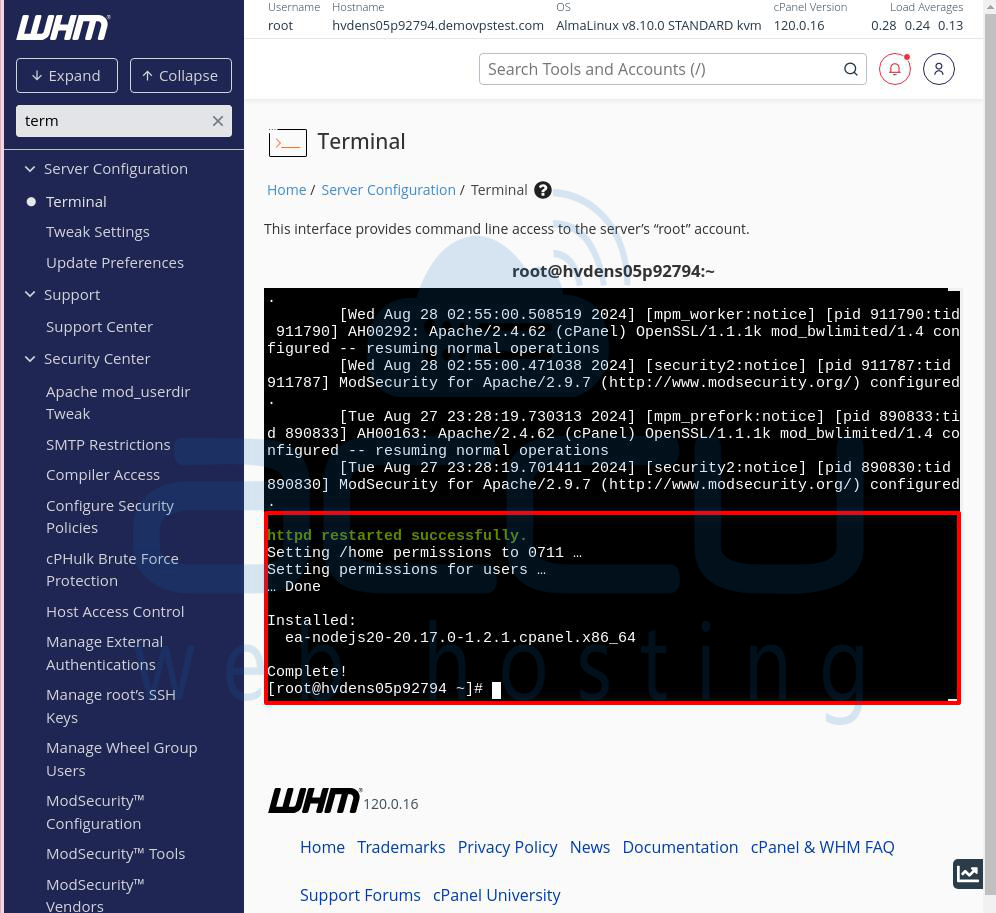
You will receive a message confirming that Node.js was installed successfully.
Method 2: Installing Node.js through EasyApache4 (UI)
Here’s how to install Node.js on a cPanel server using the WHM Panel through EasyApache4 (UI):
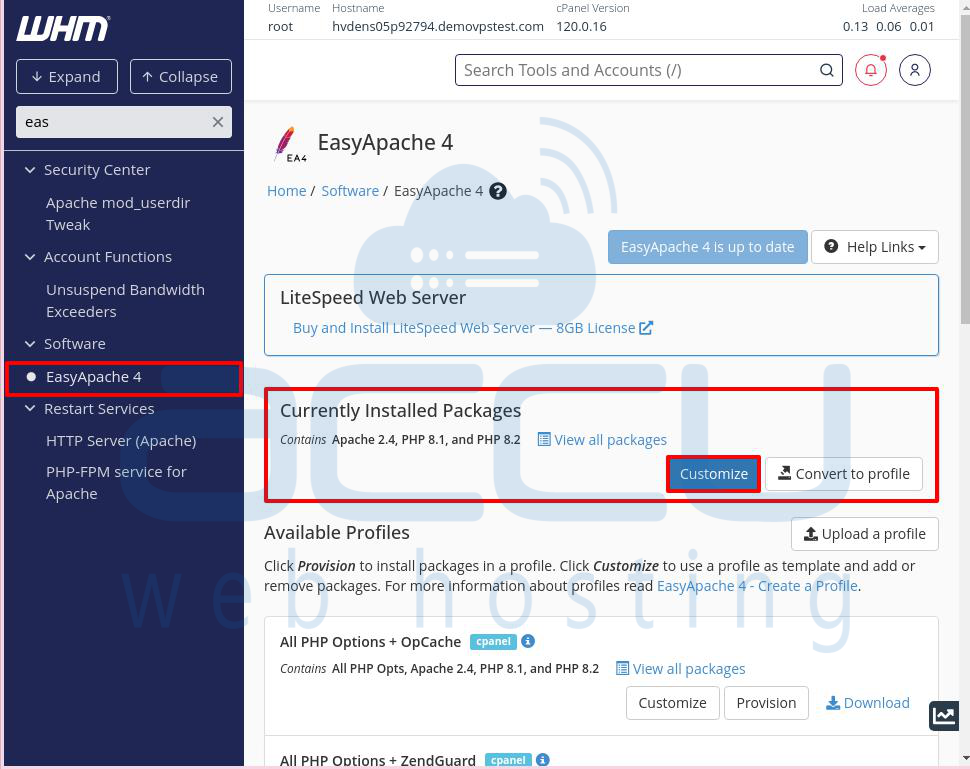
Step 1: Log in to your WHM account and navigate to the "Software" => "EasyApache 4" section.
Step 2: Click "Customize" next to the "Currently Installed Packages" option.
Step 3: After clicking "Customize," the packages will load.
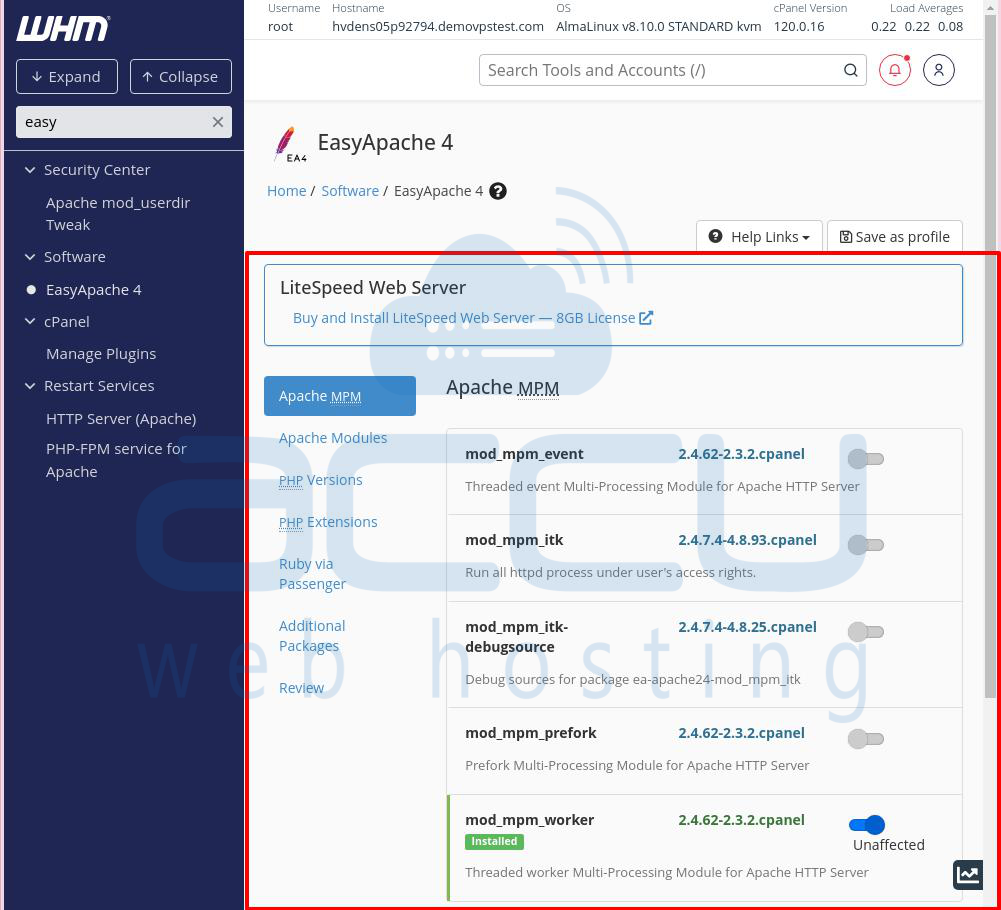
Step 4: Go to the "Additional Packages" section, switch on the "node.js" option, and click "Next."
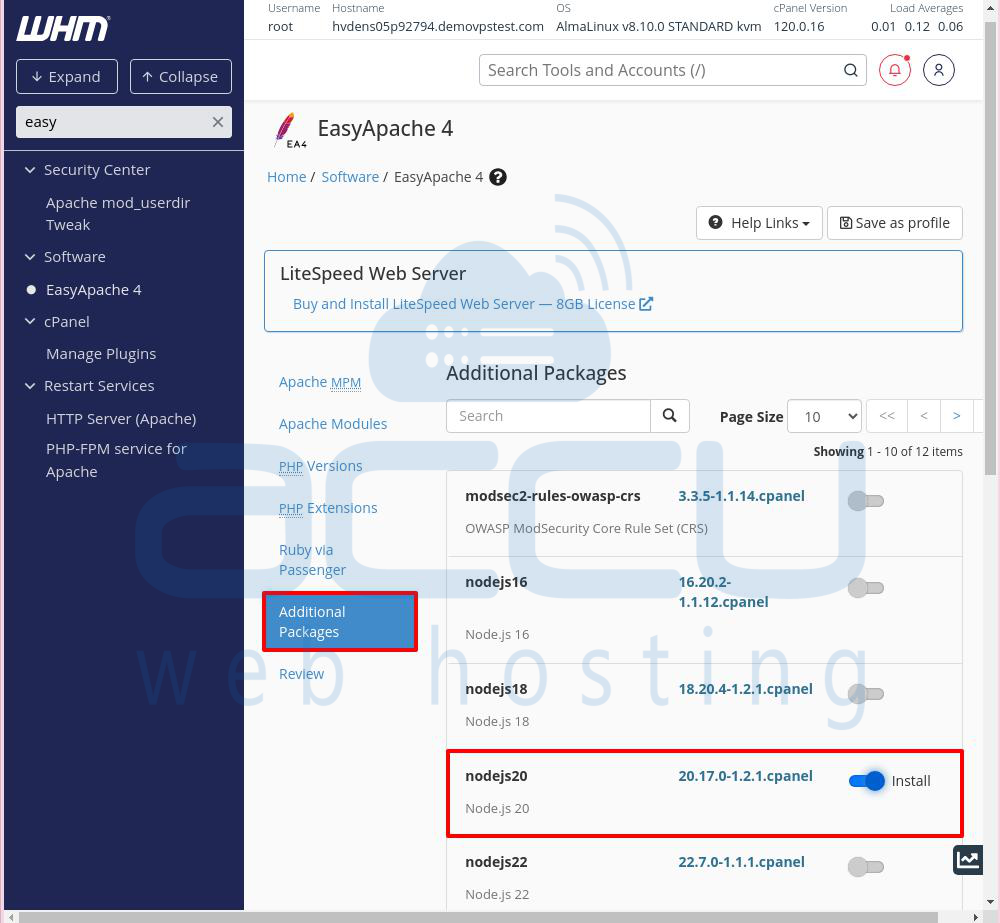
The selected packages will be prepared for review.
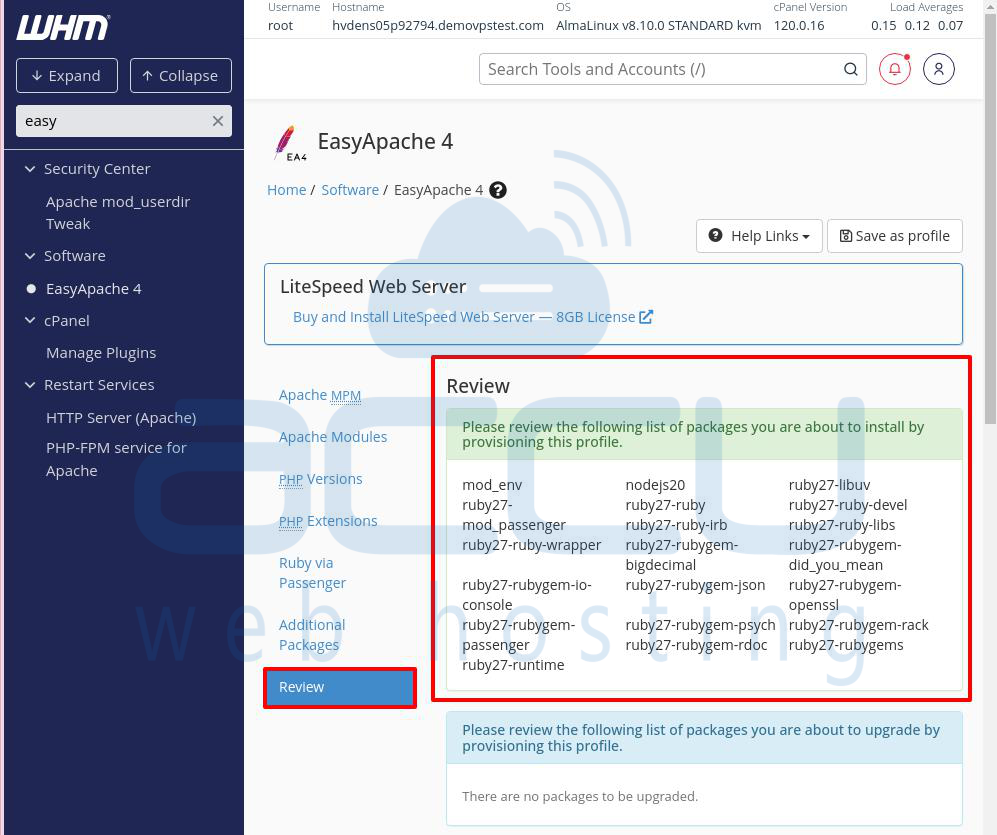
Step 5: Click the "Review" button to check the changes.
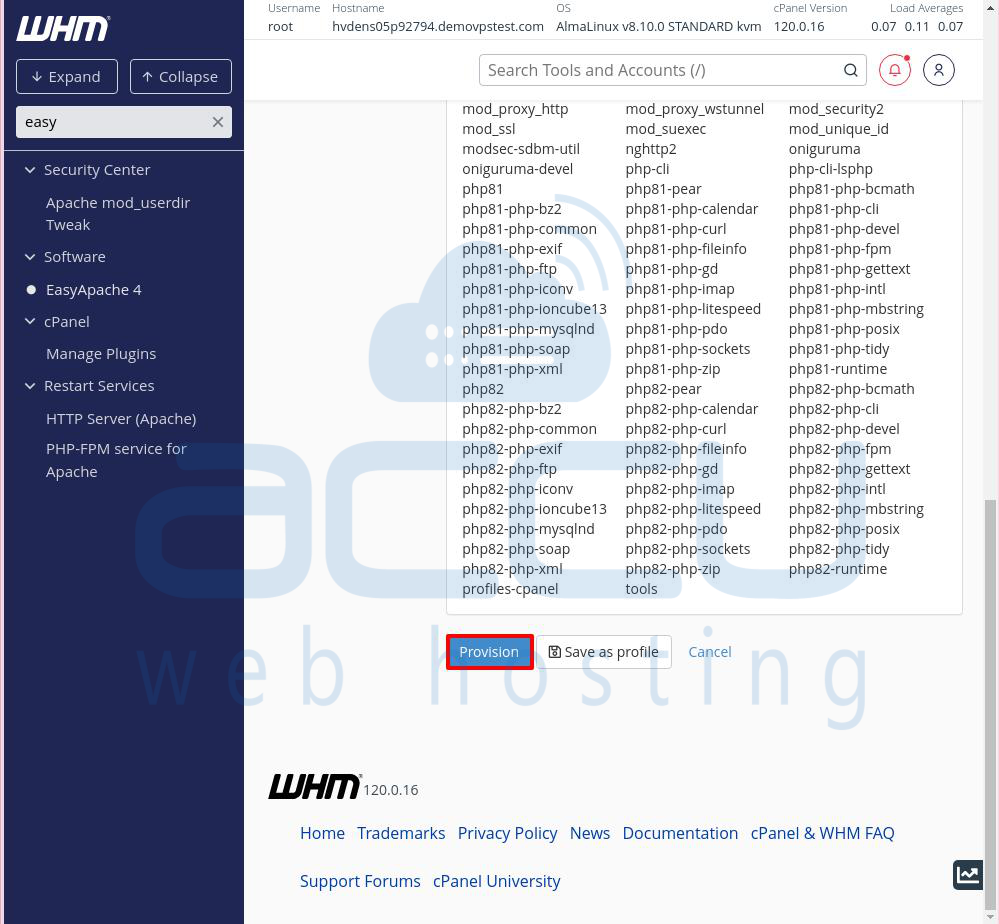
Step 6: After reviewing, click "Provision" and wait for the installation to finish.
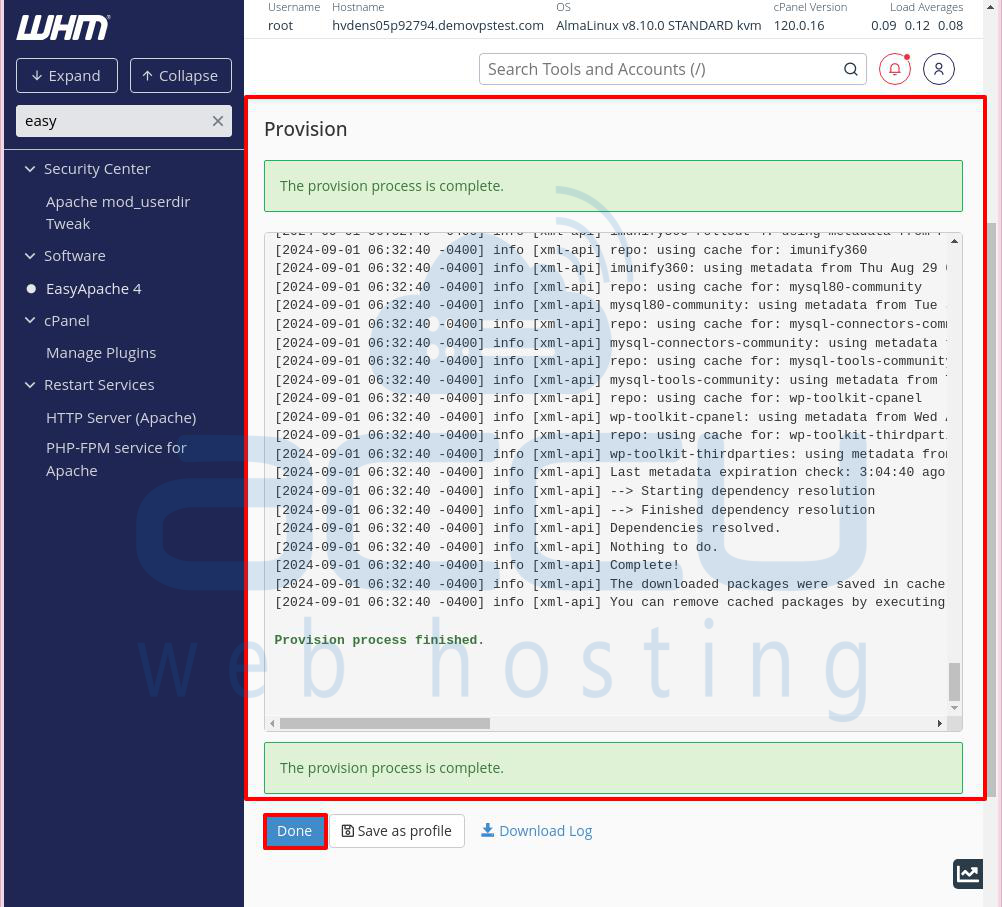
A confirmation message will appear once the process is complete. Click on the Done button to go to the EasyApache4 window.
Conclusion:
In conclusion, Node.js is a widely-used and powerful environment that lets developers build scalable and efficient applications with JavaScript. After installing Node.js on your cPanel server, you can start running Node.js applications.
To check if Node.js was installed correctly, you can use the command line to run "node -v". This command will show you the version number of Node.js that is currently installed on your system.


