Changing the file permission in the webuzo control panel is very easy with the Webuzo file manager. In a few easy steps, you can change the file permission. This article will assist you with the same.
Let’s see the steps below.
Step 1: Log in to the end-users Webuzo control panel.
Step 2: Navigate to the “Server Utilities” and click on the “File Manager.”

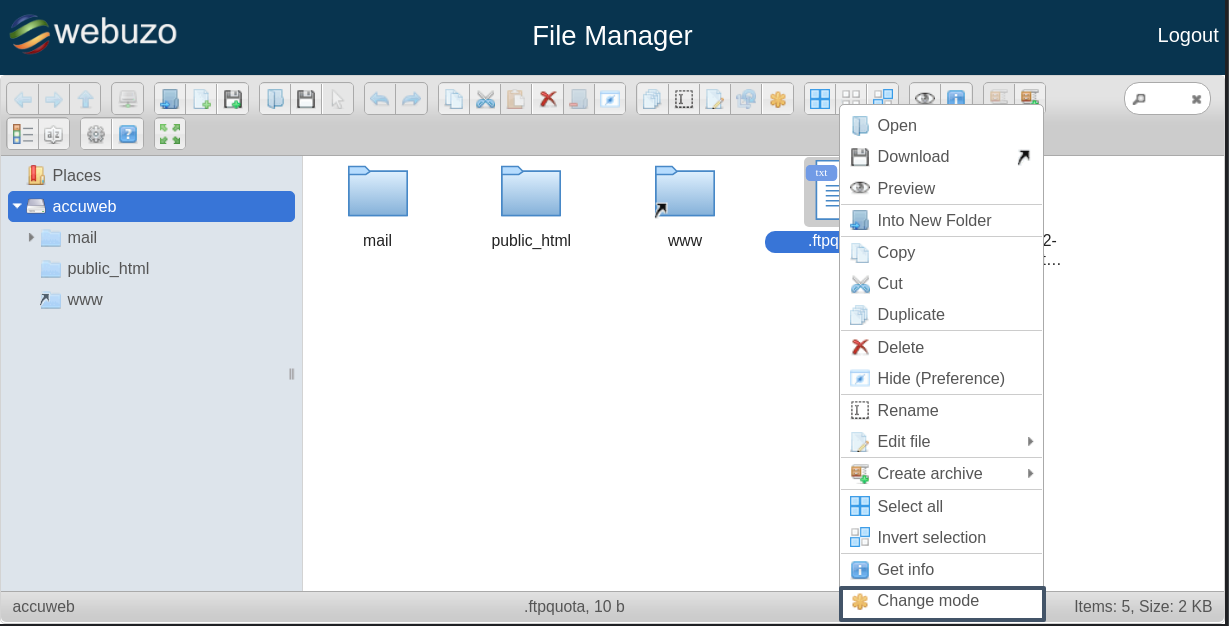
Step 3: This will open File manager in a new window. Locate the file of which you want to change the permission. Right-click on the file and click on the Change mode.
Step 5: This will open the below pop-up.
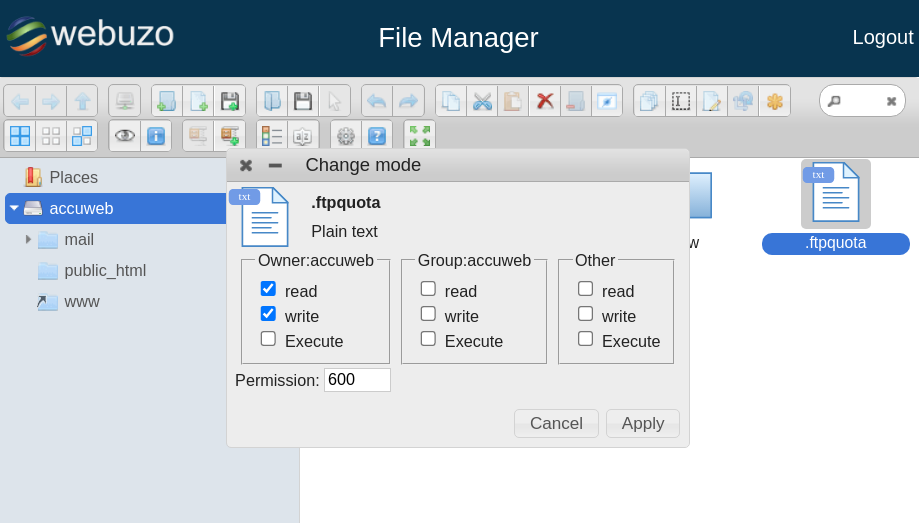
In this screen, you can change/assign the file permission (Read|Write|Execute.)
Owner: The owner has complete full access to the file permission.
Group: A user can modify, update or delete the file with the group if you have assigned such permissions to the group.
Other: Other users who are in not group or owner can modify, update or delete the file if you set the permissions to others.
Once you set the required permissions, click on the “apply” button to save the required changes.


