This guide will assist you in managing backup through the Webuzo control panel. Restoring or creating a backup with the Webuzo control panel is very easy. Webuzo allows creating separate backups such as full backup, database backup, Files backup, and email backup in a few easy steps!
Let's see step by step guide!
1) Login to the end user's webuzo control panel.
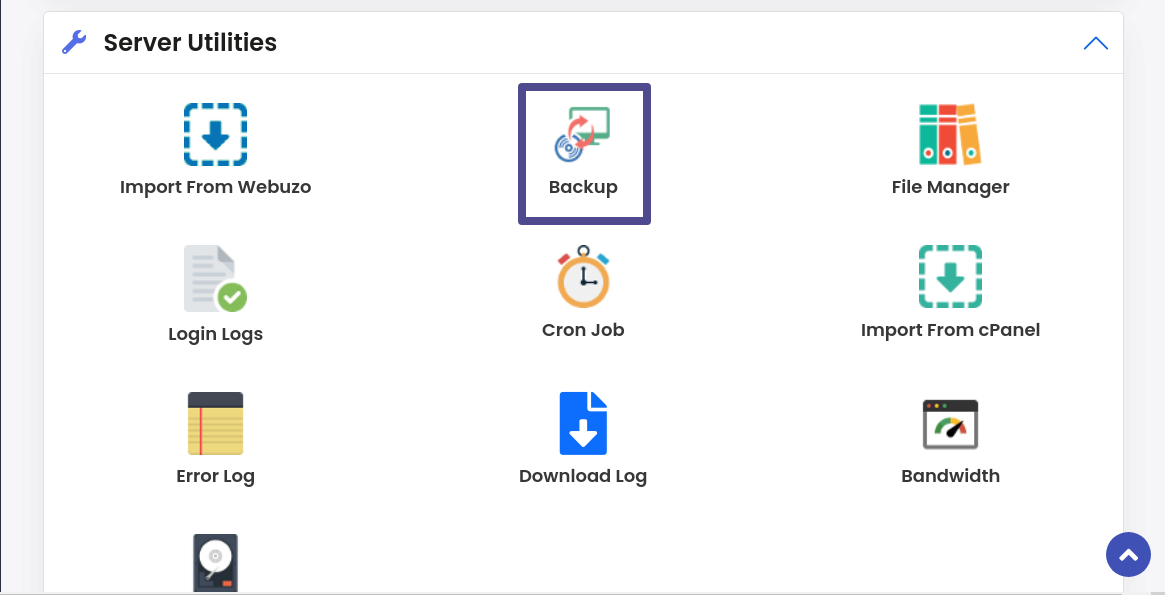
2) Navigate to "Server Utilities" and click on "Backup."
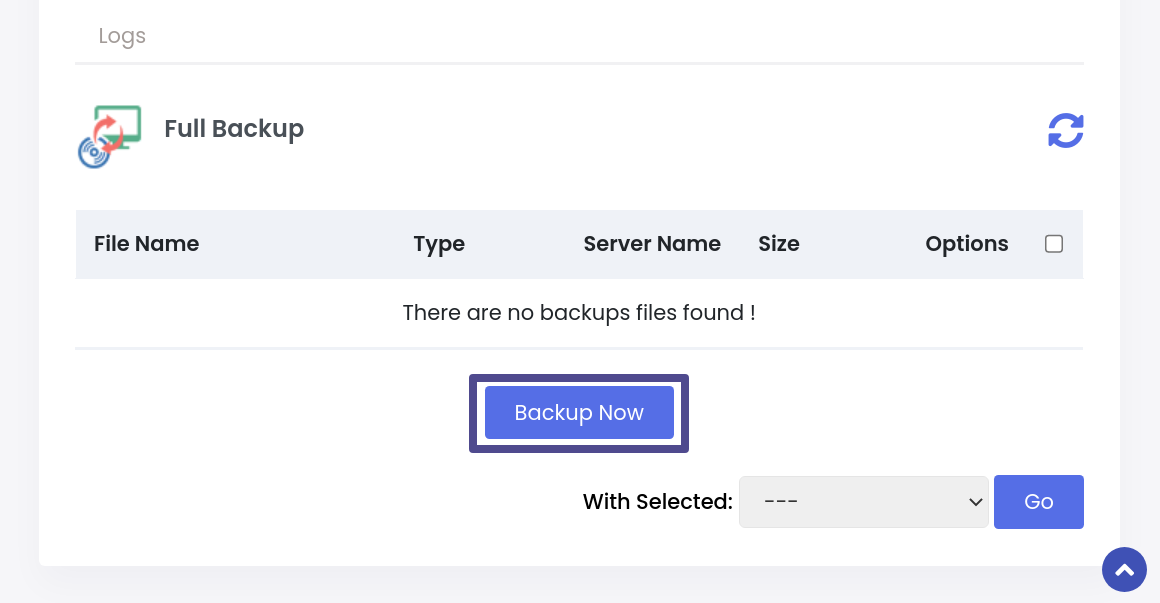
3) Next, to create the backup, scorn down and click on the "Backup Now" button.
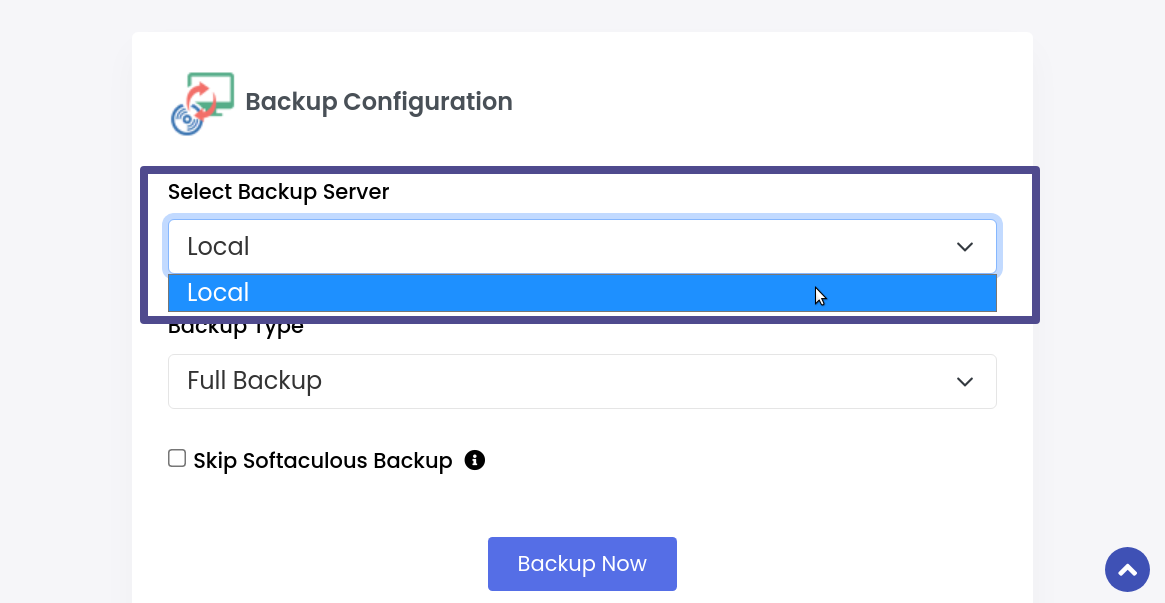
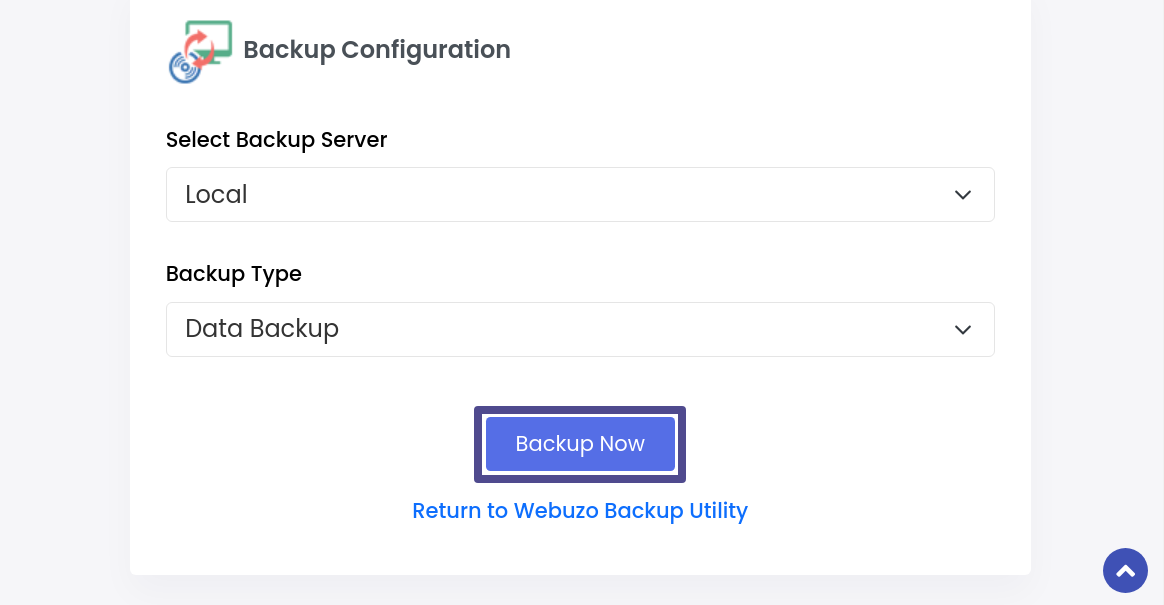
4) Here, You will get the option to select the server where you want to take the backup. If you have added a remote server to take backup, you will have to select the remote server in front of the drop-down. Here, we have selected a local server to take backup.
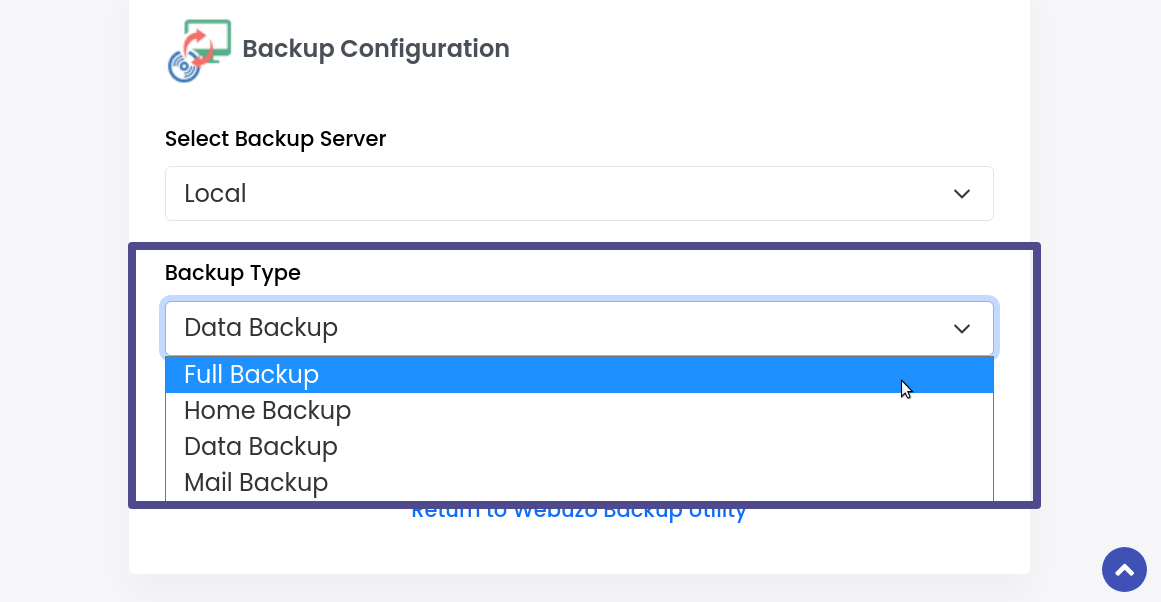
5) Next, in the "Backup Type," Select the backup you want to create.
i) Full Backup - to take a complete backup of the webuzo control panel. A full backup will take the backup of the following files.
- User Home Directory
- Domains
- Cronjobs
- User Databases (If MySQL is installed)
- Mail Files (If Exim is installed)
- DNS files (If BIND is installed)
ii) Home Backup - Select this option to take a backup of the website's home directory/root directory.
iii) Data Backup- Select this option to take a database backup.
vi) Mail Backup- Select this option to take the email backup.
6) Next, click the "Backup Now" button to create the backup.
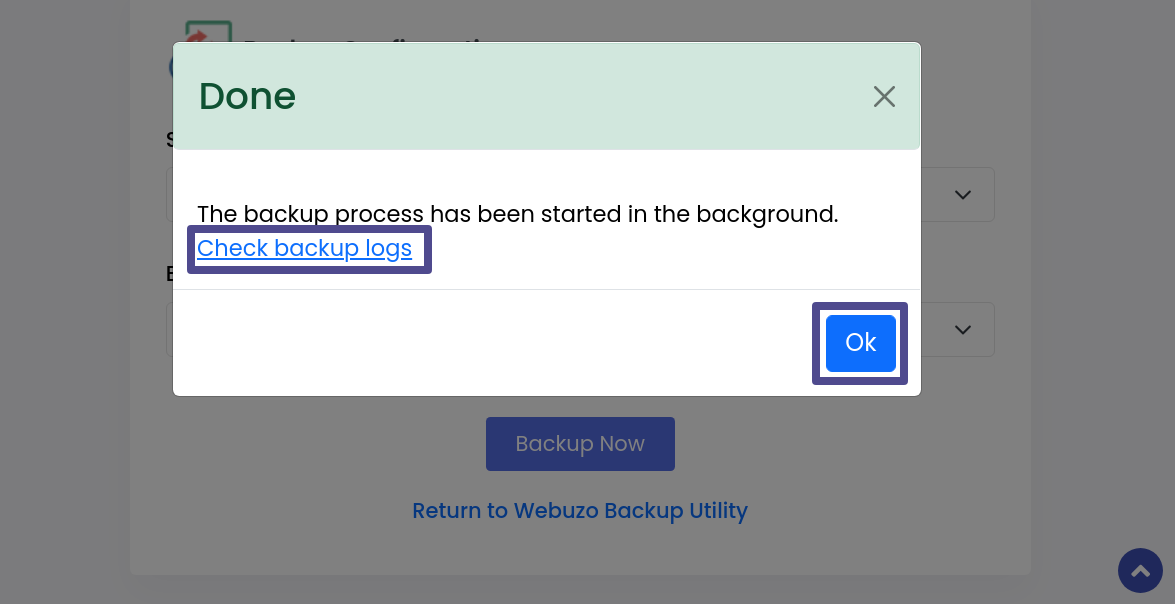
7) Once the backup process is started, you will get a pop-up "The backup process has been started in the background Check backup logs."
To check the backup process in the background, click on "Check backup logs" or click on the "OK" button to continue.
8) Next, click on the "Return To Webuzo Backup Utilities" now the zip file of your backup is generated, you can download the backup to your system using the "Download" button shown in the screen capture.


