A Perl module allows adding custom functionality to the cPanel & WHM server. Please refer to the following steps to add a Perl module in cPanel.
Step 1: Log in to your cPanel account. Please refer to how to log in to your cPanel account.
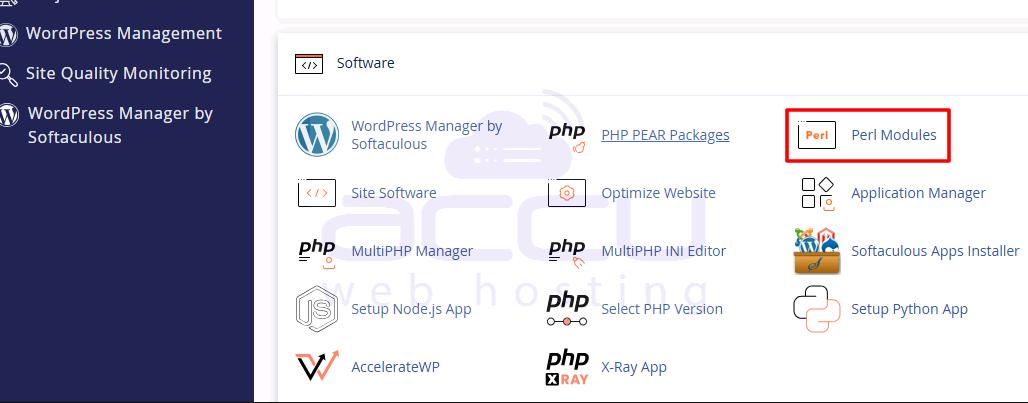
Step 2: Inside the software, click on the Perl Modules.
Step 3: You can use the search box to find your required module directly or click on the Show Available Module button.
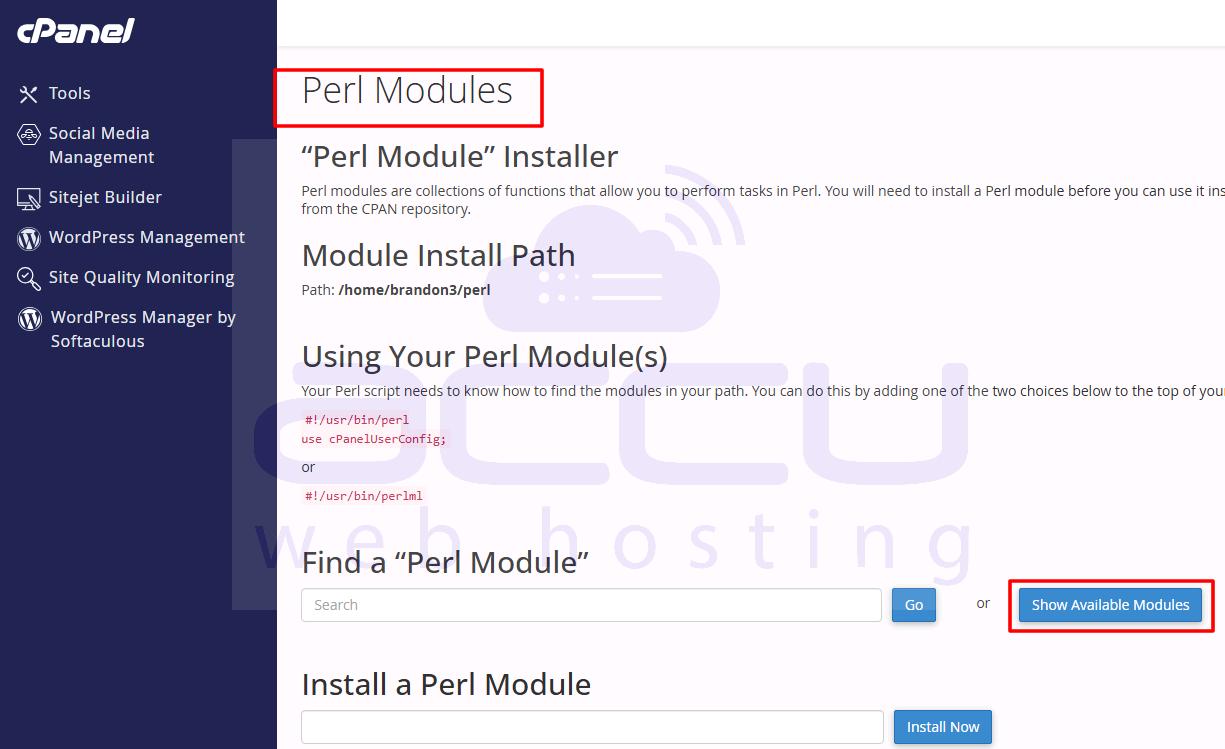
Step 4: Once you find the required module, click on the install button.

Step 5: It will start the installation process after clicking on the Install.

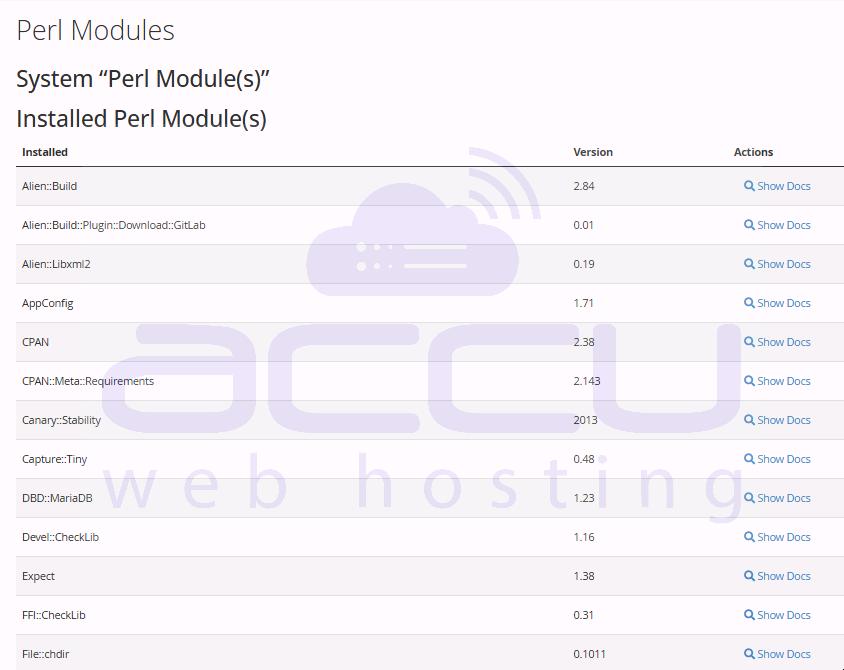
Step 6: After the completion of the installation, You will see the installed module inside Installed Perl Modules.
Conclusion:
Installing a Perl module in cPanel is a quick and straightforward process that empowers you to extend your website’s functionality without needing advanced coding knowledge. With just a few clicks, logging into cPanel, navigating to Perl Modules, searching for the required module, and hitting Install, you can seamlessly add the features your application or script needs. Once installed, all your Perl modules are easily accessible under Installed Perl Modules, giving you complete visibility and control.


