First, you need to collect your DNS record for your domain from Office 365. Once you have these DNS records, you can easily add them to your cPanel account.
Verify Domain with TXT record at Office 365
Step 1: Log in to your Office 365 account.
Step 2: Go to manage your organization >> Domains >> Manage domain for your website and email.
Step 3: At the manage domains page, find your domain and click on the start setup action button.
Step 4: At the domain verify page, select the Add a TXT record instead option from the dropdown.
Step 5: Copy the domain's TXT record that should look like MS=msXXXXXXXX.
Step 6: Add the same TXT record to your cPanel DNS. Please refer to how to add a TXT record in cPanel.
Step 7: Open your Office 365 account and verify your domain. You can do it by clicking the Done, verify now button inside your Office 365 account.
Locate the MX record in your Office 365 account
Step 1: Once the domain is verified, log in to your Office 365 account and click on the update DNS record for yourdomain.com.
Step 2: Here, you will find all the DNS records for your domain. You are required to add these records to your DNS panel.
How to add DNS records to your cPanel
After having all the DNS records of Office 365 for your domain, you can log in to your cPanel and add the required DNS record. Here, we have used demovpstest.com as a testing domain.
Step 1: Log in to your cPanel account.
Step 2: Inside Domains, click on Zone editor.
Step 3: Enter the MX record you received from the Office 365 Panel. It should look like this. How to add an MX record in cPanel?
| Domain Name | TTL | Type of Record | Record Data |
| demovpstest.com | 300 | MX |
Step 4: Add the TXT record. How to manage TXT records in cPanel?
| Domain Name | TTL | Type of Record | Record Data |
| 3600 | TXT | MS=ms000000 | |
| 3600 | TXT | “v=spf1 include:spf.protection.outlook.com -all” |
Step 5: Add your CNAME record. How to manage CNAME records in cPanel?
| Domain Name | TTL | Type of Record | Record Data |
| autodiscover.demovpstest.com. | 3600 | CNAME | autodiscover.outlook.com |
Step 6: Add an SRV record for your domain.

Step 7: After successfully adding all the DNS records, you will need to change the Email routing to the Remote mail exchanger for your domain in cPanel.
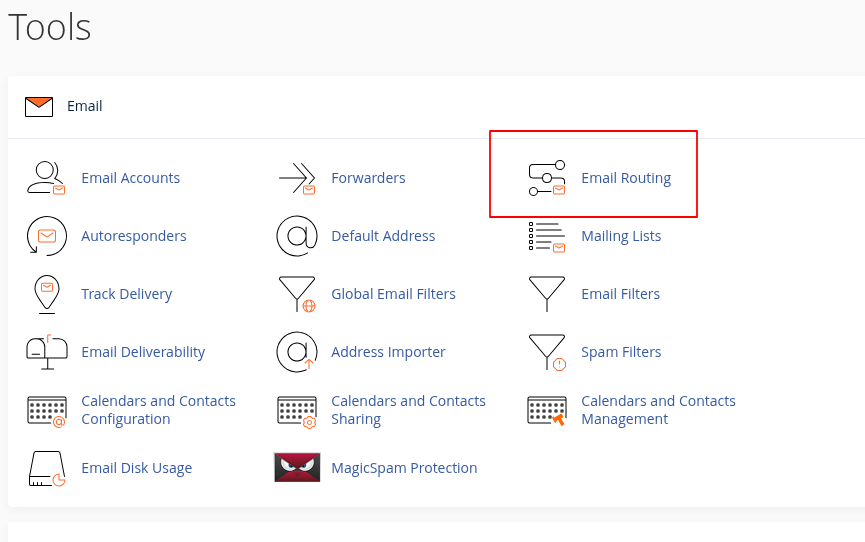
Change Email Routing
Step 1: Inside cPanel, click on Email Routing.
Step 2: Select Remote Mail Exchanger and click on the change button. 


