cPanel/WHM is a hosting control panel for Linux users. It allows you to manage all general DNS records, like A, MX, TXT, CNAME, etc., for your domains.
The following are the steps to manage all these records through the control panel.
Step 1: First, log in to your cPanel account (http://server-ip-address:2083).
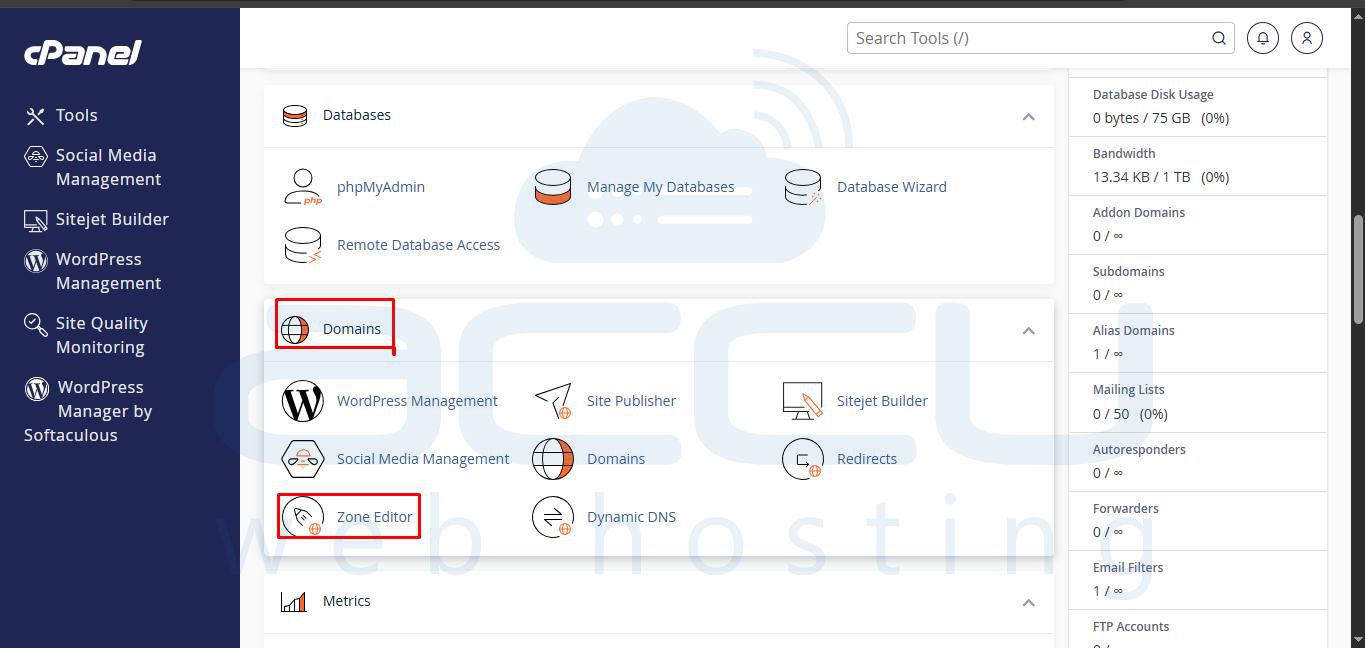
Step 2: After logging in, click on the Zone Editor option under the Domains heading.
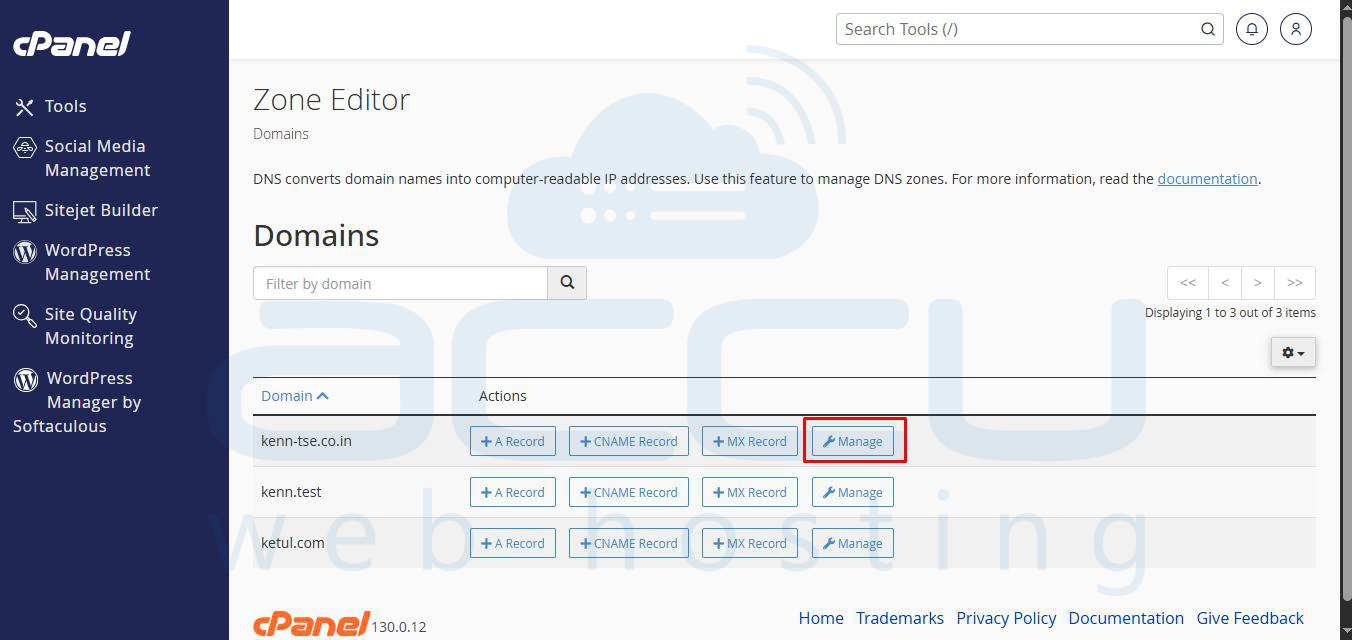
Step 3: Now, search for a domain for which you would like to manage the DNS records, e.g., here we have selected demovpstest.com
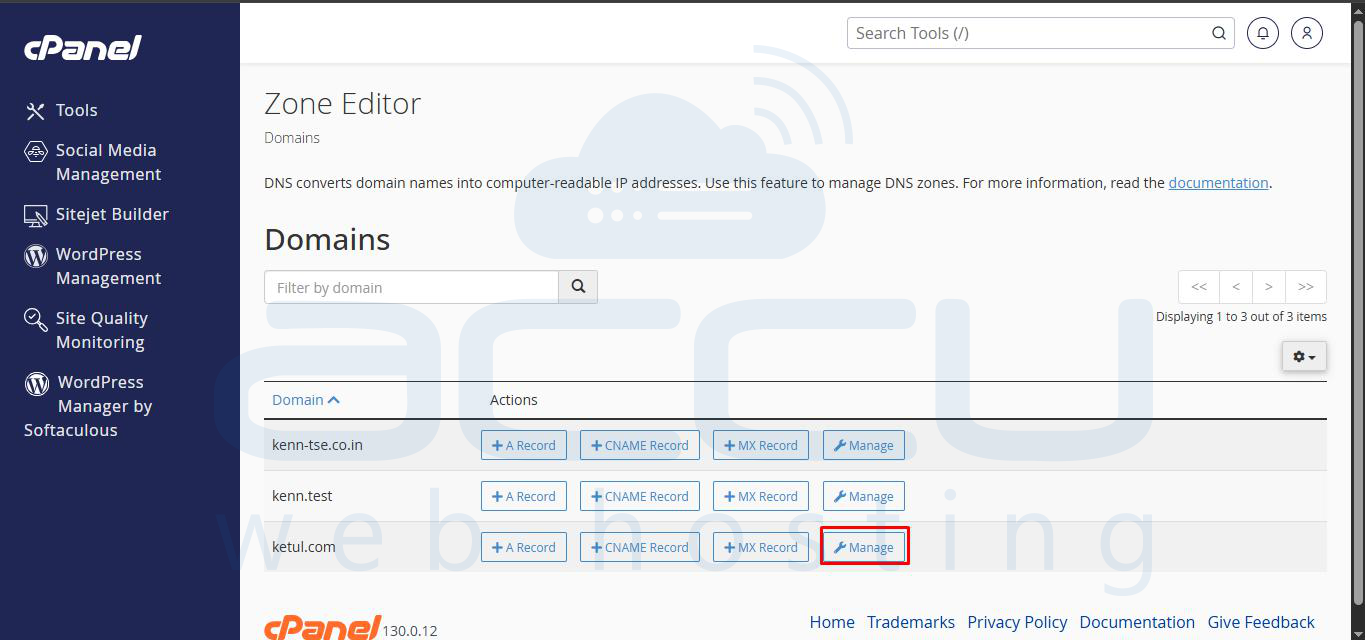
Step 4: You can click the Manage button to add, edit, and delete DNS records for your domain.
Add DNS Records:
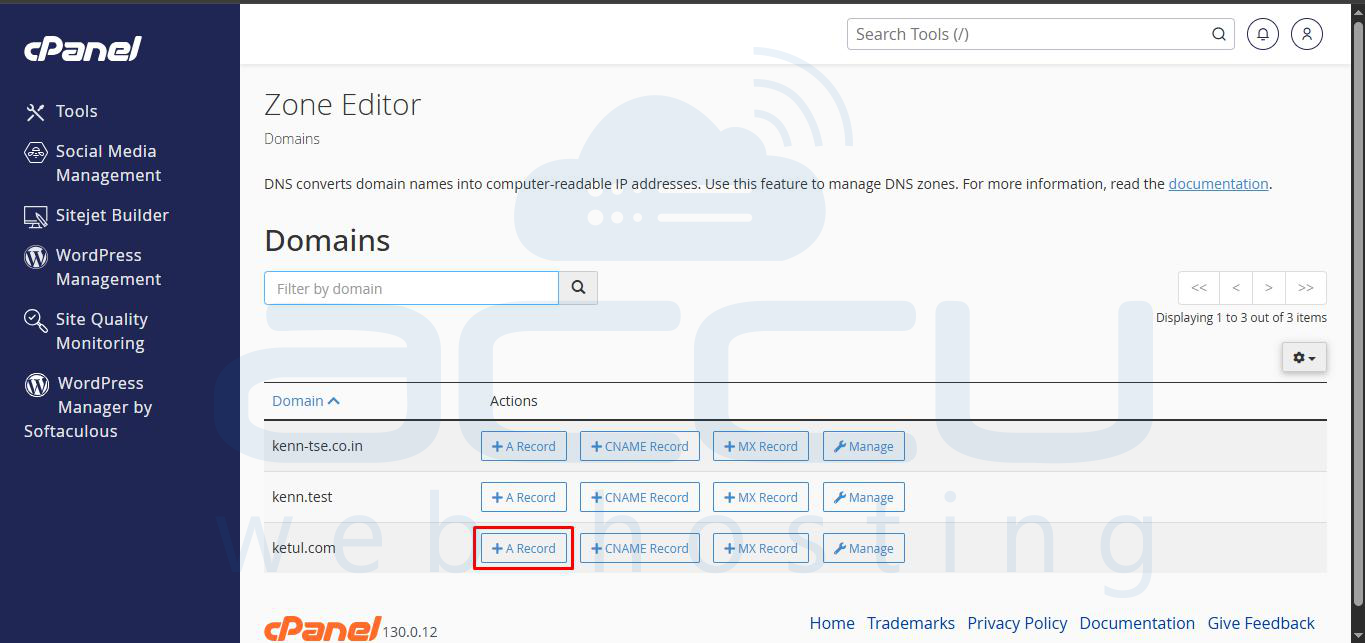
How to add an “A” Record?
Step 1: An A record is the pointer record for pointing your website to a server. Click on the A record button.
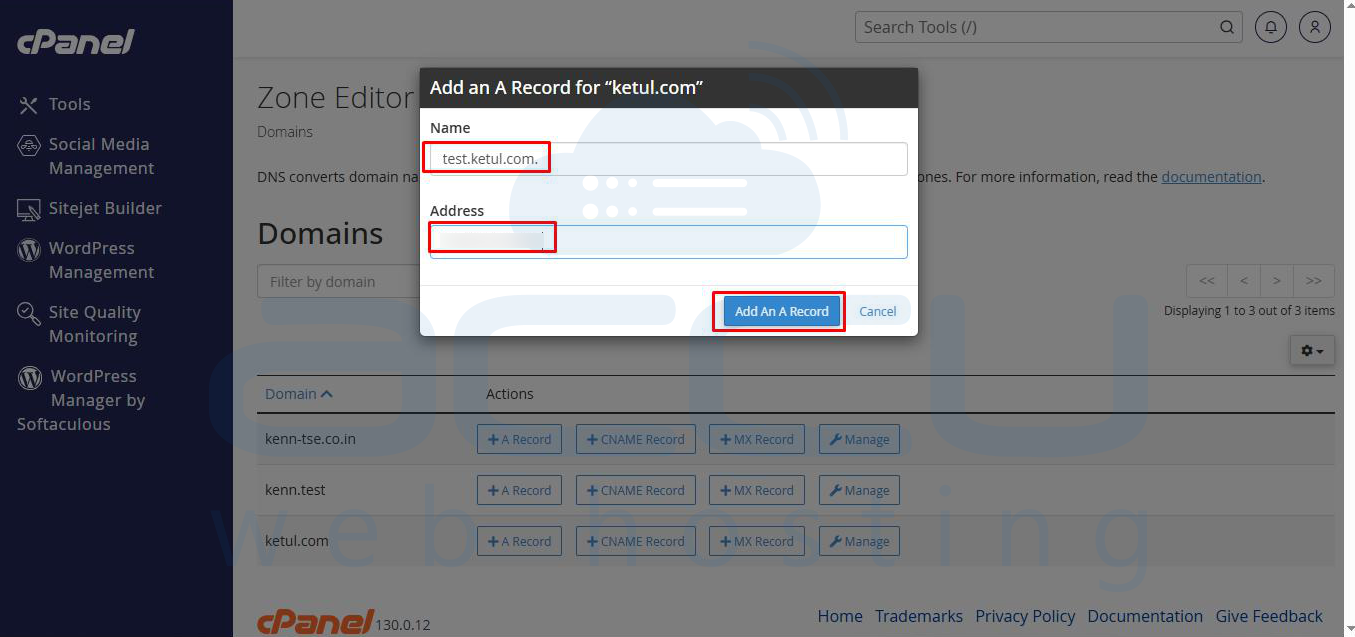
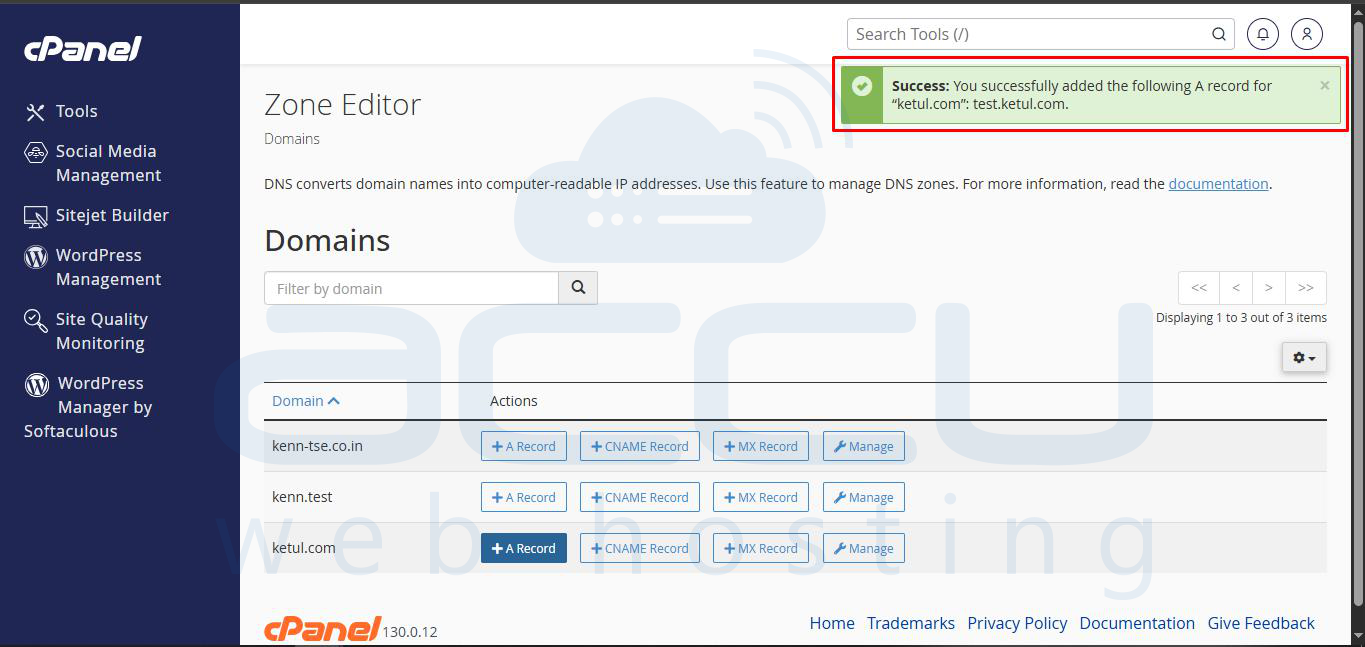
Step 2: Add your domain name and the IP Address of the A record, and click the Add A Record button.
Add a CNAME Record
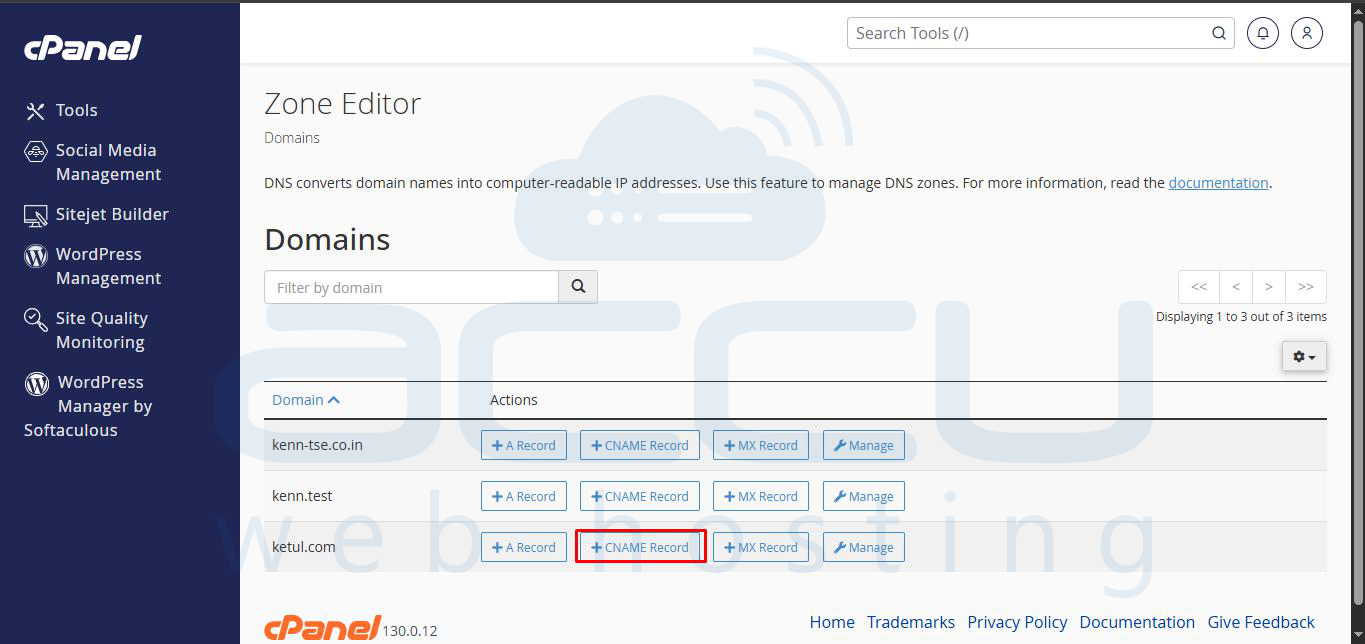
Step 1: The CNAME record is the canonical record, which is an alias for your domain name. To add a CNAME record, click on the CNAME record button.
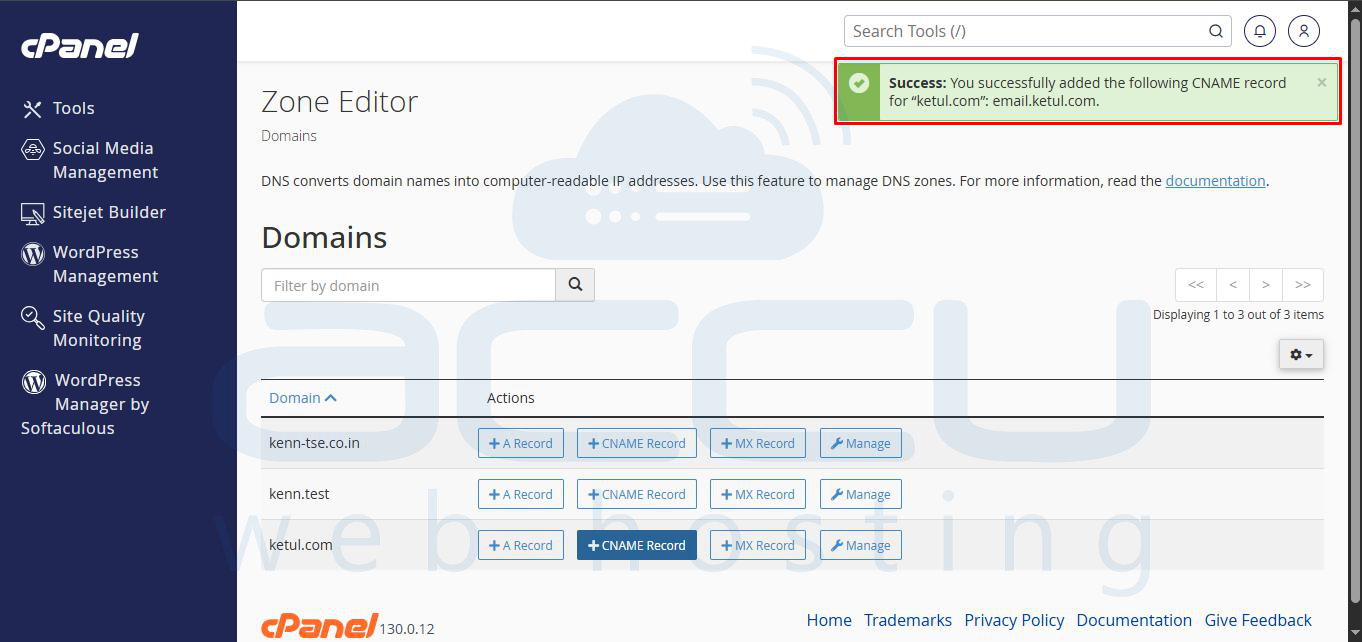
Step 2: Add your domain name and CNAME record.

Add a TXT Record
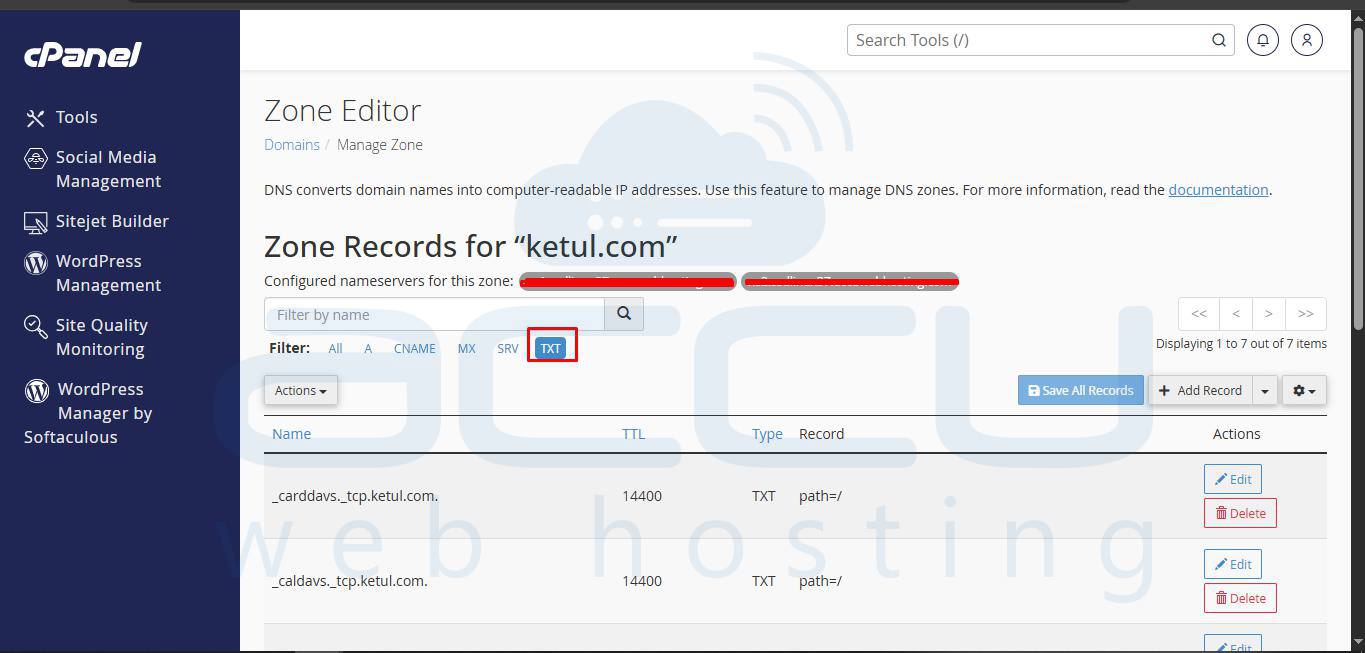
Step 1: TXT record is the text record. You can add SPF and DKIM records using the TXT record. First, click on the manage button.
Step 2: Select the TXT record.
Step 3: Select TXT Record from the drop-down and enter your TXT record in the record field as per your requirement.


Edit DNS Records:
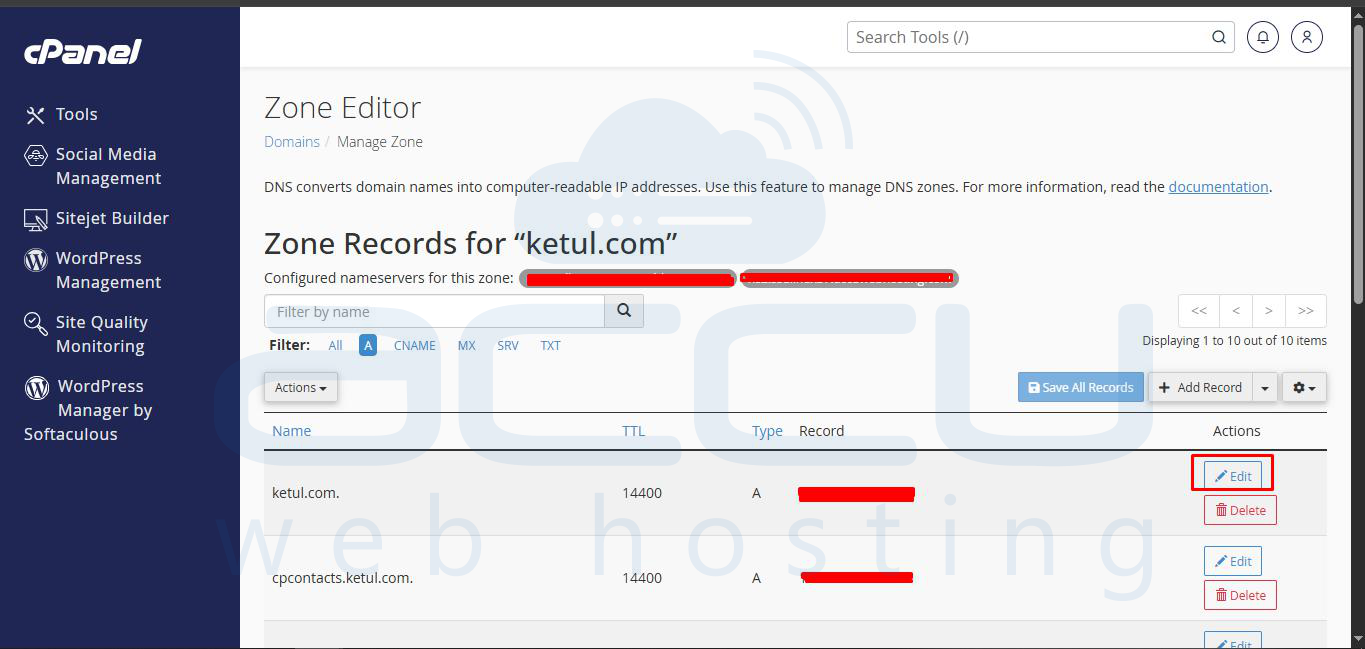
Step 1: If you want to change the current DNS records, you can easily do so using the Edit option. To edit any record, click on the Edit option as shown in the screen capture below:
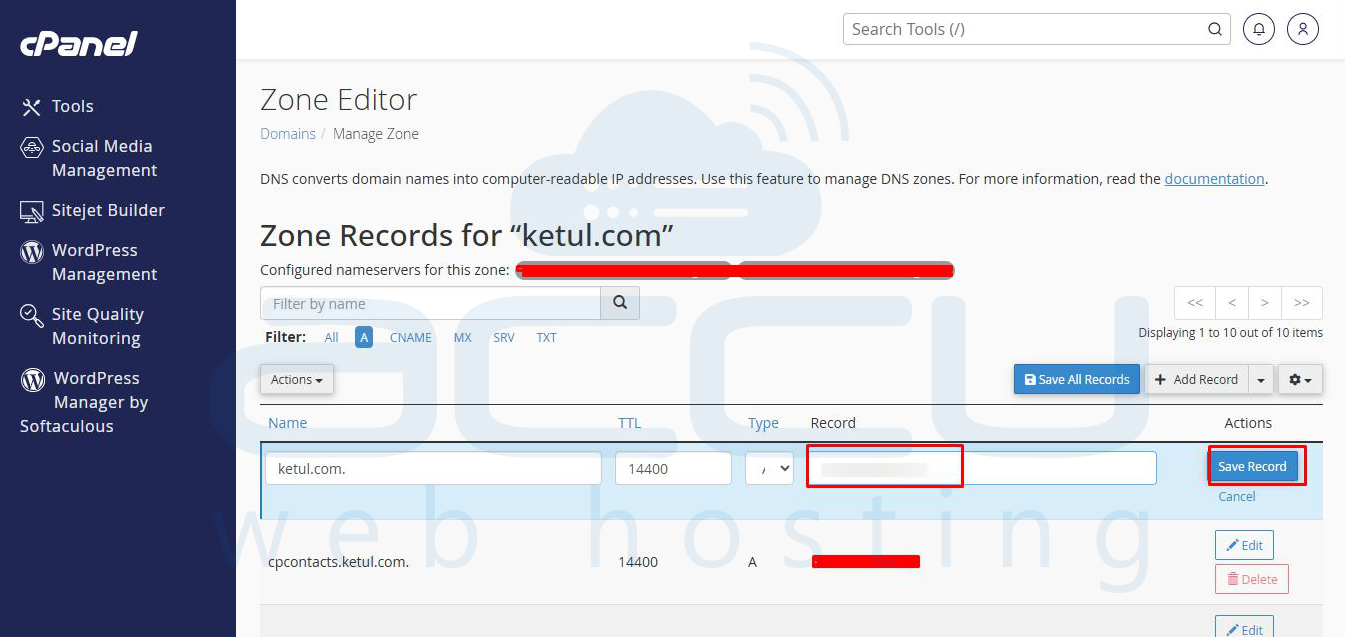
Step 2: It will load the settings configured currently. You can make necessary changes as per your need and click on the Save Record button.
Delete DNS Records:
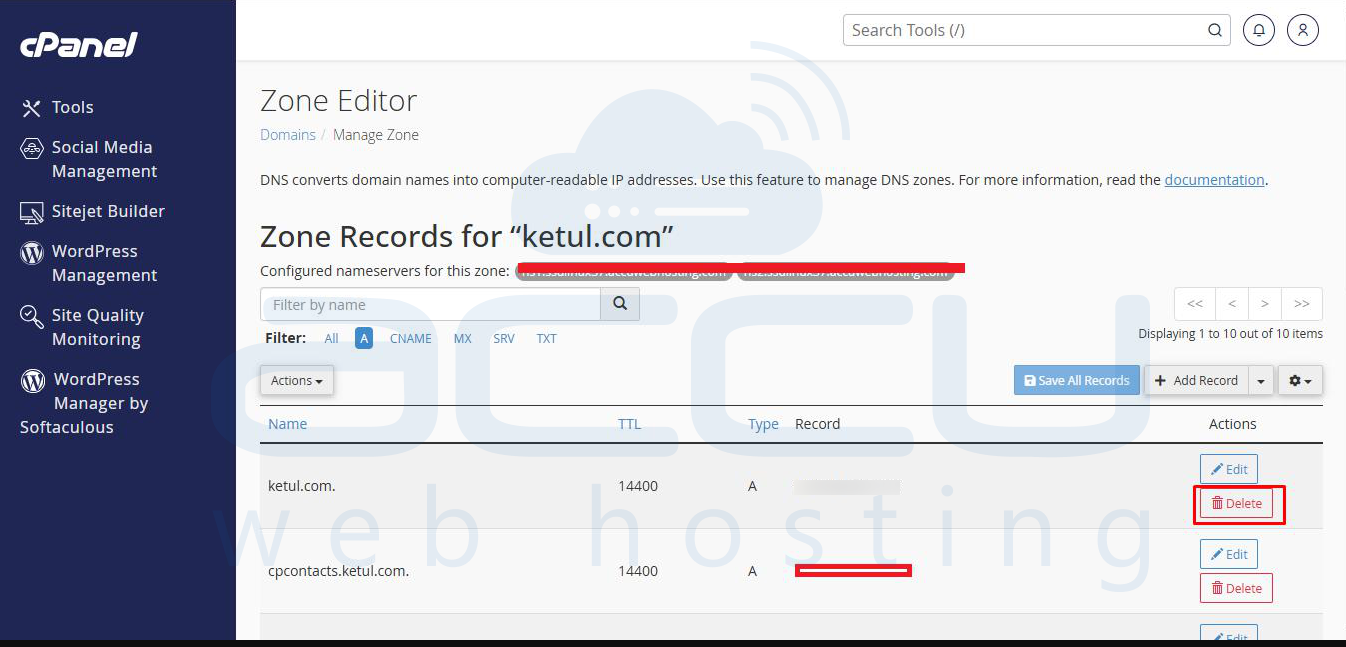
Step 1: You can delete any DNS record if it is not required for your domain. Deleting a DNS record may interrupt the related service; hence, before deleting a record, make sure that it is unnecessary.
Step 2: You can delete any record by clicking on the Delete option, as shown in the screen capture below:
Add/Edit/Delete “MX” Record:
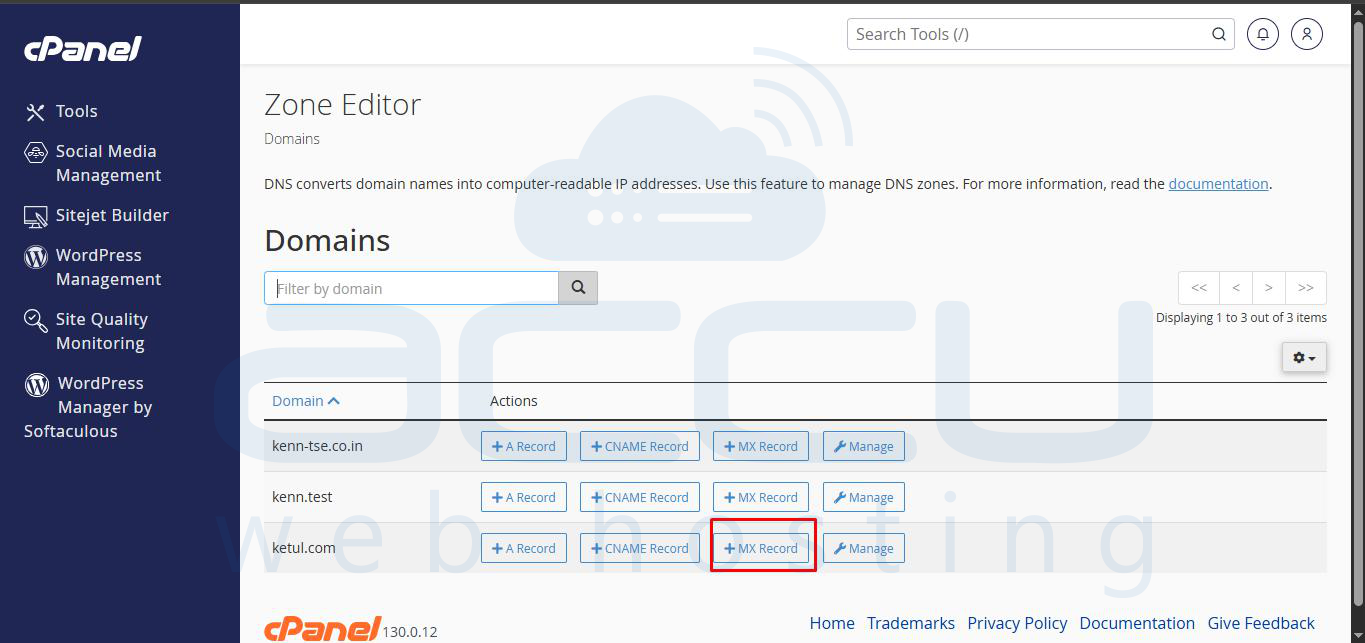
Step 1: The MX record is the mail exchange record for the email service. To add an MX record, click on the MX Record button.
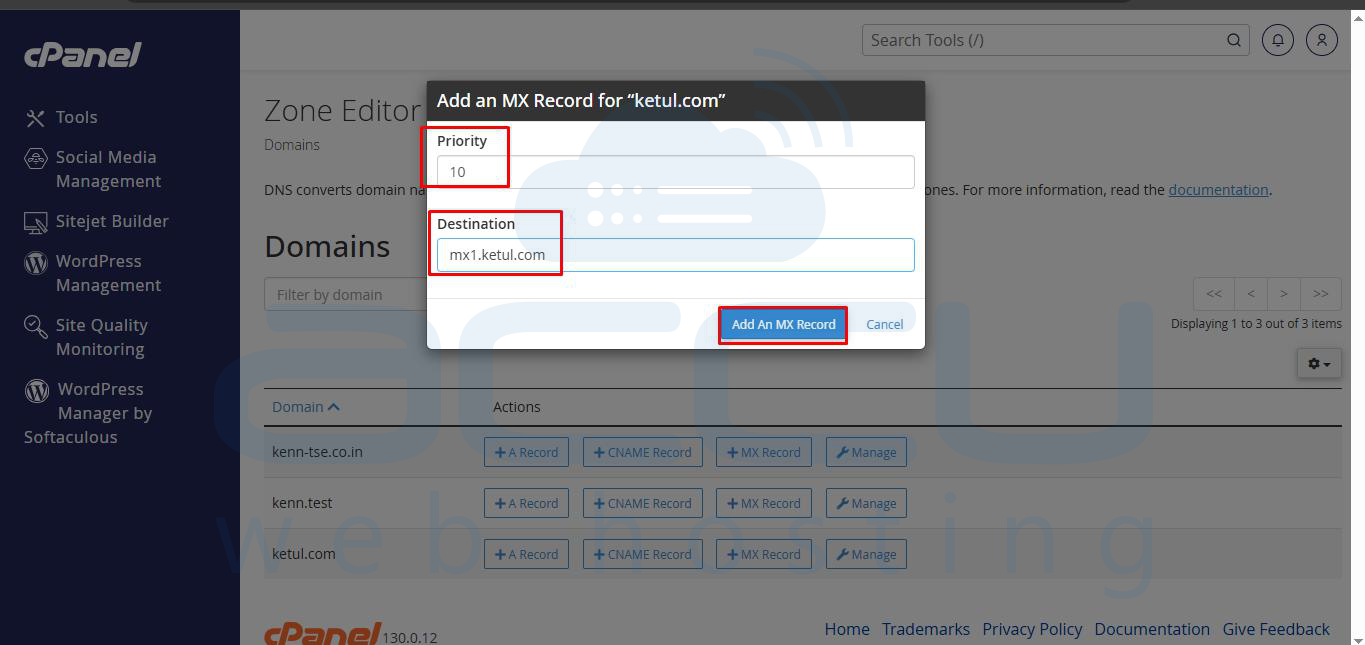
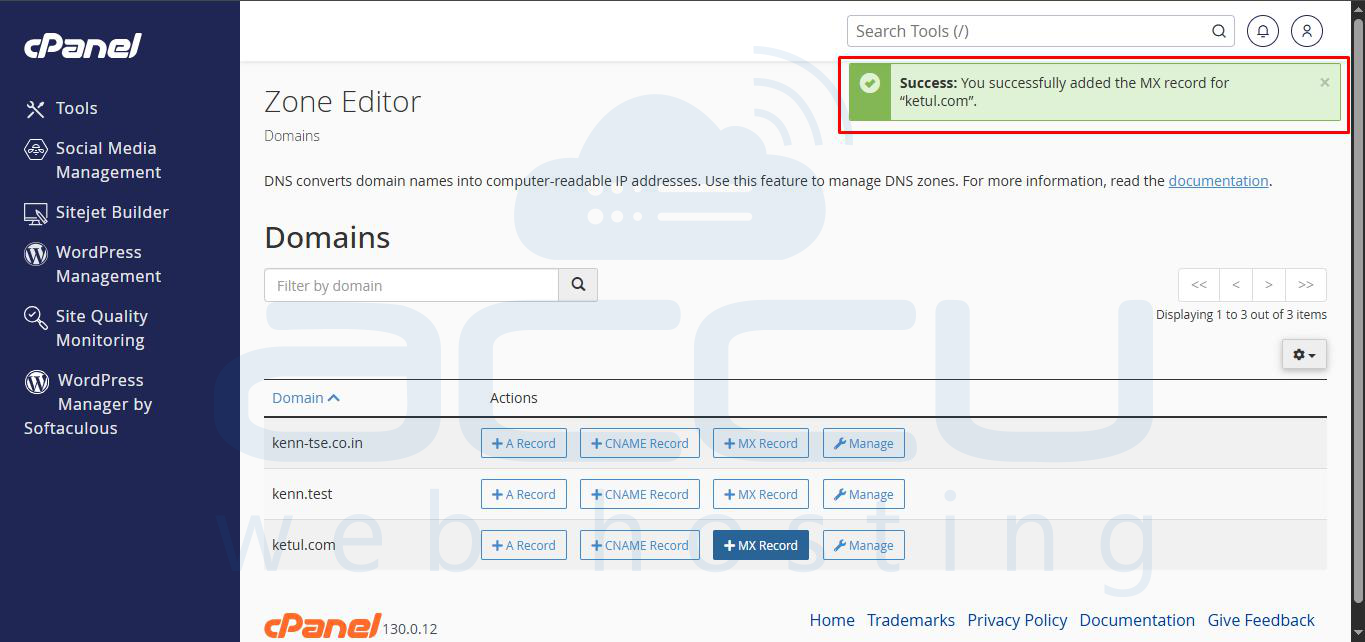
Step 2: Click the Add record and add your MX record with MX priority and Mail domain.
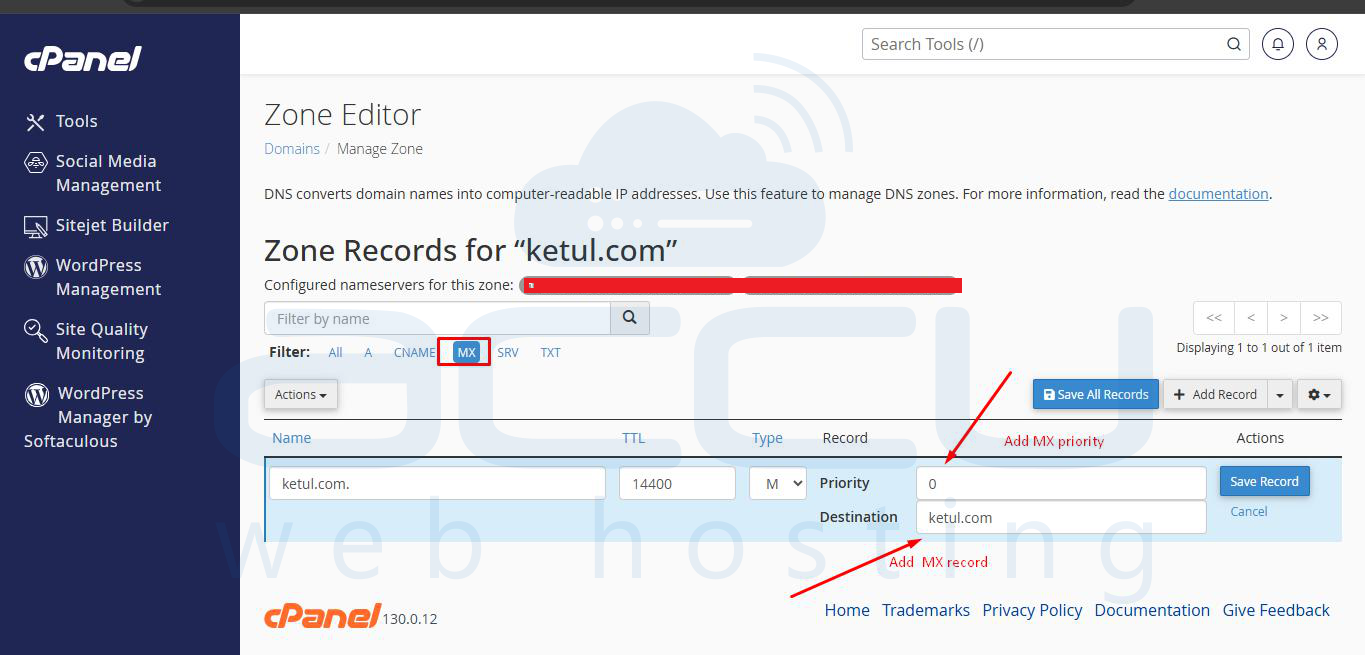
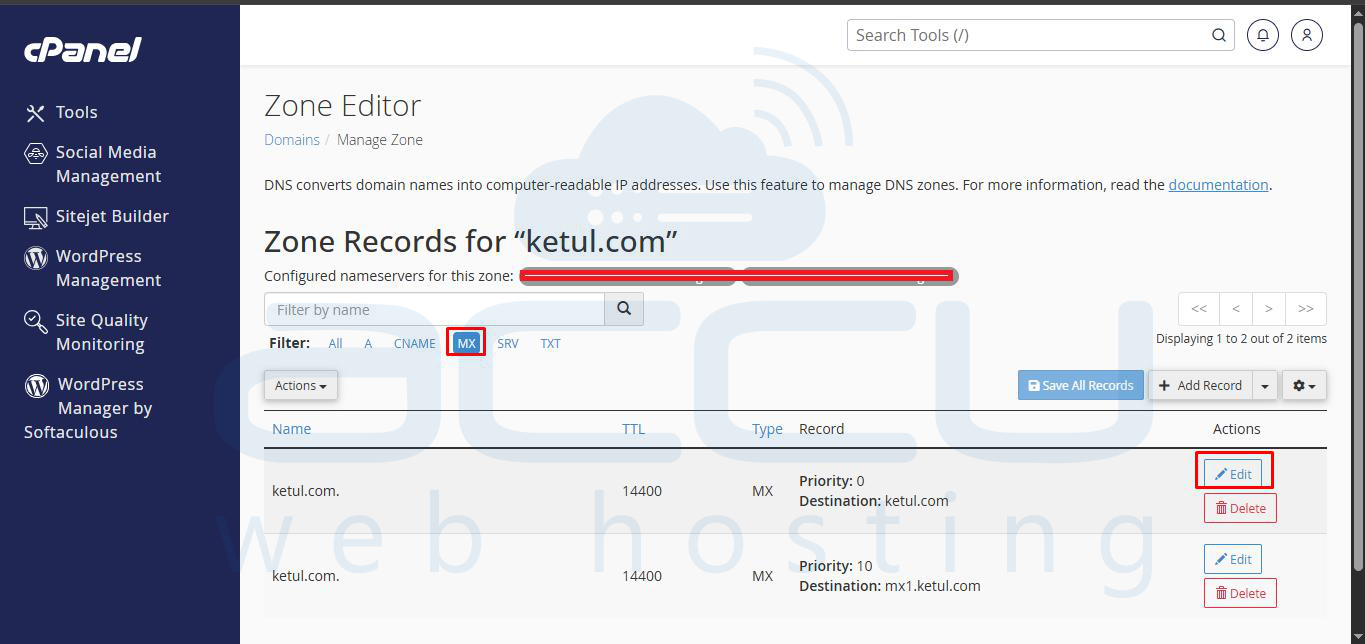
Step 3: If you want to change the current MX record, you can easily do it by clicking on Manage, MX and then using the Edit option. To edit the MX record, click on the Edit option as shown in the screen capture below:
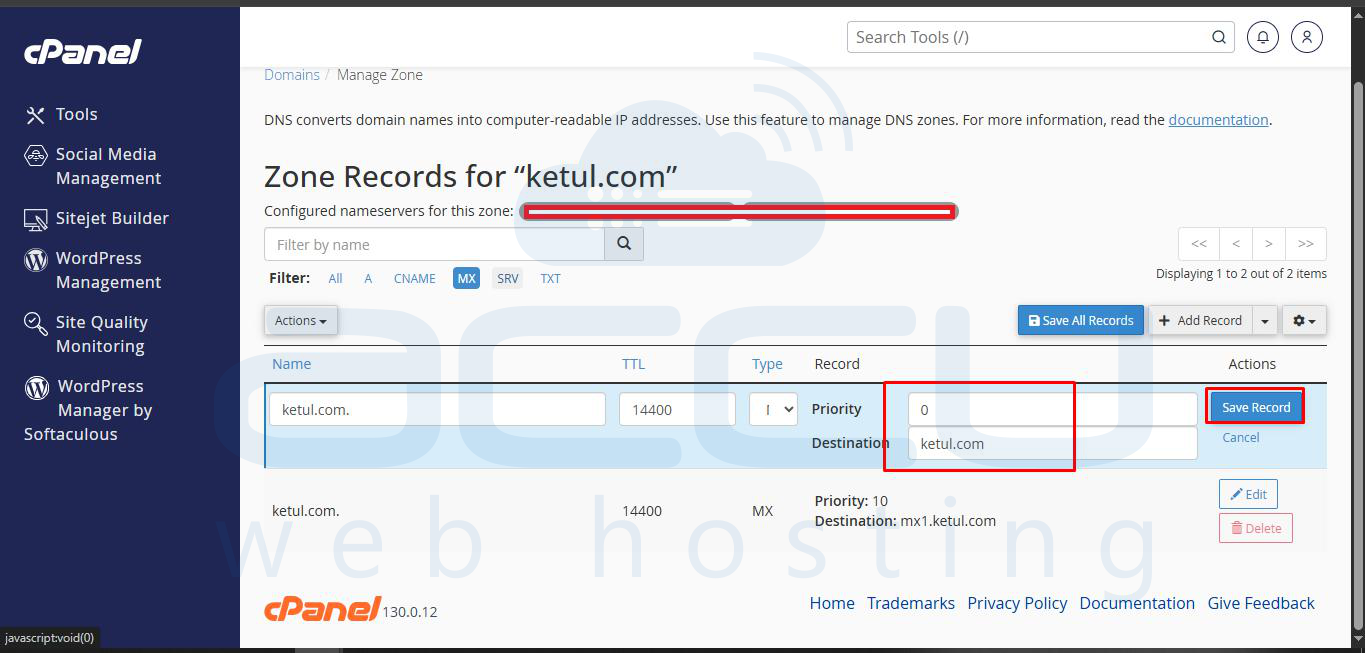
Step 4: It will load the settings configured currently. You can make necessary changes as per your need and click on the Save Record button.
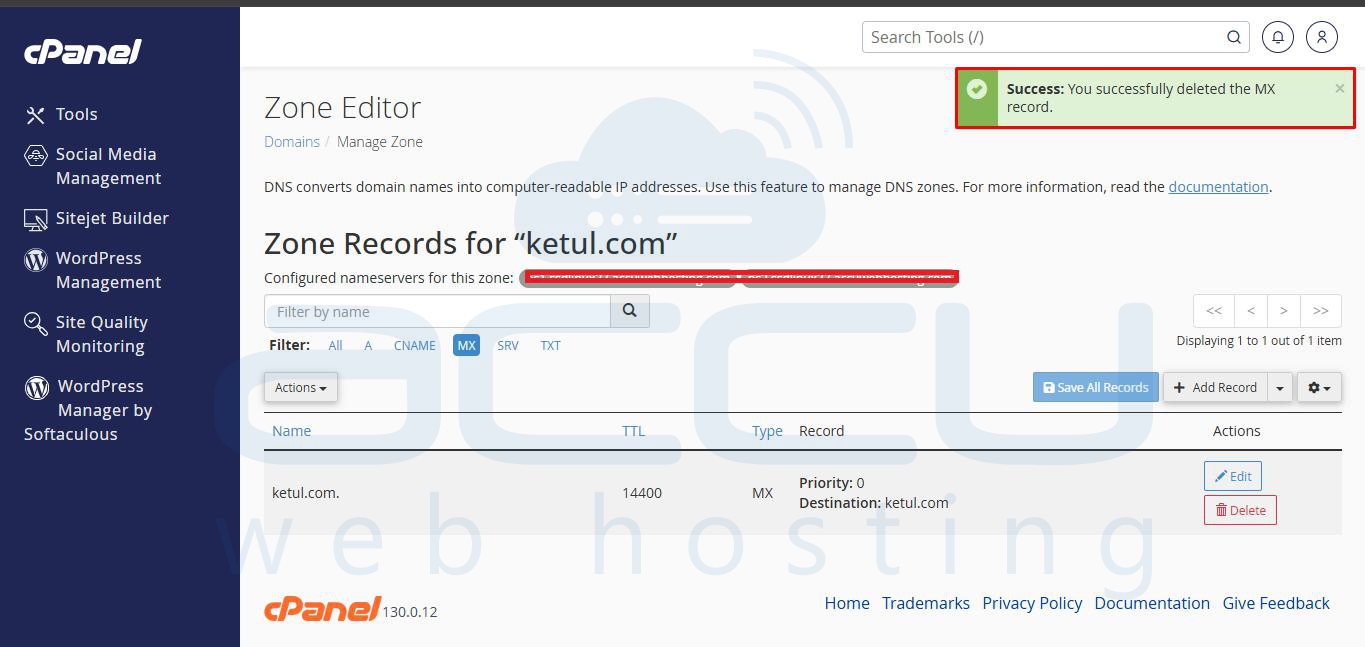
Step 5: If you want to delete an MX record, you can do it by clicking on the Delete option, as shown in the screen capture below:


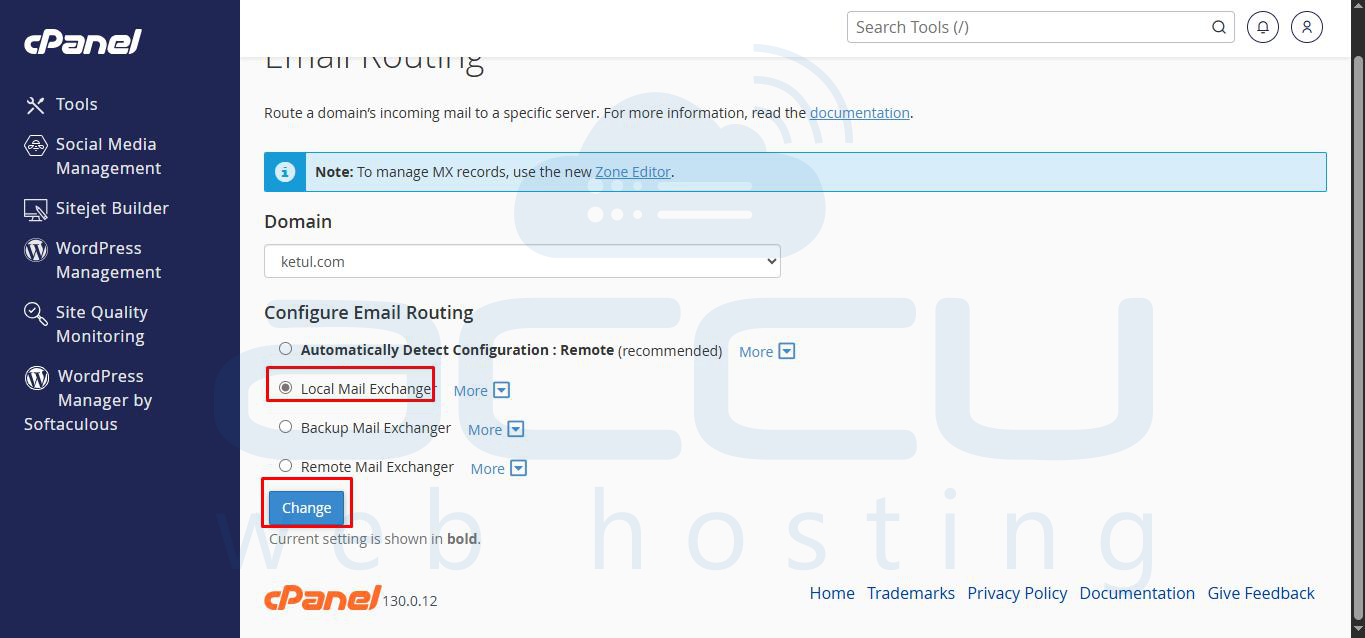
Step 6: Suppose you need to make changes to the Email Routing options. To configure the Email Routing settings in cPanel, you first need to select the domain you want to manage. While the Local Mail Exchanger is typically the preferred option for handling email locally, you can choose the routing option that best suits your needs. Adjust the setting according to whether your emails should be delivered locally or routed elsewhere.

cPanel supports 5 types of records, viz., A, AAAA, MX, TXT, and CNAME. If you want to add any record other than this, you can add it directly under the DNS zone of your domain through the WHM panel. Here is the video tutorial on managing the DNS zone from WHM.
Note: The changes made in nameservers may require 24-72 hours, and the changes made in DNS records may require 24-48 hours to propagate across the globe.
