Please refer to the following steps to configure Google G Suite MX Records in cPanel.
Step 1: Log in to the cPanel. Please refer to how to log in to cPanel for more details.
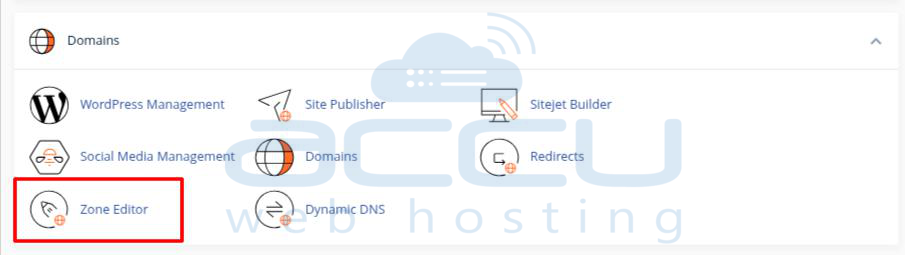
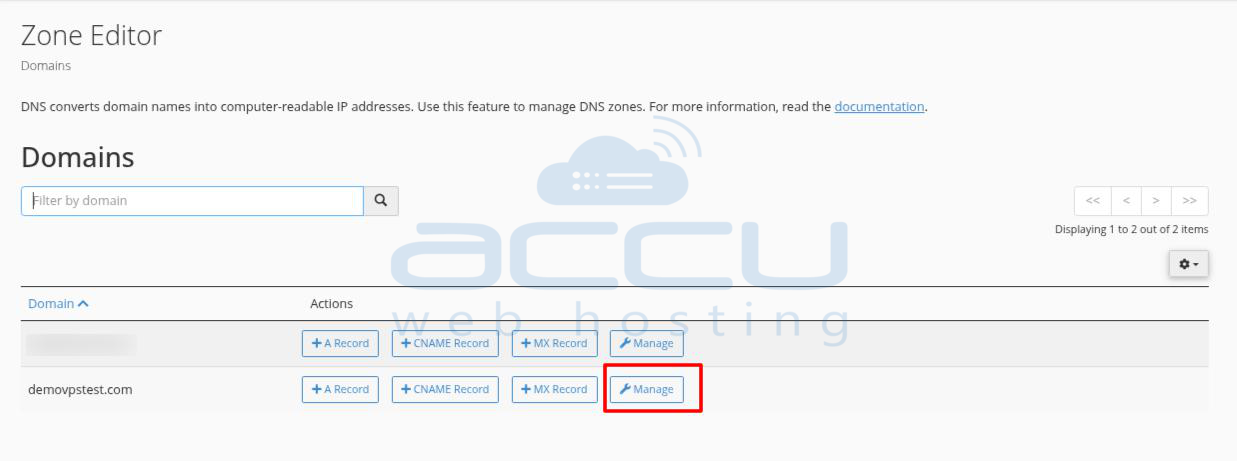
Step 2: Go to the Zone Editor and click on the Managebutton.
Step 3: Add an MX Record and enter the Google MX record.

| Name/Host/Alias | Time to Live (TTL*) | Record Type | Priority | Value/Answer/Destination |
| @ or leave blank | 3600 | MX | 1 | ASPMX.L.GOOGLE.COM. |
| @ or leave blank | 3600 | MX | 5 | ALT1.ASPMX.L.GOOGLE.COM. |
| @ or leave blank | 3600 | MX | 5 | ALT2.ASPMX.L.GOOGLE.COM. |
| @ or leave blank | 3600 | MX | 10 | ALT3.ASPMX.L.GOOGLE.COM. |
| @ or leave blank | 3600 | MX | 10 | ALT4.ASPMX.L.GOOGLE.COM. |
Step 4: Click on Add Record once you add it. It will look like the image below.

Step 5: Now, you have added all the MX records, you will need to remove the default records, and it will be priority 0. You just need to remove the default MX record.

Step 6: Finally, make sure that Mail Exchanger is set to Remote at Email Routing.

That’s it. Please make a note that any DNS changes may take 12-24 hours to propagate around the world.
