Please refer to the following steps to install Virtualmin/Webmin on CentOS 7.x
Step 1: Let us update the packages before starting the installation process.
# yum -y update
Step 2: Now, we will begin the installation of the Virtualmin/Webmin control panel on CentOS 7. At first, download the installer file with the command below.
# wget http://software.virtualmin.com/gpl/scripts/install.sh
Step 3: Run the installer with the command below.
# chmod +x install.sh && ./install.sh
Step 4: After initiating the above commands, press the y key and then press Enter. The installation will start, and it may take about 10-15 minutes to finish the installation. It will ask for the fully qualified domain name during the installation; you will need to provide it, or the installation will not work further. 
Step 5: You will get the screen below once the installation is completed in SSH. 
Step 6: Now, access the Virtualmin web panel from your web browser using https://serveripaddress:10000 (always use https) and log in to the Webmin panel with the default credentials. (username: root) and (password: server password)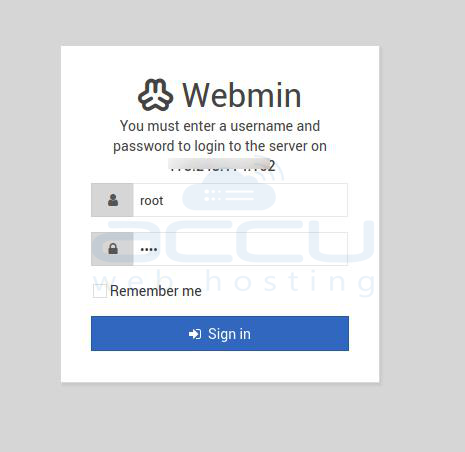
Step 7: Once you log in to Webmin, you will be asked for the Post-installation Wizard. Click on the Next button.
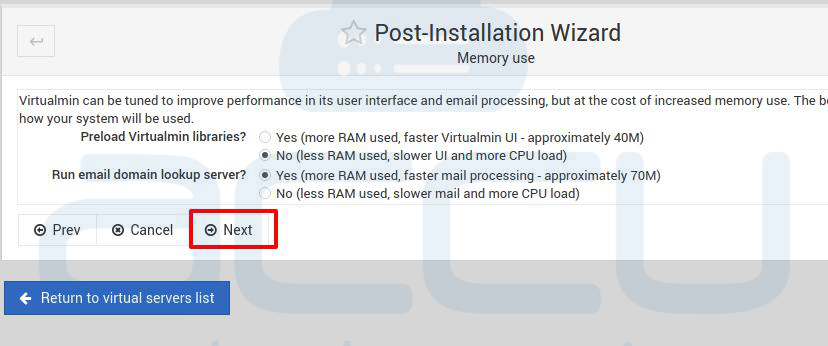
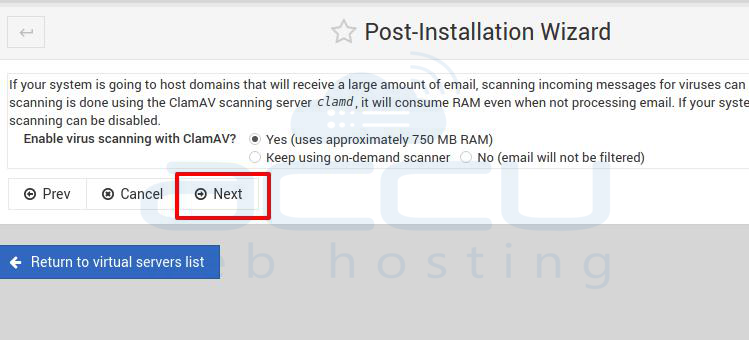
Step 8: Select the appropriate setting for your system and click on the Next button.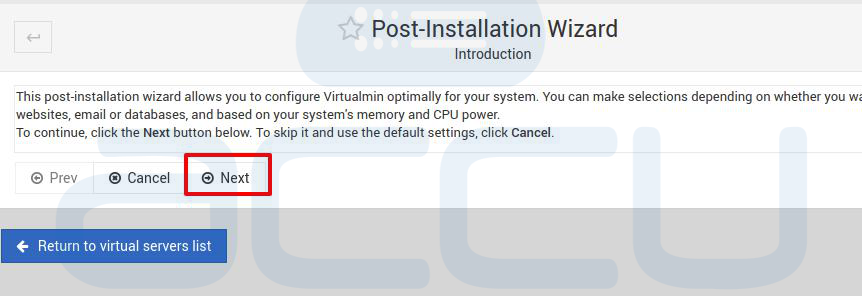
Step 9: If you have pointed the nameserver to your VPS, you can set the in the boxes as mentioned in the image below. If you have not pointed the domain and you want to do it later, you can tick the Skip check for resolvability and click on the Next button.
Step 10: Here, we have set to use the plain-text password. You can change it to use hashed passwords.
Step 11: Create the server with your domain and select Let's Encrypt SSL Certificate.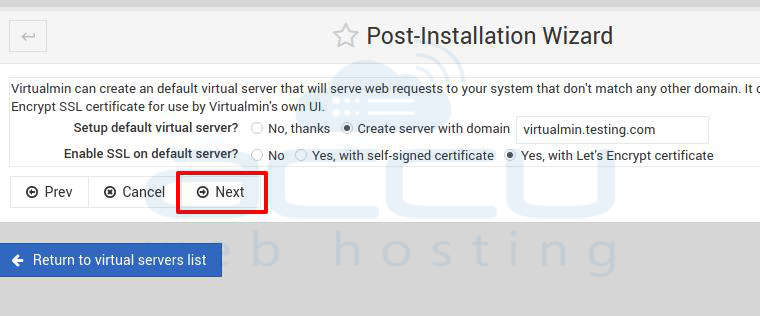
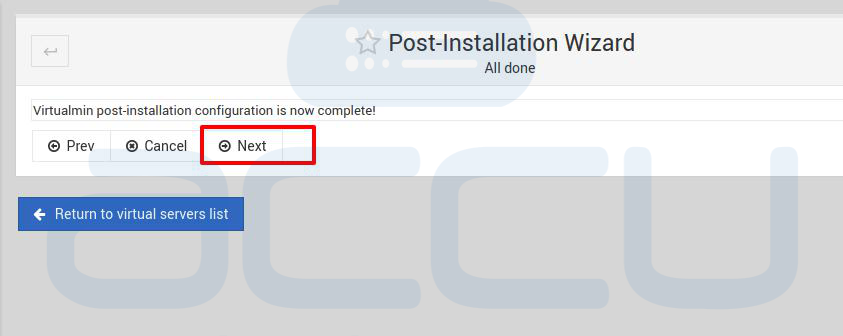
Step 12: The Post-Installation Wizard is now completed.
Now, you can add your domain and create a website on your Webmin/virtualmin.


