You can run two individual applications with their own settings under same wwwroot folder with the help of the virtual directory. SolidCP allows you to add the virtual directory for web applications. In this tutorial, we'll guide you to add a virtual directory from SolidCP.
- Login to SolidCP. It is located at URL http://your-vps-ip:9001.
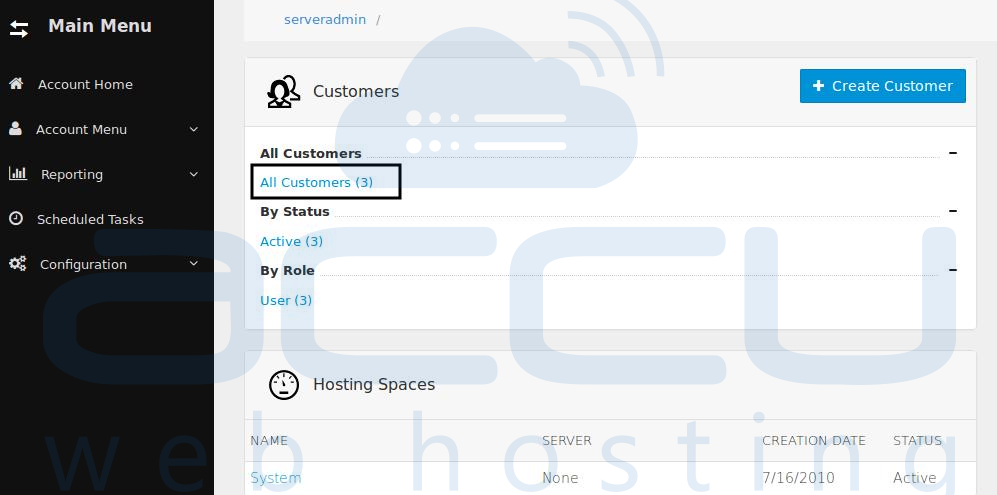
- Once you are logged into SolidCP, click on All Customers link.

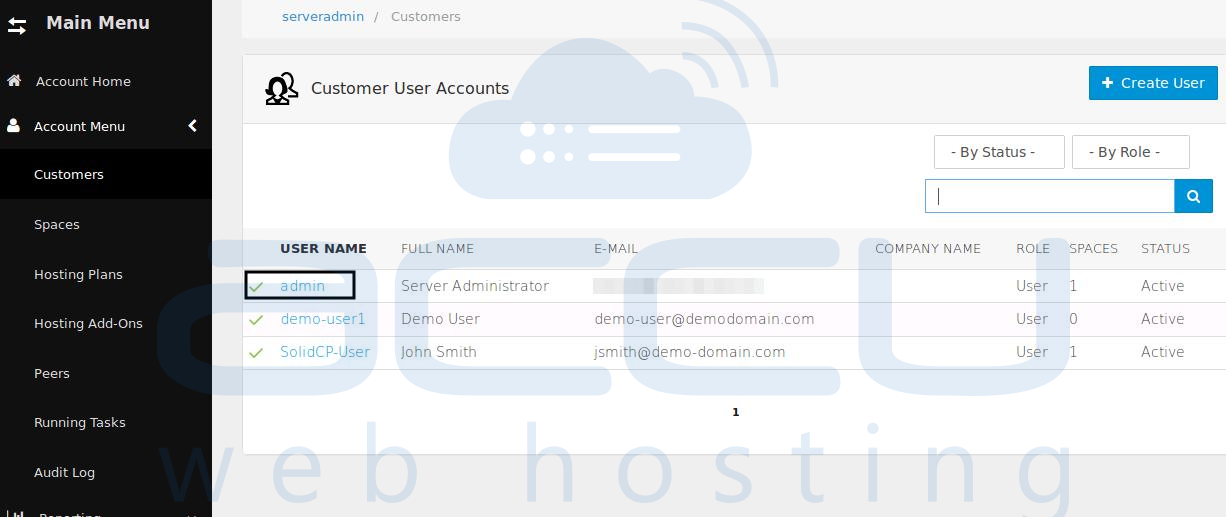
- In the next screen, you will see the list of all created users. If you have not created any user yet, you'll see the default admin user there. Click the username link under which the website is created.

- In the next screen, you will see icons for all the services you can manage from the SolidCP. Under Web & Applications section click Web Sites icon.

- In the next screen, you will see the list of previously created websites. Select the website name for which you want to add the virtual directory.

- This will open up the Web Site Properties page. Select Virtual Dirs tab and then click on Create Directory button.

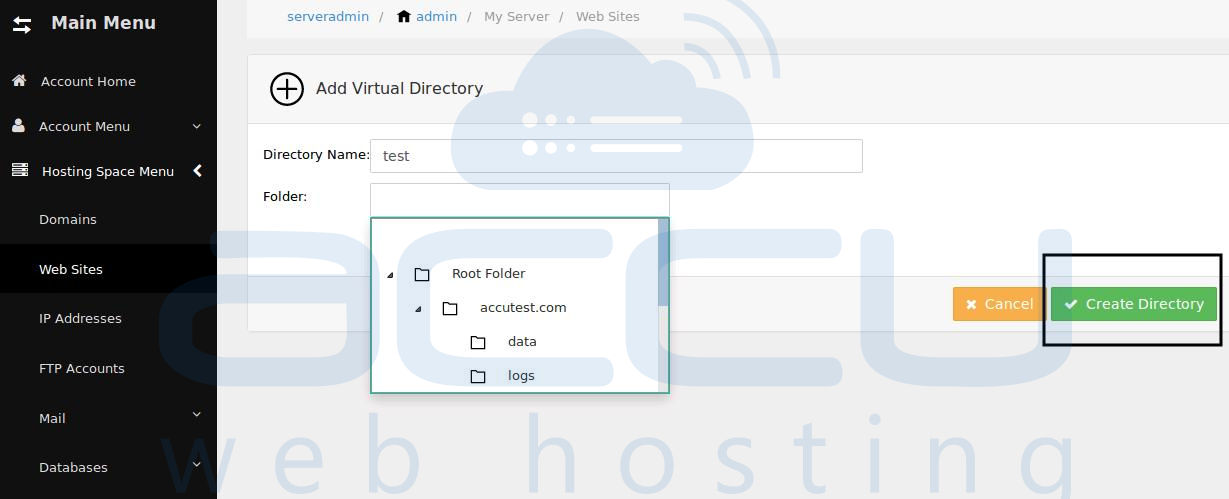
- In the next screen, specify the virtual directory name, select Virtual directory path and click on Create Directory button.

- Now, the virtual directory will be added and you will be directed to the Virtual Directory Properties page. At this stage, you can set necessary Security Settings, Authentication andCompression settings. These settings are optional, so you can also click on Update button right away.

- If you want to modify PHP and ASP.NET settings for this Virtual Directory, click on Extensions tab, make necessary changes and click on Update button.


