We offer a one-click installer, Softaculous, to our Linux Shared Hosting customers to install popular PHP scripts. When you cannot install WordPress via Softaculous or face any other difficulties, you can manually install WordPress with ease. In manual WordPress installation, you will have to download WordPress files to your local computer and upload them to the cPanel hosting space.
This article will provide you with step-by-step guidance on installing WordPress manually.
1. Download the latest version of the WordPress file from the WordPress website.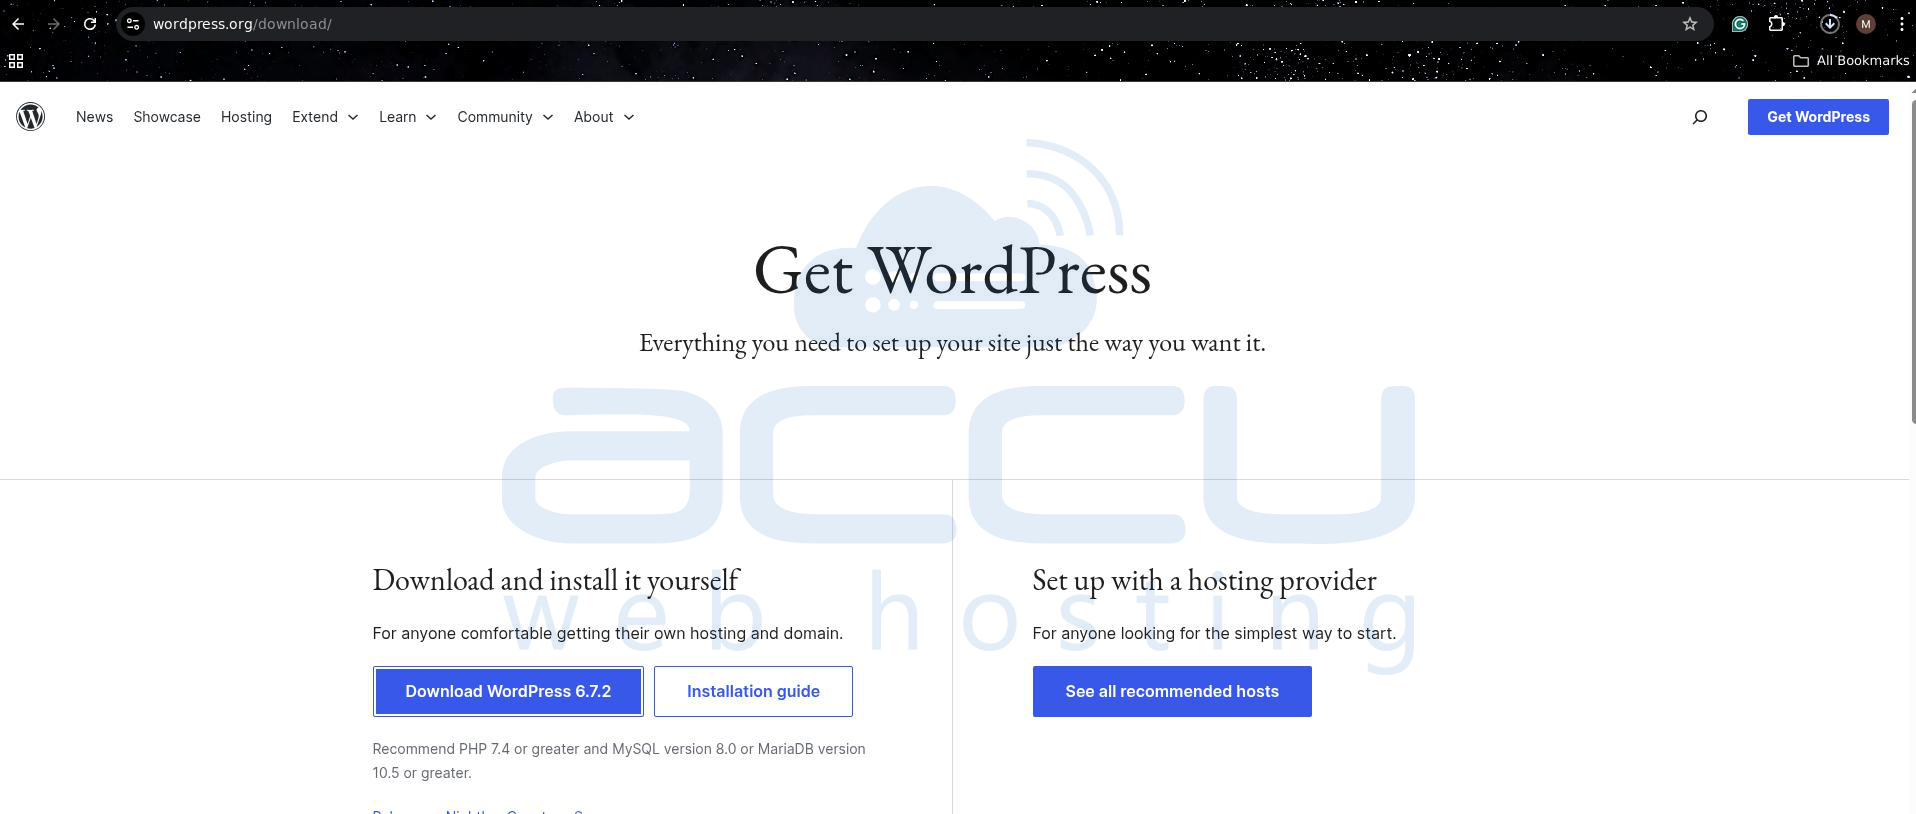
2. Log in to your cPanel (https://your-domain.com:2083).
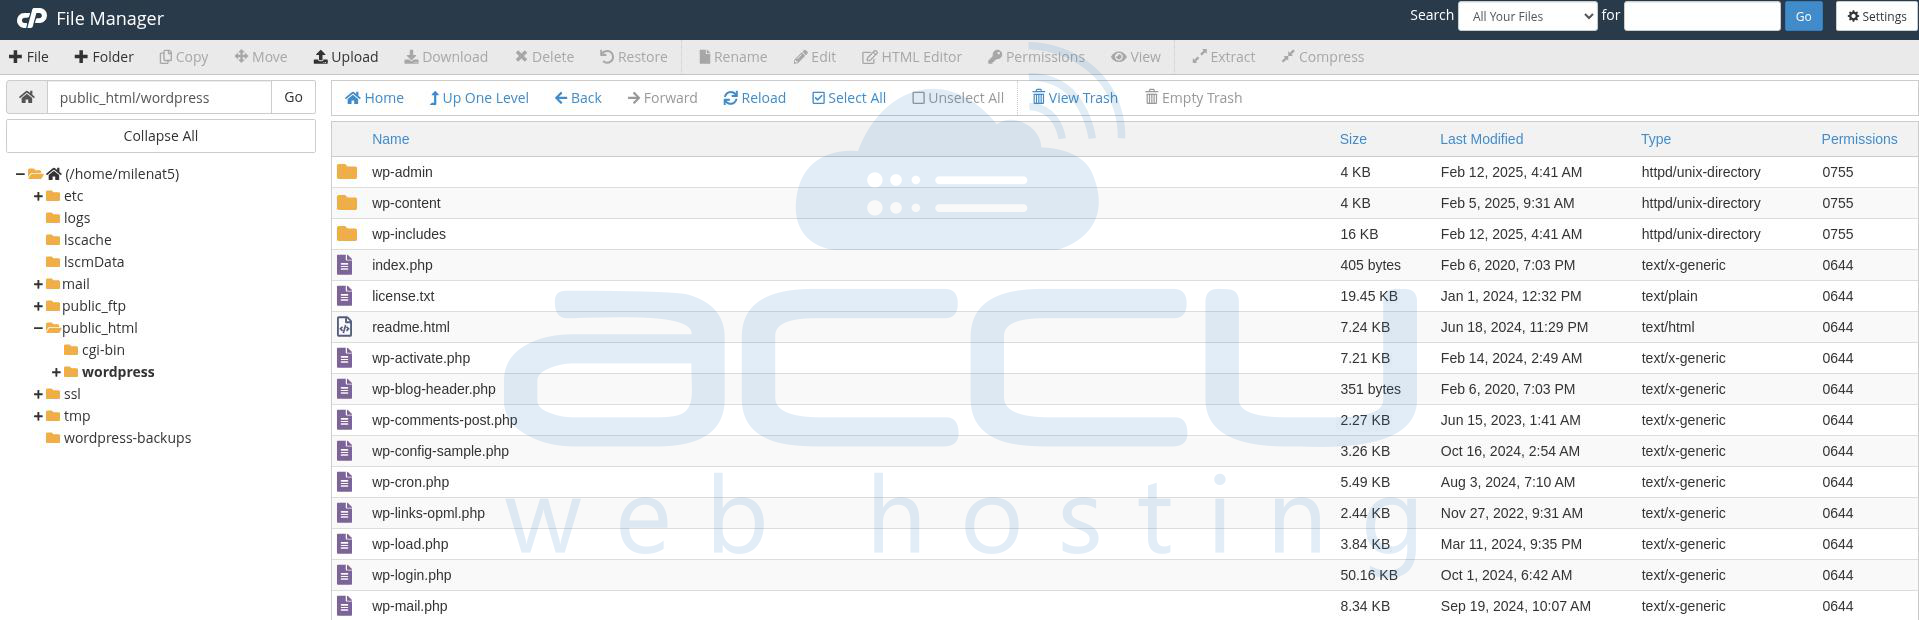
3. Under the File section, go to File Manager. 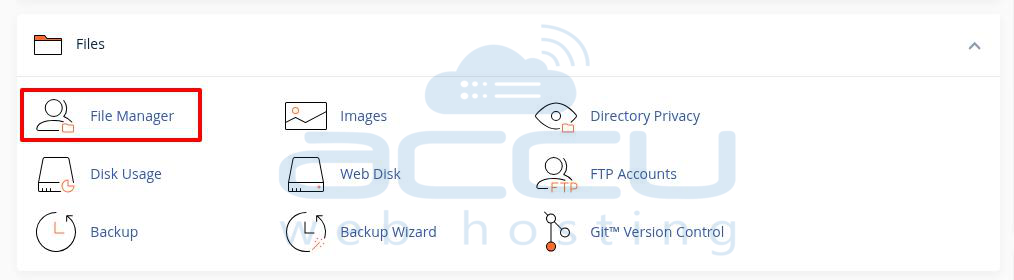
4. You will be redirected to the directory section, from there select the public_html directory.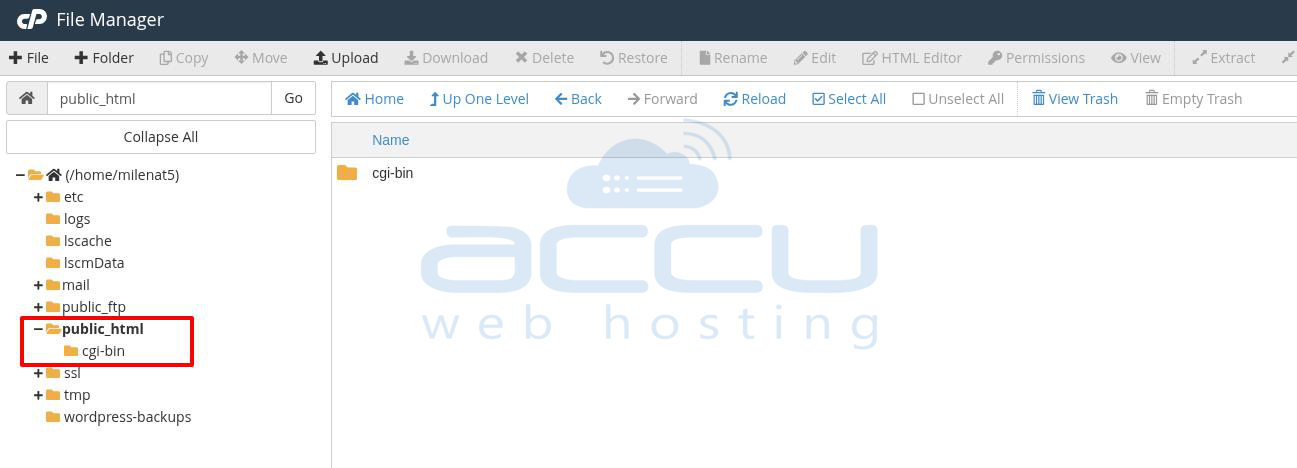
5. Now, click on the Upload button and upload the WordPress ZIP file that you have downloaded in the 1st step. 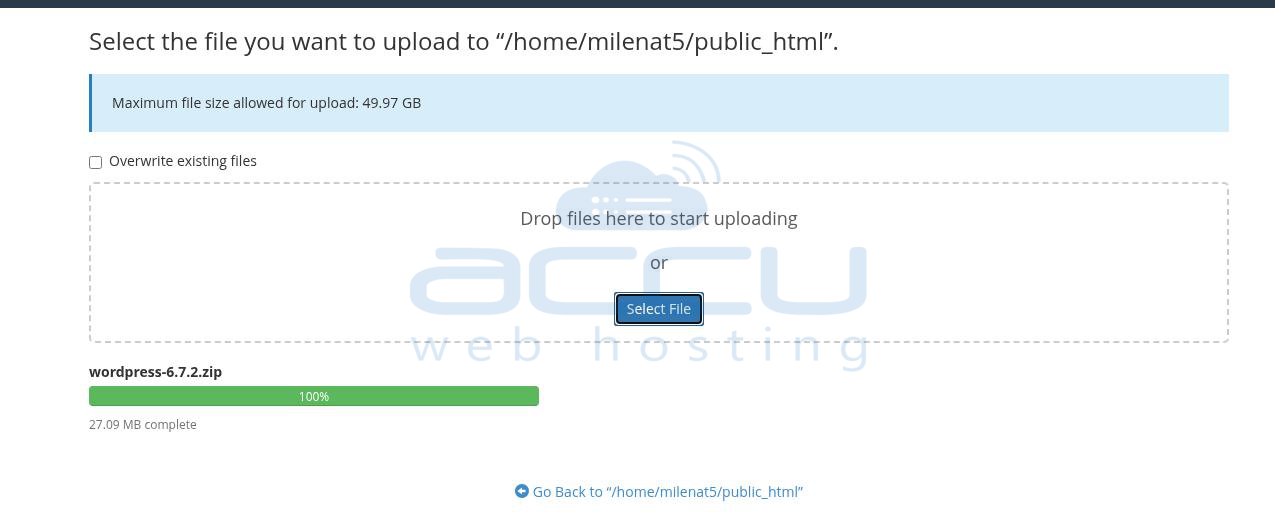
6. Extract the WordPress ZIP file to the directory of your WordPress website.
- Note: all WordPress files will be extracted under the WordPress directory when extracting the ZIP file. Therefore, if you want to access your website via your domain name only (http://www.your-domain.com), you will need to move WordPress files from the WordPress folder to the root directory of your website. In this case, it is (public_html).

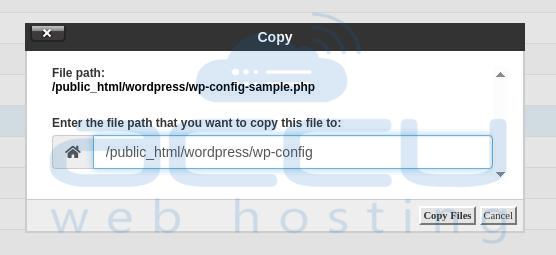
7. Create a copy of wp-config-sample.php and give a name to the file, wp-config.php, which will create a config file.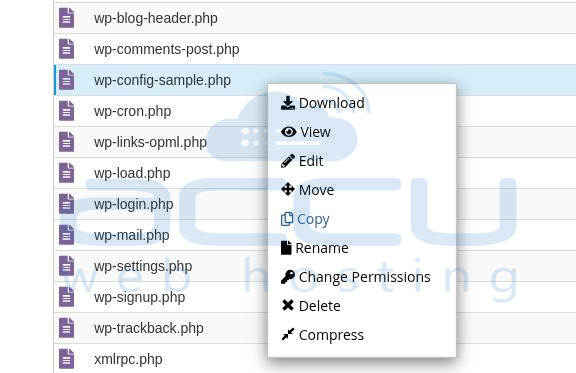
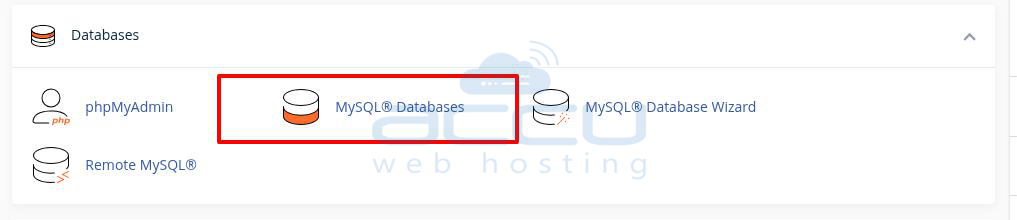
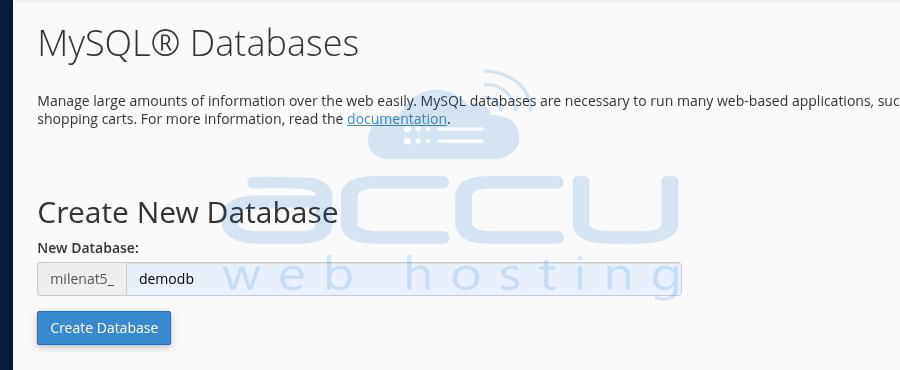
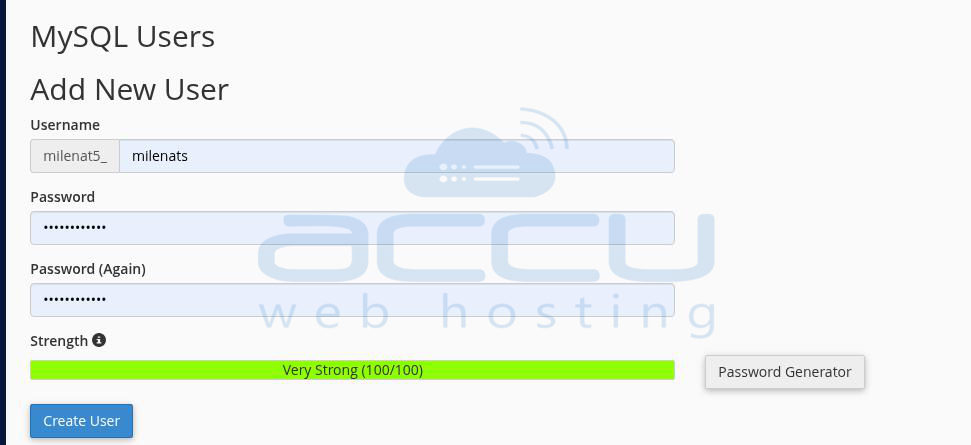
8. Now, create the database and database user from the cPanel.
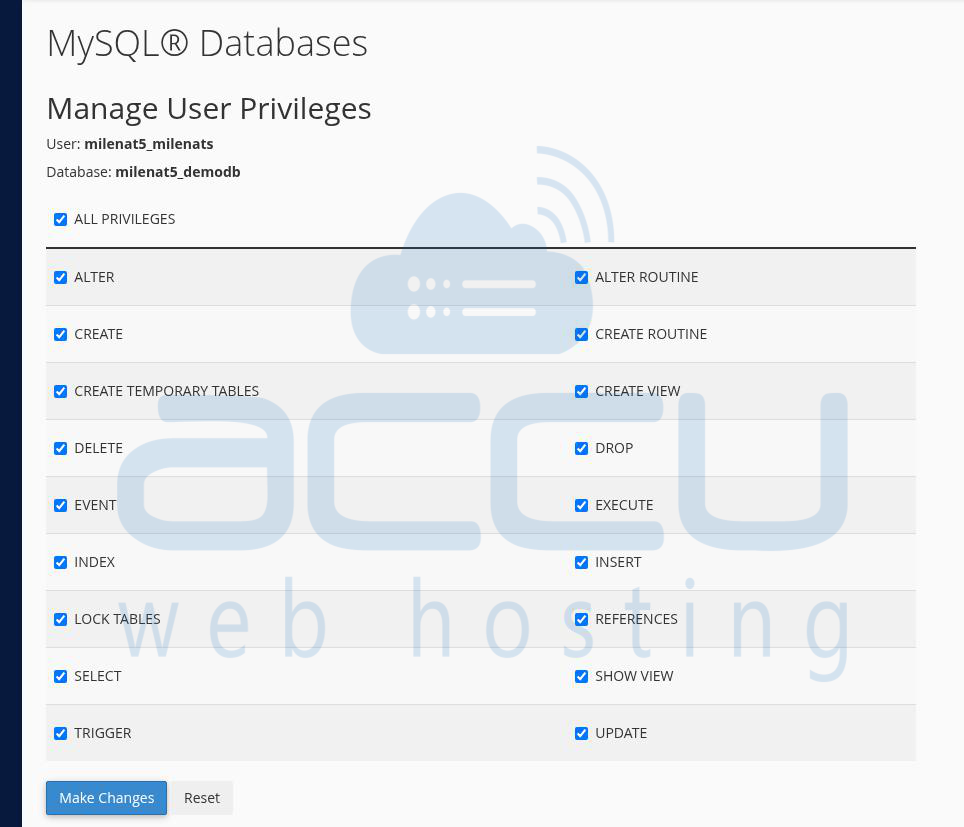
- Make sure to assign full permission to the database user and also ensure that to take the database name, username and password in hand, so can add it to the config file at later steps.
9. Edit the wp-config.php file and replace the database name, username, and user password and save the changes.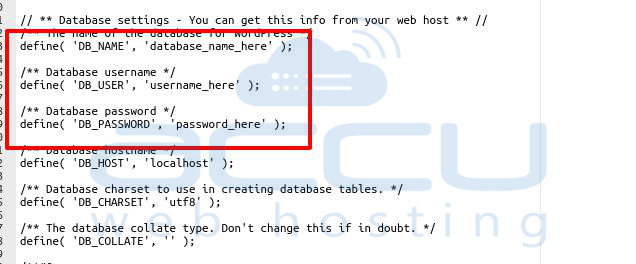
10. Now hit your domain name in the browser, and if there is no live domain, then you can use the temporary URL, as you can see in the screen capture.
- https://64.27.63.132/~milenat5/wordpress/wp-admin/setup-config.php
- Provide the necessary information for the database and click on Submit.
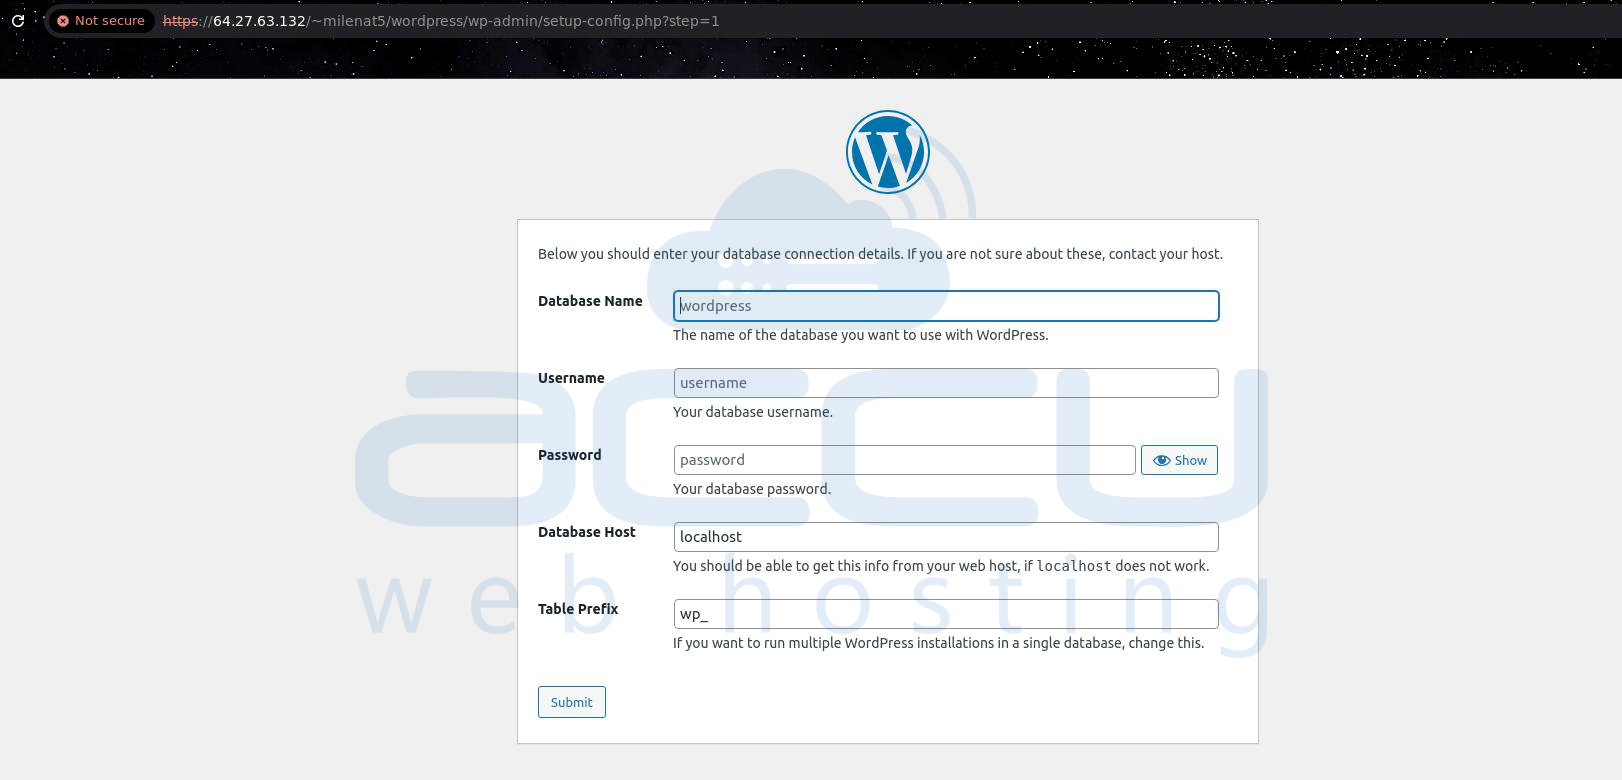
- If WordPress can connect to the database, click Run the install.
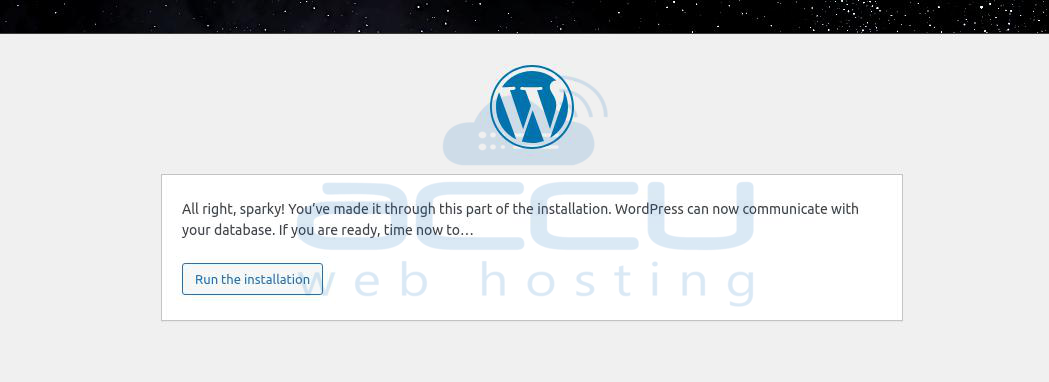
11. Now you will get the installation screen as shown in the following screen.
12. In this screen, enter the Site title, username, password, and email address for WordPress Dashboard admin login.
13. Click the Install WordPress button.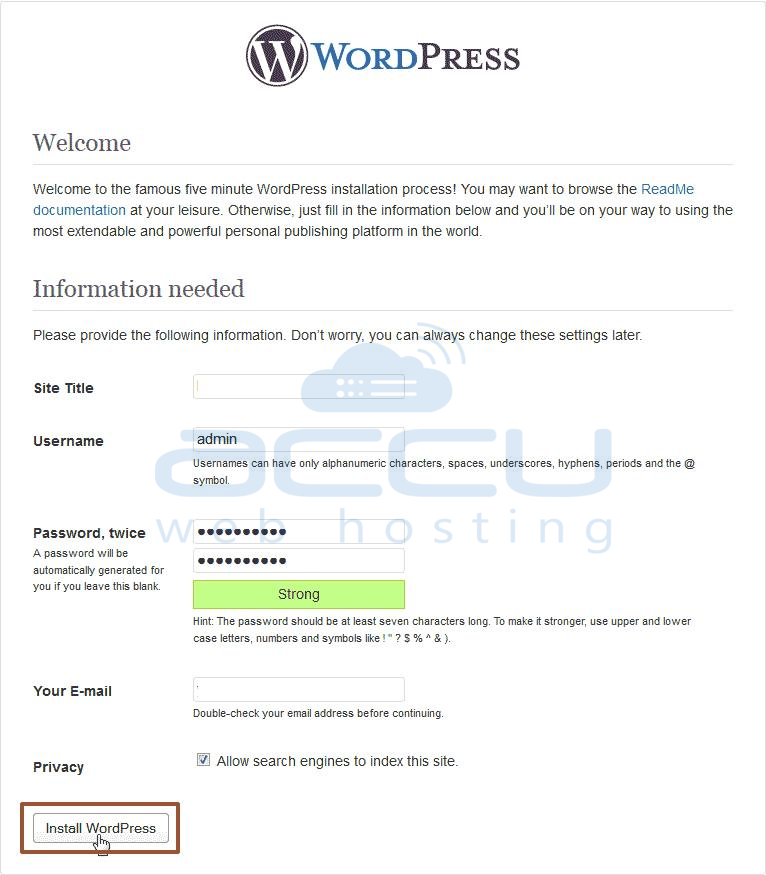
14. Once WordPress is installed, you will receive a Success pop-up.
15. You can log in to the WordPress Dashboard by clicking Log in.
