In cPanel, every email account is assigned a specific mailbox quota (storage limit). When the mailbox reaches this limit, users may face issues such as being unable to receive new emails. To resolve this, you can increase the mailbox quota directly from the cPanel Email Accounts interface.
The following steps will assist you in setting the mailbox quota in cPanel.

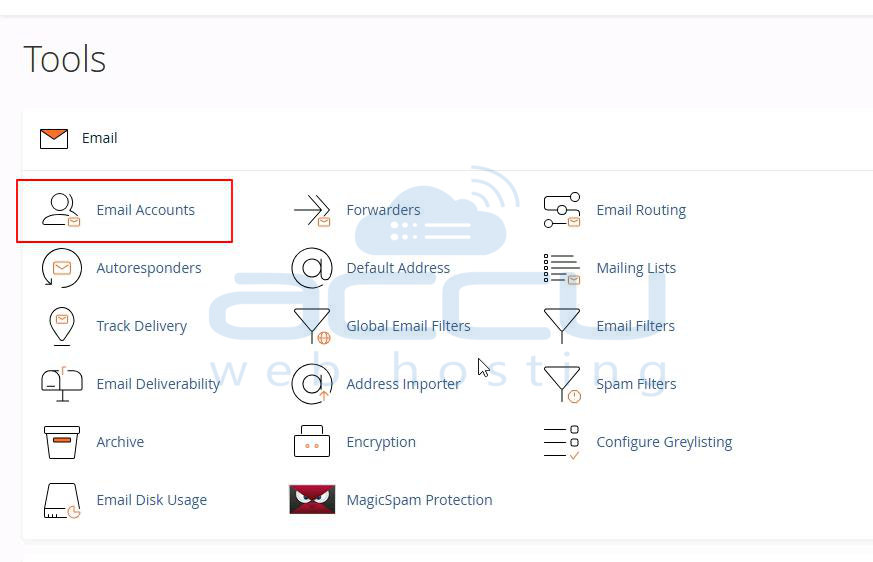
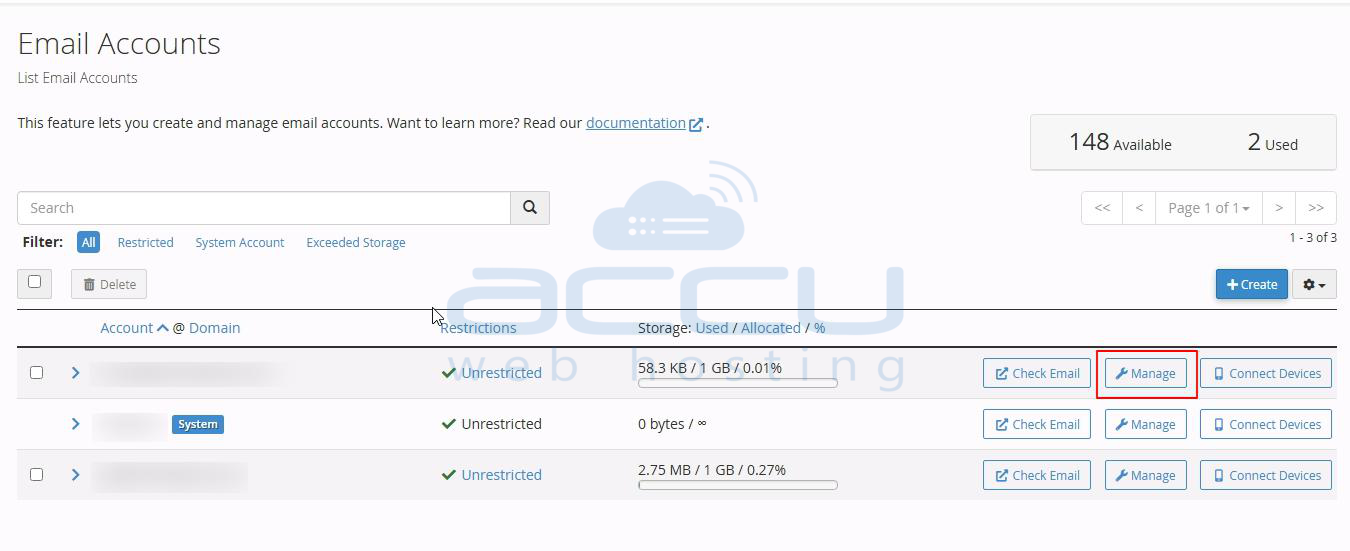
Step 3: In the Email Accounts page, you’ll see a list of existing accounts. Find the email account for which you want to increase the quota. Click on the Manage button next to the desired account.
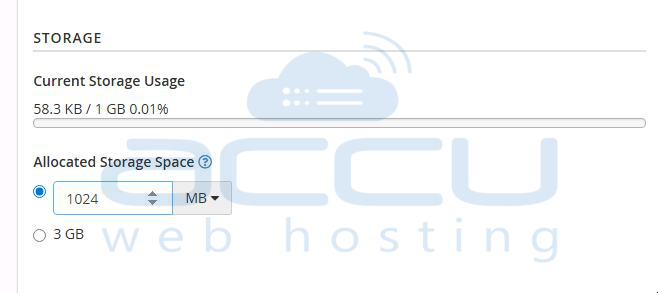
Step 4: On the Manage Email Account page, look for the Allocated Storage Space or Mailbox Quota option.
Enter the new quota limit in MB (e.g., 2048 MB for 2 GB). Click the Update Email Settings button to save changes.
Step 5: After saving, return to the Email Accounts list. The updated mailbox quota should now be reflected next to the email account.
By following these steps, you can successfully increase the mailbox quota in cPanel. This ensures that your email account has sufficient storage to continue sending and receiving messages without interruptions.
