SpamAssassin is a built-in anti-spam tool in cPanel that helps filter unwanted and junk emails. By enabling SpamAssassin, you can automatically detect, flag, or even delete spam messages before they reach your inbox. This guide will show you how to enable and configure SpamAssassin from your cPanel account.
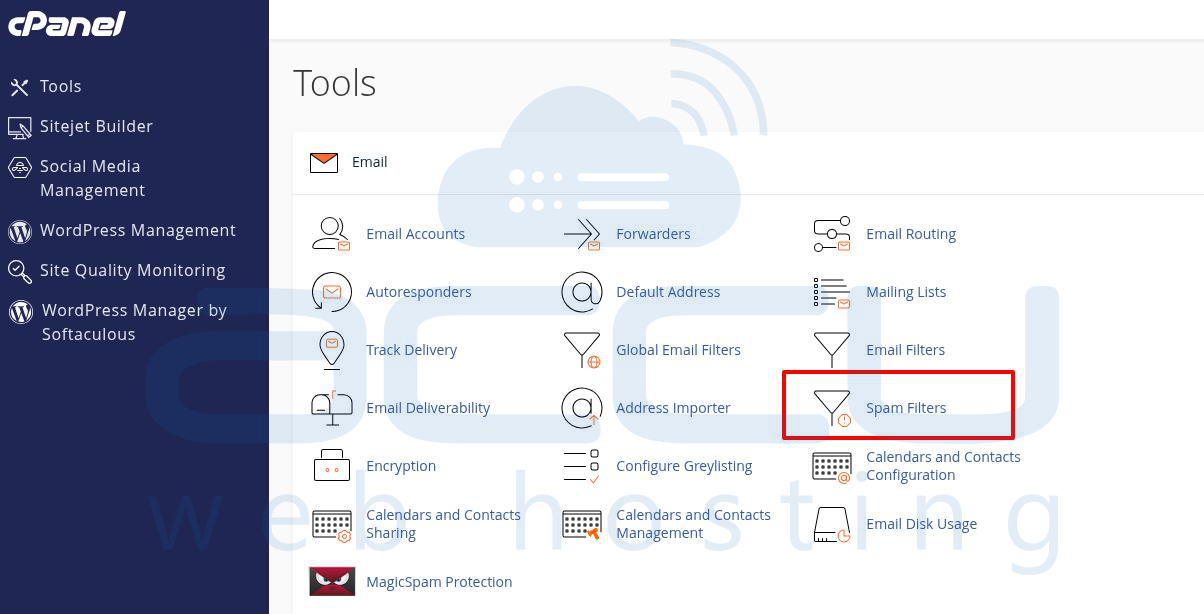
Step 1: Log in to cPanel
Access your cPanel account using your login credentials and click on the "spam filters" option under the "Email" section.
Step 2: Open the SpamAssassin Tool
Under the Mail section, click on the SpamAssassin icon.
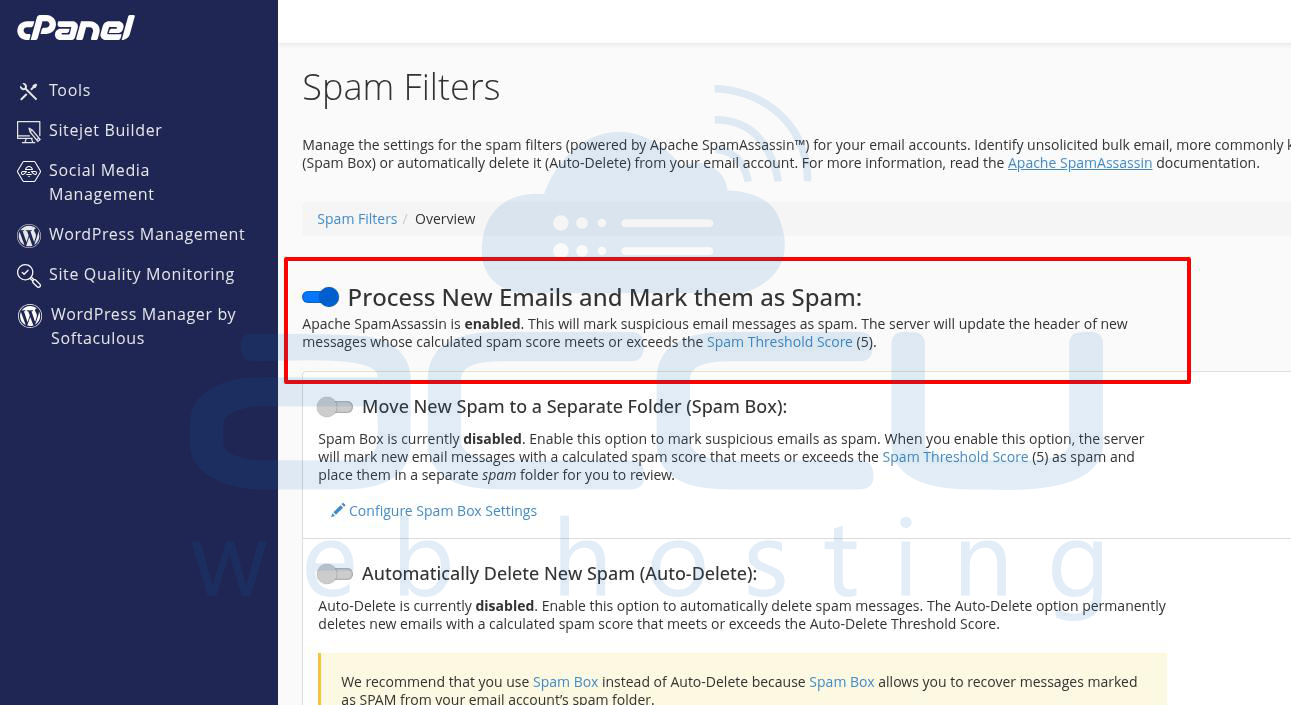
Step 3: Enable SpamAssassin
By default, SpamAssassin is disabled. Click Enable SpamAssassin to activate it.
Step 4: Configure SpamAssassin Settings
Under the Filters section, you will see options:
Auto-Delete Spam → Automatically delete emails that are detected as spam.
Spam Score Threshold → Set the score required to mark an email as spam.
The default is 5 (recommended).
Higher values = more conservative (fewer emails marked as spam).
Lower values = more aggressive (more emails filtered as spam).
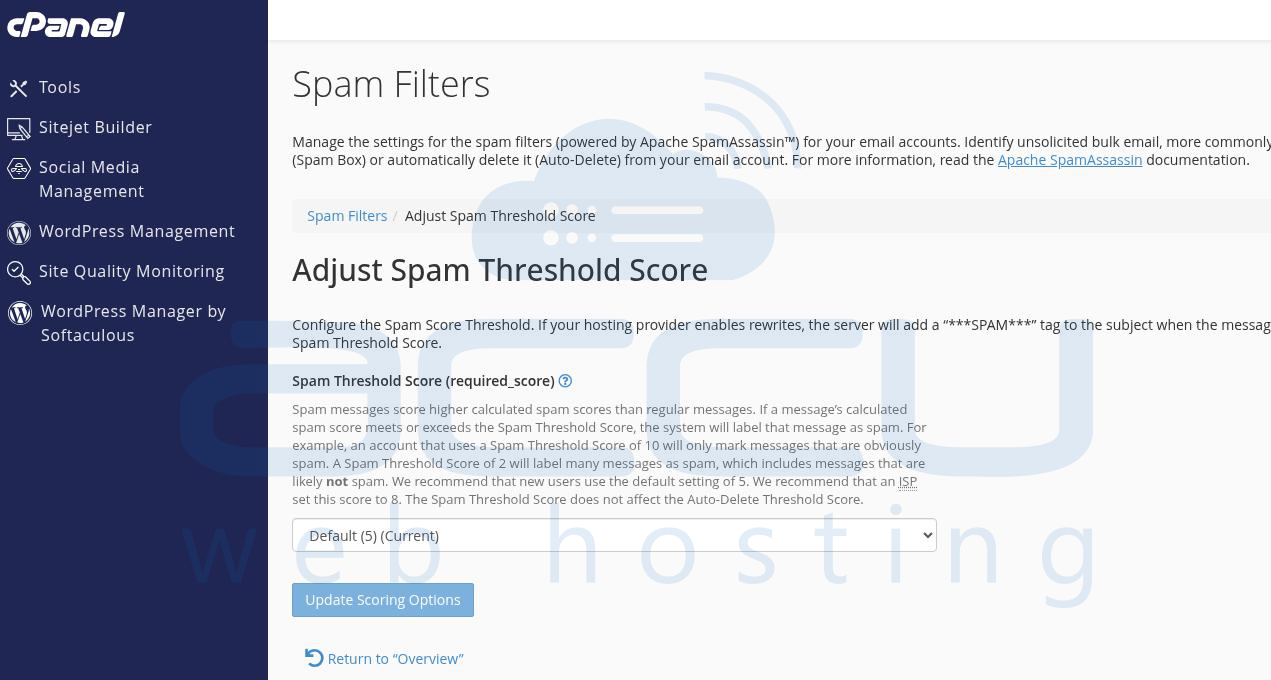
Example: If you set the score to 5, any message with a spam score of 5 or higher will be deleted or flagged.
Step 5: Save Changes
Once you enable SpamAssassin and configure your settings, a confirmation message will appear confirming that SpamAssassin has been enabled on your account.
Conclusion:
By enabling SpamAssassin in cPanel, you can significantly reduce the amount of spam entering your inbox. For better control, you can adjust the spam score threshold or enable auto-delete to block spam automatically. This ensures a cleaner and more secure email experience.
