Osquery is an open-source endpoint security and monitoring tool originally developed by Facebook (now Meta). it exposes your entire operating system as a relational database. That means you can write standard SQL queries to explore the state of your machine, from running processes and open network ports to installed packages, logged-in users, hardware details, scheduled cron jobs, and much more. In this guide, we will walk through every step of installing Osquery on a fresh Ubuntu server from scratch. We'll cover prerequisites, repository setup, the actual installation, verifying the install, exploring the interactive shell, running the daemon, writing your first queries, and a few useful tips to get you started with real-world usage.

What Is Osquery? (A Deeper Look)
The Core Concept: Your OS as a Database
Osquery works by implementing a virtual SQL database on top of your operating system. It uses a lightweight SQLite-compatible engine that maps system information, kernel data, proc filesystem entries, system calls, file metadata, and more, into virtual tables. These tables don't exist as actual database files on disk; instead, they are computed dynamically every time you query them. For example, when you query the processes table, Osquery reads from /proc in real time and returns a structured dataset. When you query the users table, it reads /etc/passwd and /etc/shadow. When you query listening_ports, it reads network socket data from the kernel.
This design means:
- No pre-existing database setup is required. You just install Osquery and start querying.
- Data is always fresh. Queries reflect the live state of the system at the moment of execution.
- The query language is familiar. Anyone who knows SQL can query system data without learning new syntax.
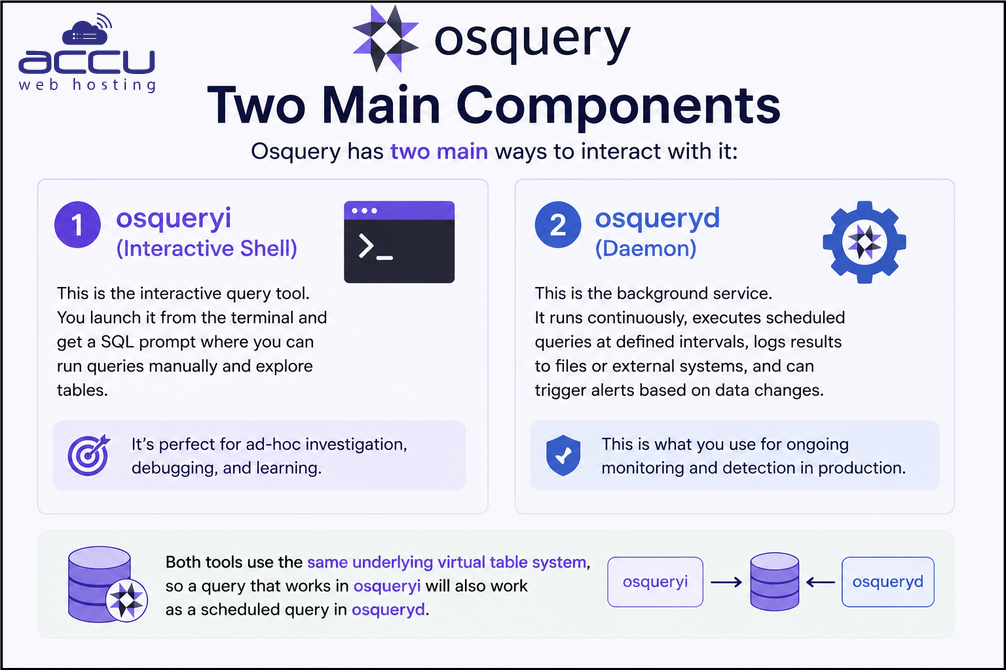
Two Main Components
Osquery has two main ways to interact with it:
- osqueryi (Interactive Shell) This is the interactive query tool. You launch it from the terminal and get a SQL prompt where you can run queries manually and explore tables. It's perfect for ad-hoc investigation, debugging, and learning.
- osqueryd (Daemon) This is the background service. It runs continuously, executes scheduled queries at defined intervals, logs results to files or external systems, and can trigger alerts based on data changes. This is what you use for ongoing monitoring and detection in production.
Both tools use the same underlying virtual table system, so a query that works in osqueryi will also work as a scheduled query in osqueryd.
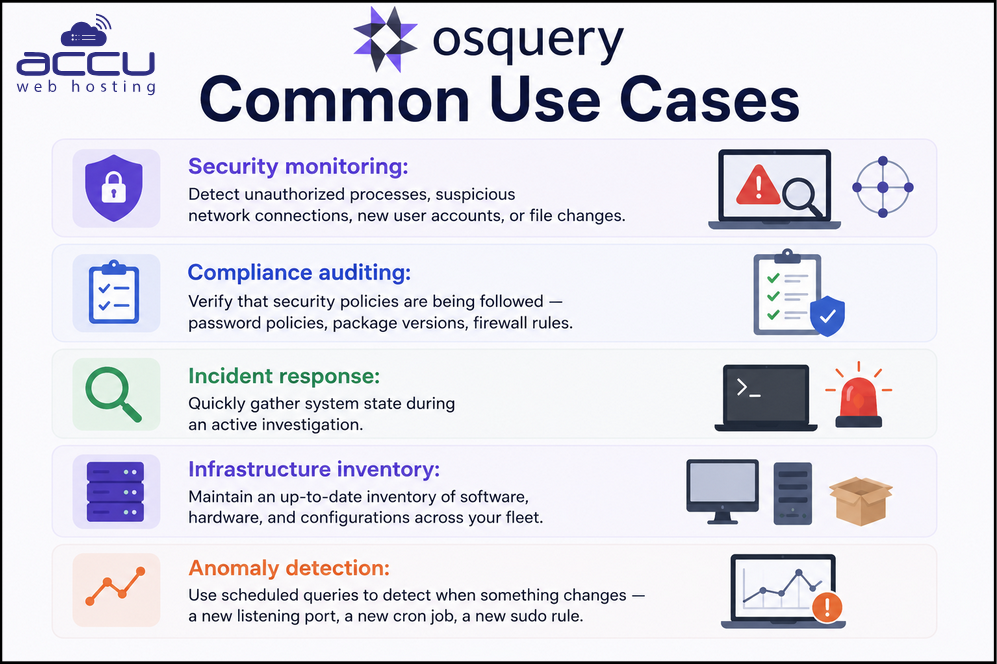
Common Use Cases of Osquery
Prerequisites
Before we begin the installation, let's confirm you have what you need.
System Requirements
- Operating System: Ubuntu 18.04 LTS, 20.04 LTS, 22.04 LTS, or 24.04 LTS (this guide covers all of them)
- Architecture: 64-bit (x86_64 / amd64)
- RAM: Minimum 512 MB (1 GB or more recommended)
- Disk Space: At least 200 MB free for Osquery and its logs
- User Privileges: You will need sudo or root access
Verify Your Ubuntu Version
Before anything else, let's confirm what Ubuntu version you're running:
lsb_release -a
You should see output similar to:
No LSB modules are available.
Distributor ID: Ubuntu
Description: Ubuntu 24.04 LTS
Release: 24.04
Codename: noble

Make note of the Codename — we'll use it when adding the Osquery repository.
Also verify your system architecture:
uname -m
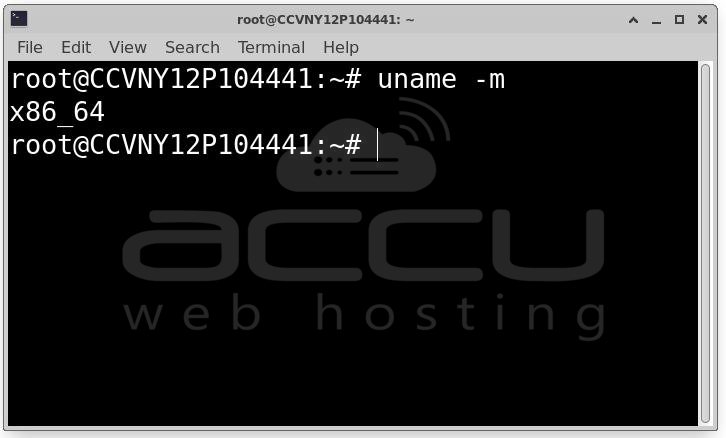
This should return x86_64 for a 64-bit system.
Steps to Install Osquery on Ubuntu OS server
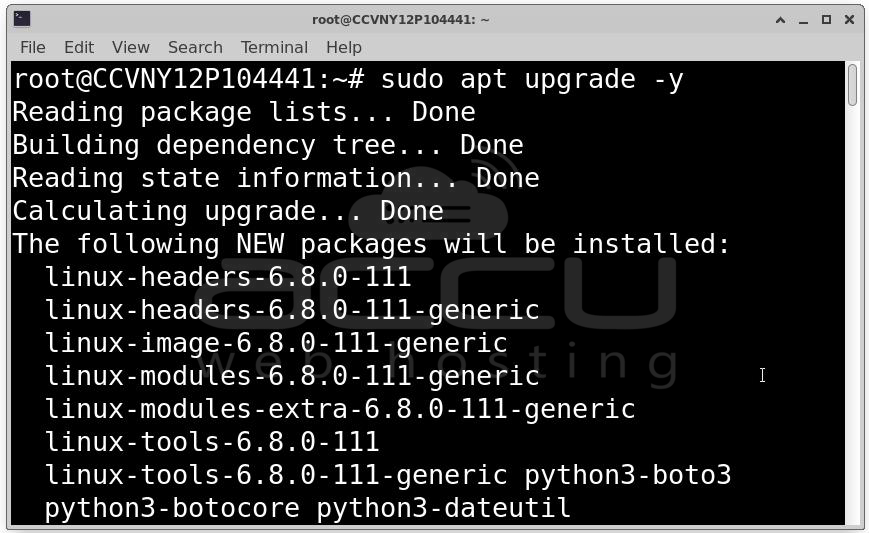
Step 1: Update the System: The very first thing you should do on any fresh server before installing new software is update the package index and upgrade existing packages. This ensures you have the latest security patches and that there are no dependency conflicts.
sudo apt update
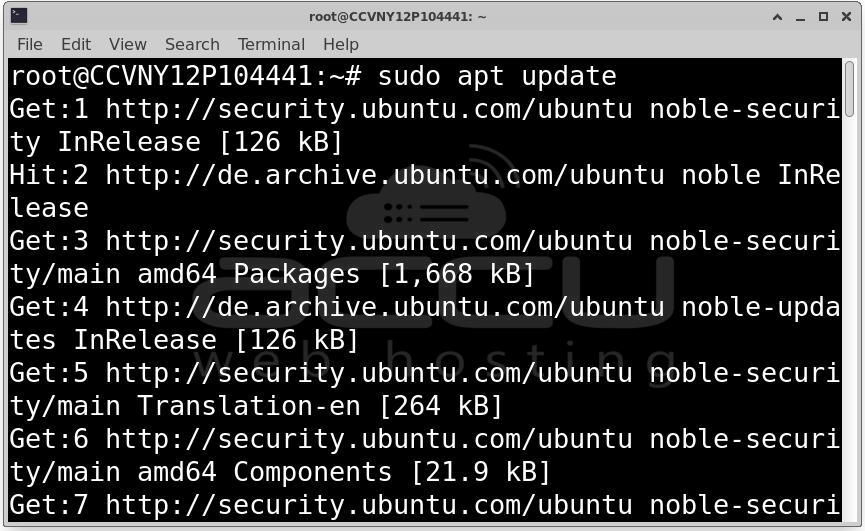
sudo apt upgrade -y
Step 2: Install Required Dependencies: Osquery requires a few packages to be present before installation. These are mostly utilities for downloading and verifying packages securely.
sudo apt install -y curl gnupg apt-transport-https ca-certificates lsb-release
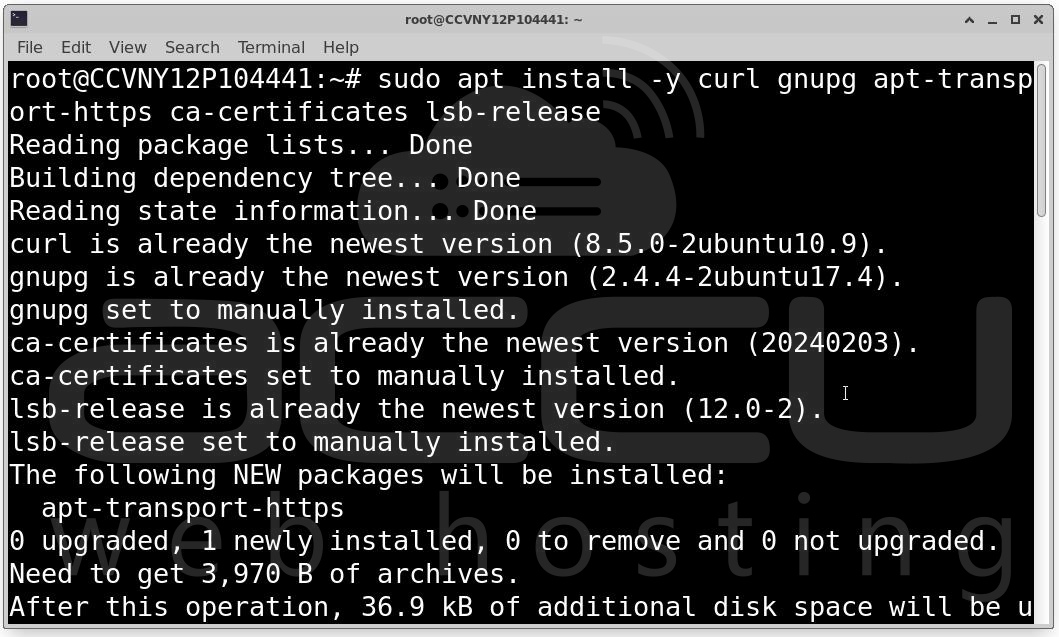
Here's what each package does:
- curl — command-line tool for downloading files from URLs
- gnupg — GNU Privacy Guard, used to verify package signatures
- apt-transport-https — allows APT to use HTTPS repositories
- ca-certificates — certificate authority certificates for SSL/TLS verification
- lsb-release — provides LSB (Linux Standard Base) distribution information
Most of these may already be installed on a fresh Ubuntu server, but running this command ensures they're all present.
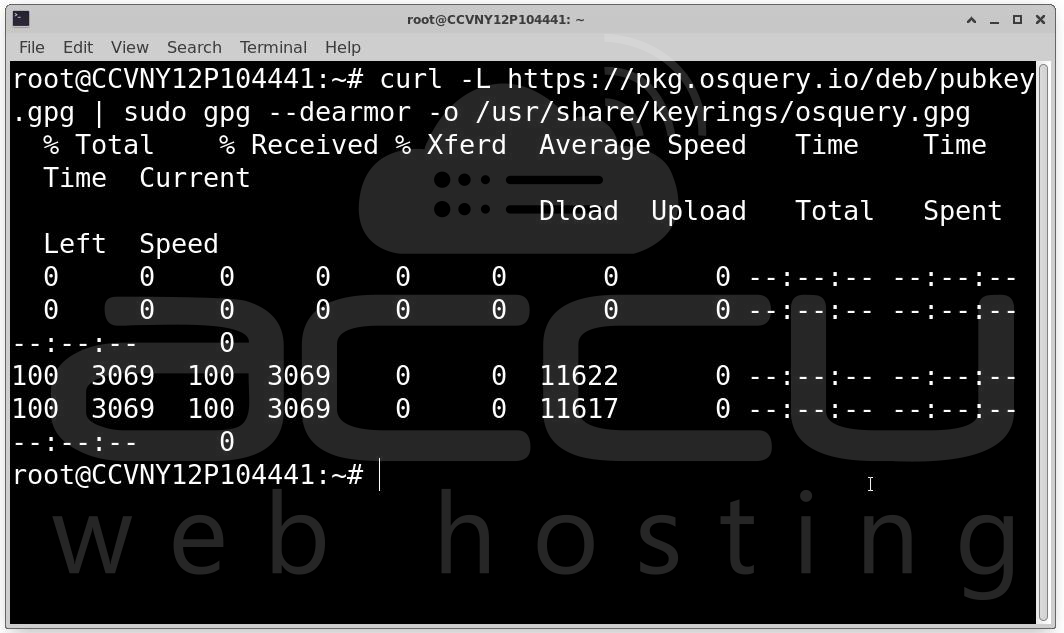
Step 3: Add the Osquery GPG Key: To ensure the packages you download are authentic and haven't been tampered with, APT uses cryptographic signatures. You need to import the Osquery GPG public key into your system's trusted keyring.
curl -L https://pkg.osquery.io/deb/pubkey.gpg | sudo gpg --dearmor -o /usr/share/keyrings/osquery.gpg
Verify the key was saved correctly:
ls -la /usr/share/keyrings/osquery.gpg
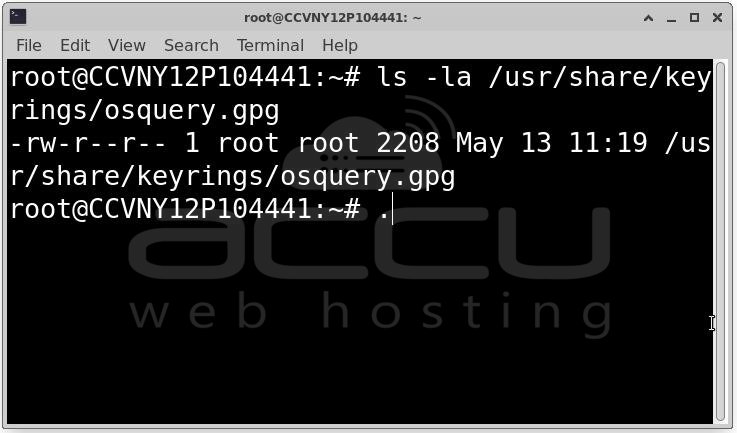
You should see the file listed with a recent timestamp.
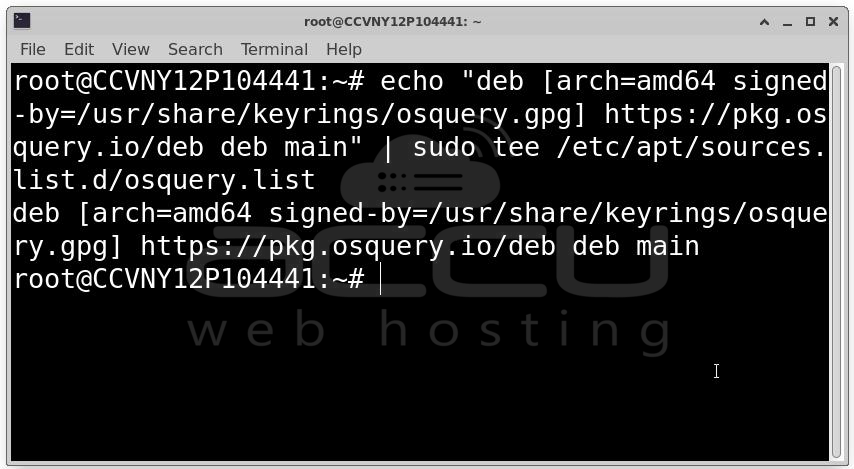
Step 4: Add the Osquery APT Repository: Now that the GPG key is trusted, you can add the Osquery repository to your system's list of package sources.
echo "deb [arch=amd64 signed-by=/usr/share/keyrings/osquery.gpg] https://pkg.osquery.io/deb deb main" | sudo tee /etc/apt/sources.list.d/osquery.list
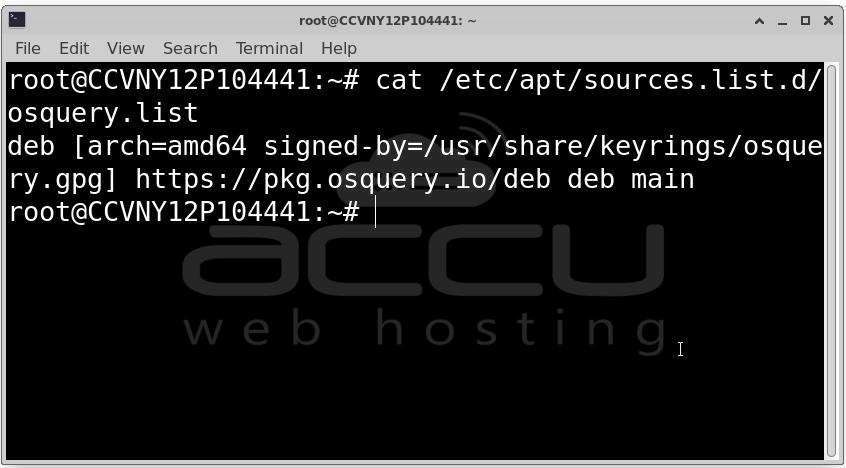
Verify the file was created:
cat /etc/apt/sources.list.d/osquery.list
Expected output:
deb [arch=amd64 signed-by=/usr/share/keyrings/osquery.gpg] https://pkg.osquery.io/deb deb main
Step 5: Update the Package Index: Now that the new repository has been added, update the APT package index so your system becomes aware of the Osquery packages available:
sudo apt update
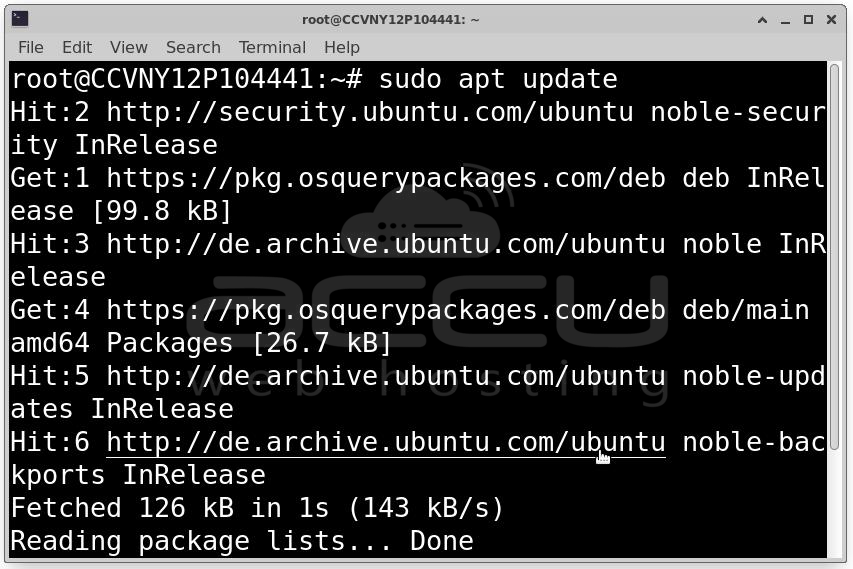
If everything went correctly, you should see the Osquery repository being fetched in the output. Look for a line containing pkg.osquery.io.
You can also verify Osquery is now discoverable by APT:
apt-cache policy osquery
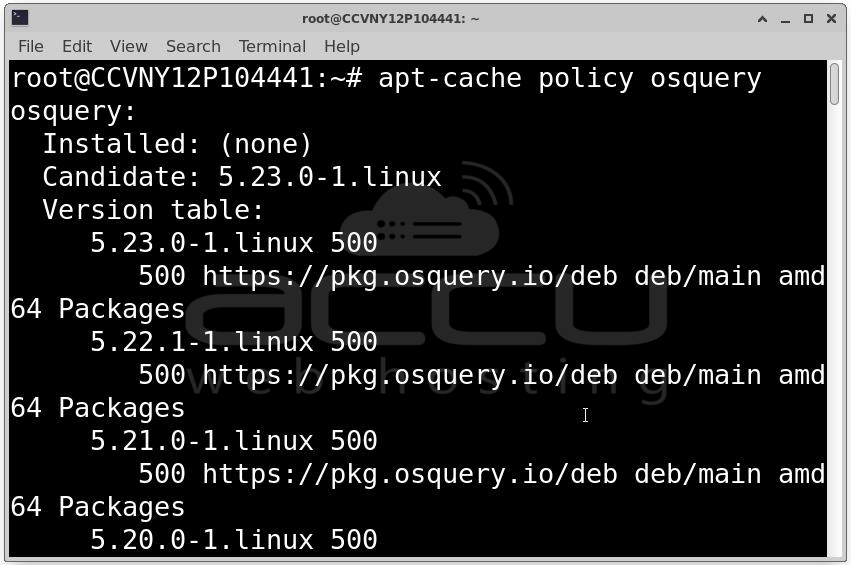
This should show the available Osquery version from the repository. If it returns no output or an error, double-check the repository file and GPG key steps above.
Step 6: Install Osquery: Now we're ready for the actual installation. This is the simplest step:
sudo apt install -y osquery

APT will download the Osquery package along with any dependencies and install them. The installation typically takes under a minute on a decent internet connection.
Step 7: Verify the Installation
Once the installation completes, verify that Osquery was installed correctly:
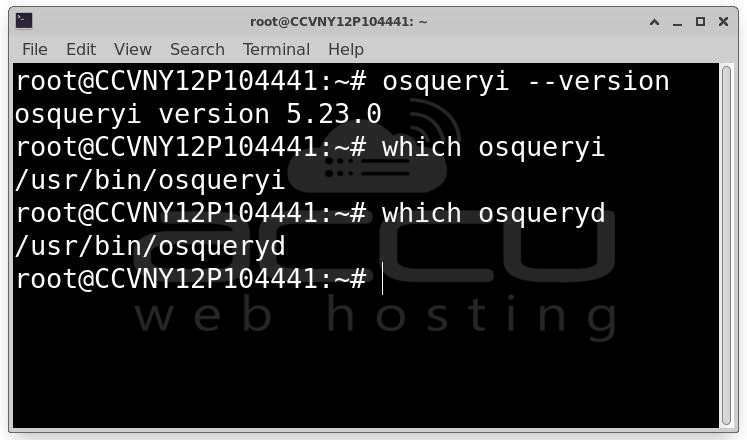
osqueryi --version
You should see output like:
osquery version 5.x.x
Also check that both the interactive tool and daemon are present:
which osqueryi
which osqueryd
Both should return paths like /usr/bin/osqueryi and /usr/bin/osqueryd.
Step 8: Explore Osquery with the Interactive Shell (osqueryi)
The interactive shell is the best place to start learning and exploring Osquery. Launch it:
sudo osqueryi
You'll see a prompt like:
Using a virtual database. Need help, type '.help'
osquery>

You're now inside a live SQL environment connected to your system's data.
List All Available Tables
The first thing to do is see what tables are available:
.tables
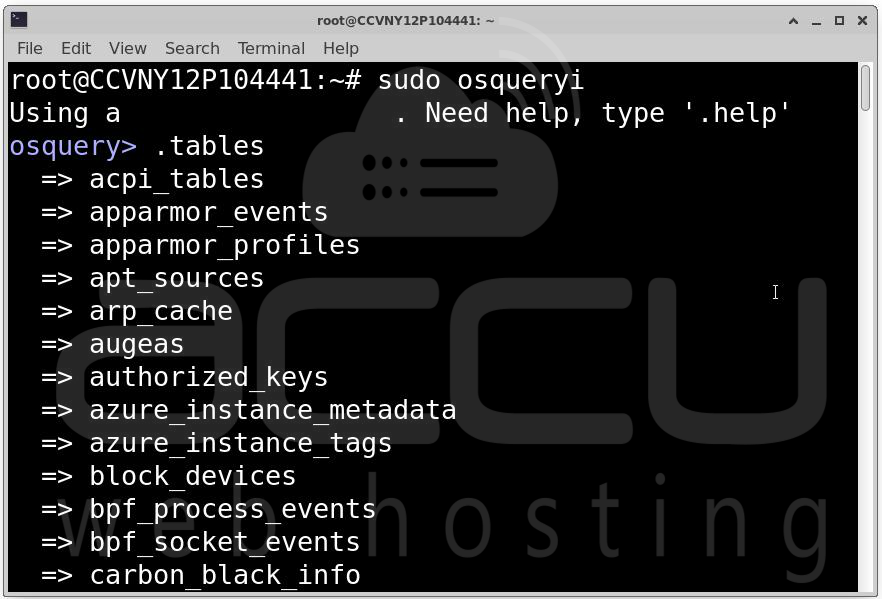
This will output a long list of virtual tables, dozens of them, covering everything from processes and users to kernel modules, hardware, network interfaces, and more.
Get the Schema of a Table
To understand the columns available in a table, use .schema:
.schema processes
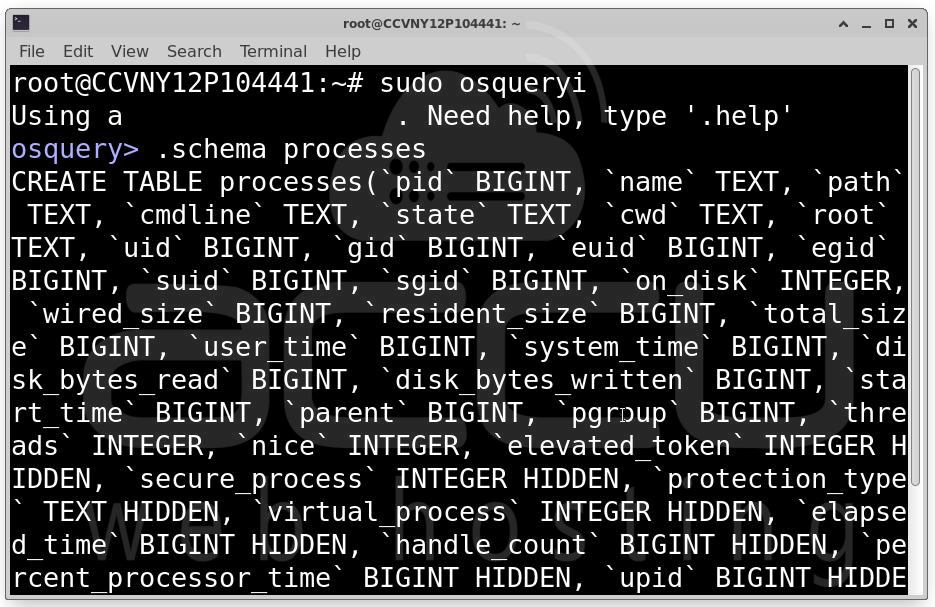
This shows every column in the processes table along with its data type.
Your First Queries
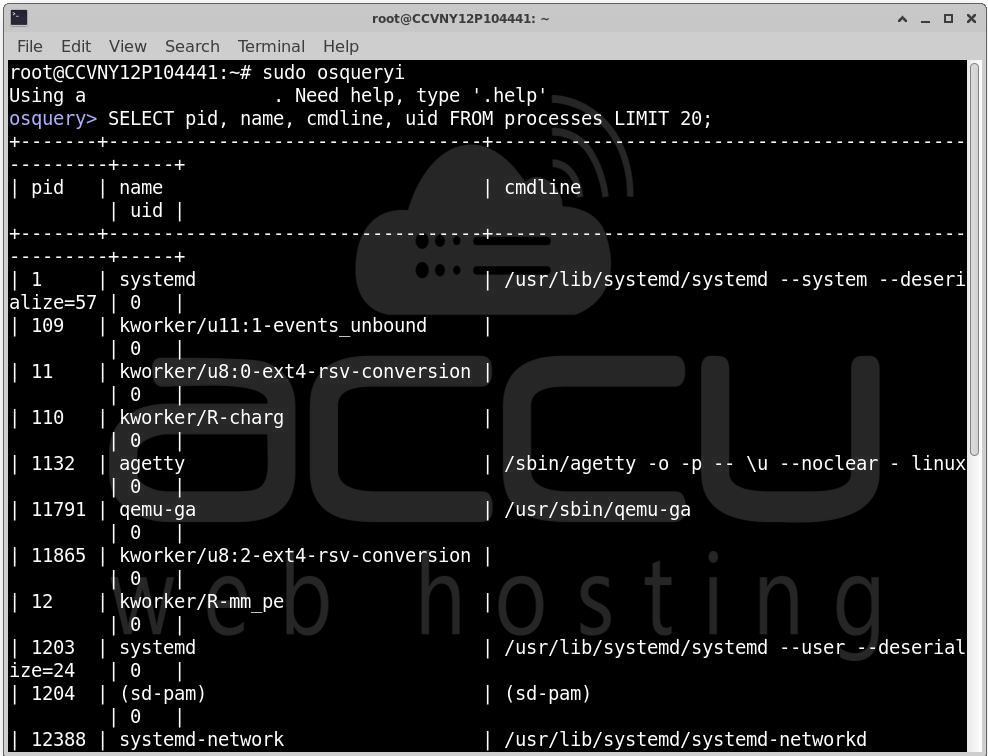
Here are some useful queries to try immediately:
List all running processes:
SELECT pid, name, cmdline, uid FROM processes LIMIT 20;
Show all listening network ports:
SELECT pid, port, protocol, address FROM listening_ports;

Check installed packages:
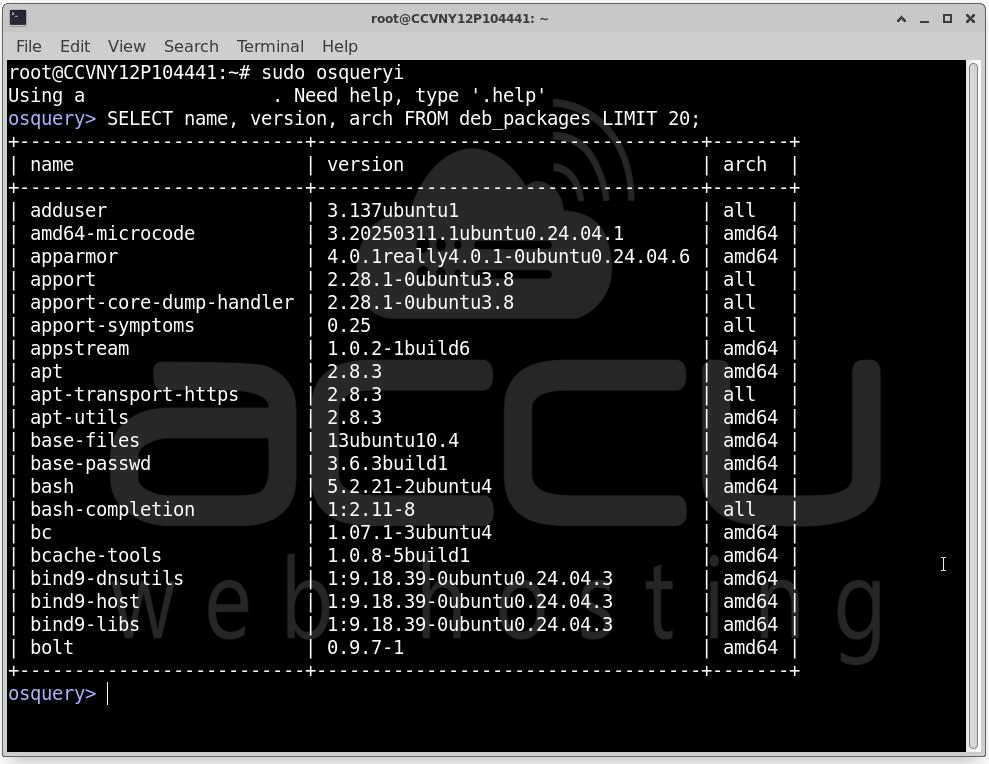
SELECT name, version, arch FROM deb_packages LIMIT 20;
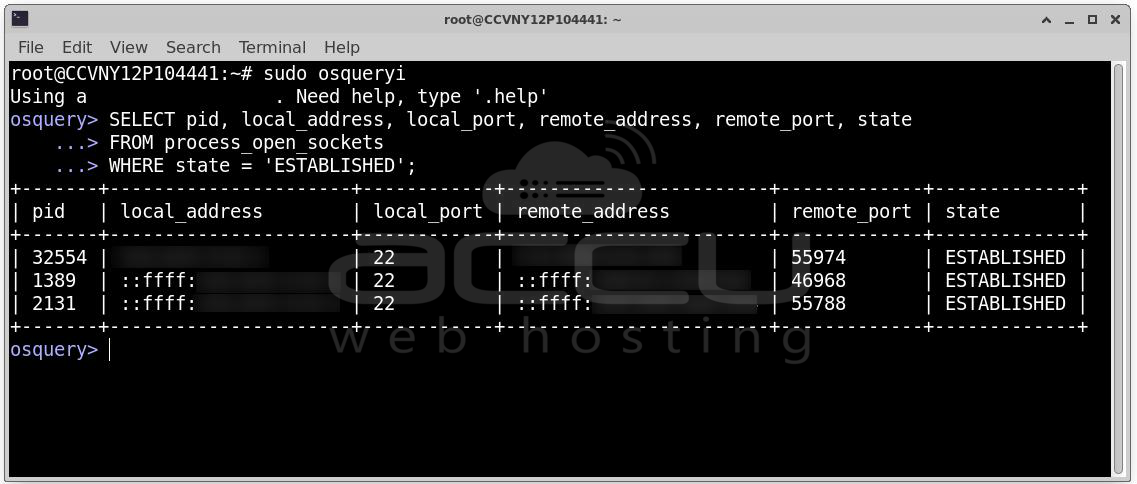
See active network connections:
SELECT pid, local_address, local_port, remote_address, remote_port, state
FROM process_open_sockets
WHERE state = 'ESTABLISHED';
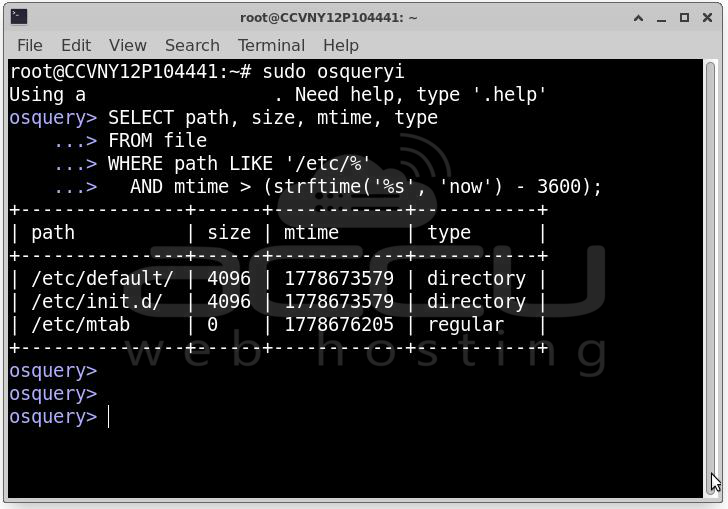
Find files recently modified in /etc:
SELECT path, size, mtime, type
FROM file
WHERE path LIKE '/etc/%'
AND mtime > (strftime('%s', 'now') - 3600);
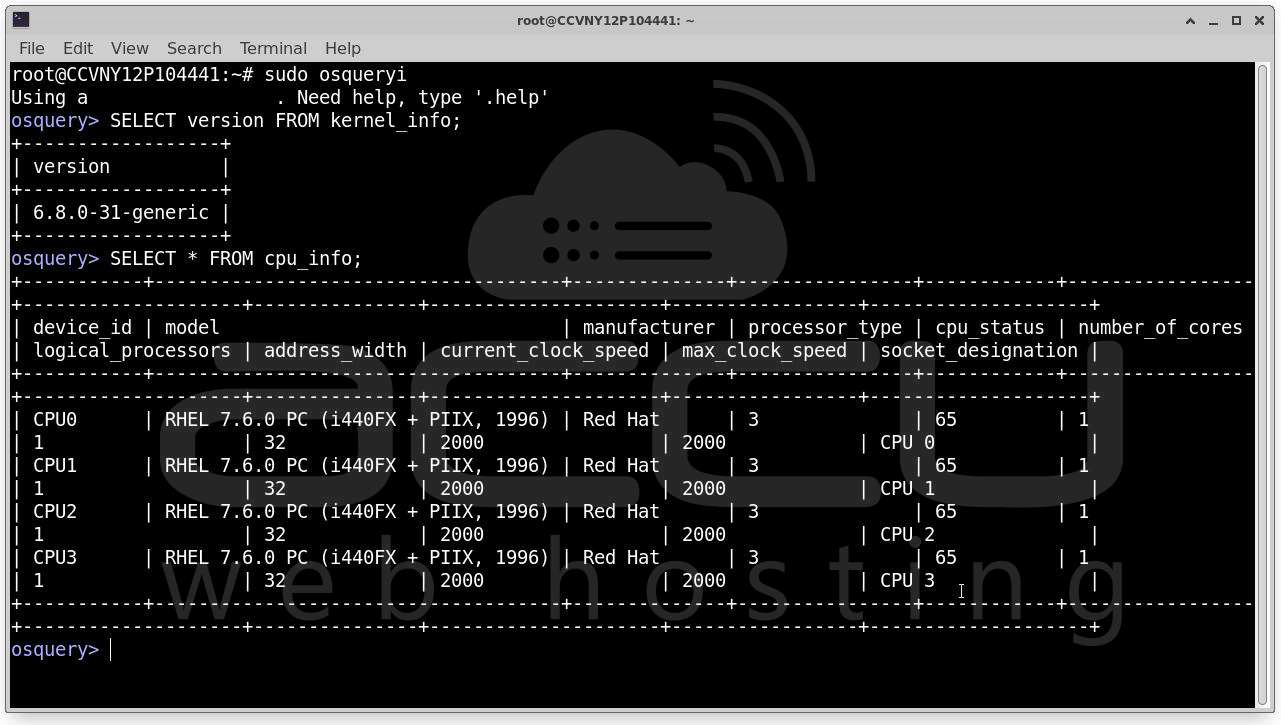
Check kernel version:
SELECT version FROM kernel_info;
See CPU information:
SELECT * FROM cpu_info;
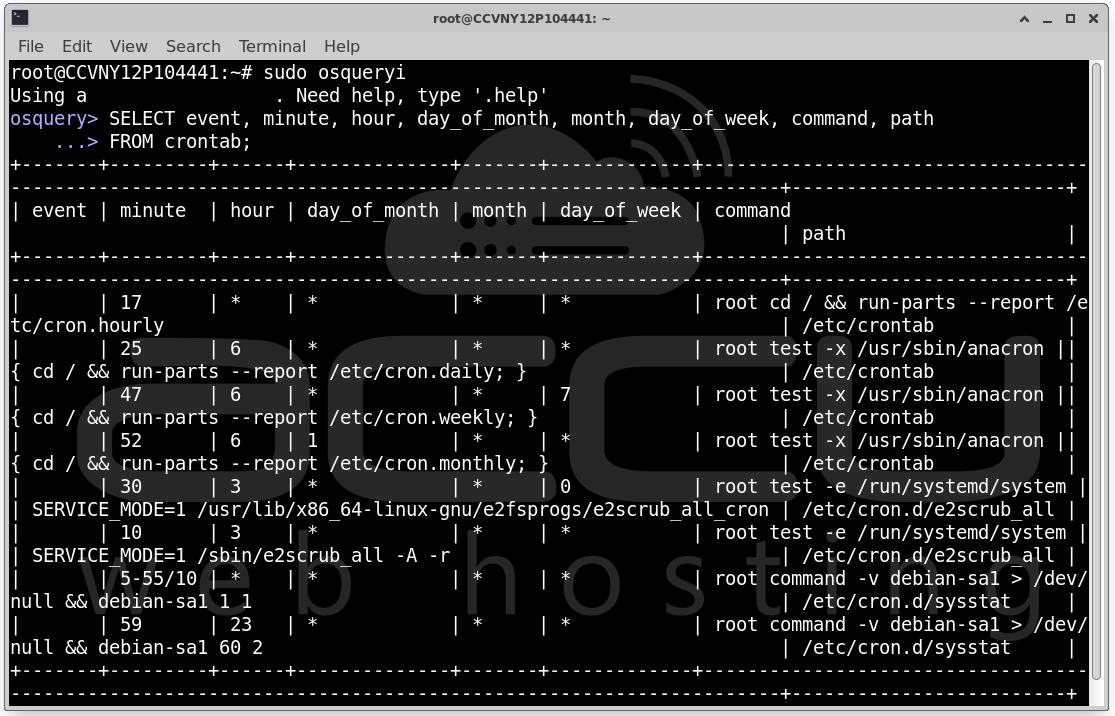
List all cron jobs:
SELECT event, minute, hour, day_of_month, month, day_of_week, command, path
FROM crontab;
Exit the Shell
When you're done exploring: .exit
Or press Ctrl+D.
Step 9: Configure and Start the Osquery Daemon (osqueryd)
The interactive shell is great for manual investigation, but for ongoing monitoring you want the Osquery daemon (osqueryd) running in the background. It executes scheduled queries, logs results, and forms the backbone of any real monitoring setup.
Create the Configuration Directory
sudo mkdir -p /etc/osquery
Create a Basic Configuration File: Osquery's daemon is configured via a JSON file at /etc/osquery/osquery.conf. Let's create a basic one:
sudo nano /etc/osquery/osquery.conf
Paste in the following configuration:
{
"options": {
"config_plugin": "filesystem",
"logger_plugin": "filesystem",
"logger_path": "/var/log/osquery",
"disable_logging": "false",
"log_result_events": "true",
"schedule_splay_percent": "10",
"pidfile": "/var/osquery/osquery.pidfile",
"events_expiry": "3600",
"database_path": "/var/osquery/osquery.db",
"verbose": "false",
"worker_threads": "2",
"enable_monitor": "true",
"disable_events": "false"
},
"schedule": {
"system_info": {
"query": "SELECT hostname, cpu_type, cpu_brand, hardware_model, physical_memory FROM system_info;",
"interval": 3600
},
"running_processes": {
"query": "SELECT pid, name, cmdline, start_time, uid FROM processes;",
"interval": 60
},
"listening_ports": {
"query": "SELECT pid, port, protocols, family, address FROM listening_ports;",
"interval": 60
},
"logged_in_users": {
"query": "SELECT liu.*, p.name, p.cmdline, p.cwd, p.root FROM logged_in_users liu, processes p WHERE liu.pid = p.pid;",
"interval": 60
},
"installed_packages": {
"query": "SELECT name, version, arch FROM deb_packages;",
"interval": 86400
},
"crontab_snapshot": {
"query": "SELECT event, minute, hour, day_of_month, month, day_of_week, command, path FROM crontab;",
"interval": 3600
}
},
"decorators": {
"load": [
"SELECT uuid AS host_uuid FROM system_info;",
"SELECT user AS username FROM logged_in_users ORDER BY time DESC LIMIT 1;"
]
},
"packs": {}
}
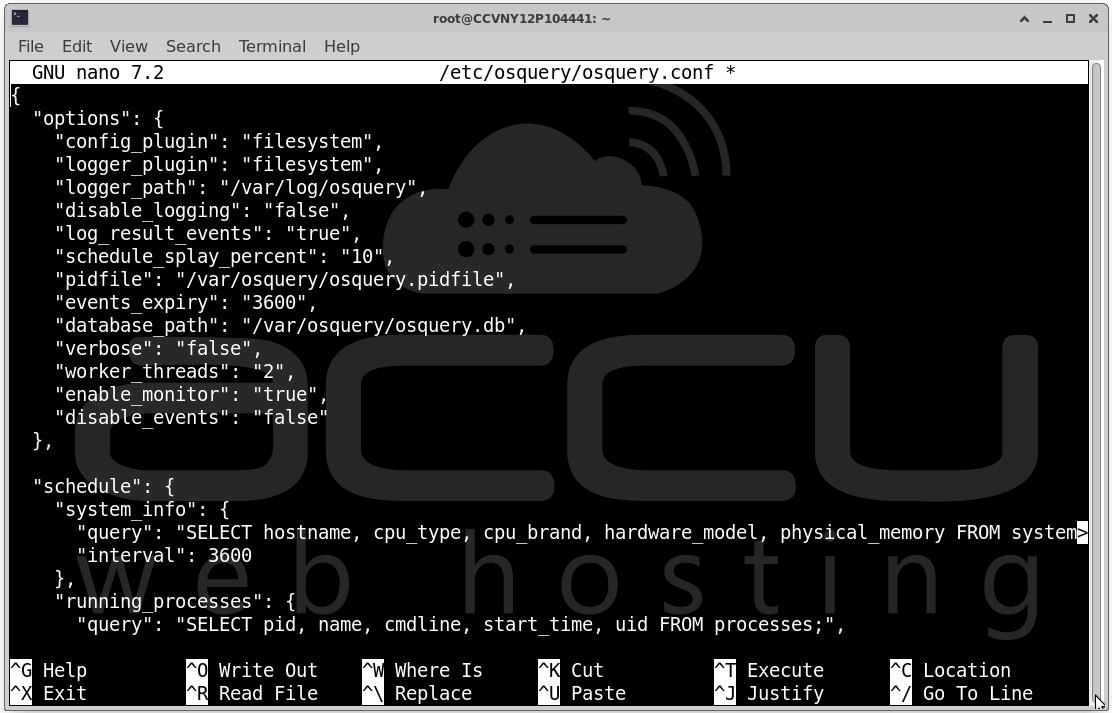
Save and close the file (Ctrl+X, then Y, then Enter in nano).
This configuration:
- Sets logging to /var/log/osquery
- Stores the Osquery database at /var/osquery/osquery.db
- Defines 6 scheduled queries that run at regular intervals
- Adds decorators that attach the host UUID and current user to every log entry
Create Required Directories
sudo mkdir -p /var/log/osquery
sudo mkdir -p /var/osquery
Validate the Configuration
Before starting the daemon, validate your config file for syntax errors:
sudo osqueryi --config_path /etc/osquery/osquery.conf --config_check
If there are no errors, this command returns nothing (or exits cleanly). If you see errors, check the JSON syntax in your config file.
Enable and Start the Daemon
Now enable and start the Osquery daemon as a systemd service:
sudo systemctl enable osqueryd
sudo systemctl start osqueryd
Check its status:
sudo systemctl status osqueryd
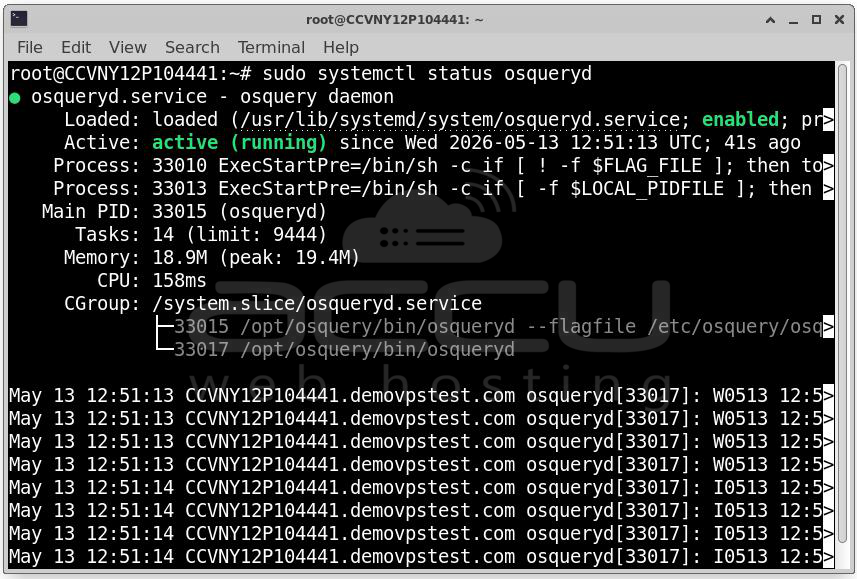
You should see output showing the service is active (running). If it failed to start, check the logs with:
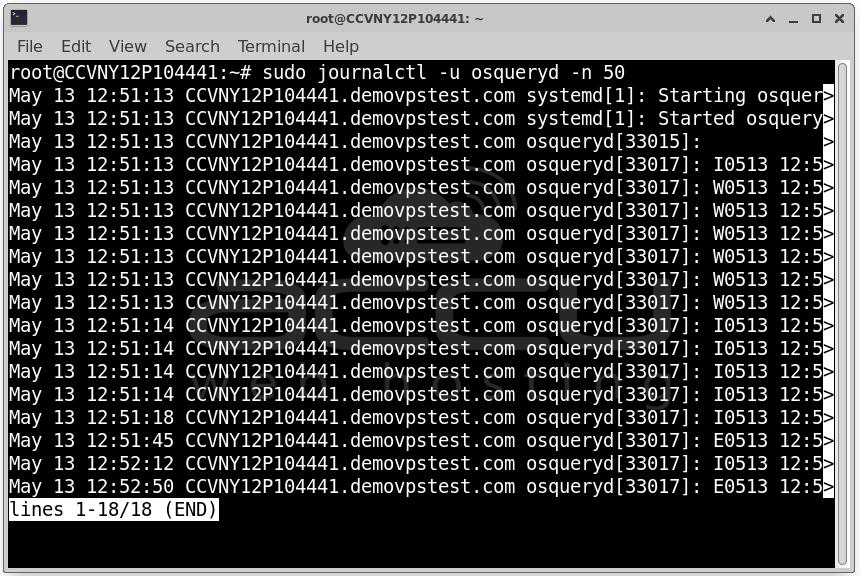
sudo journalctl -u osqueryd -n 50
Step 10: View Osquery Logs
Once the daemon is running, it begins writing log files. Let's look at what's being captured.
Log File Locations
By default (with our configuration above):
- Results log: /var/log/osquery/osqueryd.results.log: query results from scheduled queries
- Snapshots log: /var/log/osquery/osqueryd.snapshots.log: full snapshots from snapshot-mode queries
- Info log: /var/log/osquery/osqueryd.INFO: daemon status and informational messages
View Results in Real Time
sudo tail -f /var/log/osquery/osqueryd.results.log
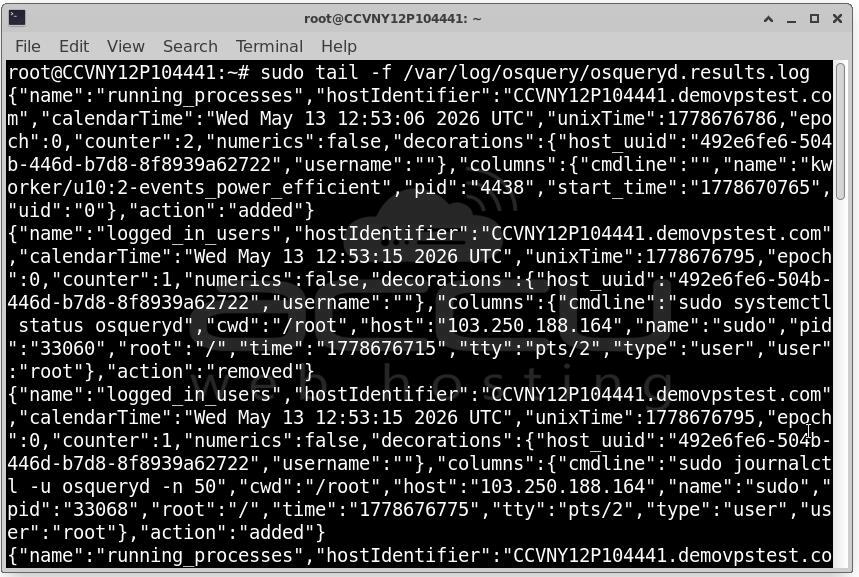
Results are logged as JSON, one record per line. You'll see entries like:
{"name":"running_processes","hostIdentifier":"my-server","calendarTime":"...","unixTime":...,"epoch":...,"counter":...,"numerics":false,"columns":{"pid":"1234","name":"nginx","cmdline":"/usr/sbin/nginx -g 'daemon off;'","start_time":"...","uid":"0"},"action":"added"}
The "action" field is important: "added" means this row appeared since the last check, "removed" means it disappeared. This differential logging is what makes Osquery great for detecting changes.
Conclusion
You've now successfully installed and configured Osquery on a fresh Ubuntu server. Starting from a bare system, you added the official repository, imported the GPG key, installed the package, explored the interactive shell, configured the daemon with scheduled queries, and set up proper logging.
