Migrating a website from one hosting control panel to another can seem challenging, especially when switching from cPanel to ISPManager. Both panels manage websites, databases, and email accounts differently, so proper planning and execution are critical to ensure minimal downtime and data loss. In this article, we will walk you through the step-by-step process to migrate your website smoothly.
Step 1: Backup Your Website
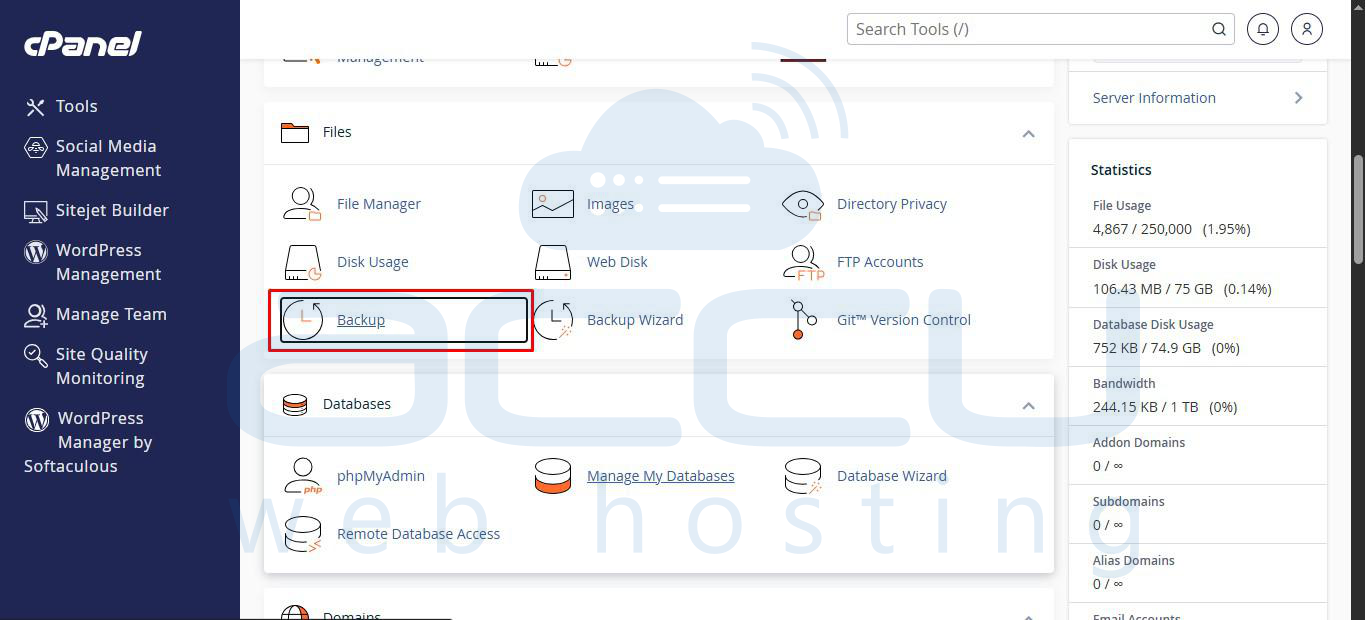
1. In cPanel, navigate to Backup or Backup Wizard.
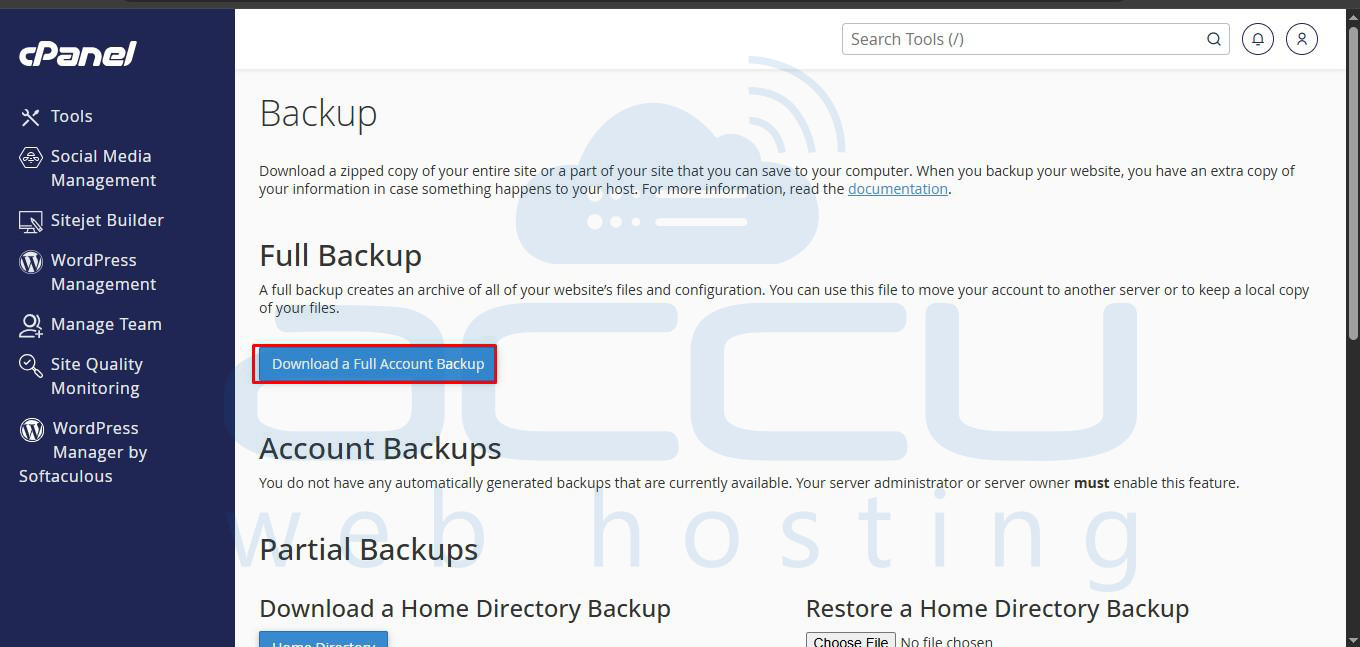
2. Click Download a Full Account Backup.
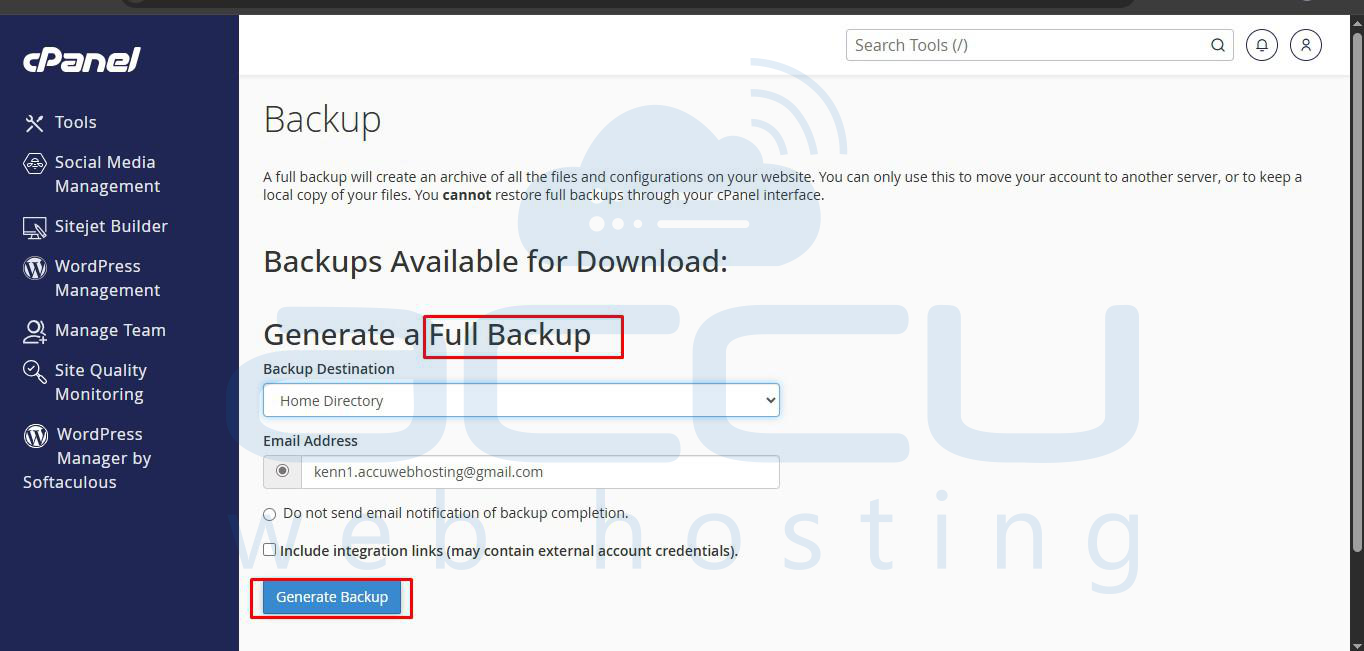
3. Set the destination to Home Directory and click Generate Backup.
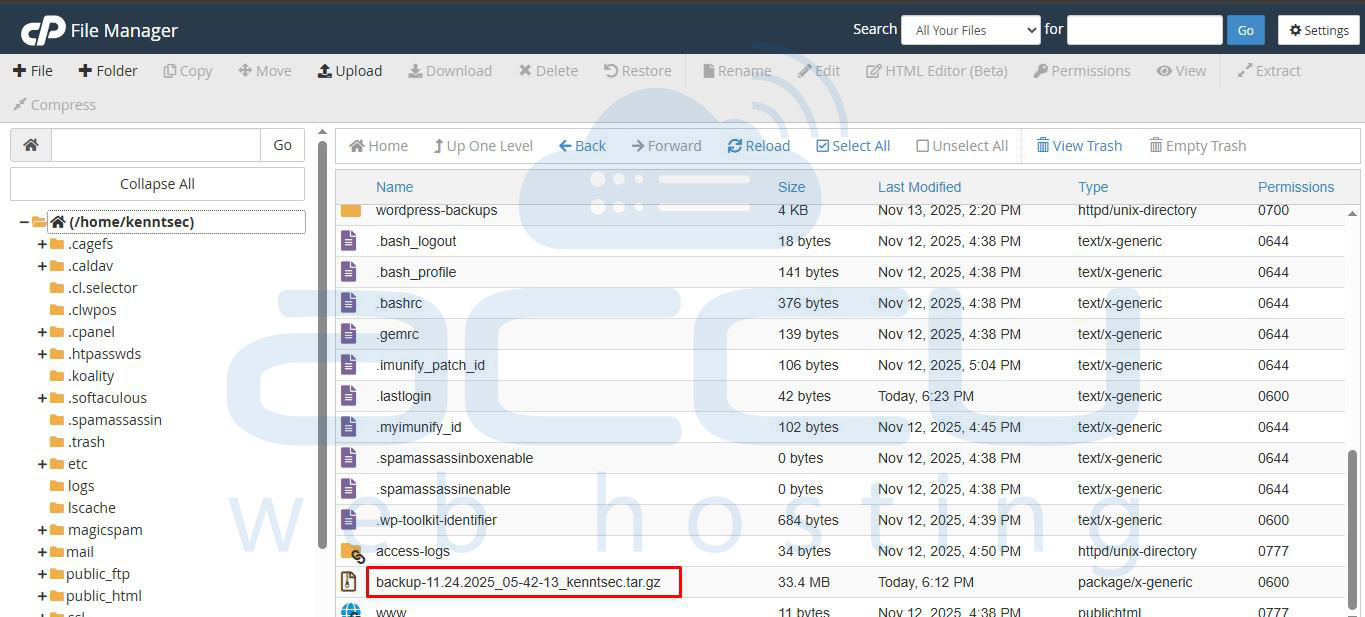
4. Open File Manager, locate the new .tar.gz file, and download it to your computer.
Step 2: Upload Files to ISPManager
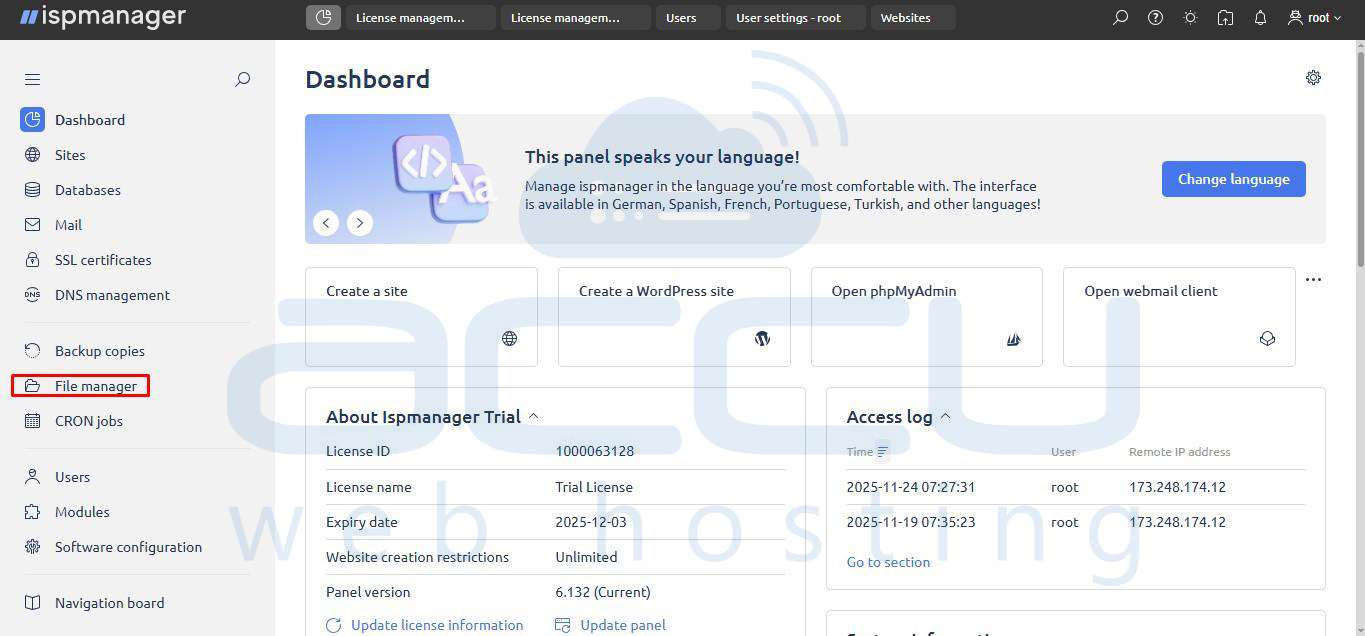
1. Log in to ISPManager → File Manager.
2. Navigate to your site directory: /var/www/www-root/data/www/YOUR_DOMAIN/.
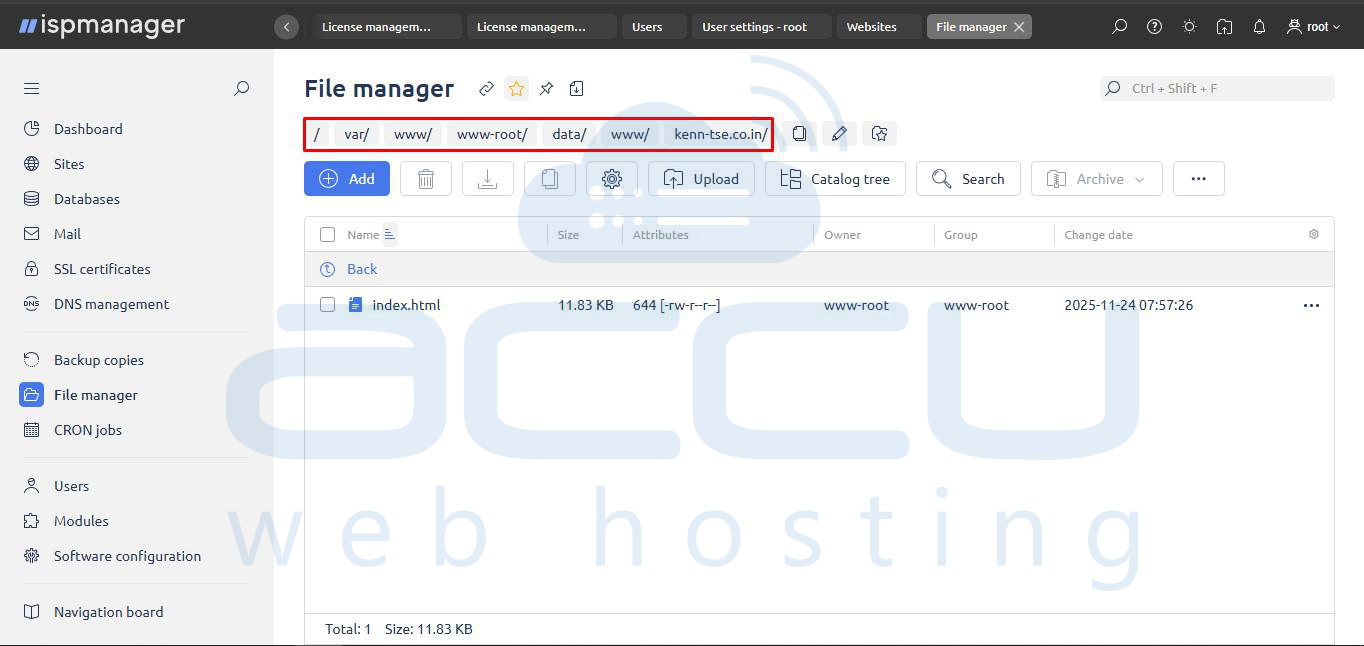
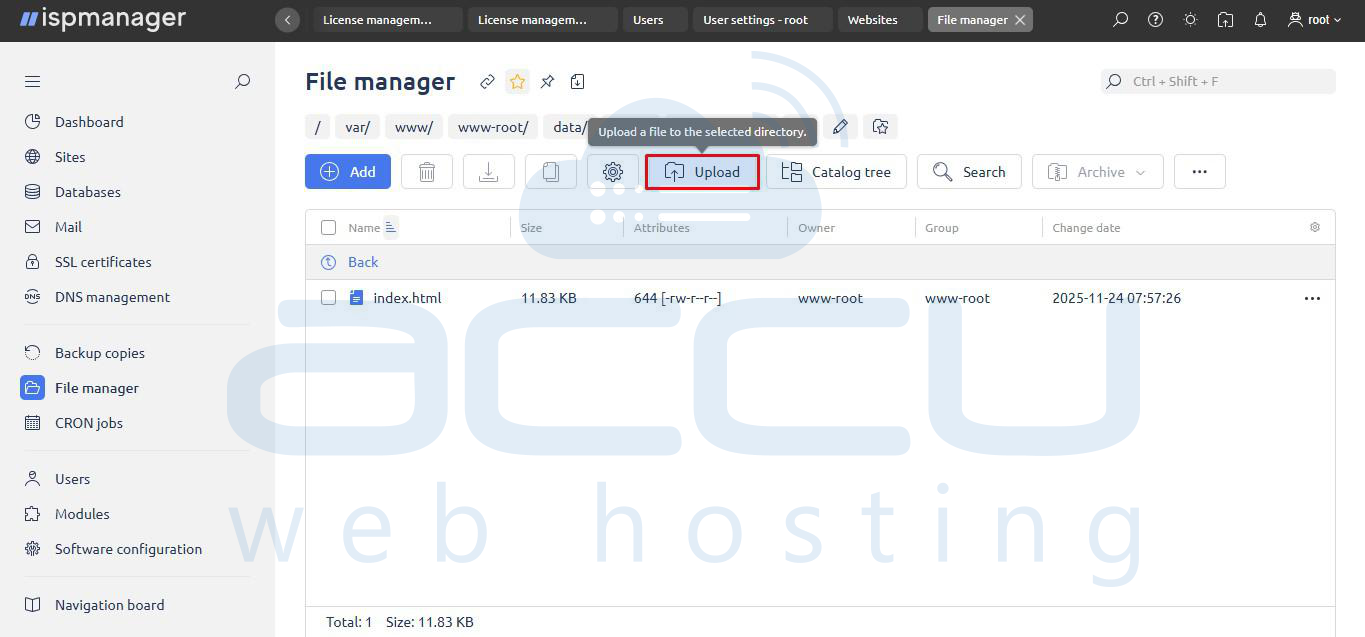
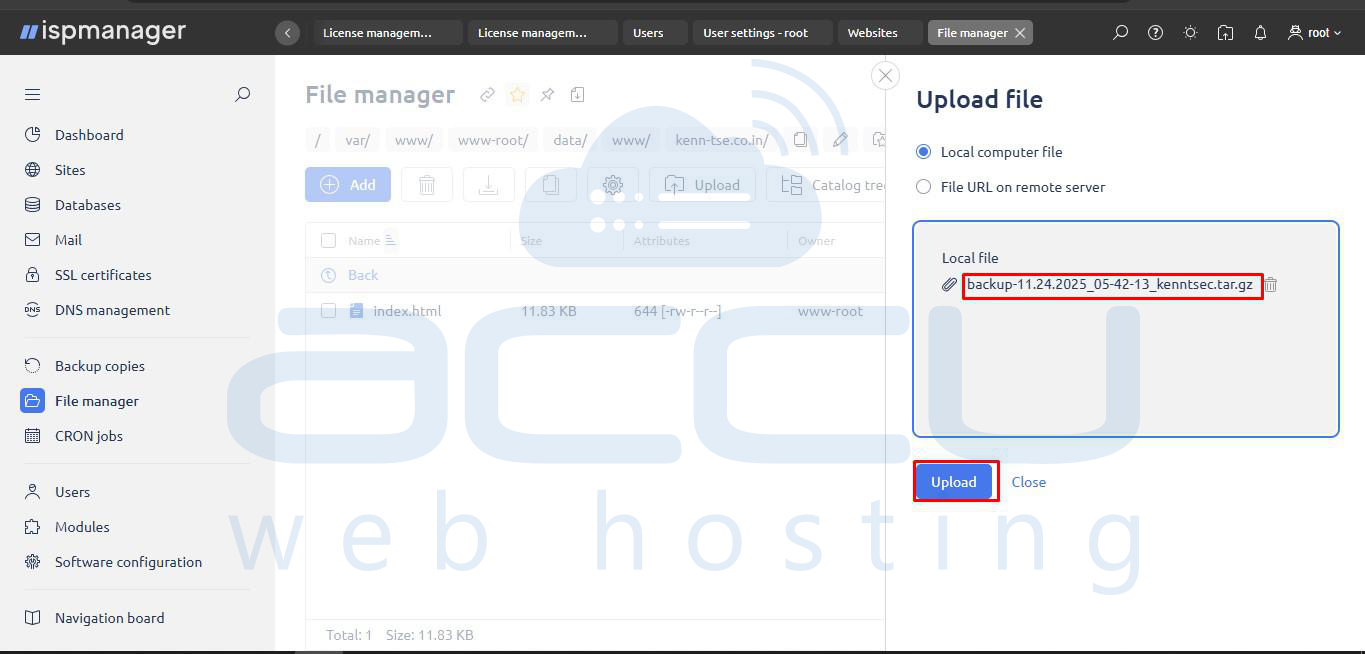
3. Click Upload and select the backup file you just downloaded.
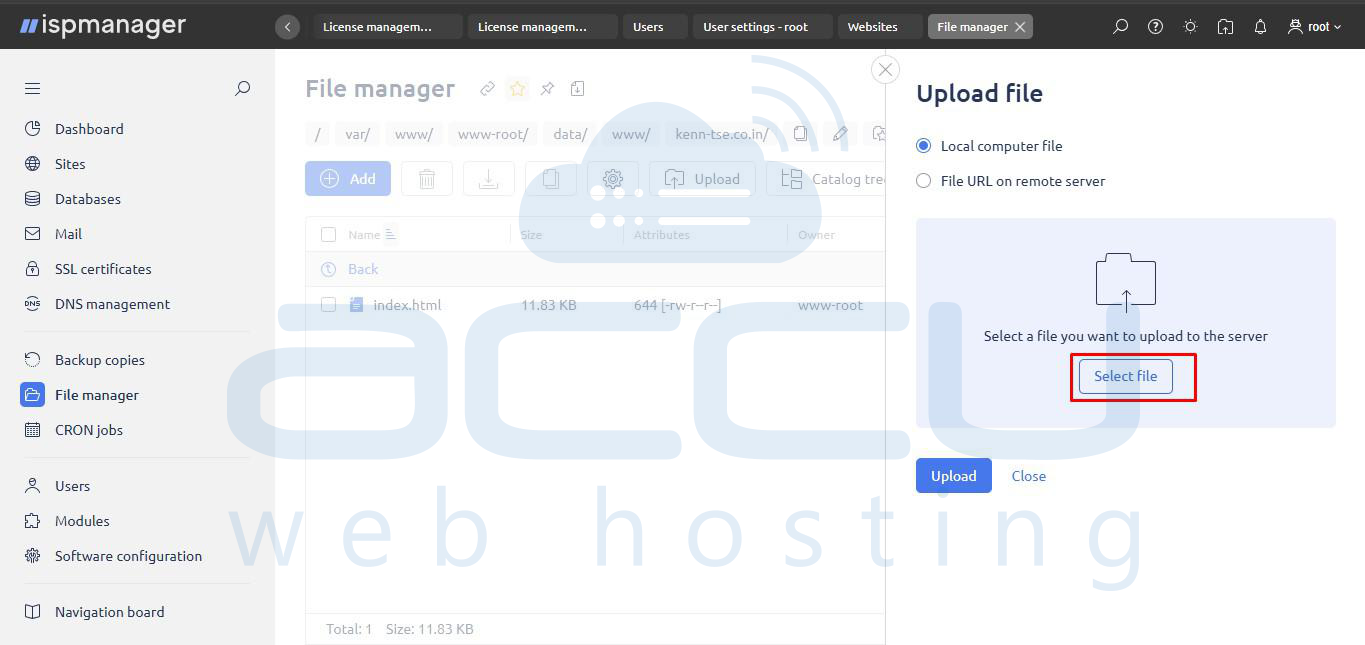
4. Select Local computer file, choose the .tar.gz backup you downloaded earlier, and click Upload.

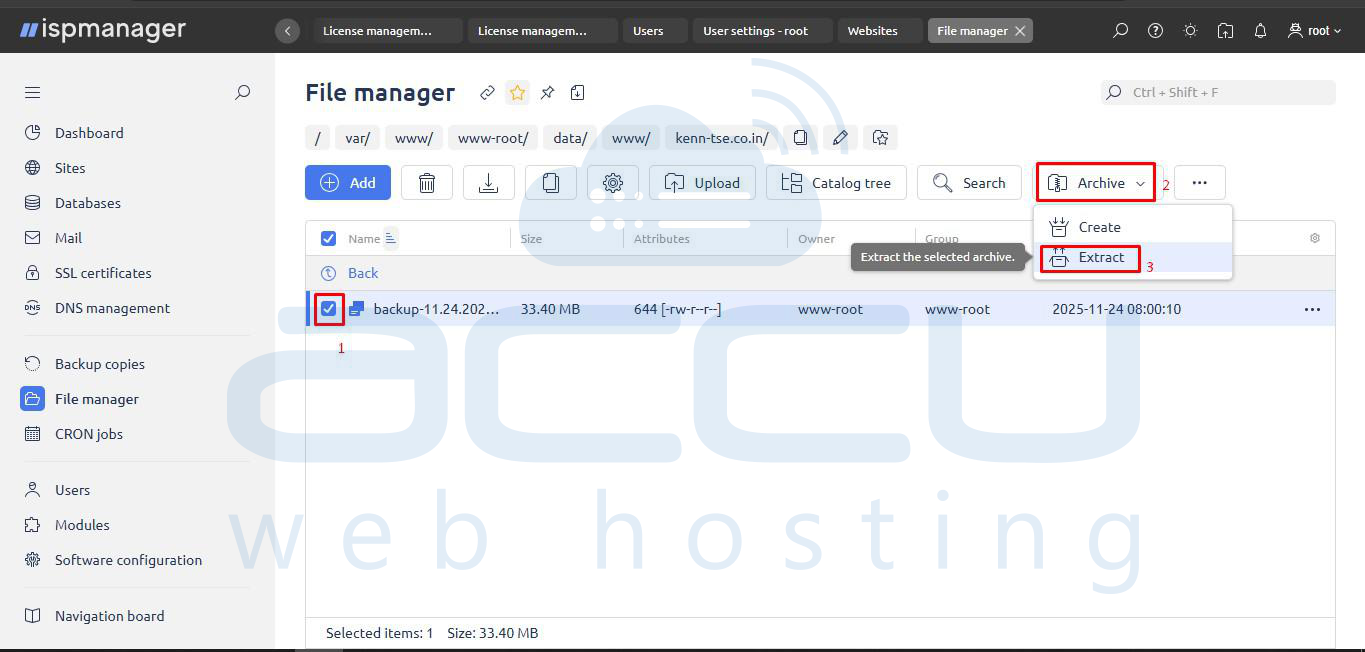
5. Select the uploaded backup file (e.g., backup). Click the Archive dropdown menu in the top bar and select Extract.
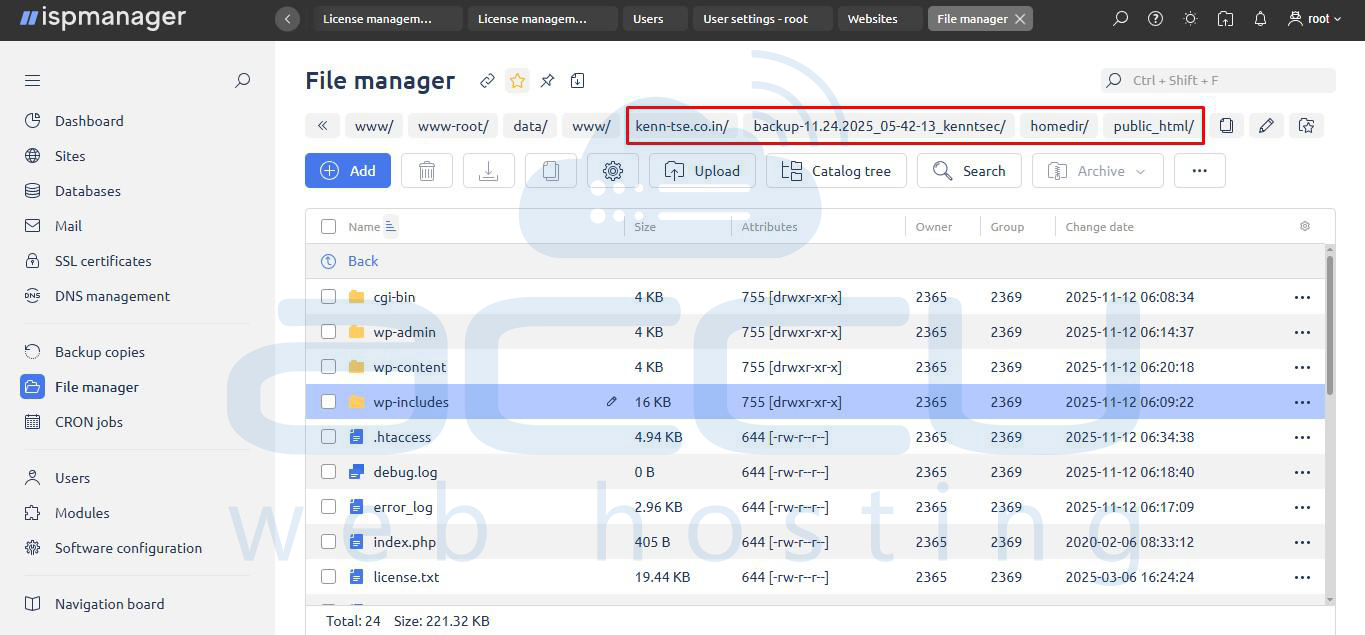
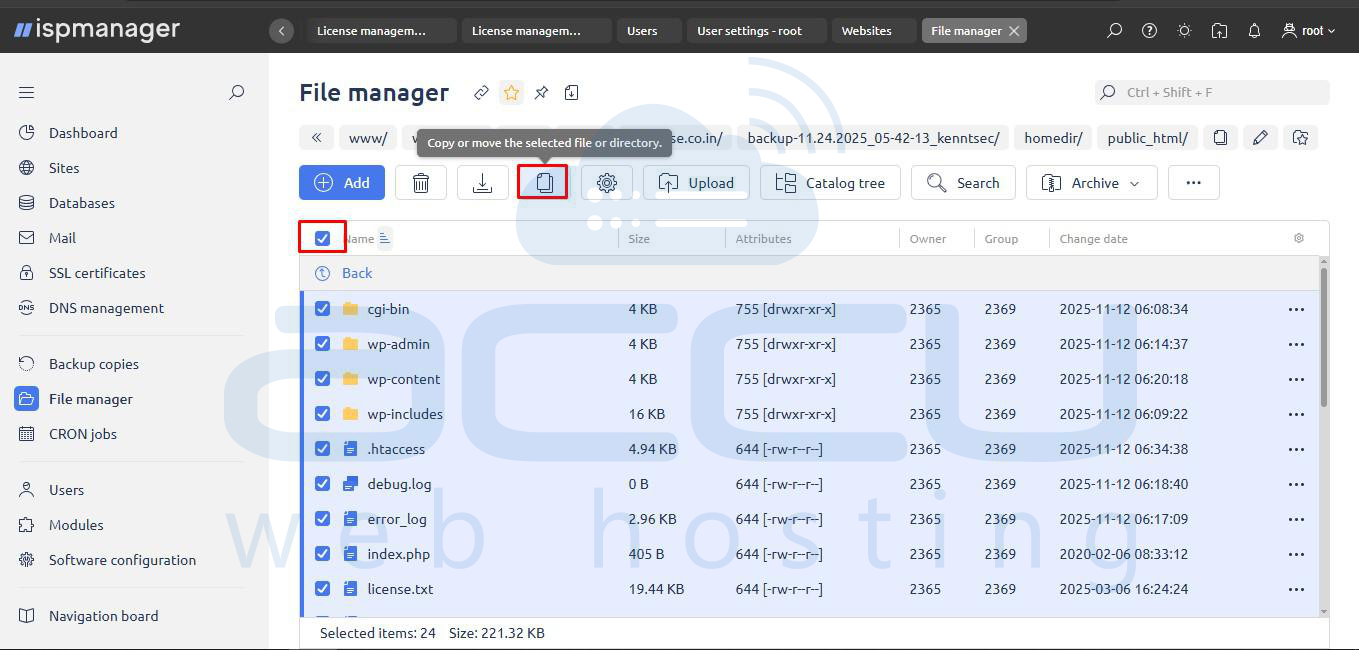
6. Locate the files: Enter the extracted folder. You will need to navigate through a few subfolders to find your site content. The path is typically: backup_folder > homedir > public_html. Select all files: Once inside public_html, select all files and folders (including wp-admin, wp-content, etc.).
7. Click the Copy/Move icon (two overlapping sheets) in the top toolbar.
8. Set Destination:
- In the directory tree, select your main domain folder: /var/www/www-root/data/www/kenn-tse.co.in.
- Important: Check the box labeled Move files.
- Click Copy.

9. Your website files are now successfully moved to the correct root directory.
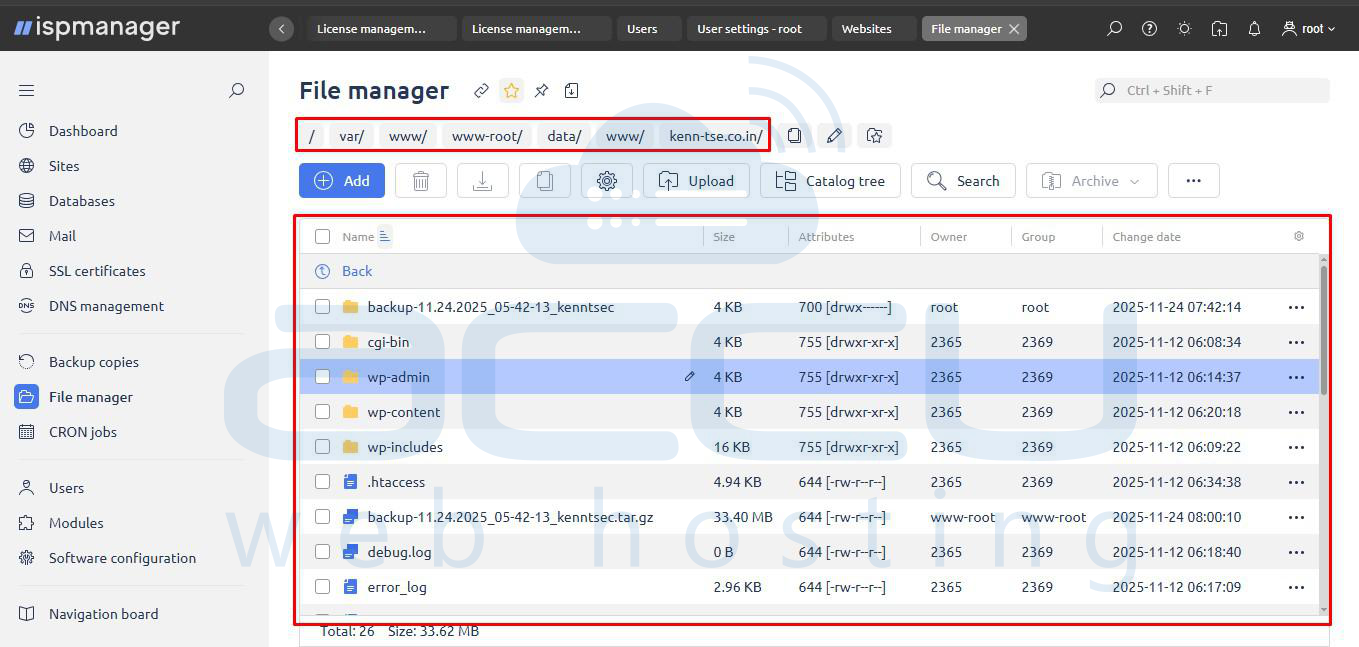
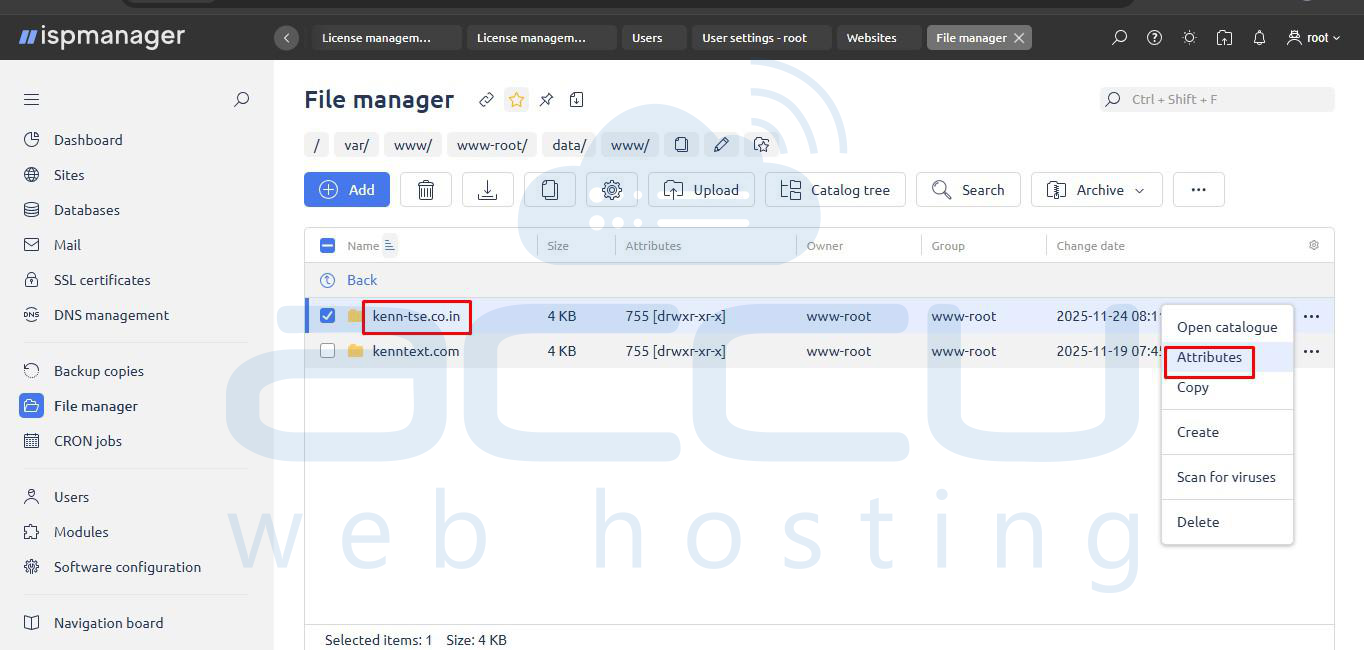
10. Go to the main directory: /var/www/www-root/data/www/.
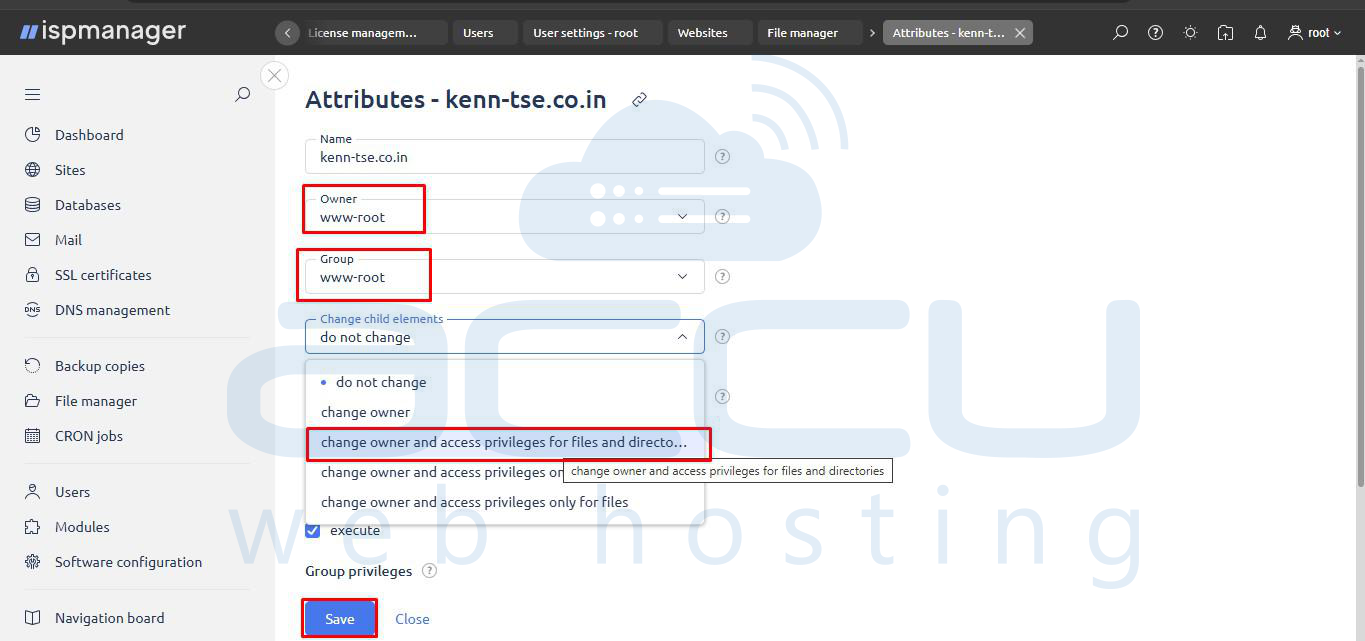
- Click the three dots (...) next to your domain folder (kenn-tse.co.in) and select Attributes.
- Set Owner and Group to www-root.
- In the Change child elements dropdown, select change owner and access privileges for files and directories.
- Click Save.
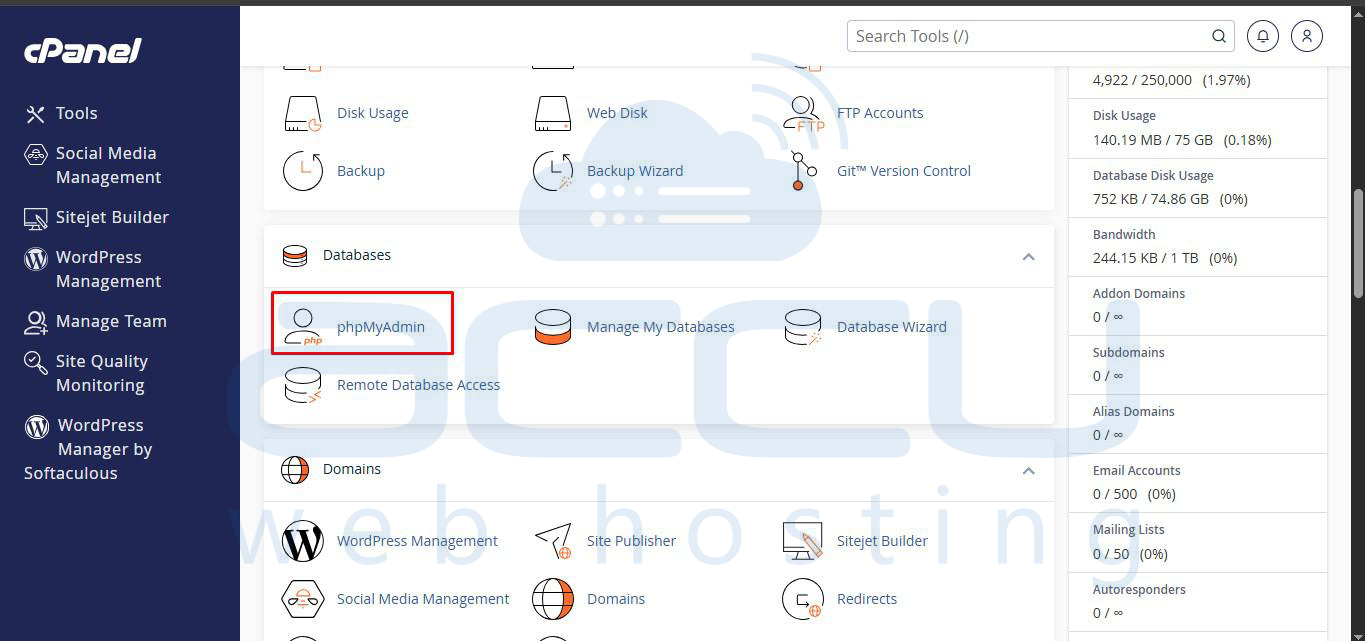
Step 3: Export Database from cPanel
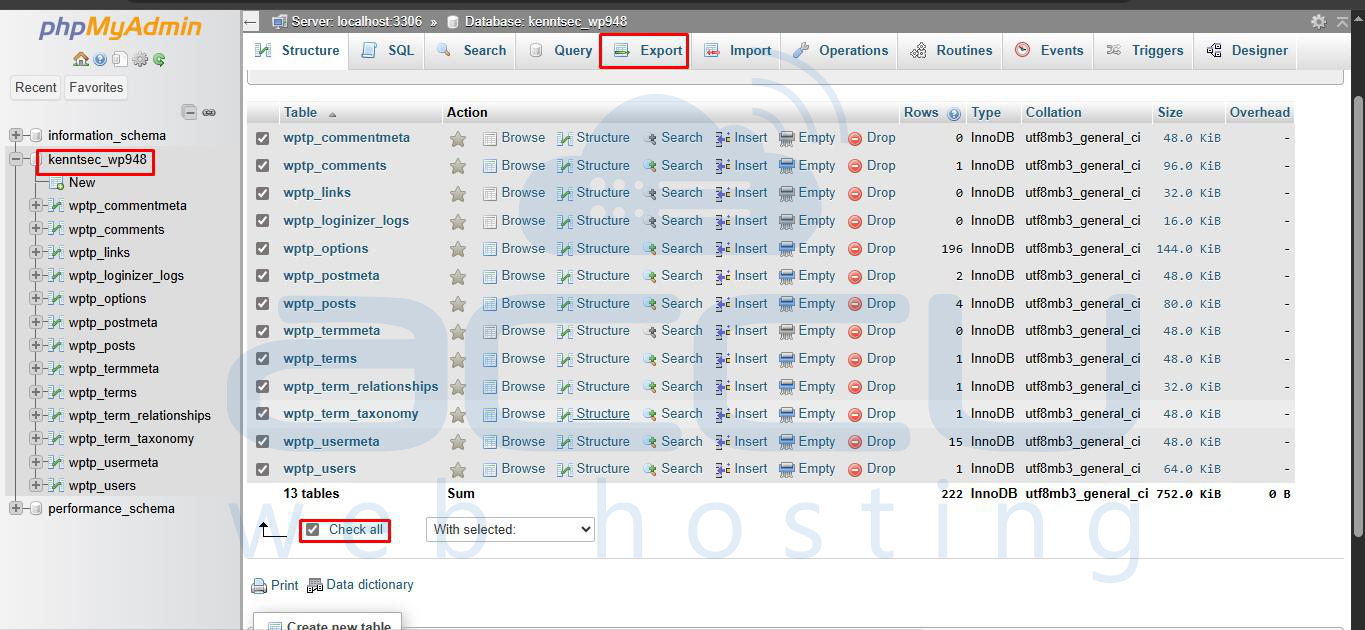
1. Open phpMyAdmin in cPanel.
2. Select your database → Export → SQL format.
Step 4: Create & Import Database in ISPManager
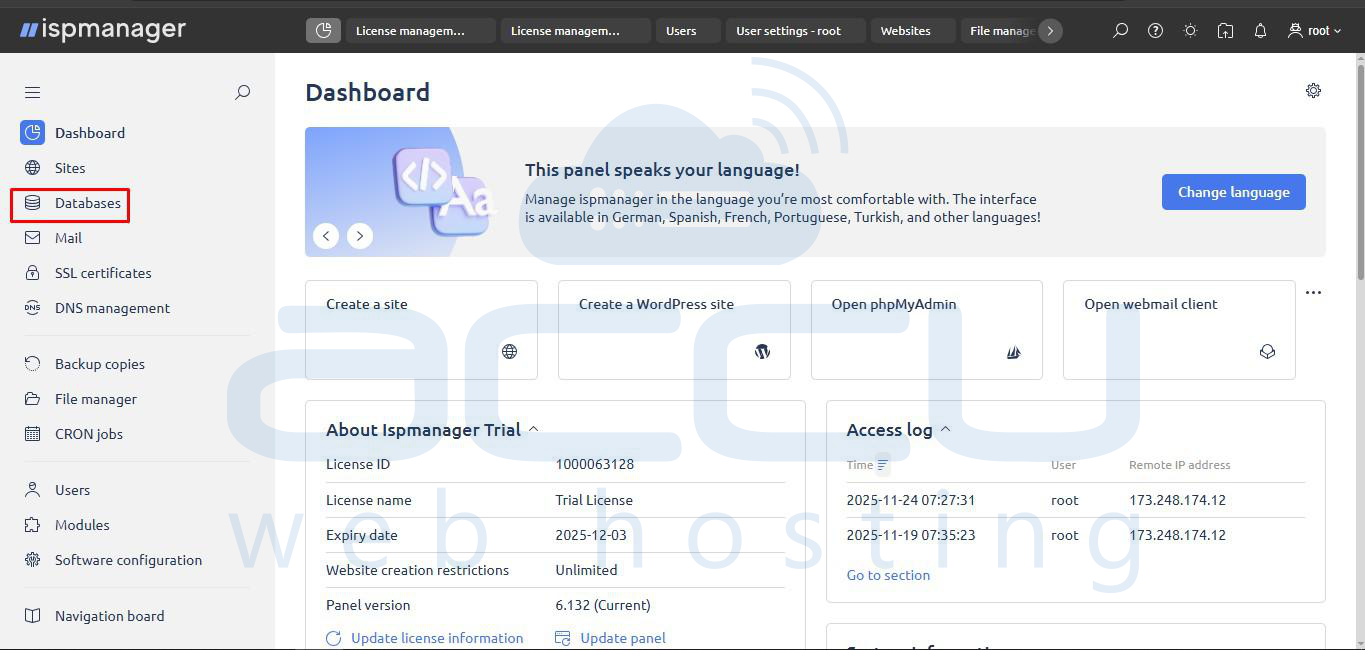
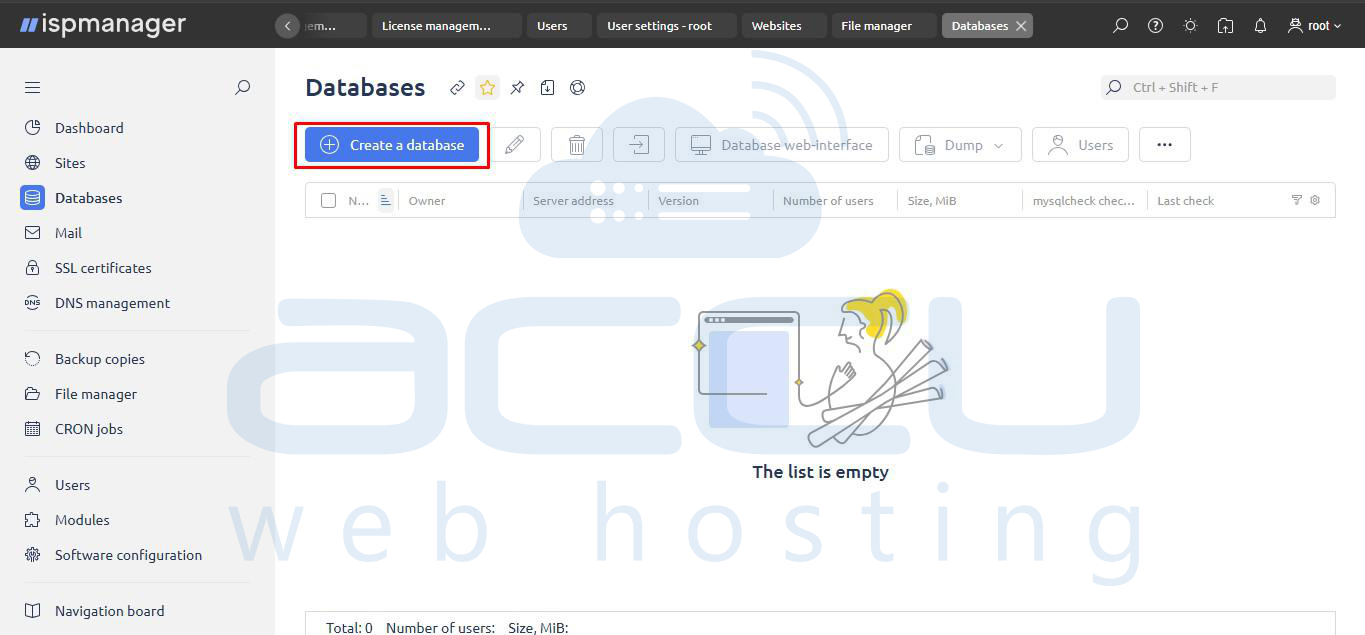
1. In ISPManager → Databases → Add Database.
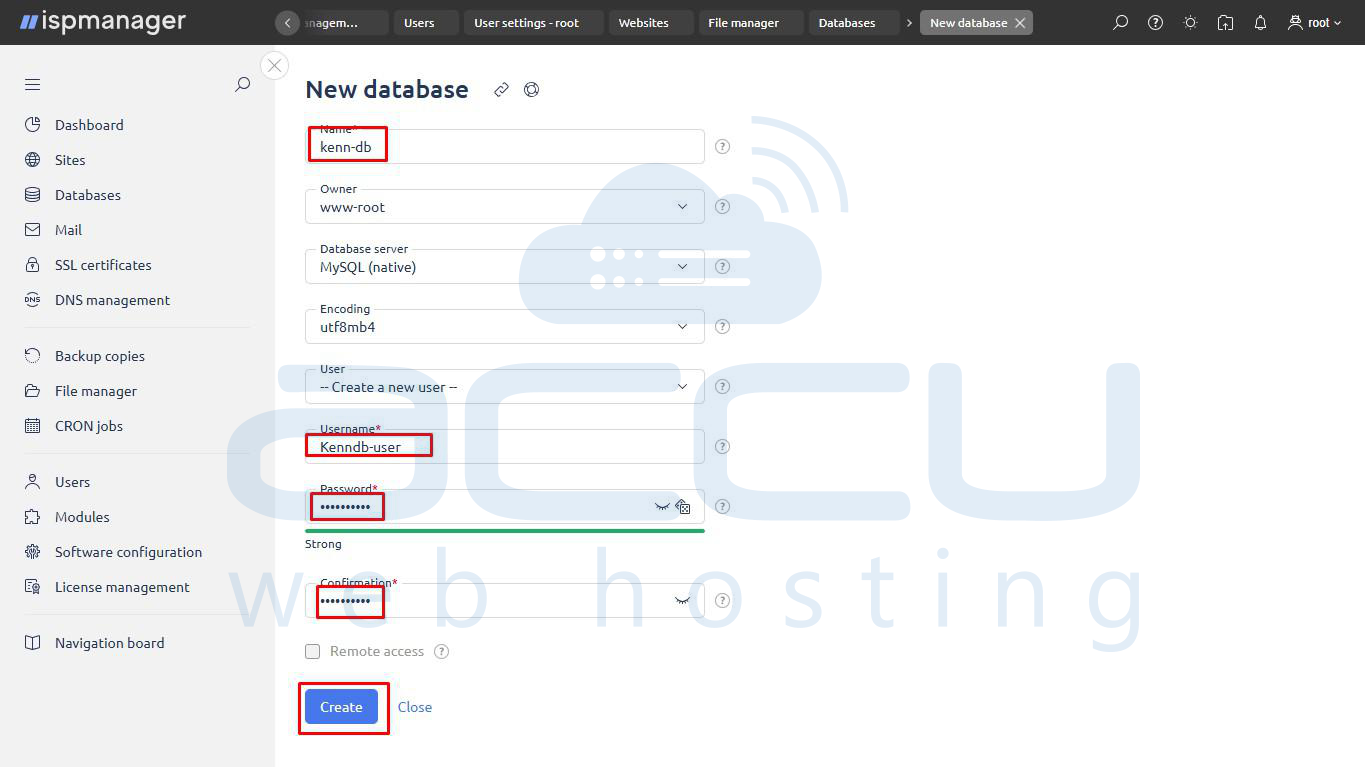
2. Create a new database and user. Click Add Database
- Fill in the form to create a new database name, username, and secure password, then click Create. ( Make sure to save the Database Name, Database UserName and Database Password)
3. Import Data and Configure Site
- Select the new database in the list.
- Click the Dump button in the toolbar and select Import.

- In the next window, select your local .sql file and click Upload to import the data.

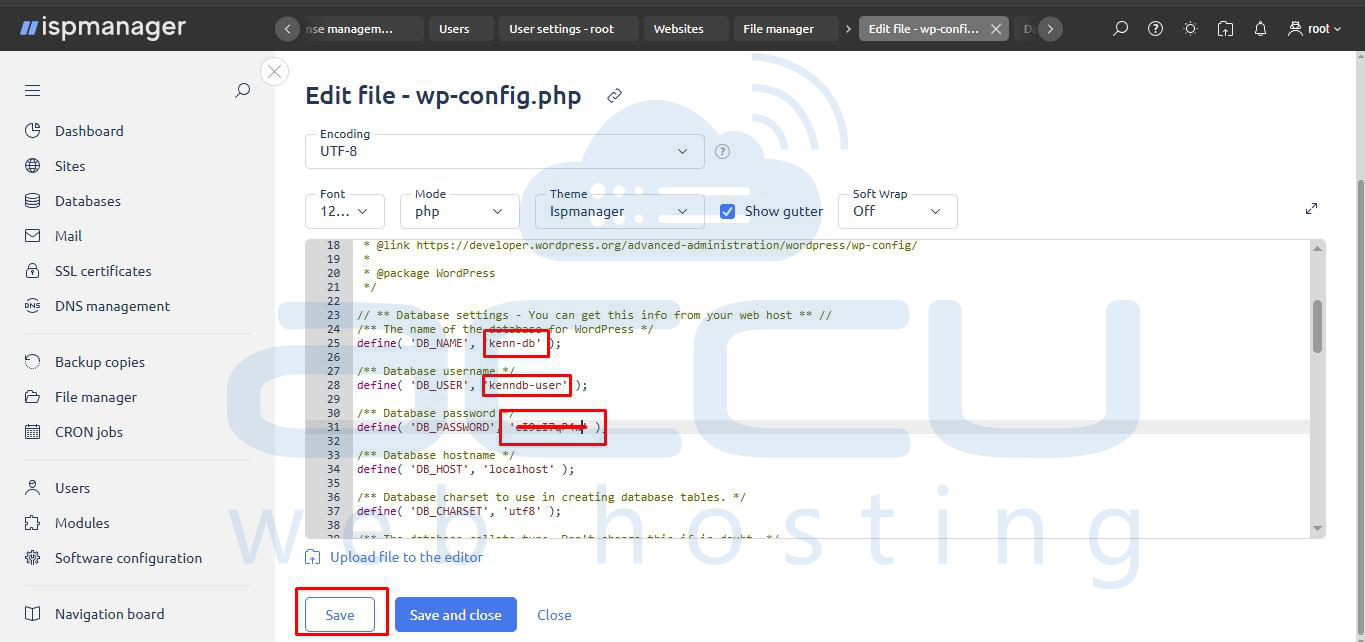
4. Update website config file with new database credentials.
- Go to ispmanager File manager.
- Edit your site's config file (e.g., wp-config.php).
- Replace the old database name, user, and password with the new ispmanager credentials.

Step 5: Update DNS Records
1. Log in to your domain registrar.
2. Update A record to the new ISPManager server IP
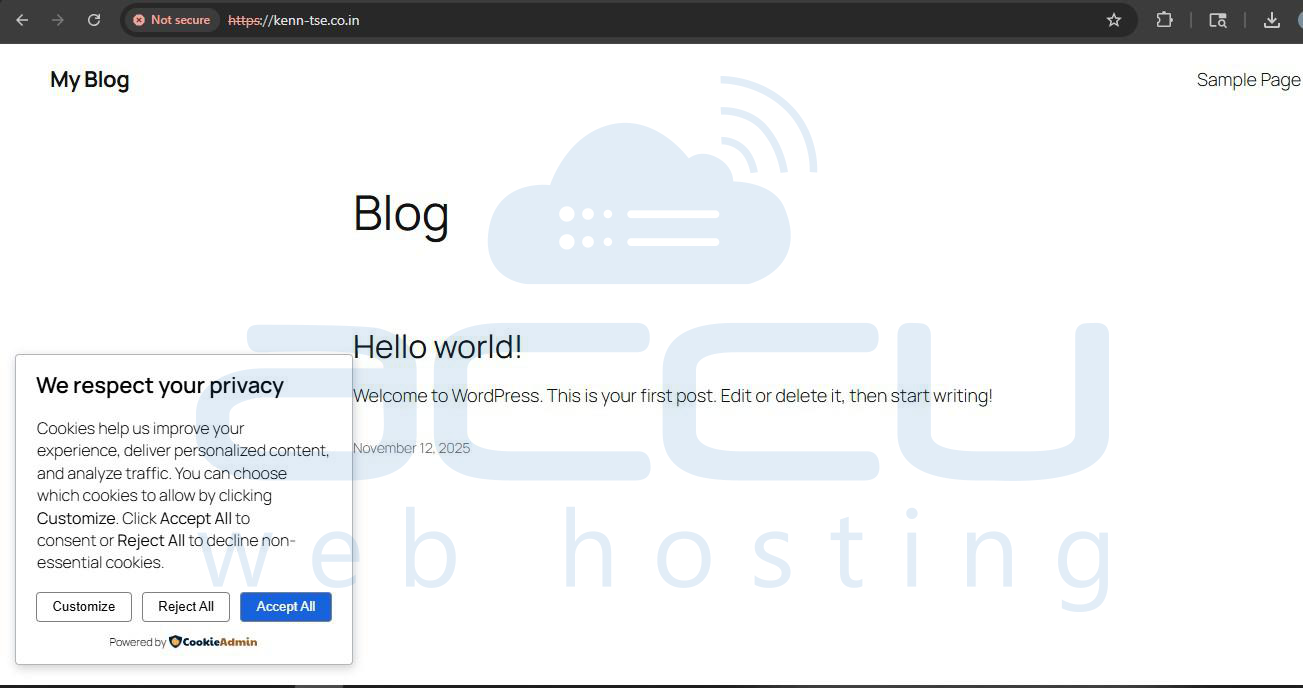
Step 6: Test Your Website
1. Open your website in a browser.
2. Check pages, links, and database features.
Conclusion
Migrating a website from cPanel to ISPManager involves careful planning, backup, and systematic transfer of files, databases, and emails. By following the steps outlined above, you can minimize downtime and ensure a smooth transition to your new hosting environment.


