Setting up an email account for your domain is quick and simple using cPanel. This guide walks you through the steps to create a new email account in cPanel and access it via Webmail to send and receive messages.
Step 1: Create an Email Account
Follow the steps below to create a new email account through your cPanel dashboard:
- Log in to your cPanel account.
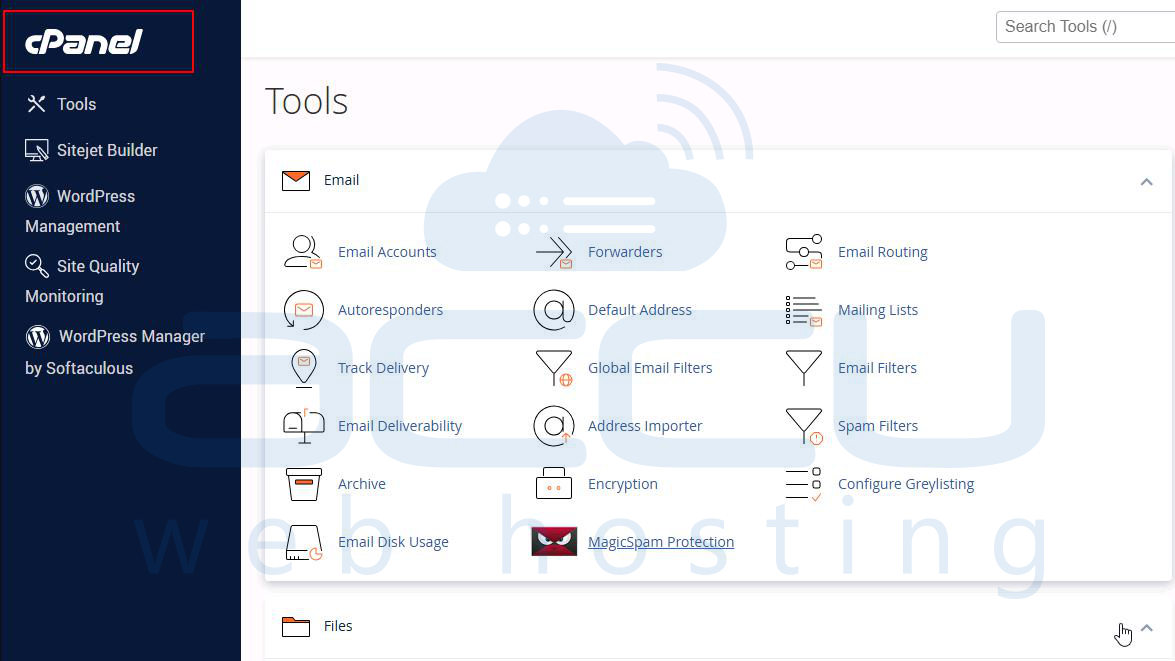
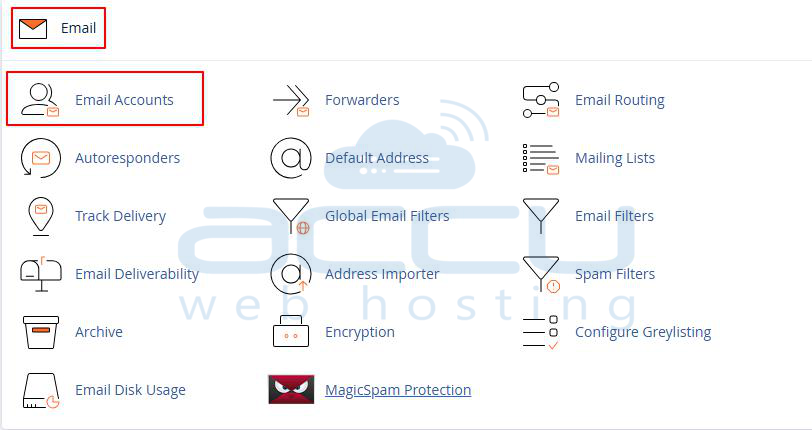
- From the Home page, go to Email → Email Accounts.
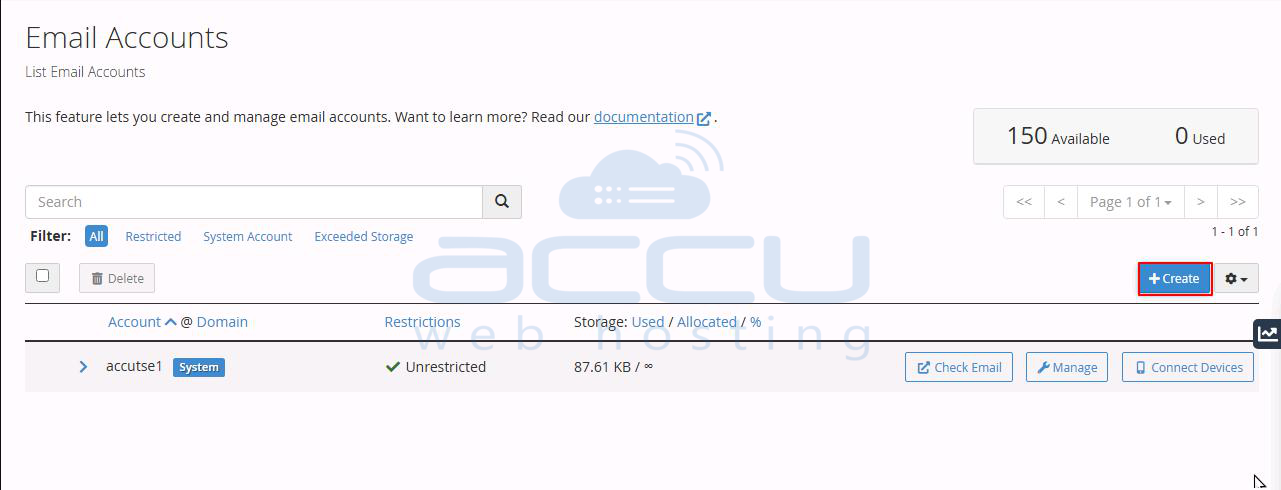
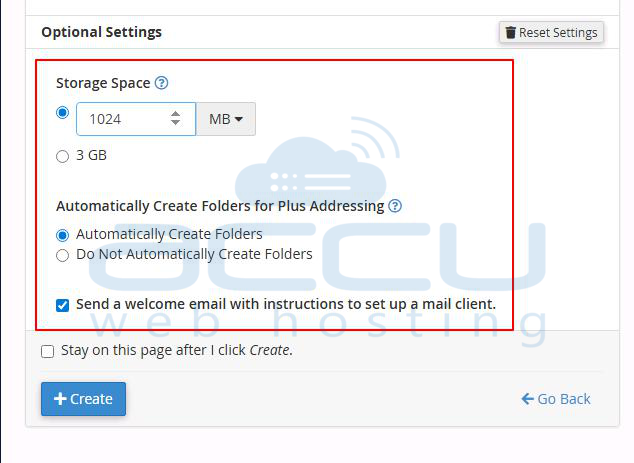
- Click the “Create” button to open the setup form.
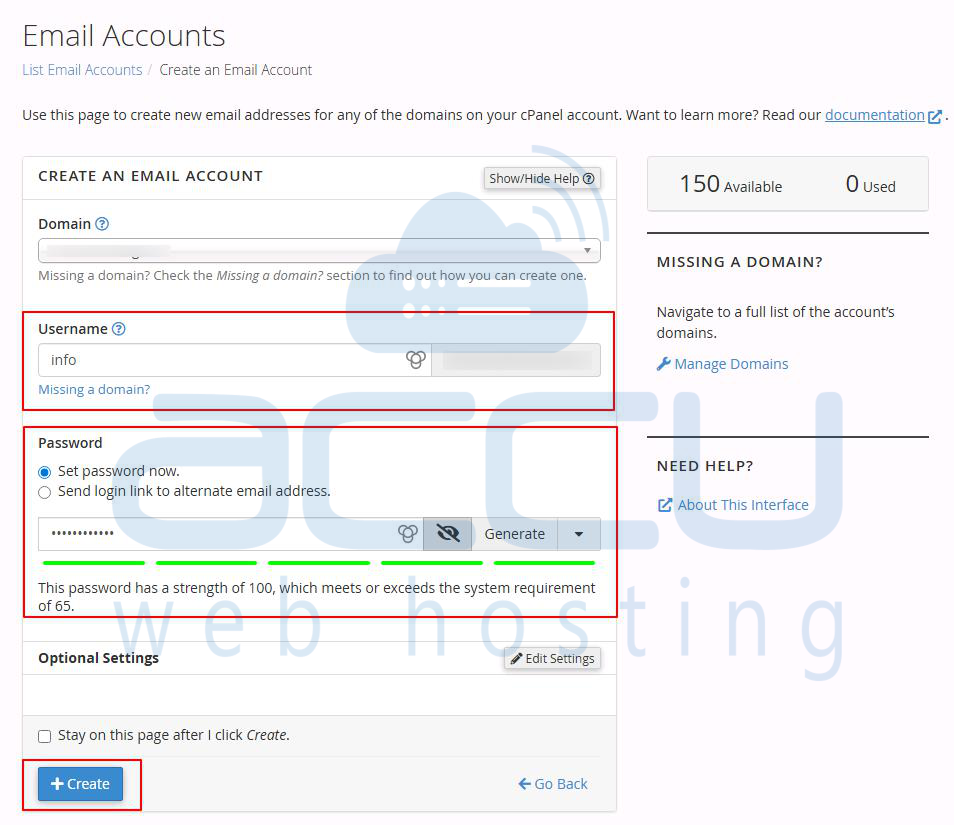
- In the Username field, type the desired email name (for example, info or support).
- Under the Password section, enter a strong, secure password.
Tip: Use a combination of letters, numbers, and symbols to strengthen security. - Click Create to finalize the process.
Your new email account will now appear in the list of existing accounts within cPanel.
Note: You can customize mailbox quotas and access settings by clicking “Edit Settings” beside the account after creation.
Step 2: Access Your Email
Once your email account has been created, you can easily check your messages directly from cPanel.
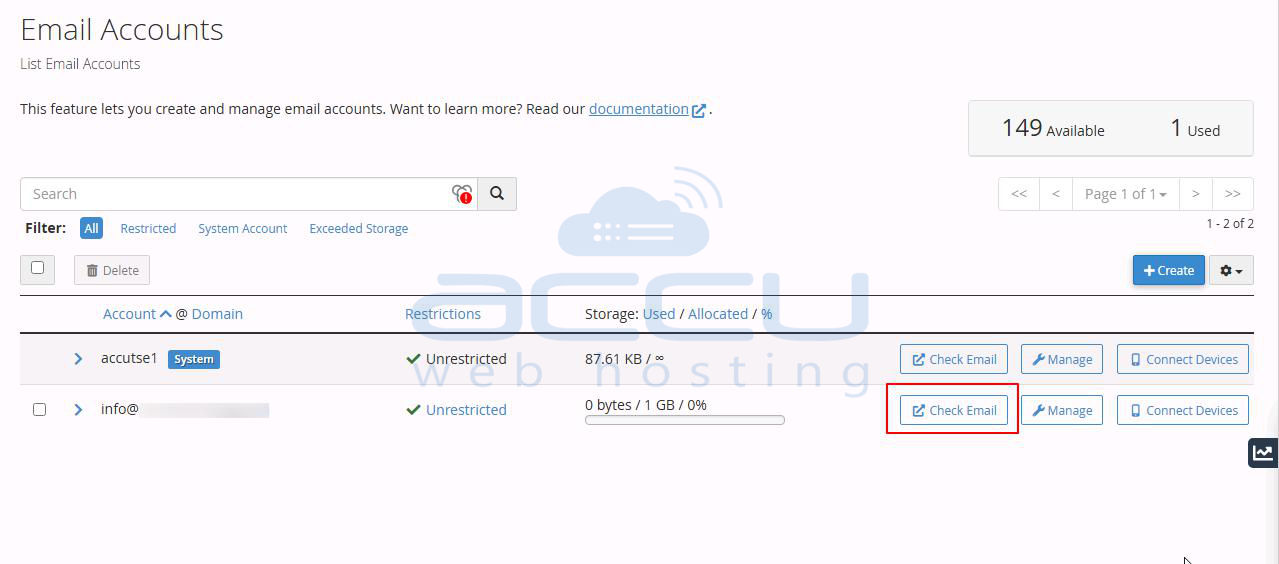
- Go to the Email Accounts section in cPanel.
- Locate the email account you want to access.
- Click Check Email next to the account name.
- To open your inbox, click Open on your webmail application (Roundcube).

Your inbox will load, and you can start sending or receiving emails right away.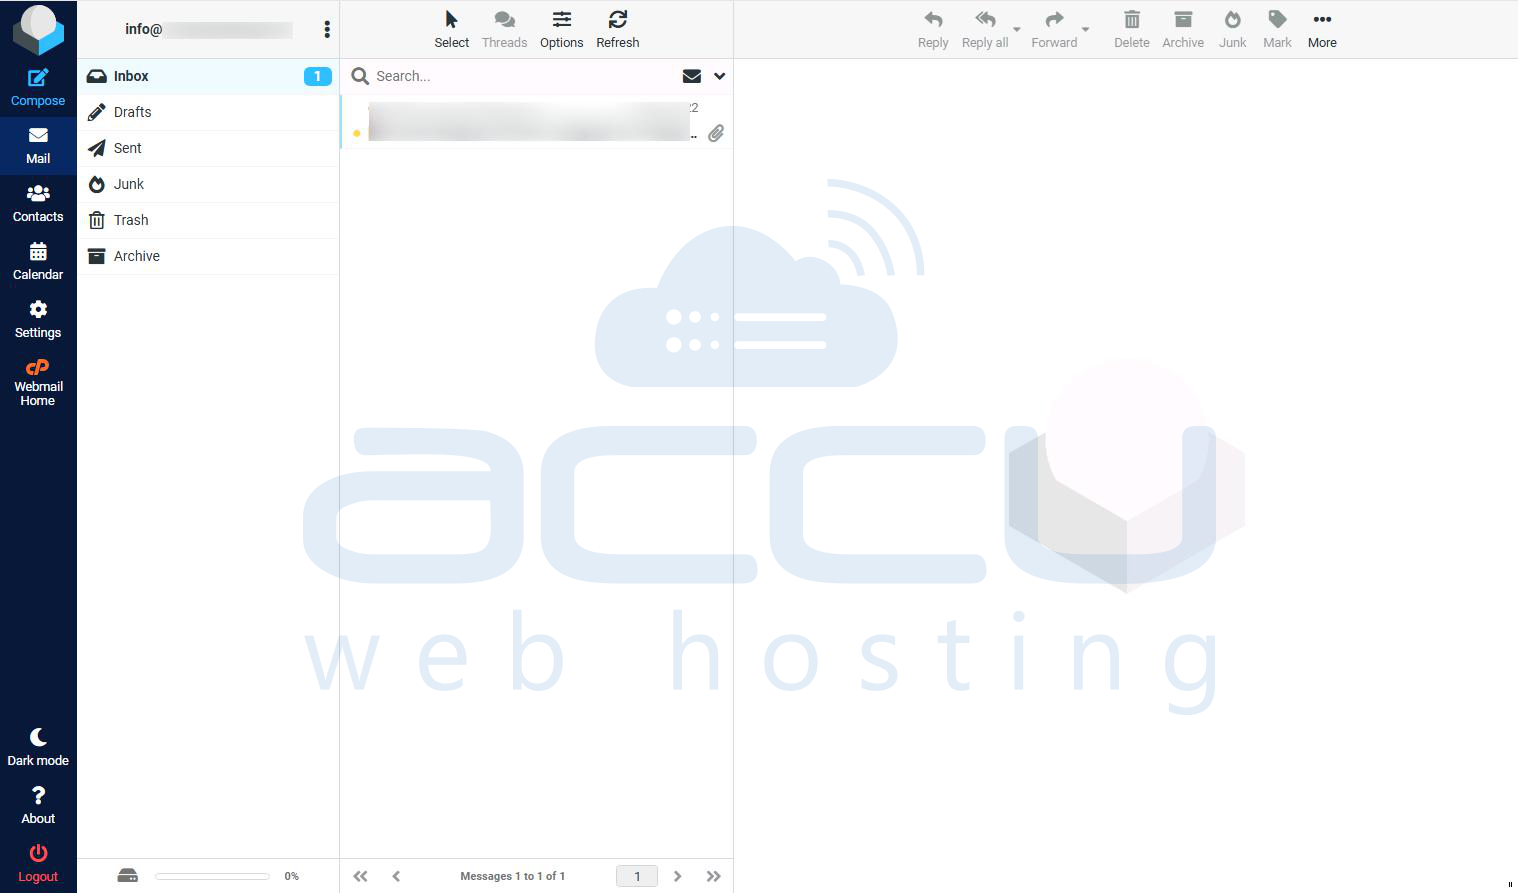
Additional Tips:
- Change your password regularly to keep your email account secure.
- Use strong passwords that include a mix of uppercase and lowercase letters, numbers, and symbols.
- Log out after each session, especially if you are using a shared or public computer.
Conclusion:
Creating and accessing an email account through cPanel is quick and simple. By following the above steps, you can set up your account, manage your messages, and ensure your email remains secure and reliable.


