Introduction:
MailEnable is a powerful and easy-to-use email server designed for Windows. It supports popular email protocols like IMAP, POP3, and SMTP, along with SSL/TLS encryption for secure communication. You can manage MailEnable through the Microsoft Management Console (MMC) or your web browser.
Whether you want to host company emails or manage multiple domains, MailEnable offers both free (Standard) and paid (Professional/Enterprise) editions to suit your needs.
In this article, we will explain to you the step-by-step process to install the MailEnable server in the Windows Server 2015 operating system.
Before You Begin:
Before starting the installation, make sure you have the following ready:
Administrator access to your Windows server.
IIS Manager installed (used for webmail and web administration).
Step 1: Download and Install MailEnable
1. Log in to your Windows Server using Remote Desktop (RDP).
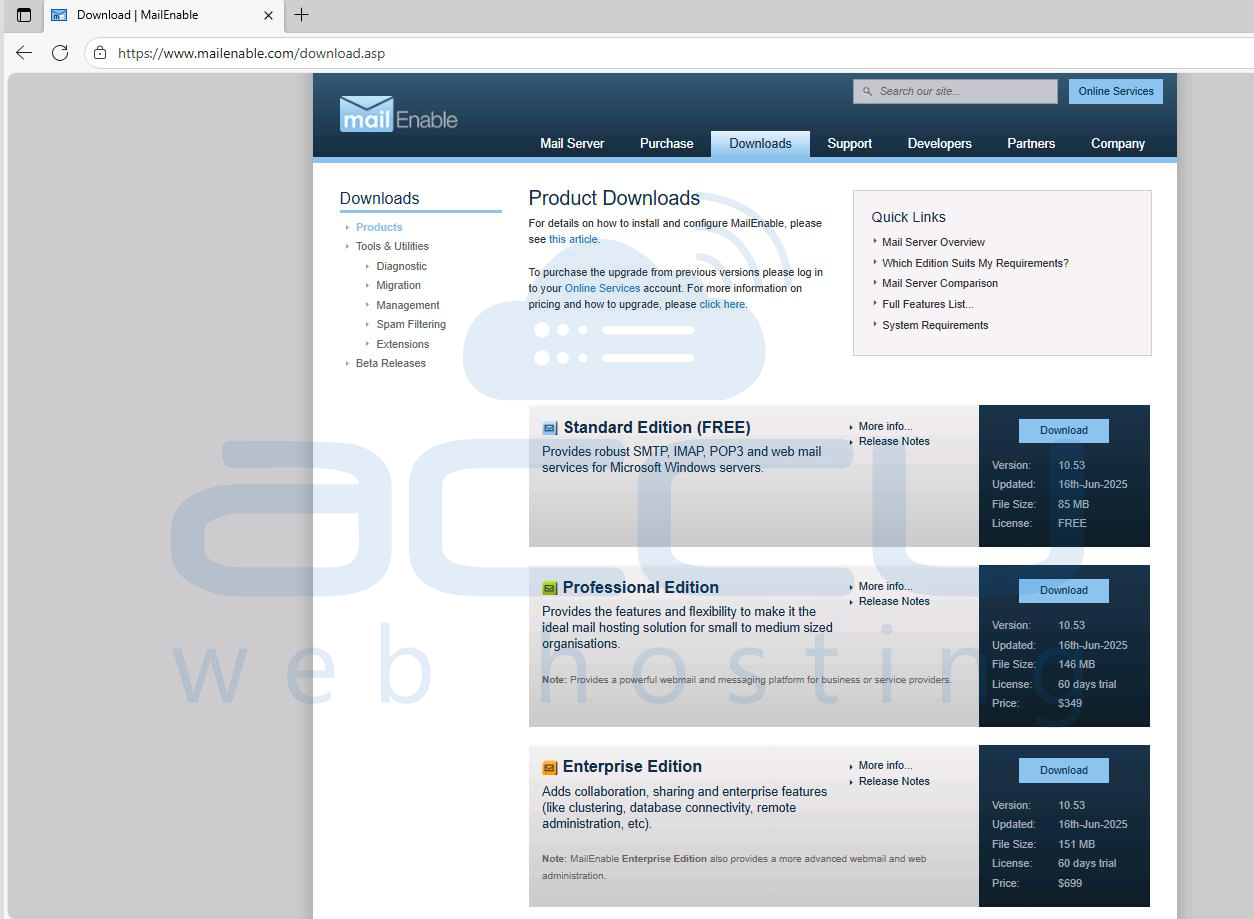
2. Visit the official MailEnable download page:
https://www.mailenable.com/download.asp
3. You’ll see two editions:
Standard Edition (Free)
Professional or Enterprise Edition (Paid)
Choose the version that best fits your needs.
4. Once downloaded, proceed to the next step.
Step 2: Run the Setup File
1. Locate the downloaded setup file.
2. Right-click on it and choose “Run as Administrator.”
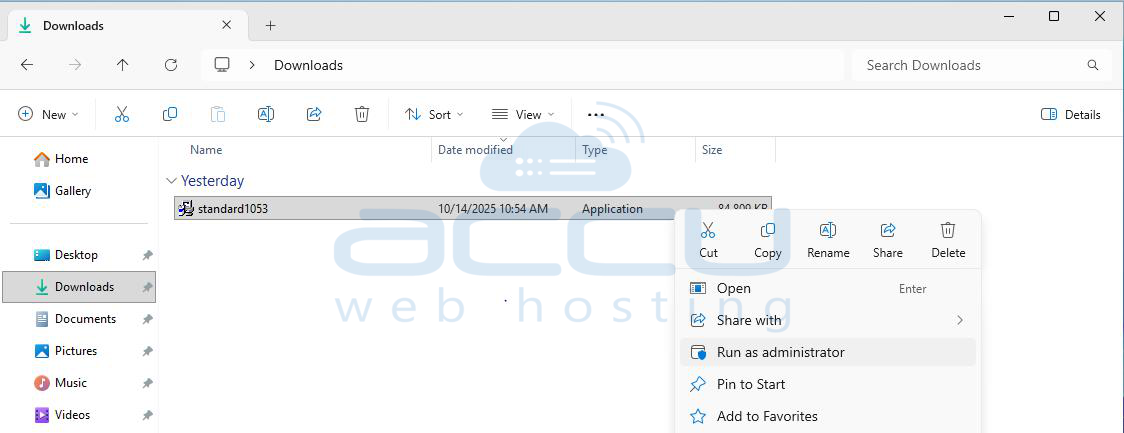
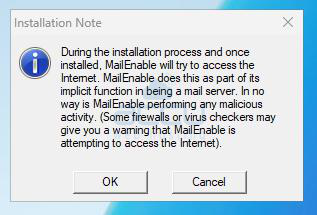
3. When prompted, click OK to begin installation.
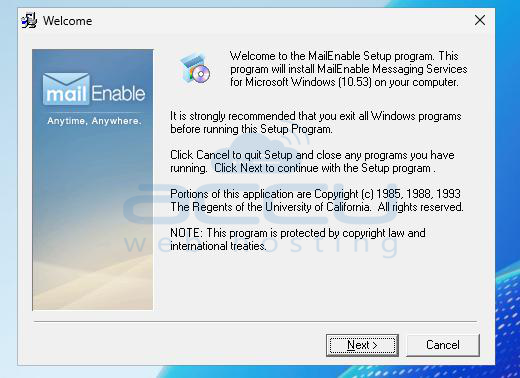
Step 3: Start the Installation Wizard
The MailEnable Installation Wizard will appear.
Click Next to continue.
Step 4: Enter Company Information
You’ll be asked to provide your Company Name. This is only for internal identification — enter any suitable name.

Click Next to proceed.
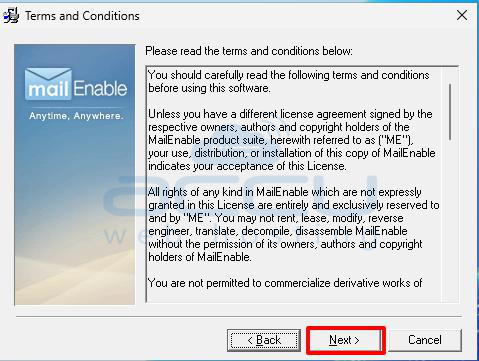
Step 5: Accept the License Agreement
Read through the license terms, then click Next to accept and move forward.
Step 6: Select MailEnable Service Components
You’ll see a list of components to install. By default, all options are selected — including Webmail and Web Administration, which are essential. It’s recommended to leave all options selected.
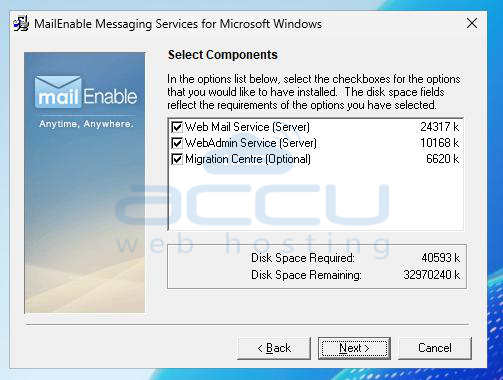
Click Next to continue.
Step 7: Choose Program Files Location
Select the folder where MailEnable will be installed. You can change the location if necessary, or keep the default path.
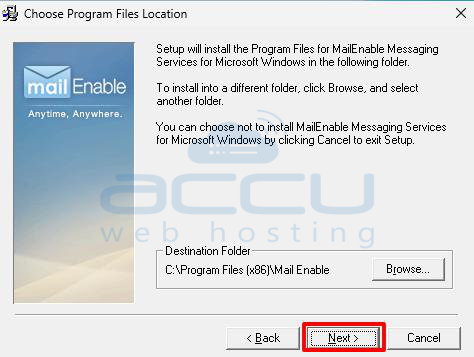
Click Next.
Step 8: Select Program Manager Group
Choose where MailEnable shortcuts will appear in the Windows Start Menu.

Click Next.
Step 9: Select MailEnable Repository Location
This is where configuration data will be stored. Accept the default location or change it as needed.
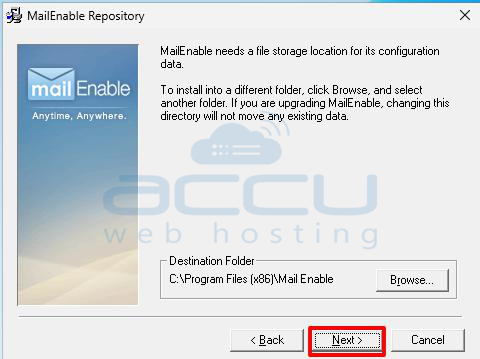
Click Next.
Step 10: Enter Post Office Name and Postmaster Password
Enter a Post Office Name — it’s recommended to use your domain name (e.g., example.com). Then, set a strong Postmaster password for the main admin mailbox.
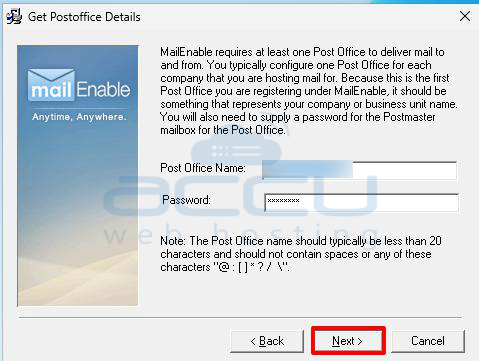
Click Next.
Step 11: Choose the Email Store Location
Select where MailEnable will store all email data. You can change the folder to another drive with more disk space if needed.
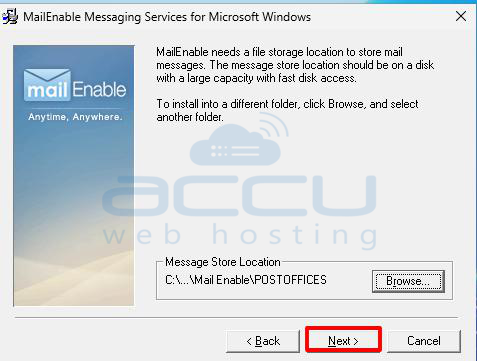
Click Next.
Step 12: Configure Domain, DNS, and SMTP Port
Enter your Domain Name, DNS Host, and confirm the SMTP Port (default is 25).
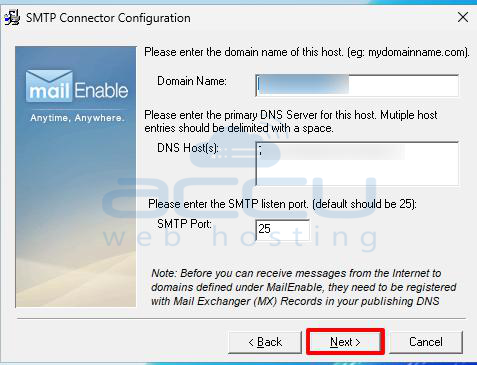
Click Next to proceed.
Step 13: Confirm Installation Settings
You’ll now see a summary of your selections. Everything is ready to install.
Click Next to begin the installation process.
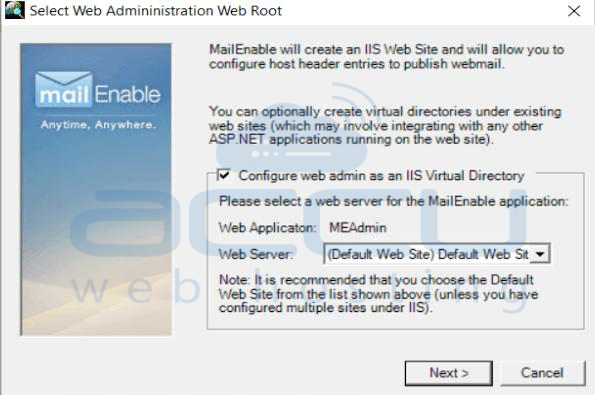
Step 14: Configure Webmail in IIS
During installation, MailEnable will automatically create virtual directories for Webmail and WebAdmin. When prompted, choose “Default Web Site” as the web server.
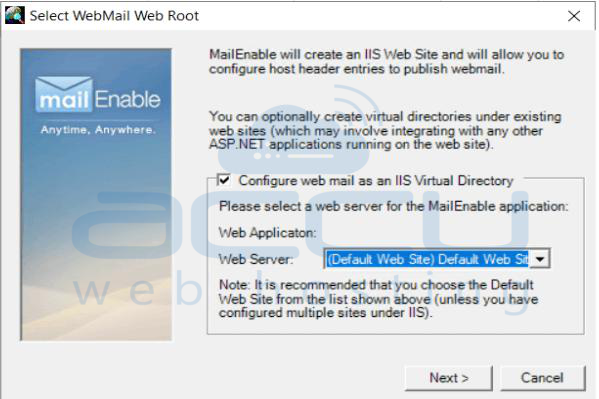
Click Next.
Step 15: Configure WebAdmin Portal
You’ll be prompted again — this time for the WebAdmin configuration. Just like before, select “Default Web Site.”
MailEnable will create separate virtual directories for Webmail and WebAdmin.
Click Next.
Step 16: Complete the Installation
MailEnable will now install all selected components. Once the installation is complete, it will prompt you to run the Diagnostic Utility and review SMTP relay settings. You can review those later.
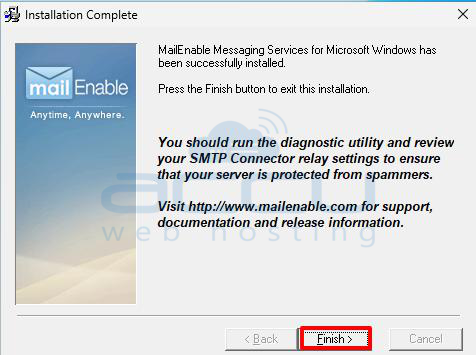
Click Finish to complete the setup.
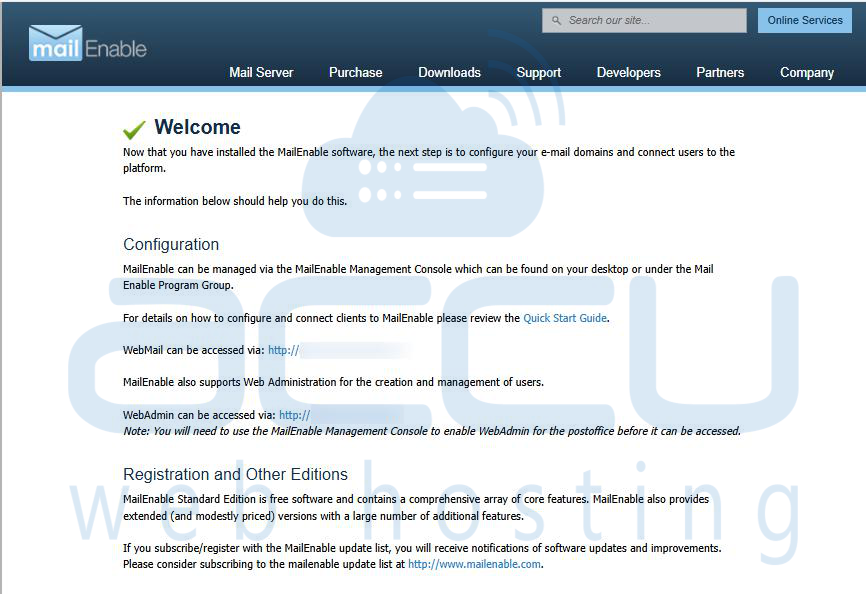
Step 17: View the Welcome Page
After installation, a Welcome Page will appear. It will display the URLs for:
Webmail Access
WebAdmin Portal
Conclusion
That's all. You’ve successfully installed MailEnable on your Windows Server.
From here, you can open the MailEnable Administration Console to:
Add domains and mailboxes
Configure SMTP relay settings
Enable SSL/TLS for secure email access
MailEnable gives you complete control over your mail server — whether you’re running a business email service or hosting mail for multiple domains.
