MySQL databases are at the core of many websites and applications, storing everything from user data to content and configuration settings. However, due to server crashes, disk space issues, or interrupted processes, database tables can sometimes become corrupted. When this happens, your website may display errors or fail to function properly.
cPanel, WHM, and phpMyAdmin provide built-in tools that allow you to diagnose and repair MySQL databases quickly and effectively. Whether you're a website owner managing a single site or a server administrator handling multiple accounts, understanding how to repair databases can save you significant time and prevent data loss.
In this guide, we will learn several methods to repair MySQL databases, including:
-
Using the Repair Database feature in cPanel
-
Accessing phpMyAdmin to target specific tables
Note: Always back up your database before running any repair operation.
Method 1: Repair MySQL database through cPanel
This is the easiest and most user-friendly way to repair a MySQL database, especially if you're a website owner without access to advanced tools like SSH or WHM. The “Repair Database” feature in cPanel is designed to automatically check and fix common table issues within a selected database.
Step 1: Log in to your cPanel account.
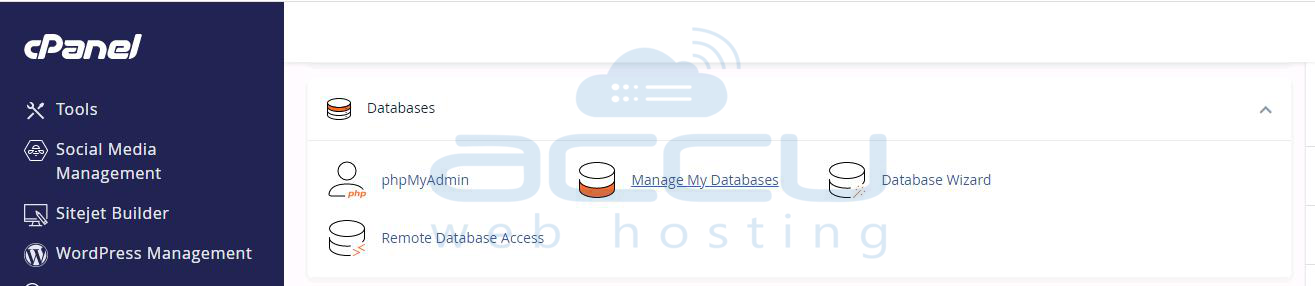
Step 2: Navigate to the "Manage My Databases" section.
Look for the Databases section on the main cPanel dashboard and click on “Manage My Databases”.
Step 3: Scroll down to the “Modify Databases” section.
You will see a dropdown menu labeled “Repair Database.” Select the database you want to repair.
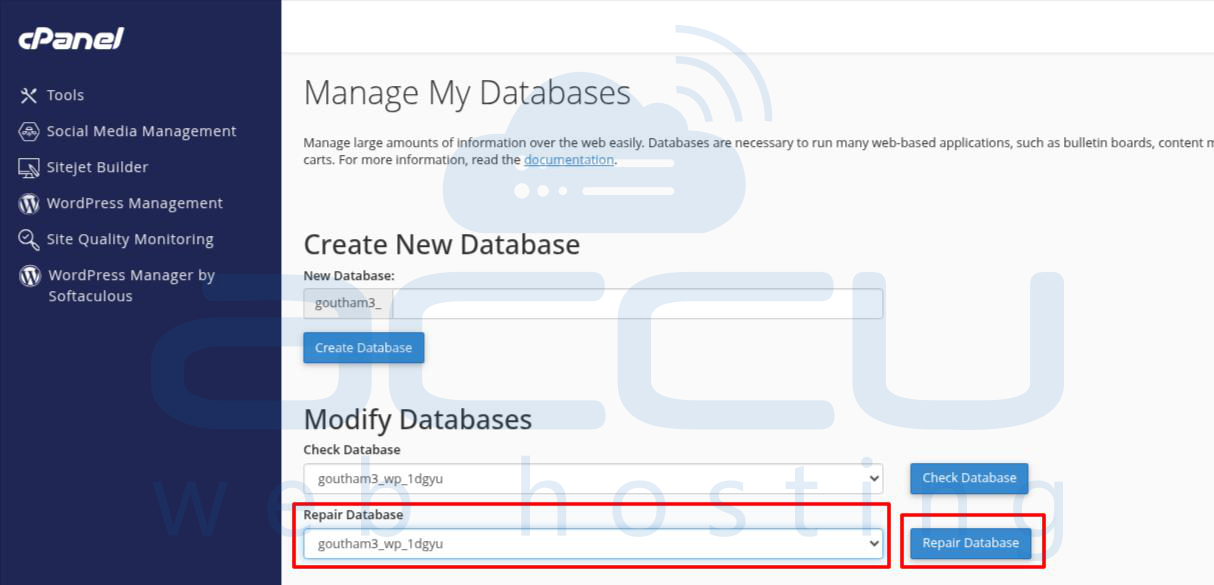
Step 4: Click the "Repair Database" button.
cPanel will run a background script to check and repair all tables within the selected database. After the process completes, cPanel will show you a status message. If the repair is successful, you'll see confirmation messages like:
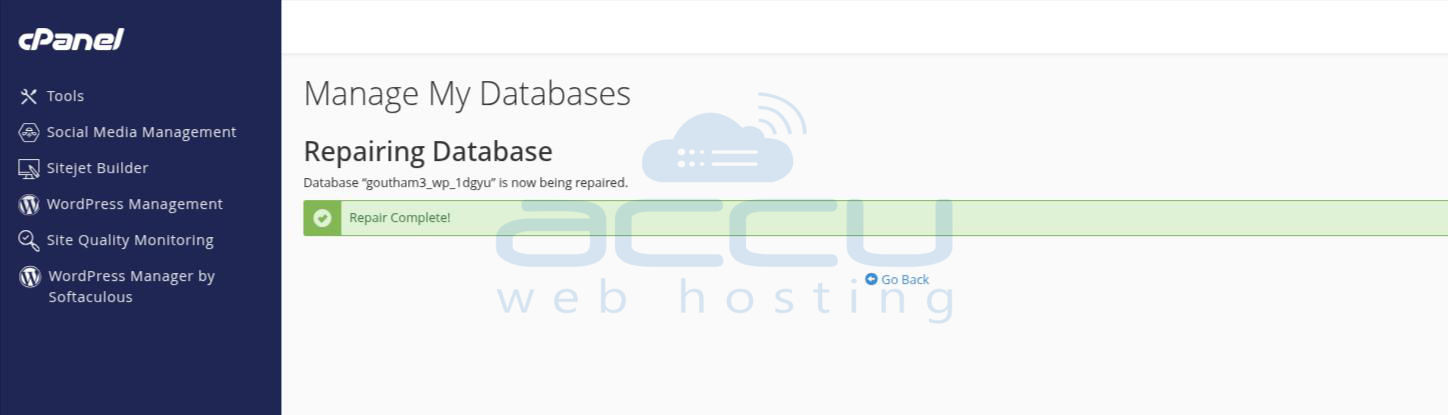
If the repair fails or you see other warnings, you may need to escalate to phpMyAdmin or command-line methods.
Method 2: Repair MySQL database through phpMyAdmin
phpMyAdmin is a web-based interface for managing MySQL databases. It provides more control than the basic cPanel interface, allowing you to repair specific tables rather than the entire database. This method is especially helpful if you know which table is causing the problem.
Step 1: Log in to your cPanel account.
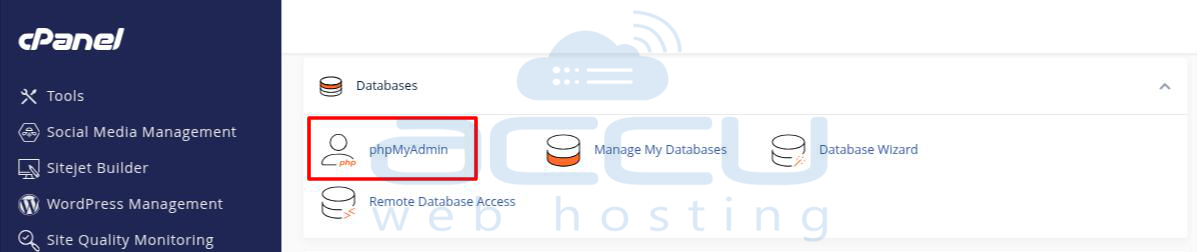
Step 2: Open phpMyAdmin.
In cPanel, scroll down to the Databases section and click on “phpMyAdmin.”
This will open the phpMyAdmin dashboard in a new tab.
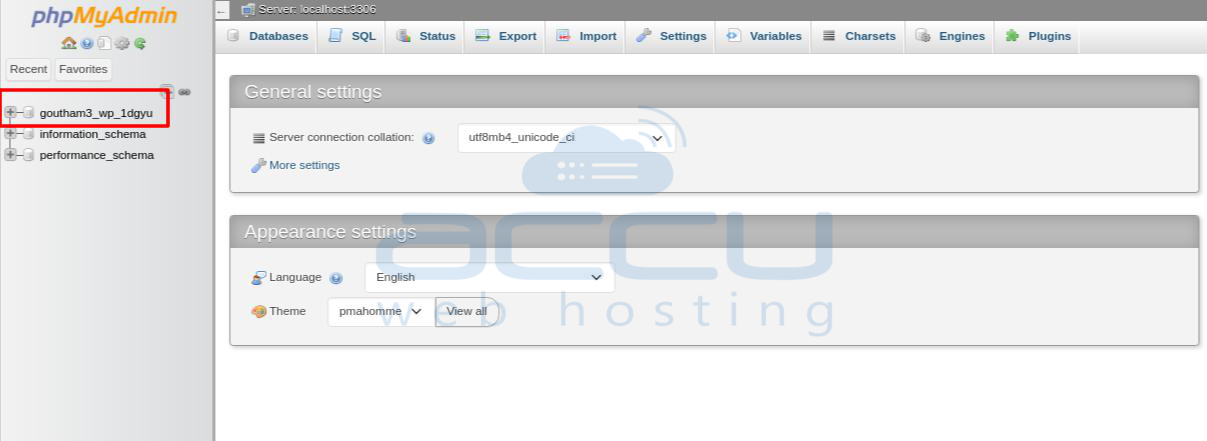
Step 3: Select the database to repair.
From the left sidebar, click on the name of the database that contains the corrupted tables.
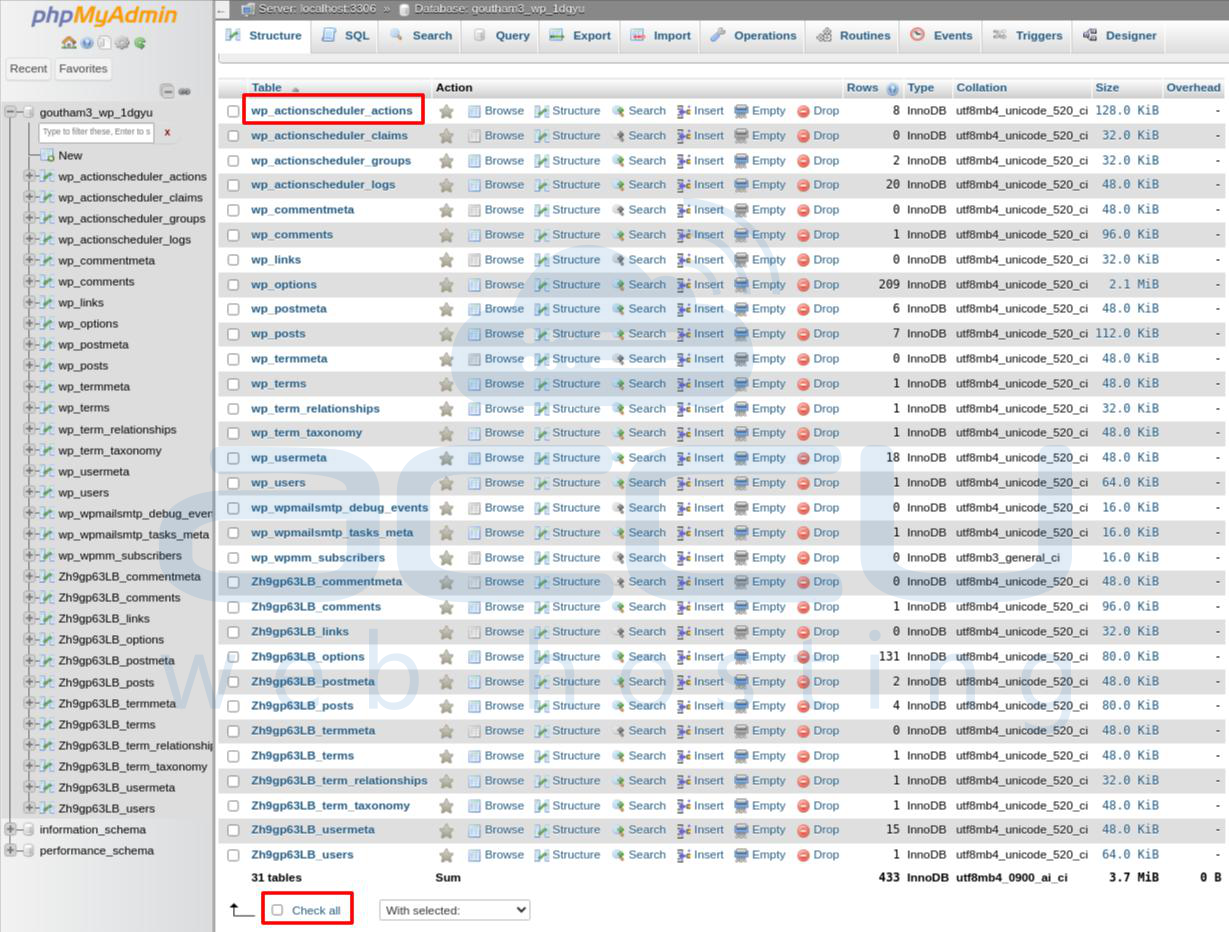
Step 4: Check the tables.
You will now see a list of tables in the selected database. You can:
-
Click “Check All” at the bottom to select all tables, or
-
Select only the ones you suspect are causing issues.
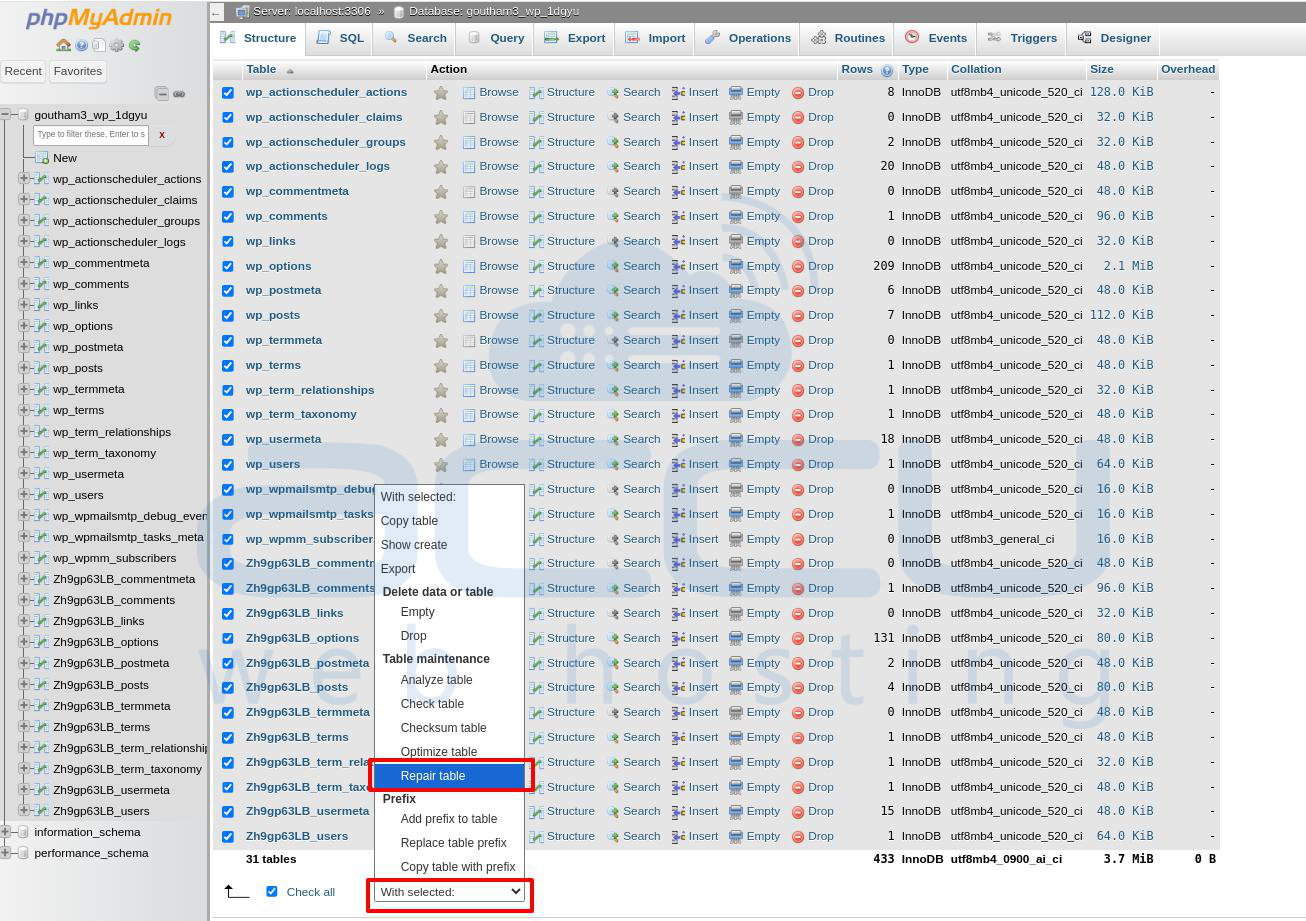
Step 5: Choose the "Repair table" option.
At the bottom of the table list, find the dropdown labeled “With selected:”
From the dropdown, choose “Repair table.”
Step 6: Review the results.
phpMyAdmin will now execute a REPAIR TABLE command for each selected table. The results will be displayed on the screen:

Conclusion:
By using these methods, you can resolve many common database issues and restore your site’s normal operation with minimal downtime. However, if the repair process fails or you frequently encounter corruption, it's recommended to:
Review your server environment,
Check for insufficient storage or memory.
Regularly back up your databases,
And optimize database tables to prevent future problems.


