What Is WebDAV?
Managing your website files using traditional FTP or cPanel's File Manager is common. However, if you want to access your server files directly from your computer, just like a regular folder or drive, you can use the WebDAV feature. It lets you map your server as a network drive on your PC. WebDAV is an extension of the HTTP protocol that allows users to manage files on remote servers. It enables you to create, move, copy, or delete files/folders remotely, and use your file server as a network drive. In this guide, we'll show you how to activate and use WebDAV through cPanel.
Prerequisites
Before diving into the steps, ensure the following:
- You have cPanel access to your hosting account.
- Your hosting provider has WebDAV support enabled.
- Port 2078 is open on your firewall.
- You have a valid SSL certificate (for secure WebDAV access).
Step-by-Step: Activating WebDAV in cPanel
Follow these steps to set up and use WebDAV on your cPanel-enabled server.
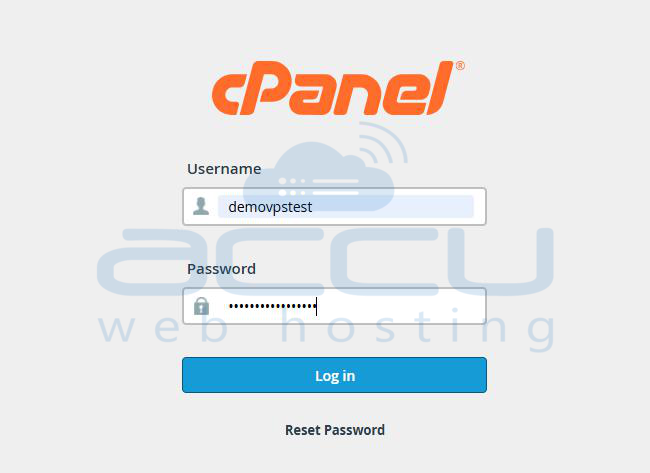
Step 1: Log in to cPanel. Enter your username and password.
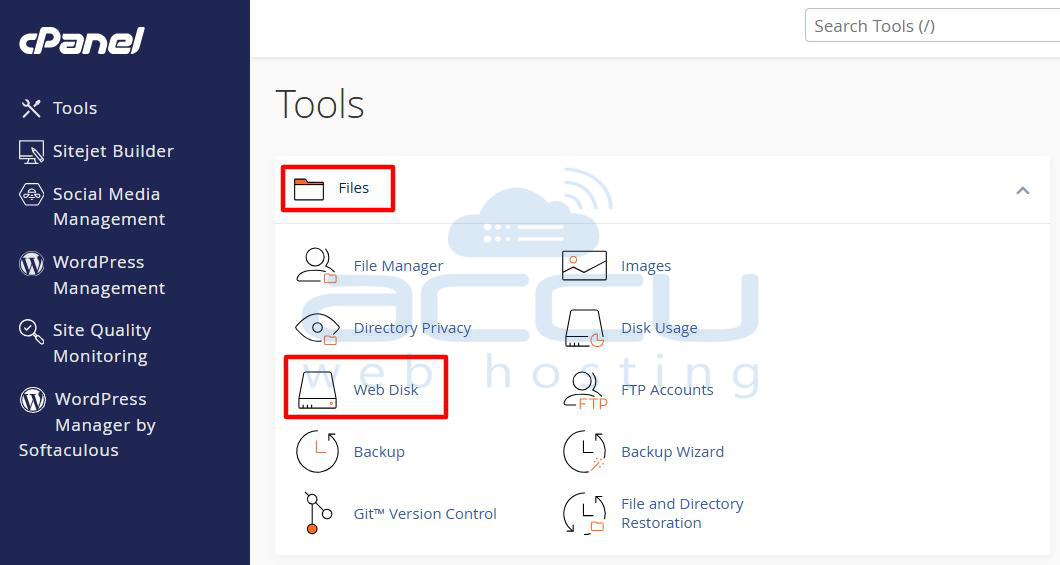
Step 2: Scroll down to the Files section and access the “Web Disk” Feature. In Web Disk, you can manage WebDAV users and configurations.
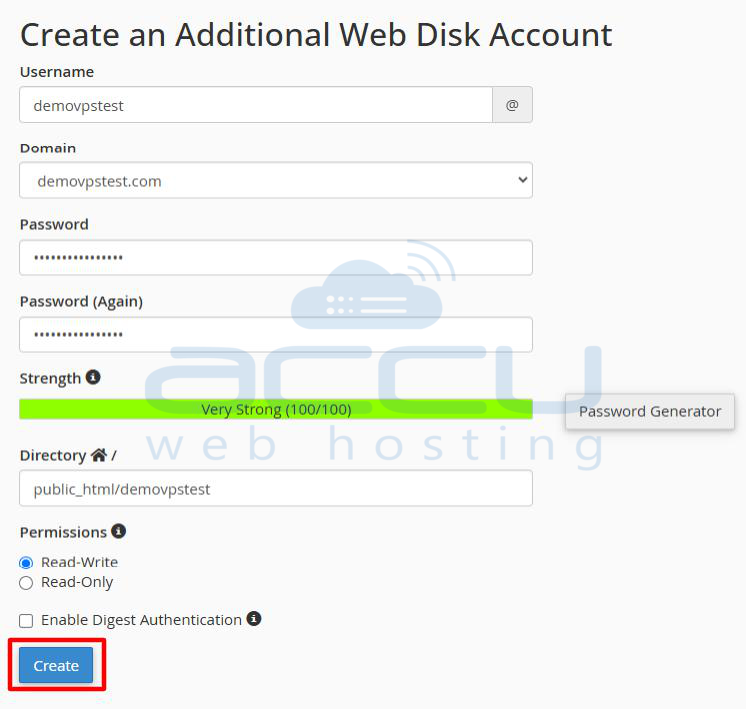
Step 3: You’ll now see the Web Disk management interface. Fill in the account details:
- Username: Choose a unique username.
- Domain: Select the domain you want this Web Disk to be associated with.
- Password: Enter a strong password or use the Password Generator to create one. Confirm it by typing again in the “Password (Again)” field. Password strength should be at least 80/100 for best security.
Step 4: Choose Directory Access. By default, cPanel suggests a directory like: public_html/username. This means the new Web Disk user will only have access to this subdirectory. You can change it to match your desired folder access.
Step 5: Set Permissions. Choose from the following:
- Read-Write: User can view, upload, edit, and delete files. For full access, select Read-Write.
- Read-Only: User can view and download, but cannot modify files.
Step 6: Enable Digest Authentication (Optional). If you're using older WebDAV clients, or connecting from Windows Vista or earlier, check the box for “Enable Digest Authentication”. This is usually not required for modern systems.
Step 7: After verifying all fields, click the “Create” button.
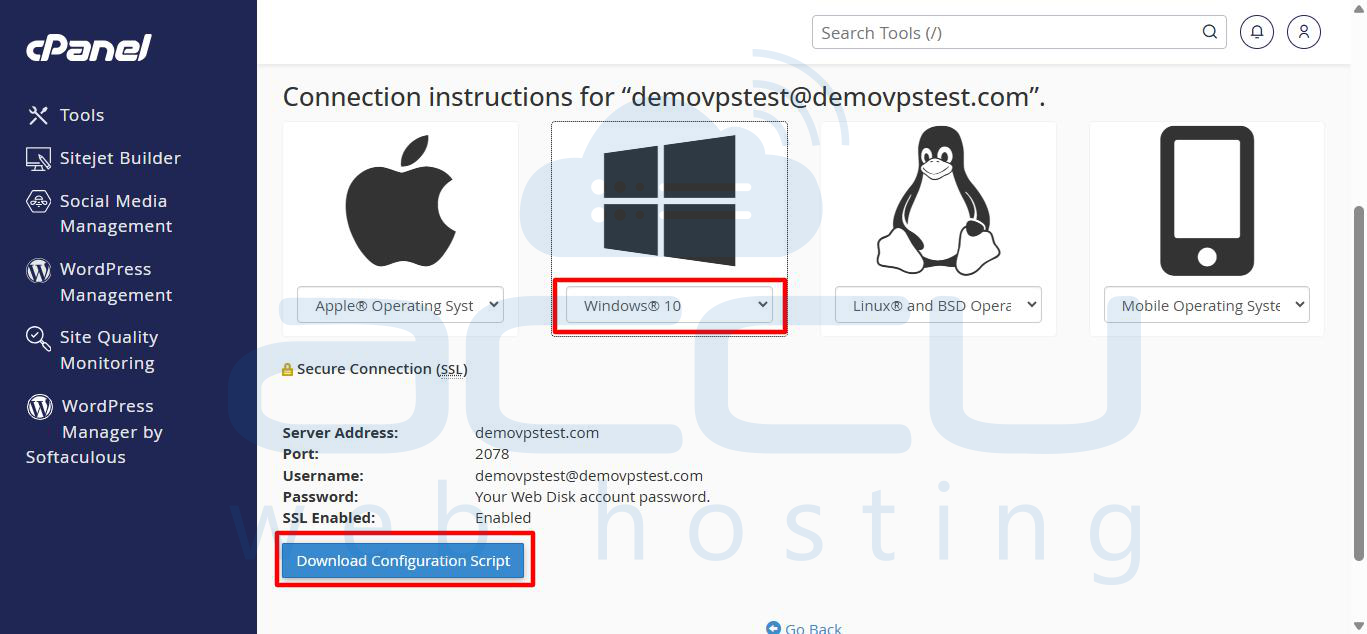
Once created, cPanel will confirm the account and show setup instructions for different operating systems (Windows, macOS, Linux).
Configure WebDAV Access on Your Local Machine
Now that your Web Disk (WebDAV) account is set up, it's time to connect from your computer.
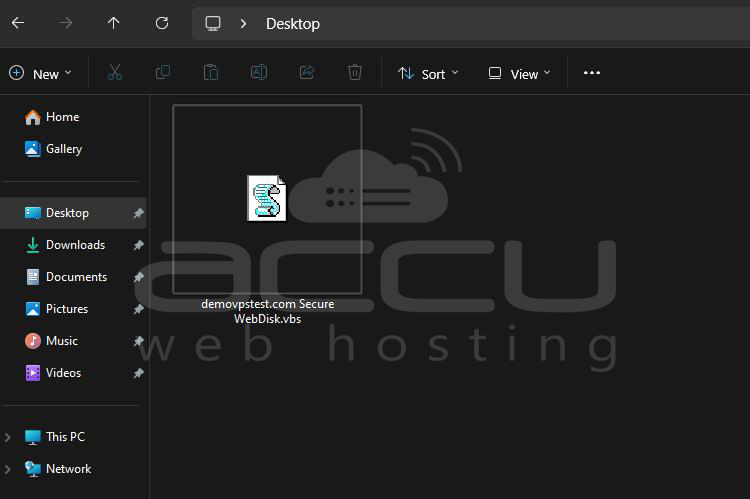
Step 1: Scroll down to available operating systems. Under Windows, select the operating system from the list, and click “Download Configuration Script”. It will download a .vbs or .bat file.
Step 2: Open the directory where the file is downloaded. Locate the downloaded .vbs or .bat file (e.g., in the Downloads folder). Right-click > Run as Administrator.
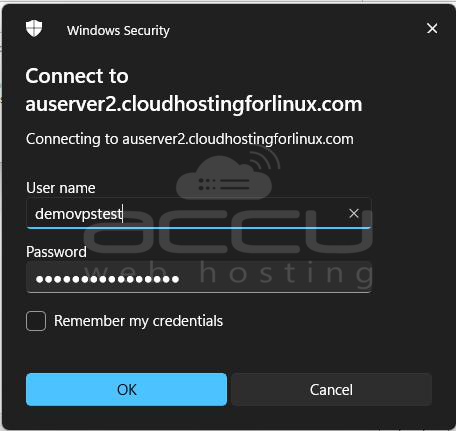
Step 3: When prompted, enter your Web Disk username and password.
If successful, a new network drive will appear in File Explorer under This PC. This drive links directly to your Web Disk folder on the server.
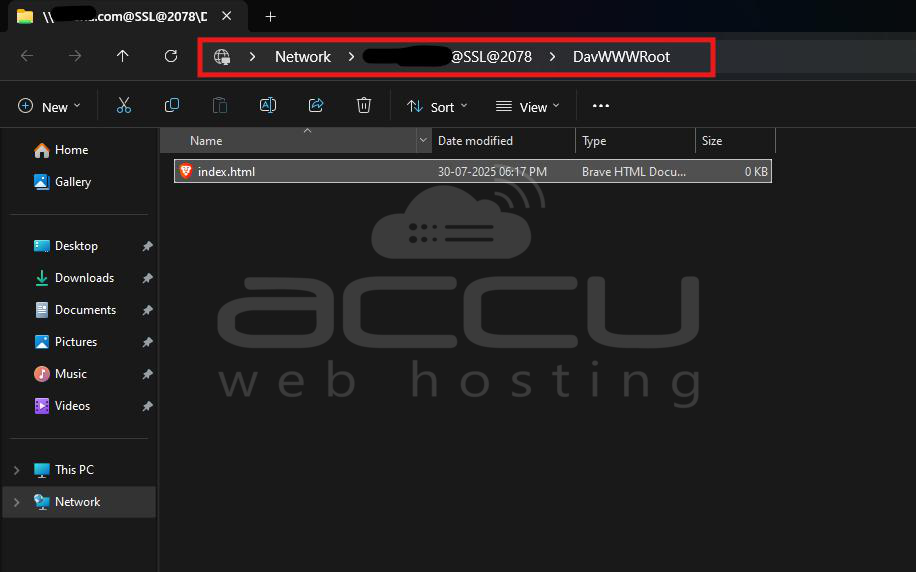
Step 4: Once connected, you should see your server files. You can now drag and drop files, open and save directly to the server, and create or delete folders.
Conclusion
WebDAV, accessed through cPanel’s Web Disk interface, is a powerful way to manage your website files directly from your desktop or laptop. Whether you're editing frequently, collaborating with a team, or simply prefer a network-drive interface, WebDAV makes file access seamless and intuitive.


