
When a website has problems, checking error logs is crucial for identifying and fixing them. Plesk offers a straightforward way to access these logs, helping users detect errors like misconfigurations, missing files, and application failures. By reviewing error logs, you can diagnose problems efficiently and keep your website running smoothly. This guide walks you through the steps to check error logs in Plesk, making troubleshooting easier.
Method 1: Using the Plesk Logs Section (Recommended for All Websites)
1. Log in to your Plesk panel using the credentials provided by your web hosting provider.
2. On the left-hand menu, select Websites & Domains.

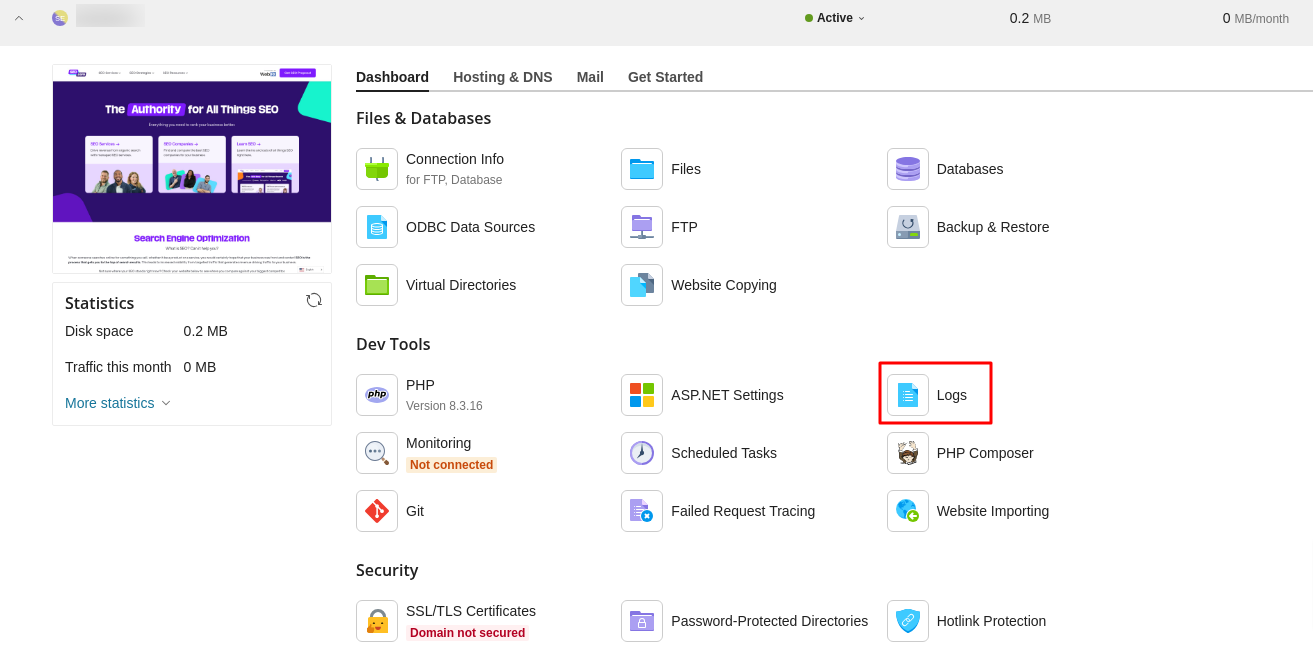
3. Go to the Dashboard section, navigate to Dev Tools, and click Logs.
4. In the logs dashboard, filter by Errors to see error-related logs.
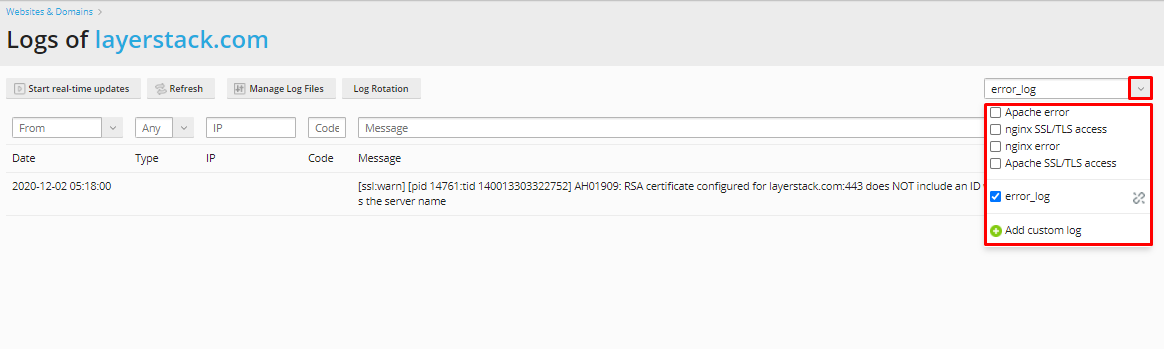
5. You can download the logs for further analysis or view them in real time.
Method 2: Manual Log Inspection via File Manager
1. Log in to your Plesk panel using the credentials provided by your web hosting provider.
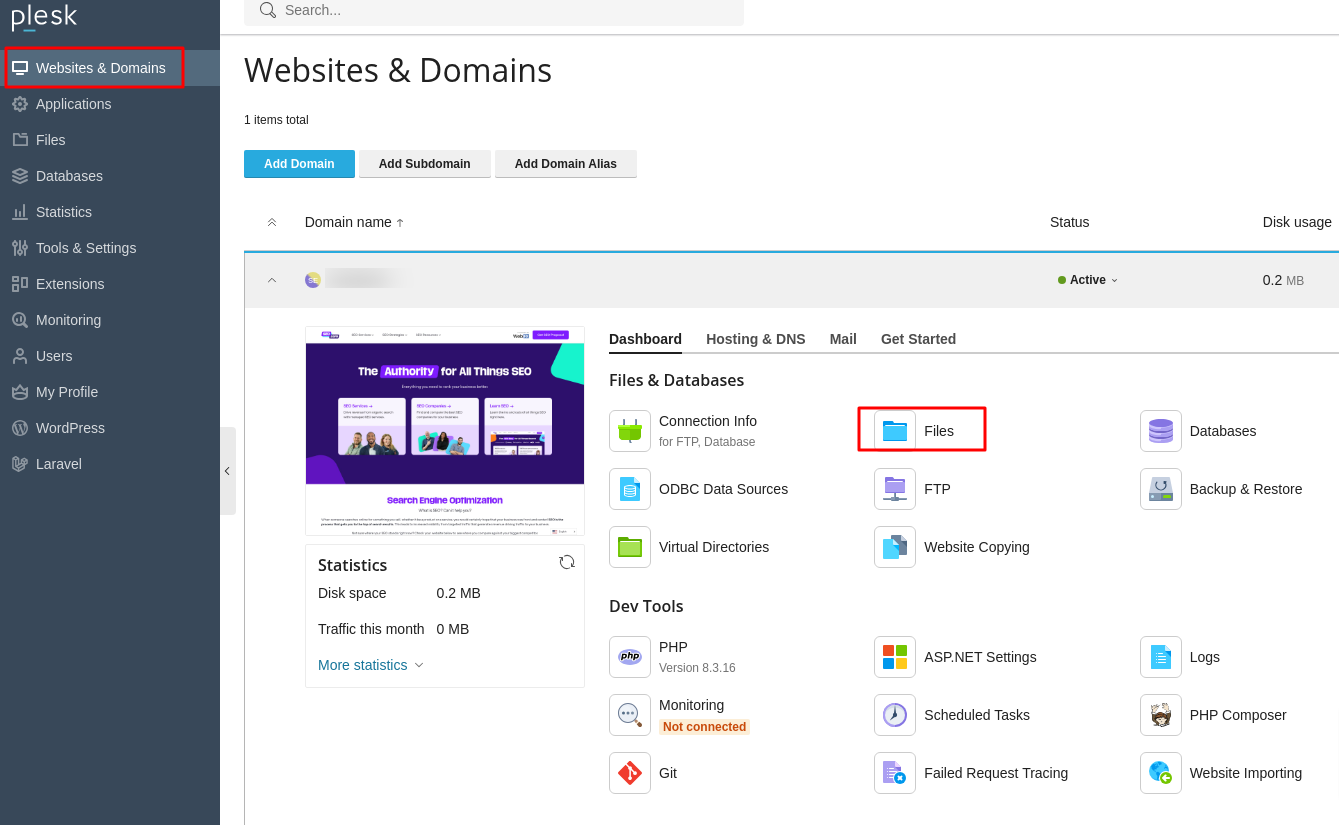
2. On the left-hand menu, select Websites & Domains.
3. Go to the Dashboard section and click on Files.
4. Inside File Manager, navigate to the logs directory.
You will find three subfolders:
- FailedRequests (logs for failed IIS requests)
- iis (likely contains IIS logs)
- php_errors (PHP-related error logs)

5. If you're troubleshooting PHP errors, open the php_errors folder.
6. Look for files like error_log or any .log file.
7. If troubleshooting IIS errors, click on the iis folder and check the most recent log files (.log).
8. Open the file directly in Plesk File Manager or download it for further analysis.
Effective troubleshooting starts with reviewing error logs, and Plesk makes this process simple. Whether you use the built-in Logs section or manually inspect files via the File Manager, both methods help pinpoint issues like failed requests, PHP errors, or IIS misconfigurations. Regularly checking logs not only resolves current problems but also helps prevent future mistakes.