This article will guide you through the steps to add a new domain or subdomain in the Plesk Control Panel. Plesk provides a simple web-based interface to manage your websites, domains, DNS records, and hosting settings.
Steps to Add a Domain in Plesk
Step 1: Log in to Plesk
Open in your browser and log in to Plesk.
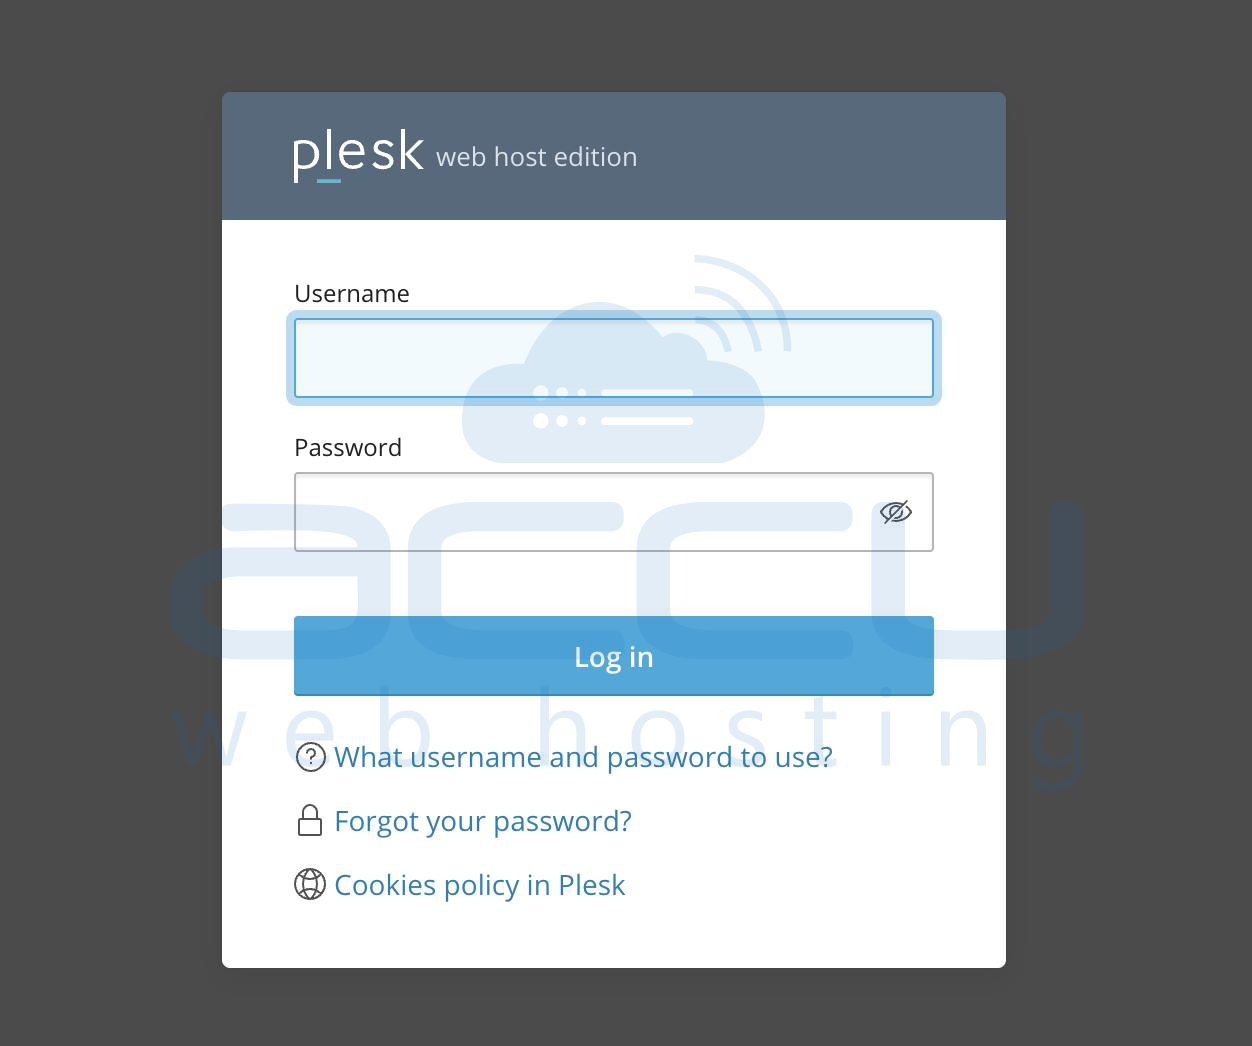
Enter your Username (default: admin) and your Password (set during installation or provided by your hosting provider). Click Log in.
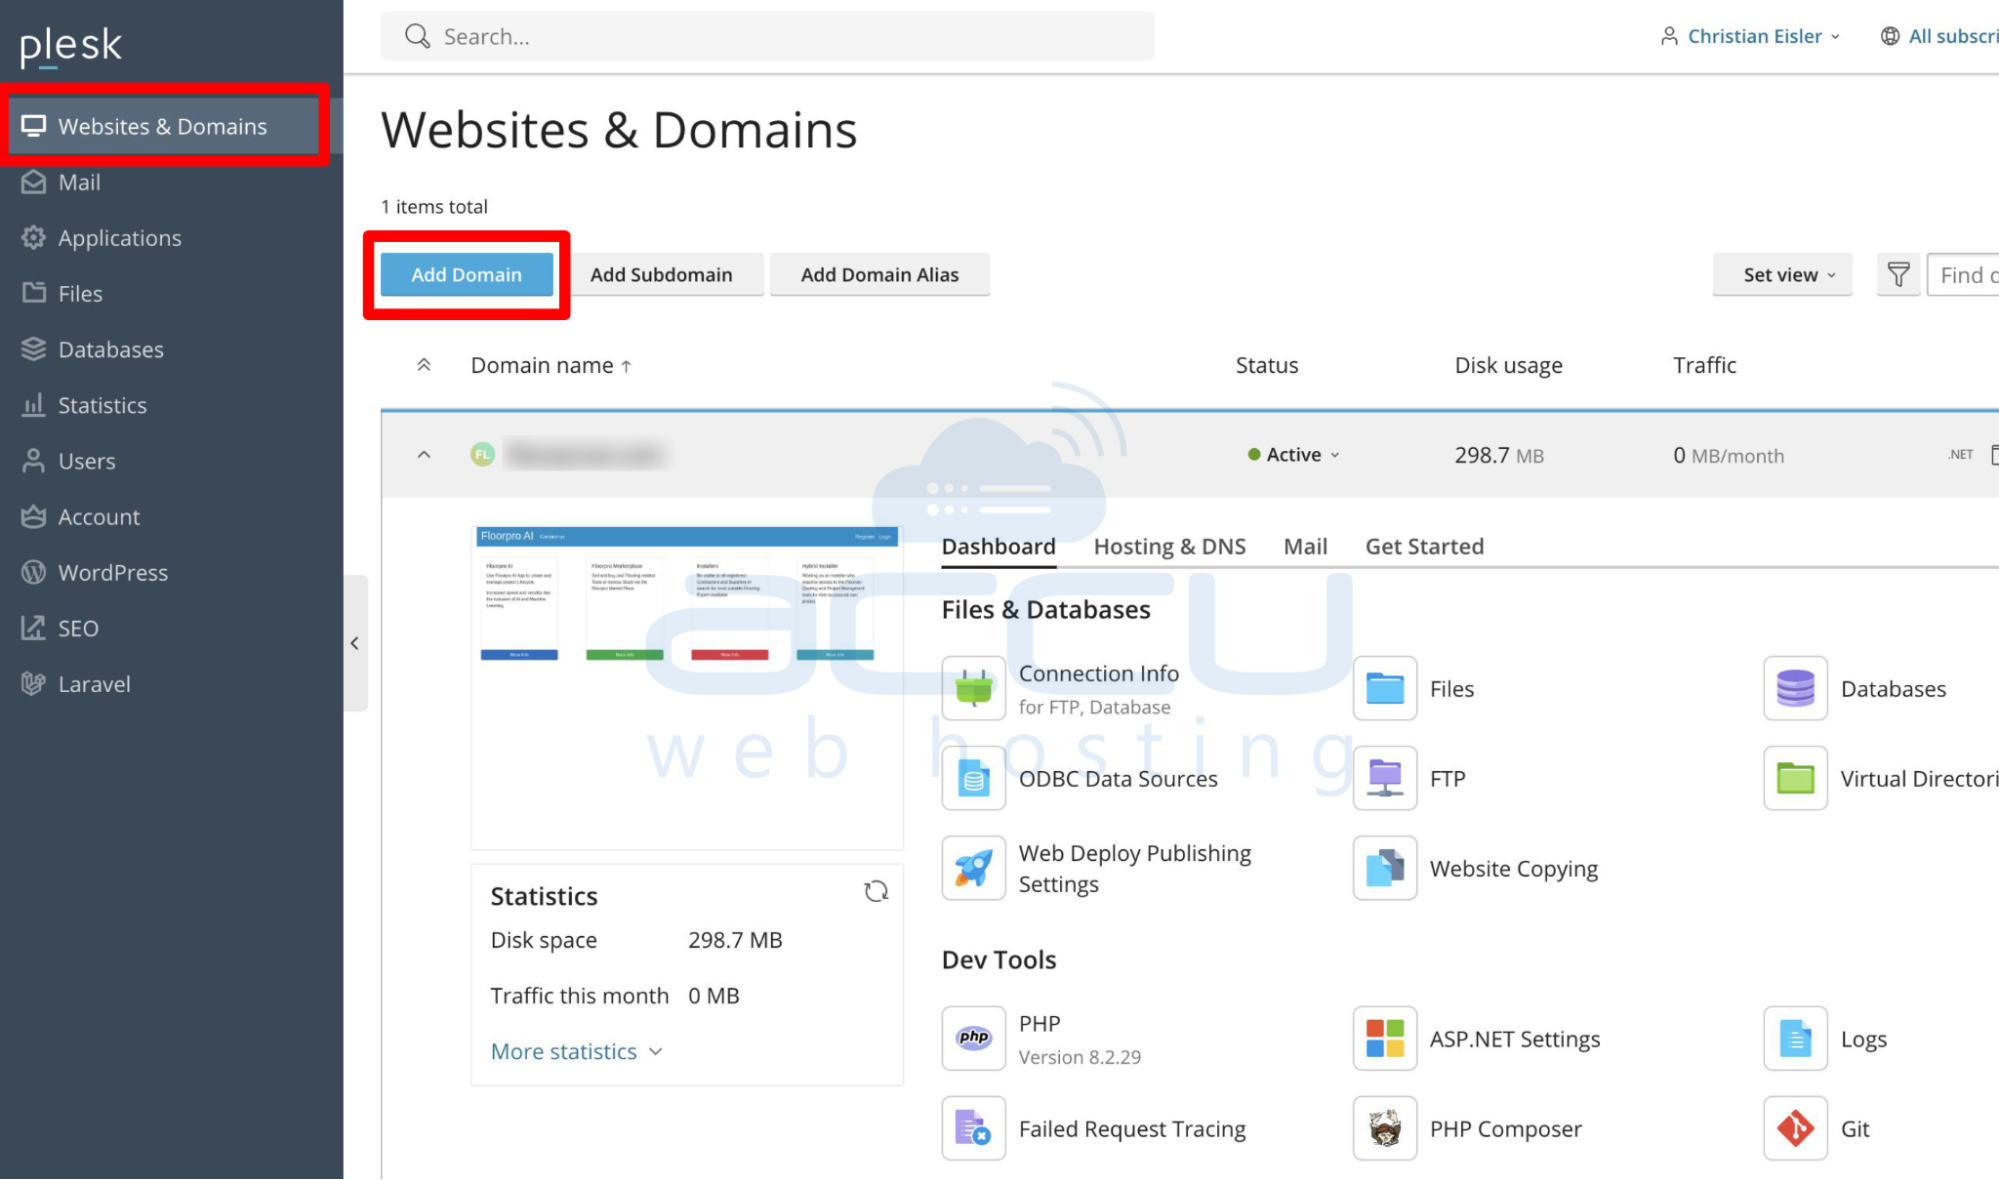
Step 2: Open Domain Management
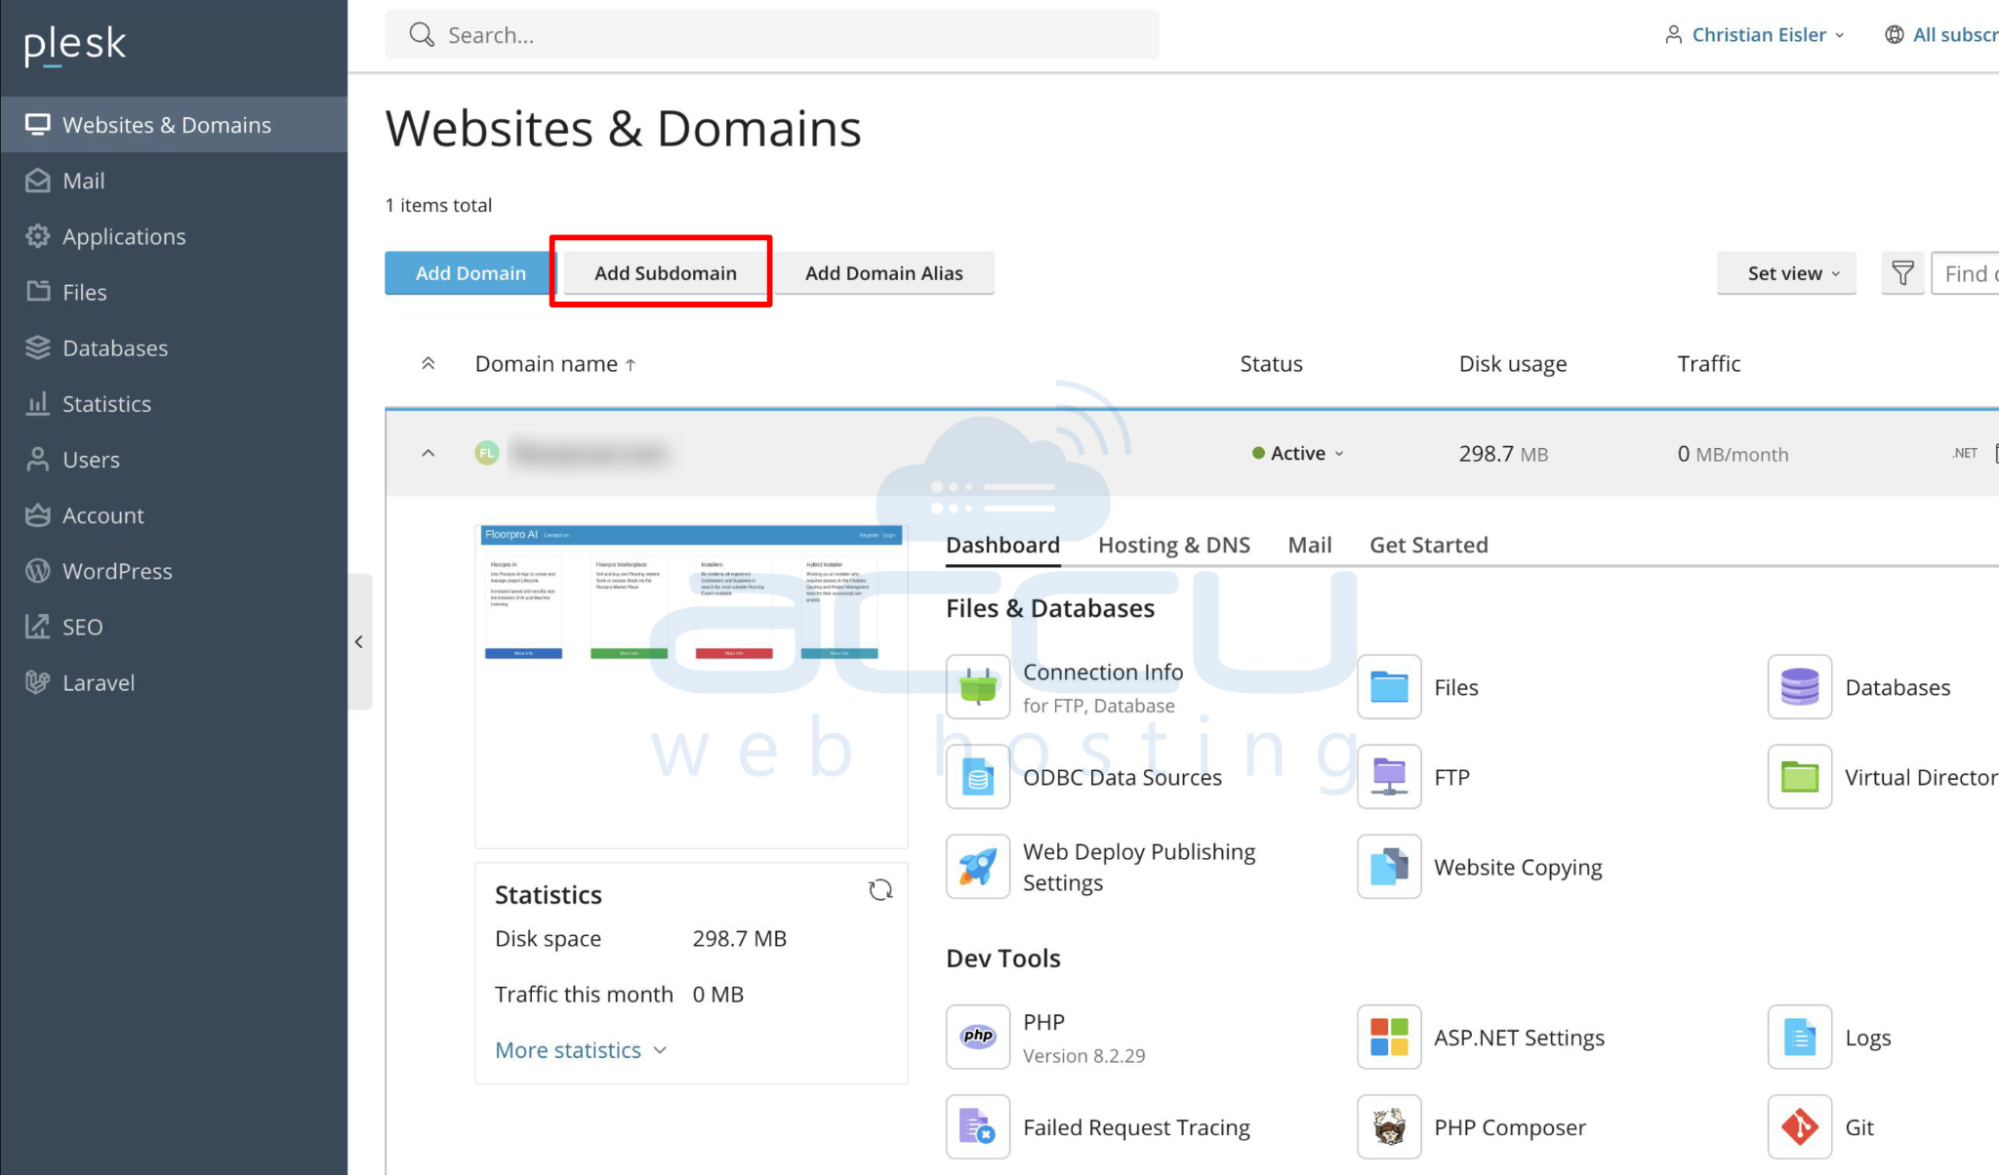
From the left-hand menu, click on Websites & Domains. Click on the Add Domain (or Add New Domain) button.
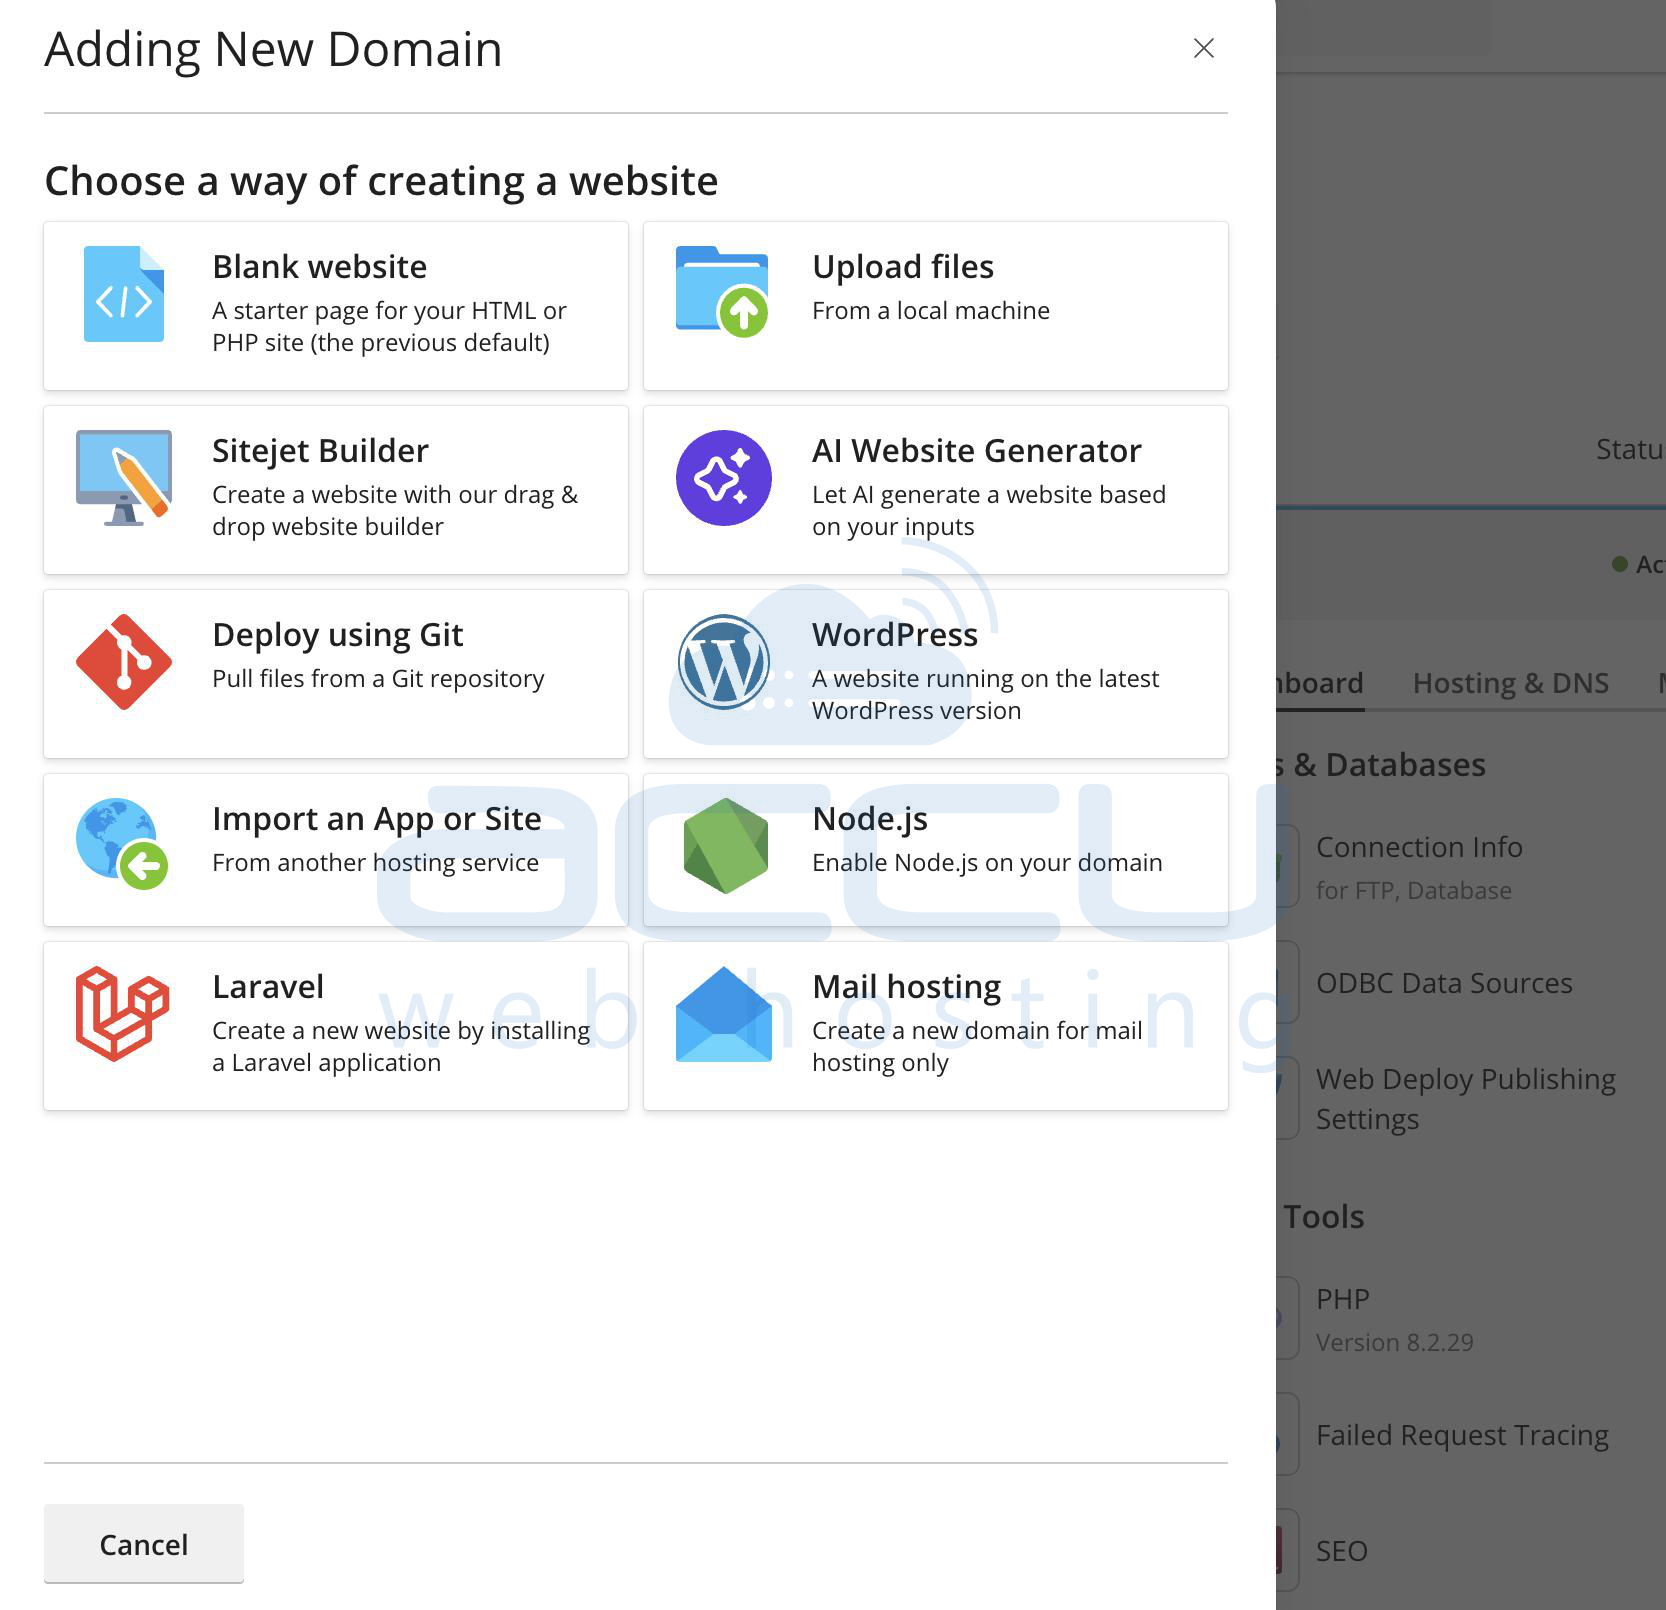
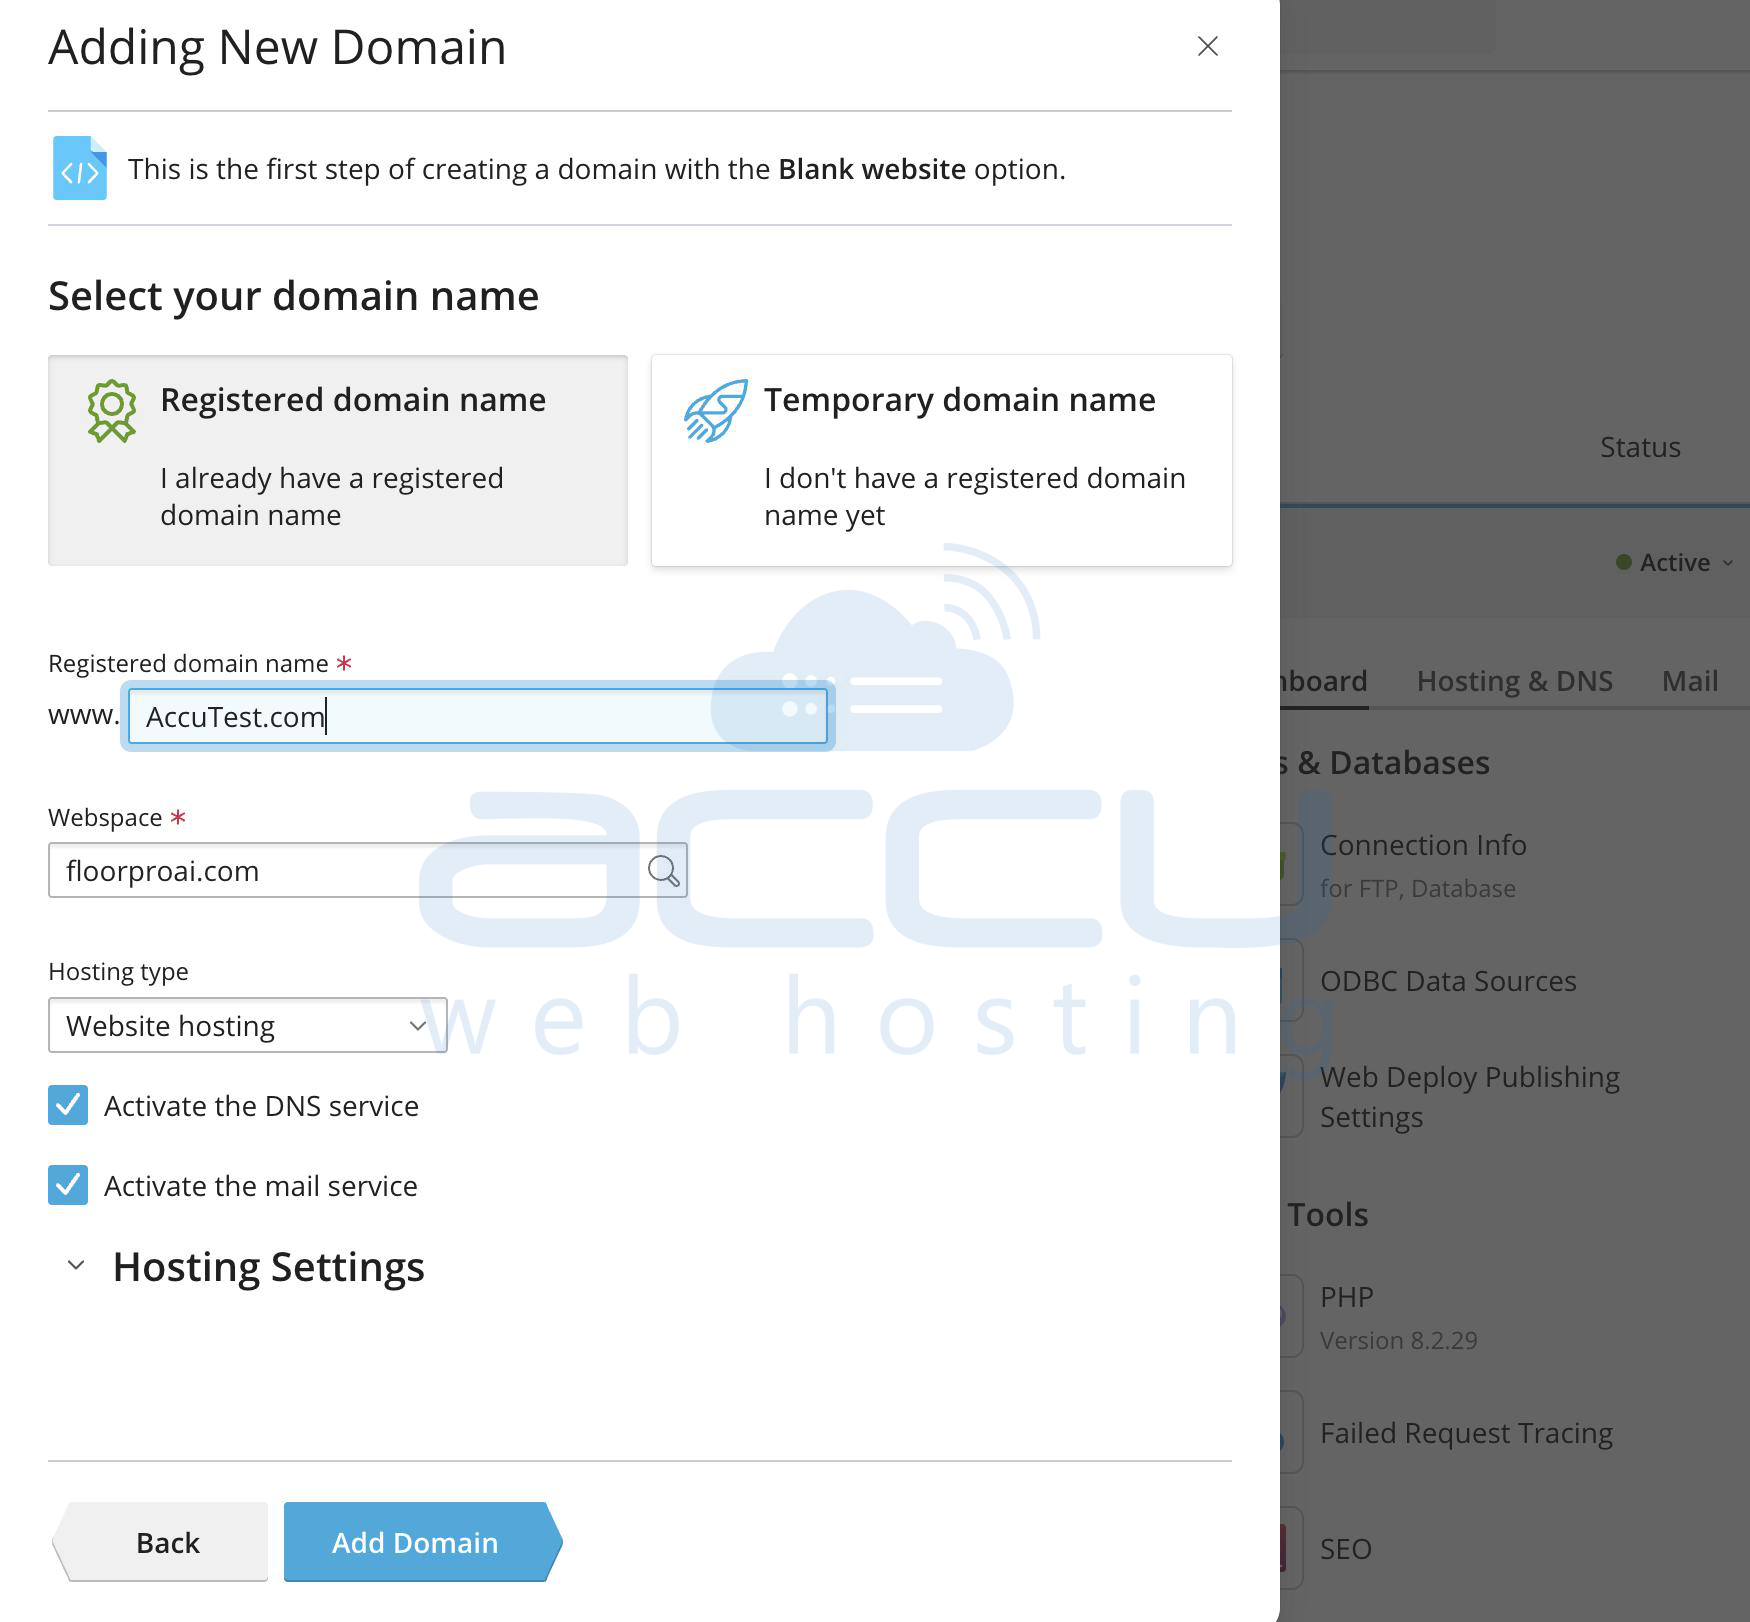
Step 3: Enter Domain Details
Domain Name: Enter your domain (e.g., example.com).
Location of Website’s Files: Choose the subscription/webspace.
DNS Settings: Select Use our DNS settings (Recommended).
Hosting Type: Select Website hosting.
Document Root: Default is usually httpdocs.
Preferred Domain: Choose www.example.com or example.com.
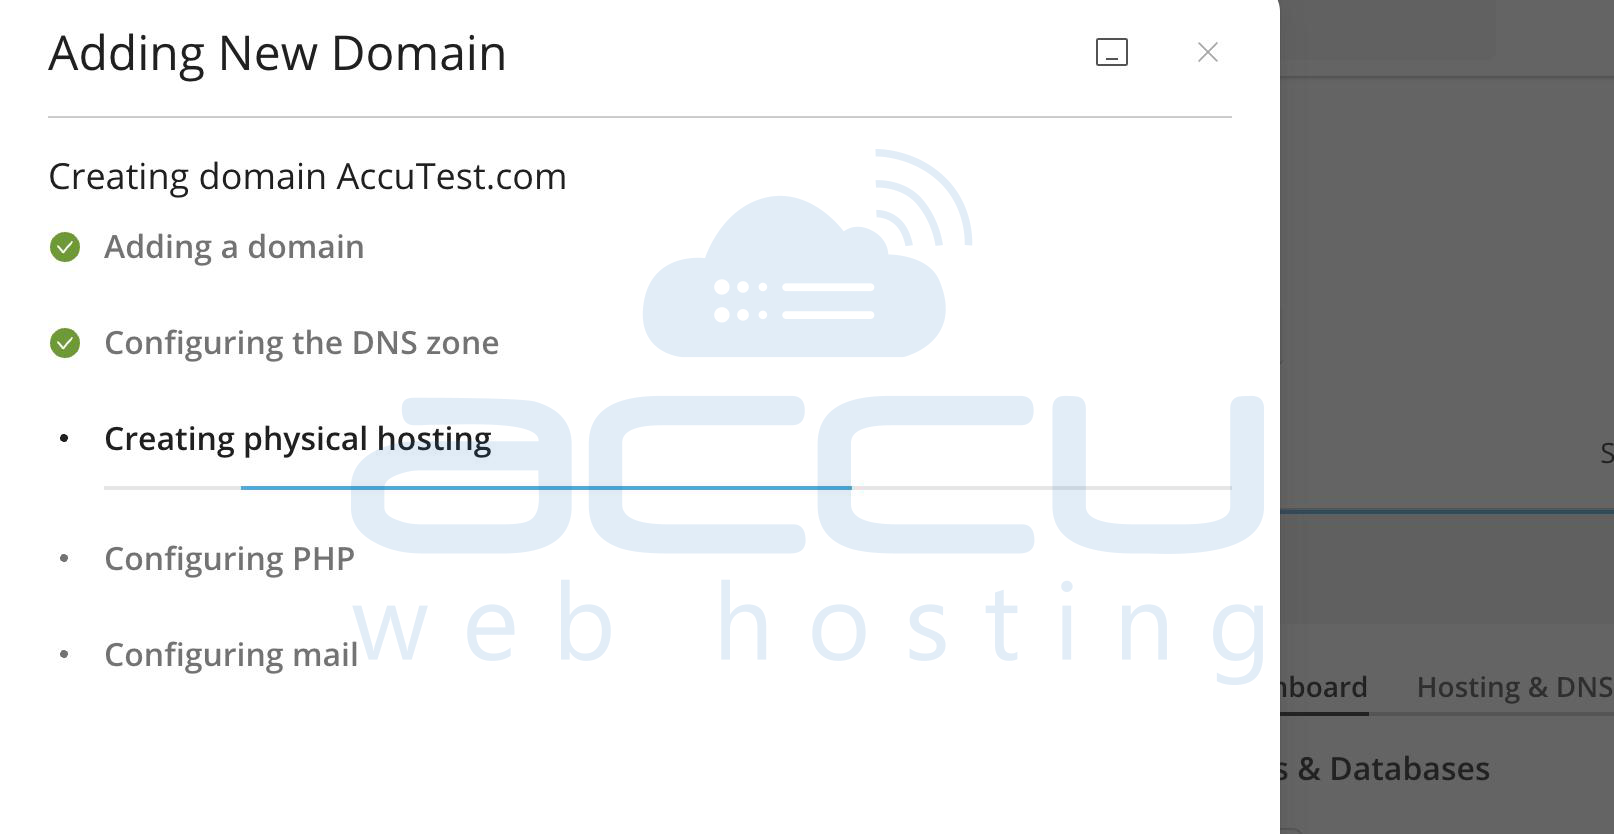
Click OK to complete.
Step 4: Manage Domain Settings
Once added, you can configure:
DNS Records
Mail Settings
PHP Settings
SSL/TLS Certificates
Steps to Add a Subdomain in Plesk
Step 1: Go to Subdomain Option
From the Websites & Domains section, click Add Subdomain.
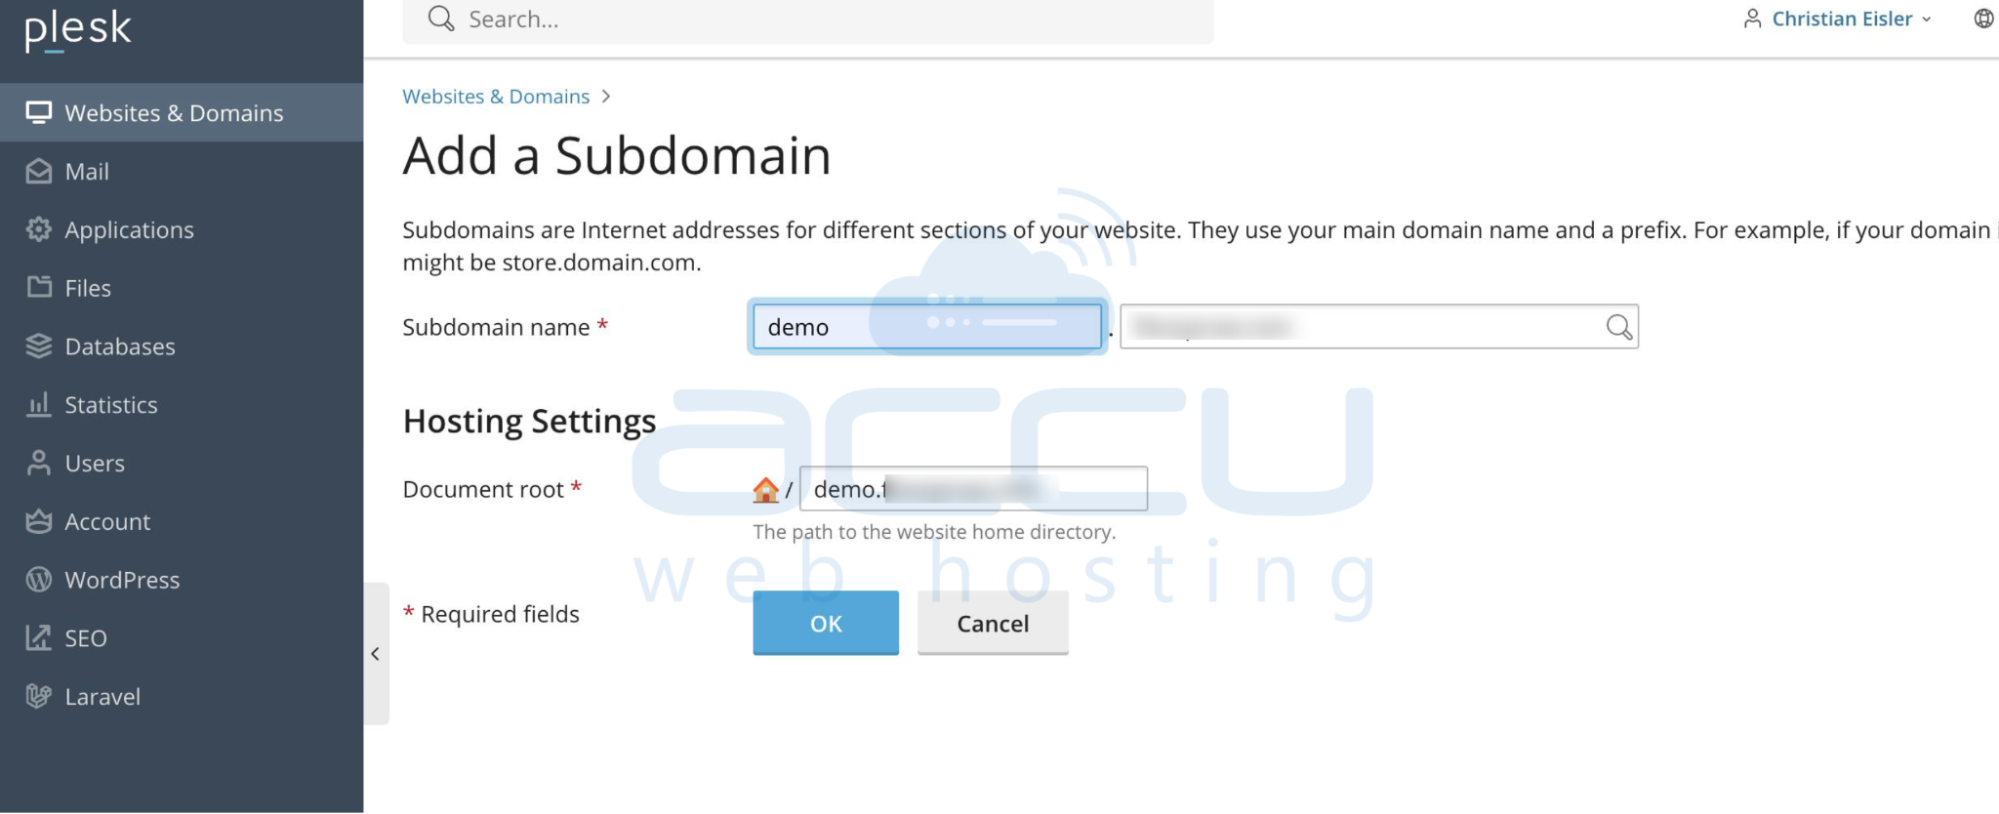
Step 2: Enter Subdomain Details
Subdomain Name: Enter the subdomain (e.g., blog.example.com).
Parent Domain: Select the main domain (e.g., example.com).
Document Root: Define the root folder (default: subdomain_name).
Click OK.
Step 3: Manage Subdomain Settings
Once created, you can manage the subdomain the same way as a domain, including DNS, mail, and PHP settings.
Conclusion:
You have successfully added a new domain or subdomain in Plesk Control Panel. From here, you can upload website files, configure hosting settings, and manage DNS or mail services for your new site.
This article will guide you through the steps to add a new domain or subdomain in the Plesk Control Panel. Plesk provides a simple web-based interface to manage your websites, domains, DNS records, and hosting settings.
