
OpenLiteSpeed is a free, open-source web server that works fast and supports modern connection types like HTTP/2 and HTTP/3. It also has built-in support for PHP to help deliver secure, dynamic websites. It comes with an easy-to-use web-based management tool where you can create and manage multiple websites on your server.
This guide will show you how to install OpenLiteSpeed on Ubuntu 22.04 and set up the management tool to securely host websites on your server.
What You Need Before Starting
- A server or VPS running Ubuntu.
- A domain with an A record pointing to your server's IP address (e.g., app.accuwebtraining.com).
- Root access to the server. If you are using a regular user, make sure the user has sudo permissions to run installation commands and change configuration files.
Update the Server
It's a good idea to update your server before installing any new applications. Follow these steps to update it:
Step 1: Update the package manager's cache by running this command in the terminal:

Step 2: Install any available updates by running this command:
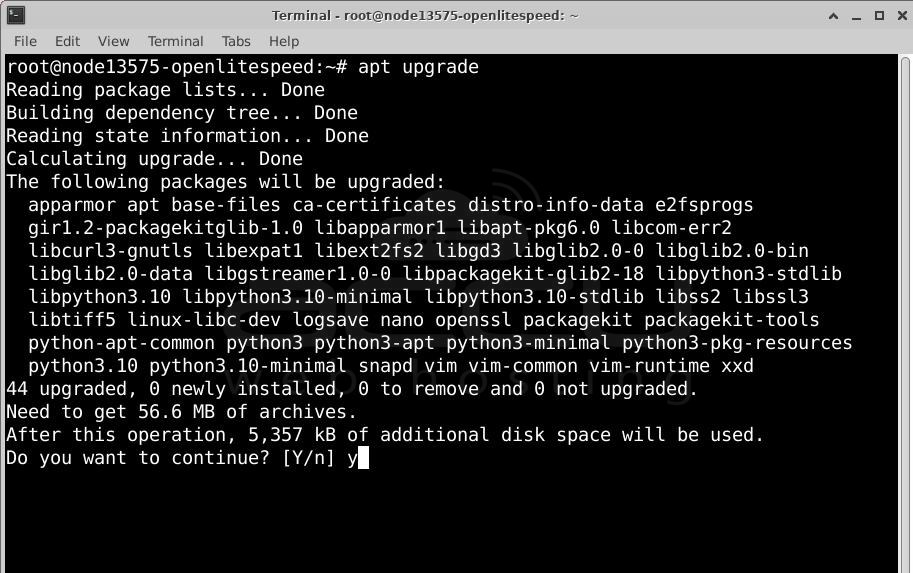
When prompted, type Y to confirm and install the updates.
Install OpenLiteSpeed
OpenLiteSpeed is not included in Ubuntu 22.04's default repositories, but you can install it using a setup script. Follow these steps:
Step 1: Download the OpenLiteSpeed repository setup script.
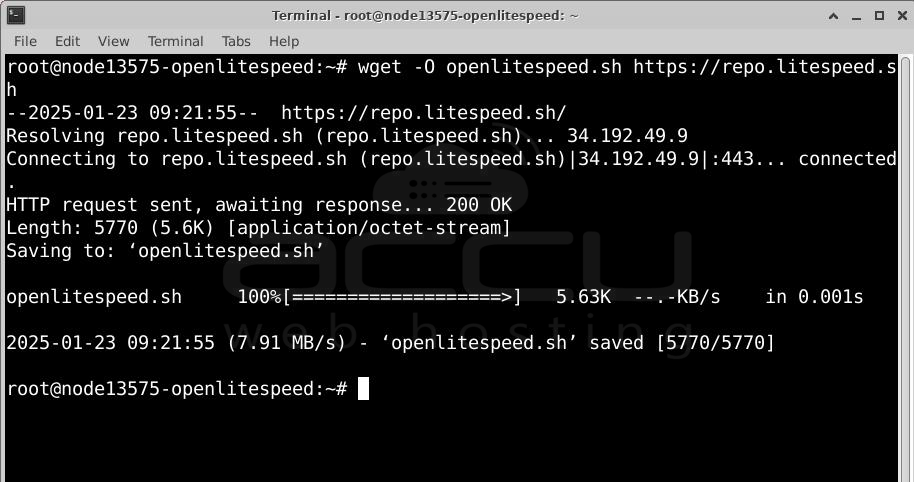
Step 2: Run the script to add OpenLiteSpeed to your APT sources.

You should see a message like:
LiteSpeed repository has been set up!
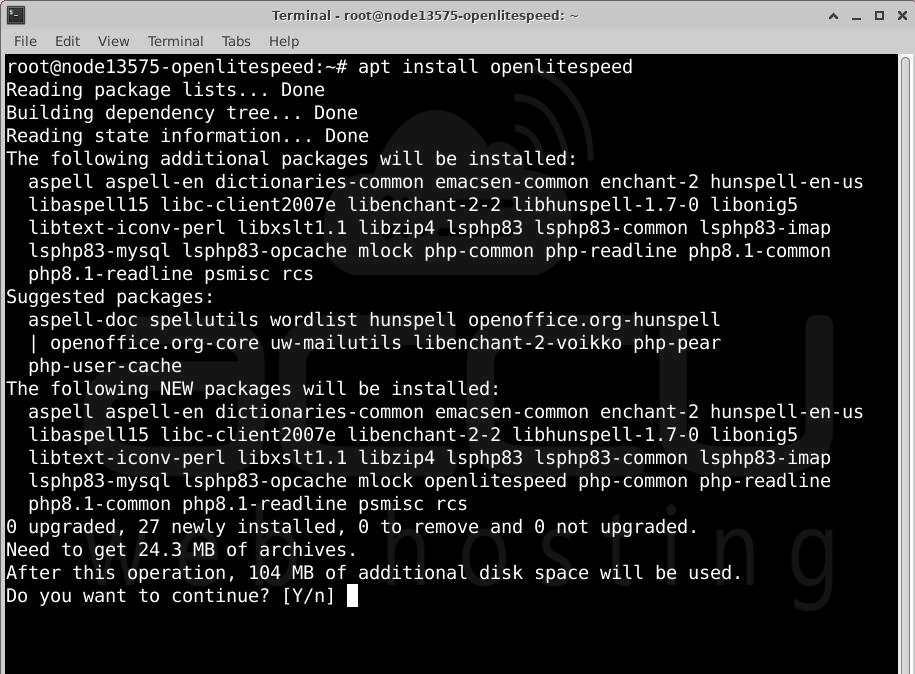
Step 3: Install OpenLiteSpeed by running this command:
Step 4: Check the installed version of OpenLiteSpeed with this command:

You should see an output similar to:
1.8.2
Manage the OpenLiteSpeed Service
OpenLiteSpeed uses the lshttpd.service system service, which can also be controlled using the lsws alias. Follow these steps to manage the web server:
Step 1: Enable OpenLiteSpeed to start automatically when the server boots.

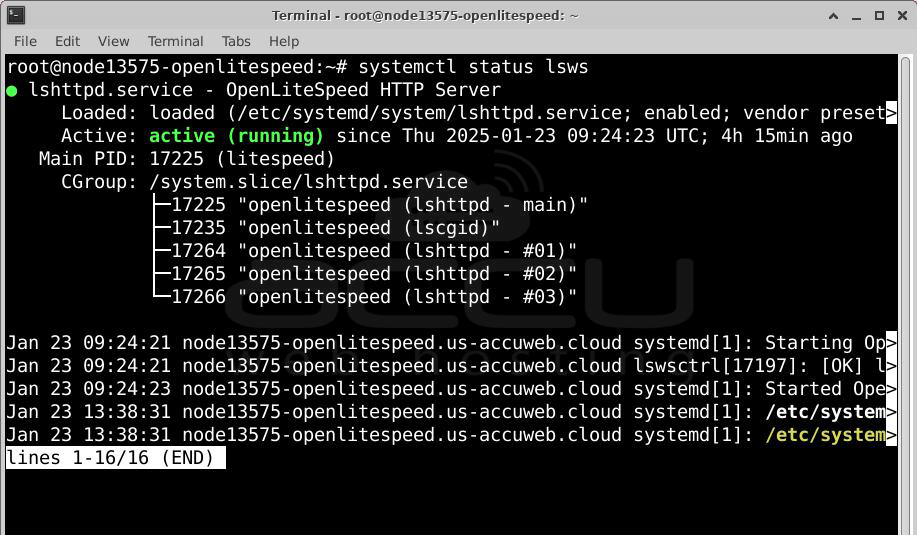
Step 2: Start the OpenLiteSpeed service.

Check the service status to confirm it's running:
Step 3: To stop the OpenLiteSpeed service, use:

Step 4: Restart the service if needed.

Access the OpenLiteSpeed Web Admin Panel
The OpenLiteSpeed admin panel runs on port 7080, and the default admin password is stored in /usr/local/lsws/admin/password. Follow these steps to enable access, change admin details, and configure OpenLiteSpeed to serve websites on port 80.
Step 1: Create a new admin username and password.
Run this command:
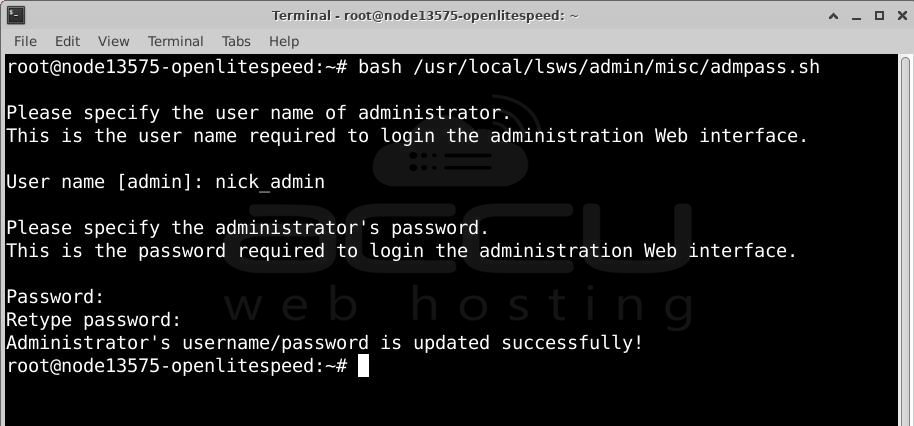
Enter a new username when prompted and press Enter.
Create a strong password and confirm it.
Step 2: Allow access to the admin panel (port 7080) in the firewall.
Step 3: Reload the firewall to apply changes.
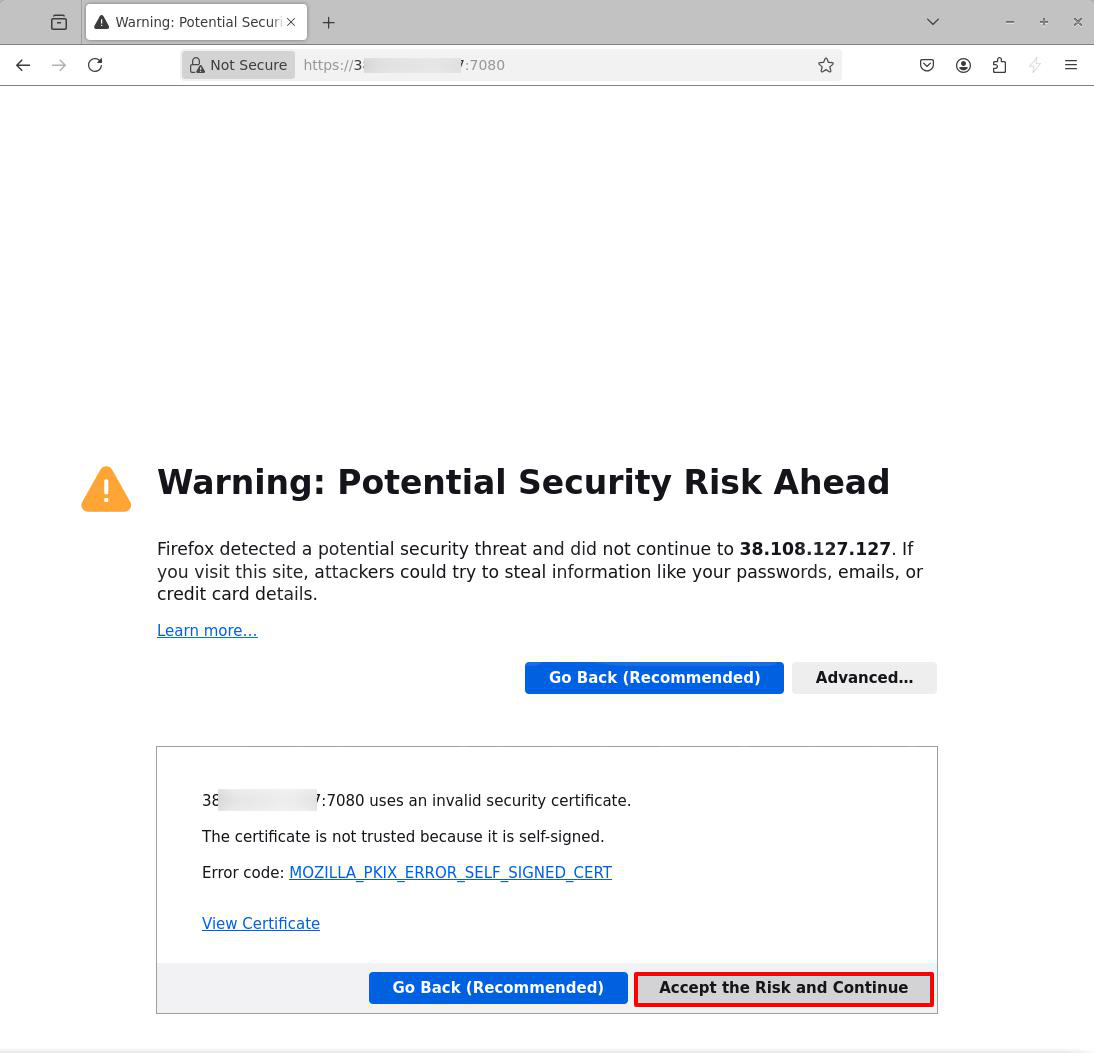
Step 4: Open the admin panel in a web browser.
Go to: http://server-ip-address:7080
- Accept any SSL warnings.
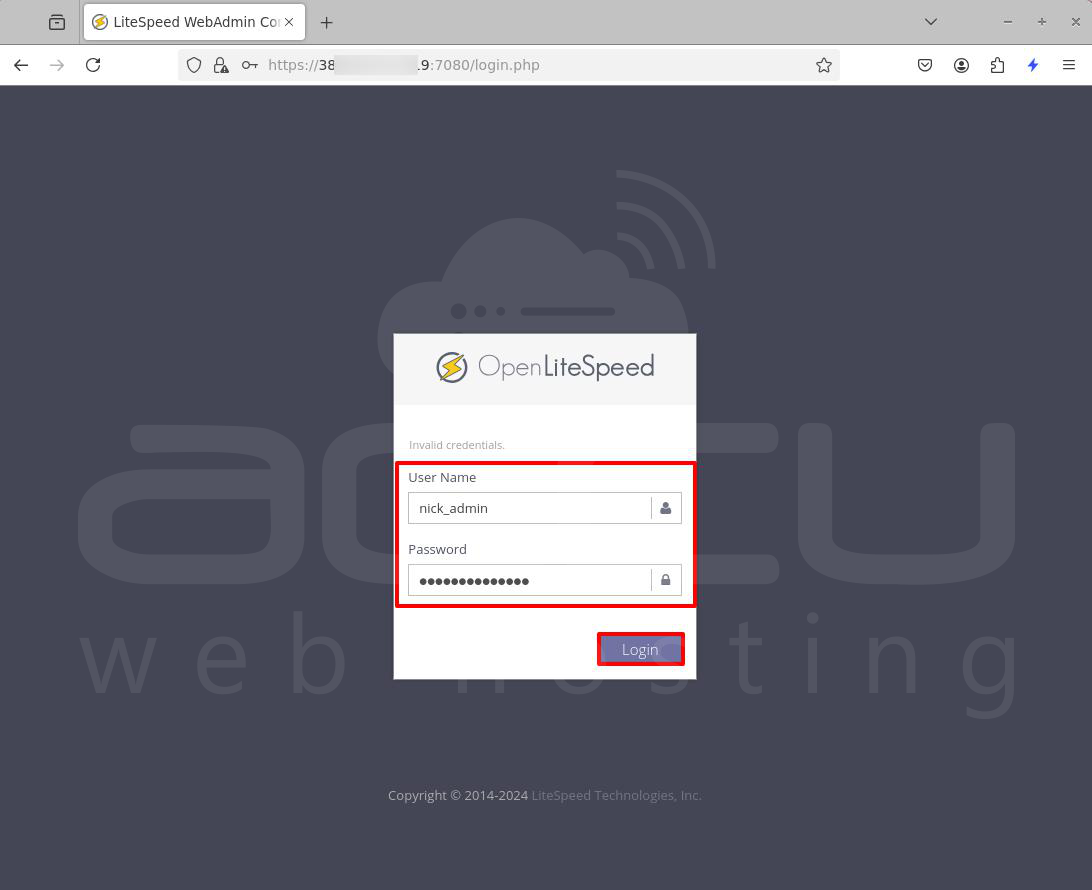
- Log in using the username and password you created.
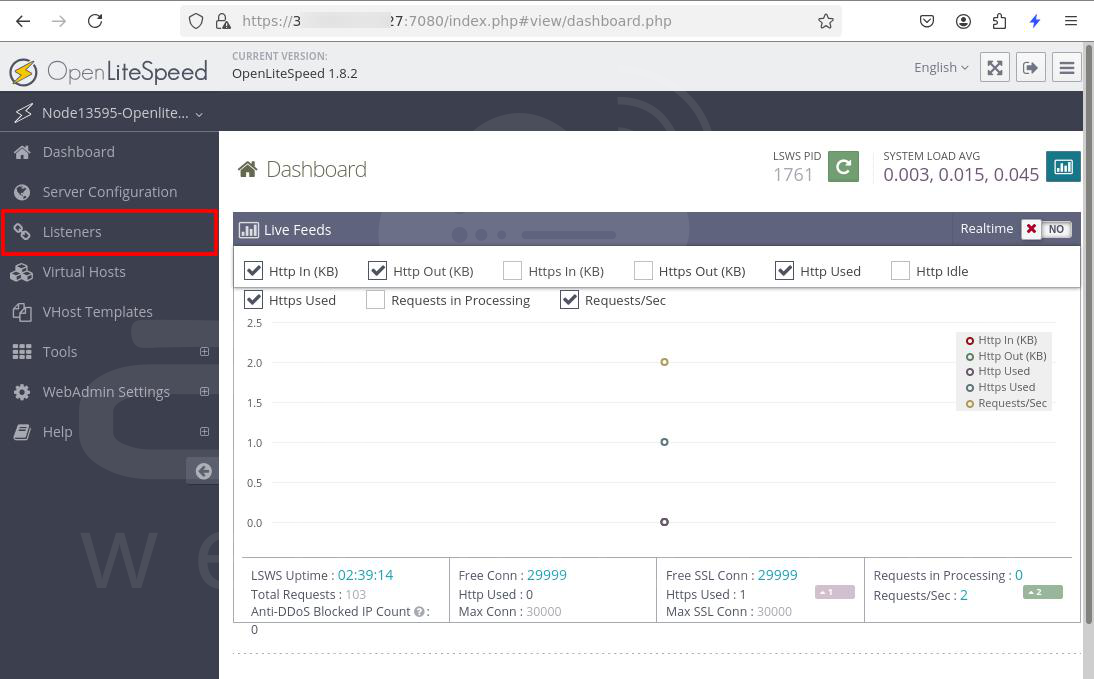
Step 5: Change the default webserver port to 80.
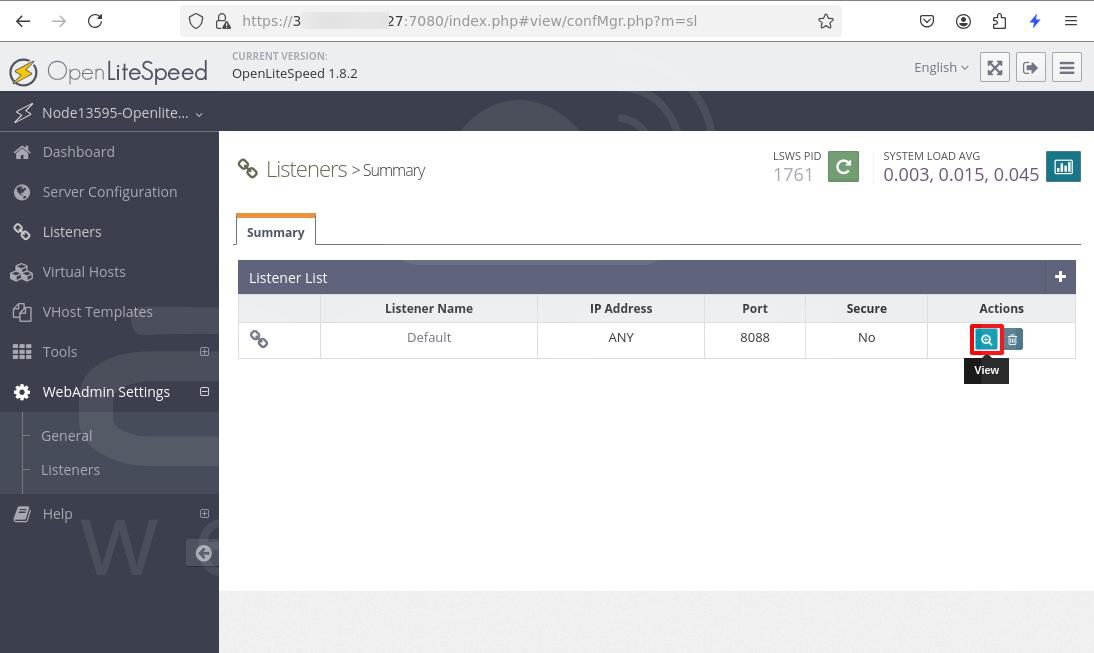
- In the admin panel, click Listeners in the main menu.
- Under Actions for the default listener, click the view icon.
- In the Address Settings section, click Edit in the top right.
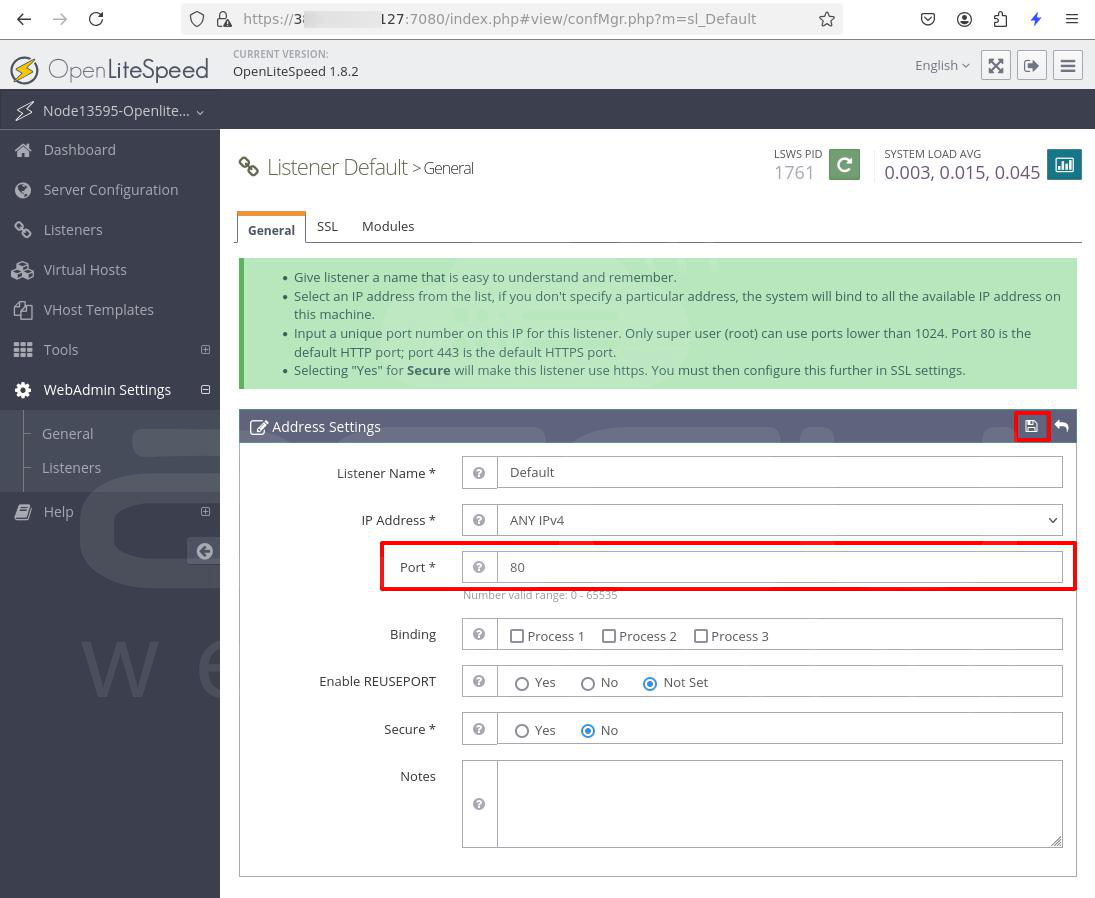
- Change the Port from 7080 to 80.
- Save the changes by clicking the Save icon.
Step 6: Apply the changes.
- A "Configurations modified" message will appear.
- In the top-right corner, click Graceful Restart next to LSWS PID.
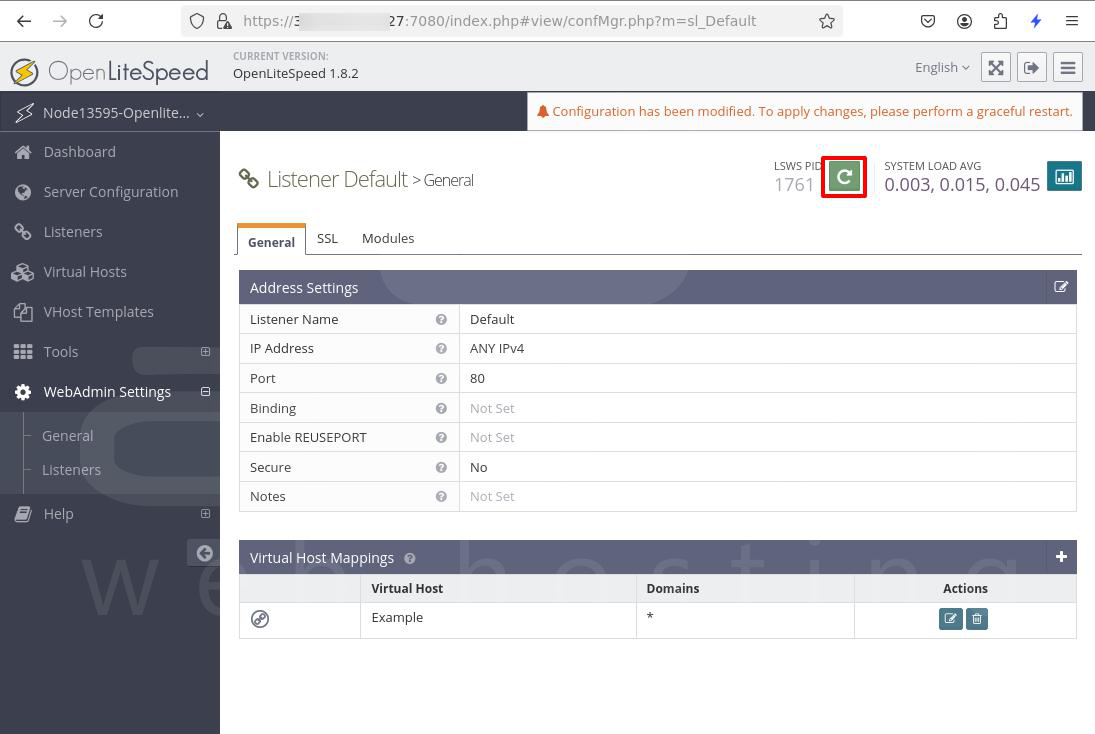
- When prompted, click Go to restart OpenLiteSpeed and apply the new settings.
Create a New OpenLiteSpeed Virtual Host
OpenLiteSpeed lets you create virtual hosts with custom web root directories. Here's how to set up a virtual host for the domain app.accuwebtraining.com:
Step 1: Create a web root directory for your virtual host.

Step 2: Create required subdirectories: html, logs, and conf.
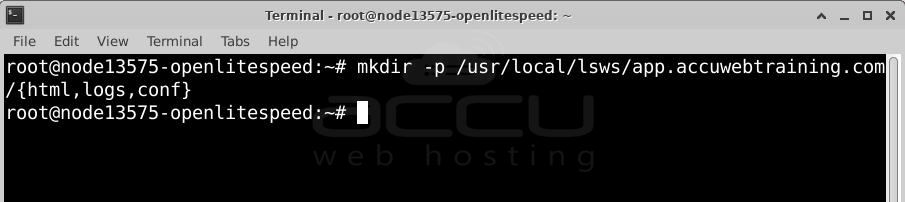
html: For your website files.
logs: For error and access logs.
conf: For site-specific configurations.
Step 3: Grant permissions to OpenLiteSpeed's user (lsadm).

Step 4: Log in to OpenLiteSpeed's admin panel at http://server-ip-address:7080.
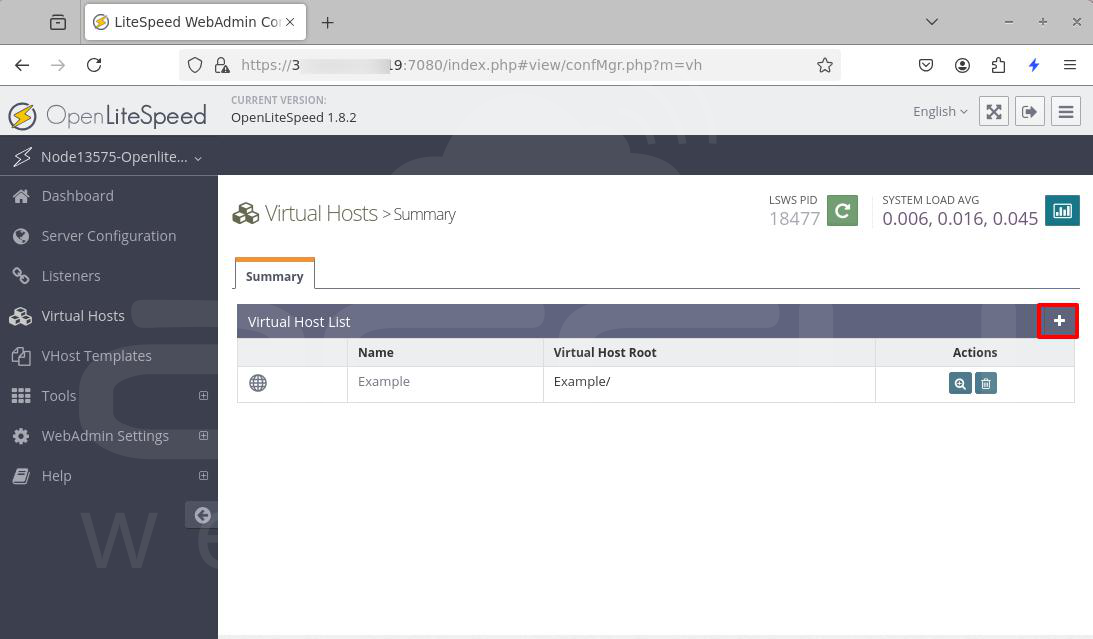
Step 5: Go to Virtual Hosts in the navigation menu and click + Add.
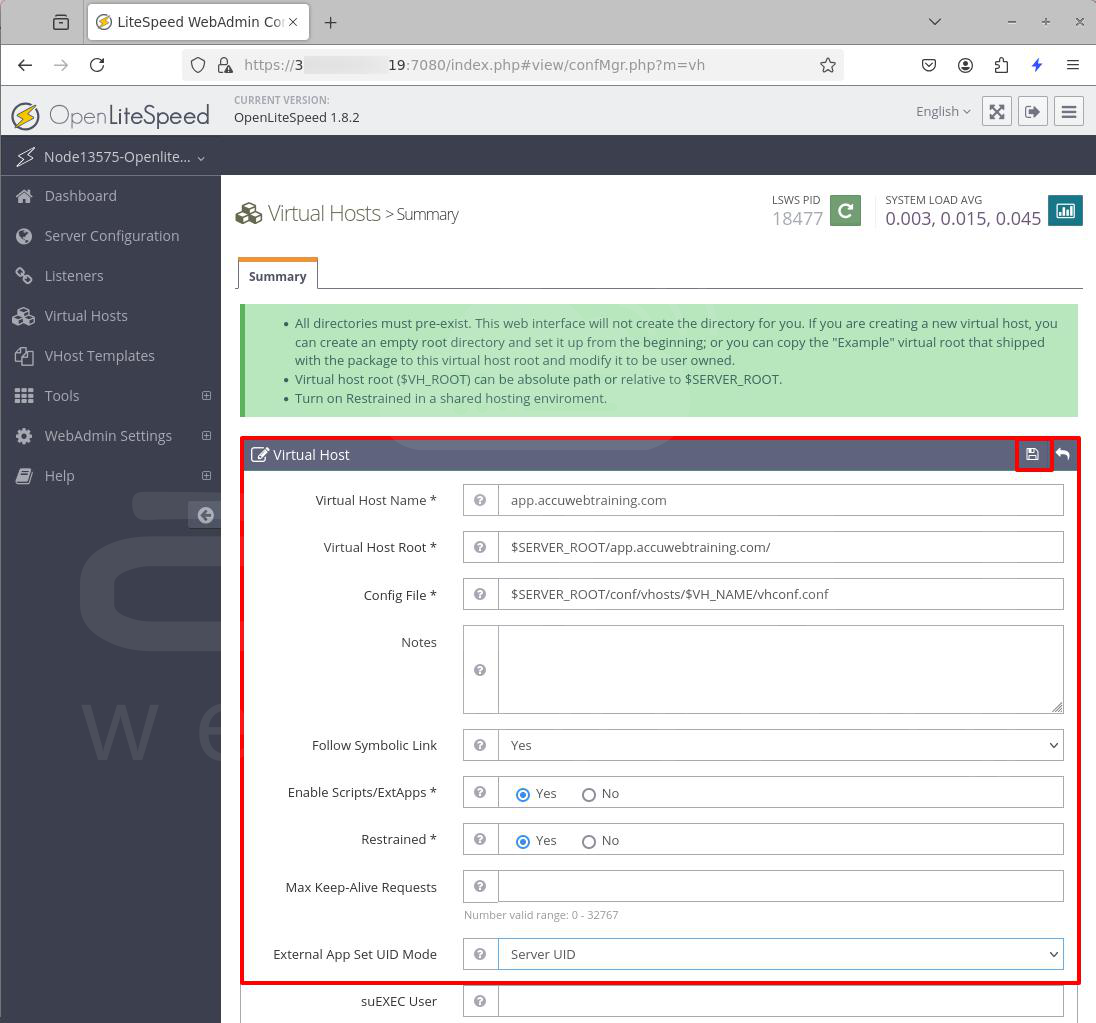
Step 6: Enter the following details:
Virtual Host Name: app.accuwebtraining.com
Virtual Host Root: $SERVER_ROOT/app.accuwebtraining.com/
Config File: $SERVER_ROOT/conf/vhosts/$VH_NAME/vhconf.conf
Follow symbolic link: Yes
Enable Scripts/ExtApps: Yes
Restrained: Yes
External App Set UID Mode: Server UID
Click on the Save button.
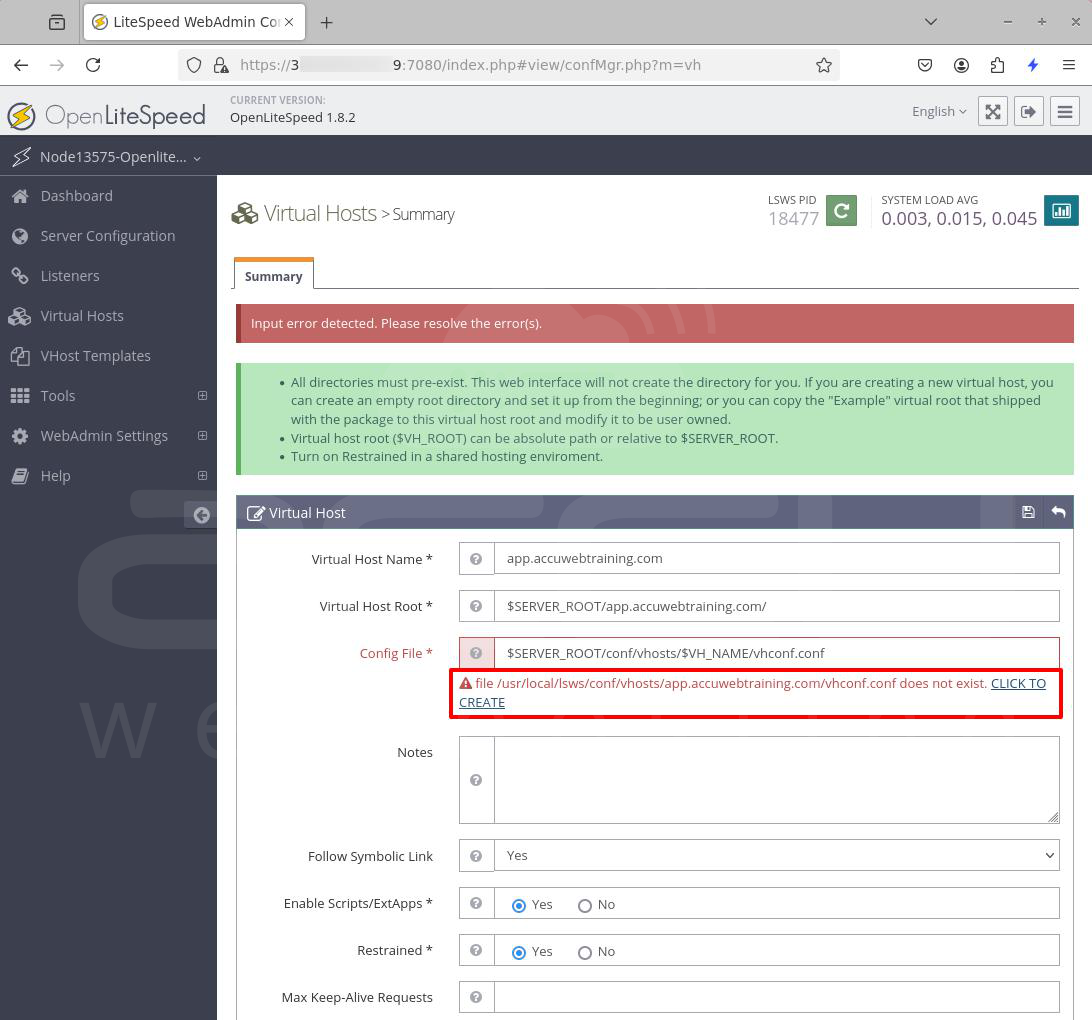
Step 7: When prompted to resolve errors, click CLICK TO CREATE to generate the vhconf.conf file. Save it.
Step 8: Modify virtual host settings:
Go to the General tab.
Set:
Document Root: $VH_ROOT/html/
Domain Name: app.accuwebtraining.com
Enable GZIP Compression and Brotli Compression: Yes
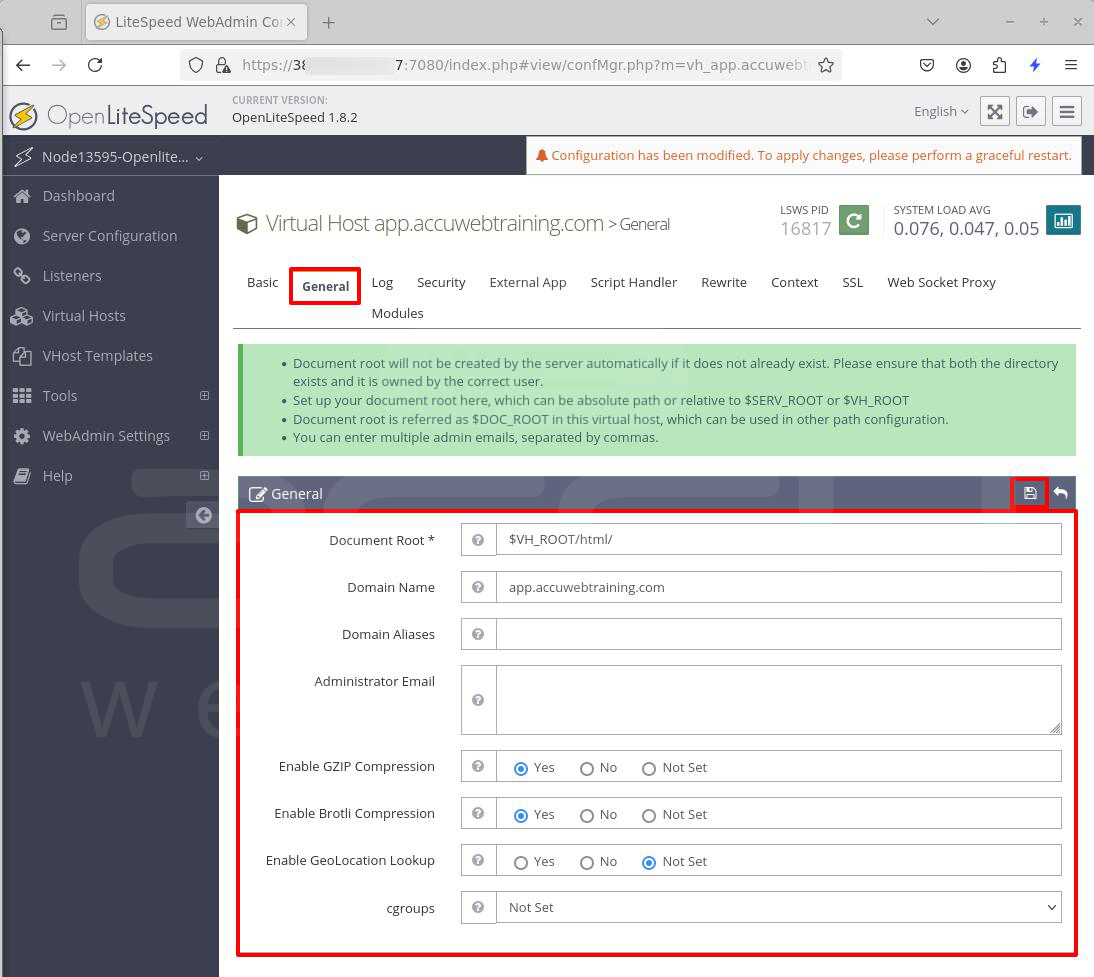
Save the changes.
Step 9: Set up logs:
Go to the Log tab.
Edit Virtual Host Log with:
Use Server's Log: Yes
File Name: $VH_ROOT/logs/error.log
Log Level: ERROR
Rolling Size: 10M
Keep Days: 30
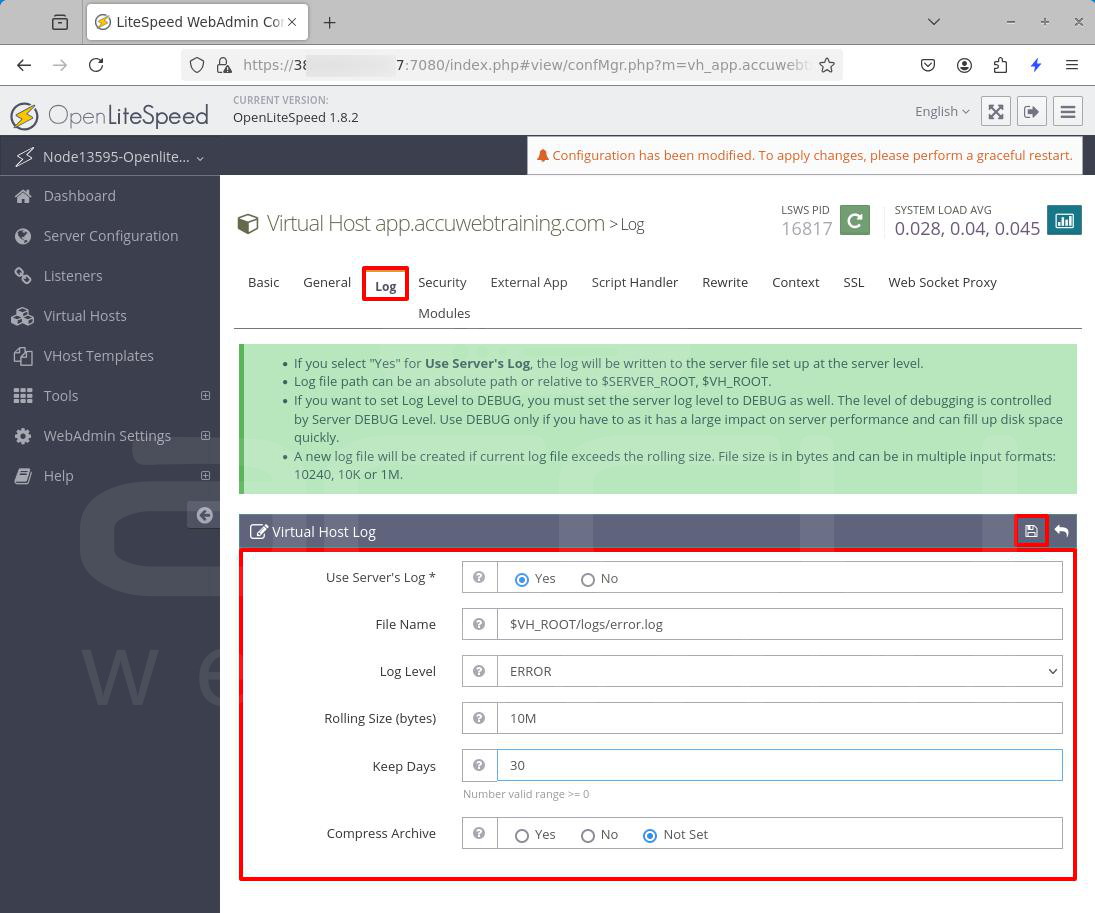
Then click on the Save button.
Step 10: Configure rewrite rules:
Go to the Rewrite tab.
Enable Rewrite: Yes
Auto Load from .htaccess: Yes
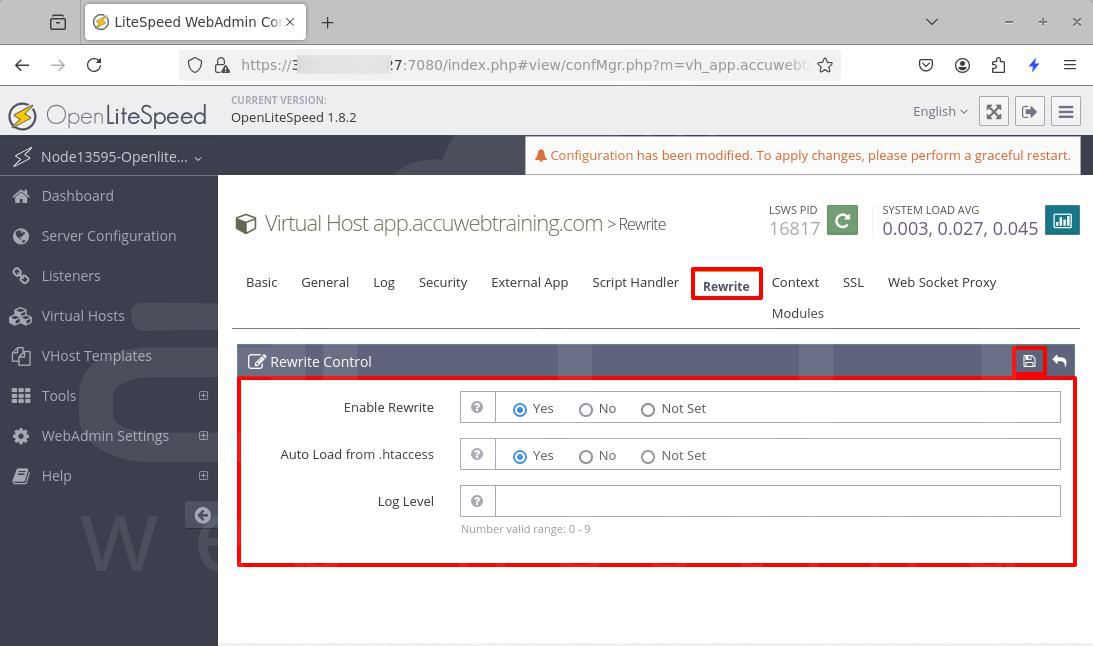
Then click on the Save button.
Step 11: Map the virtual host to a listener:
Go to Listeners.
Edit the Default Listener and add a new mapping:
Select your virtual host.
Enter the domain app.accuwebtraining.com.
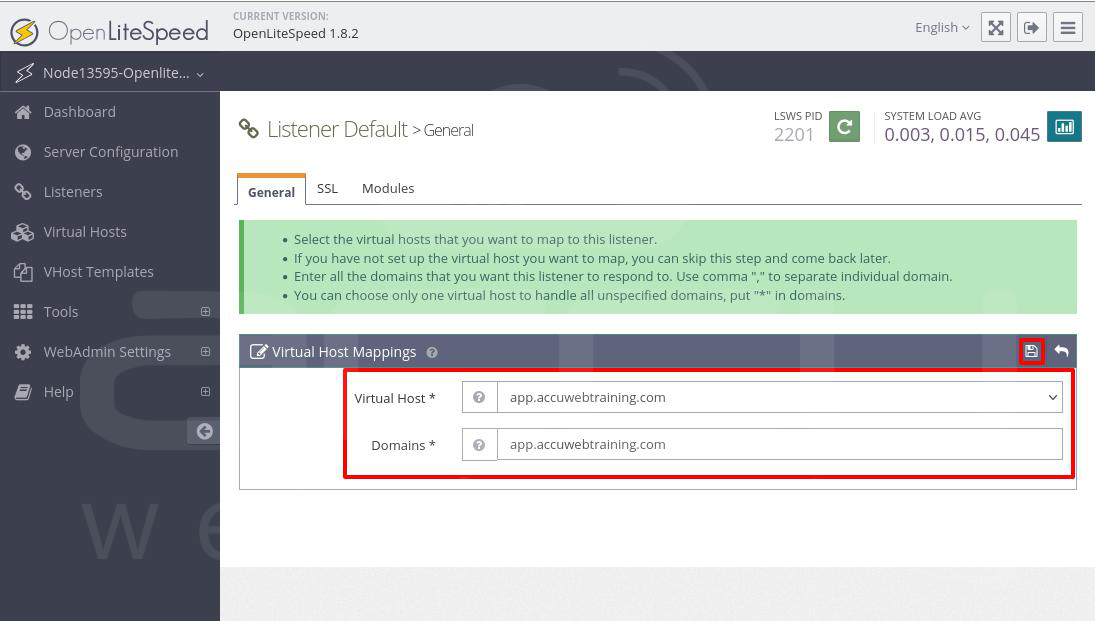
Then click on the Save button.
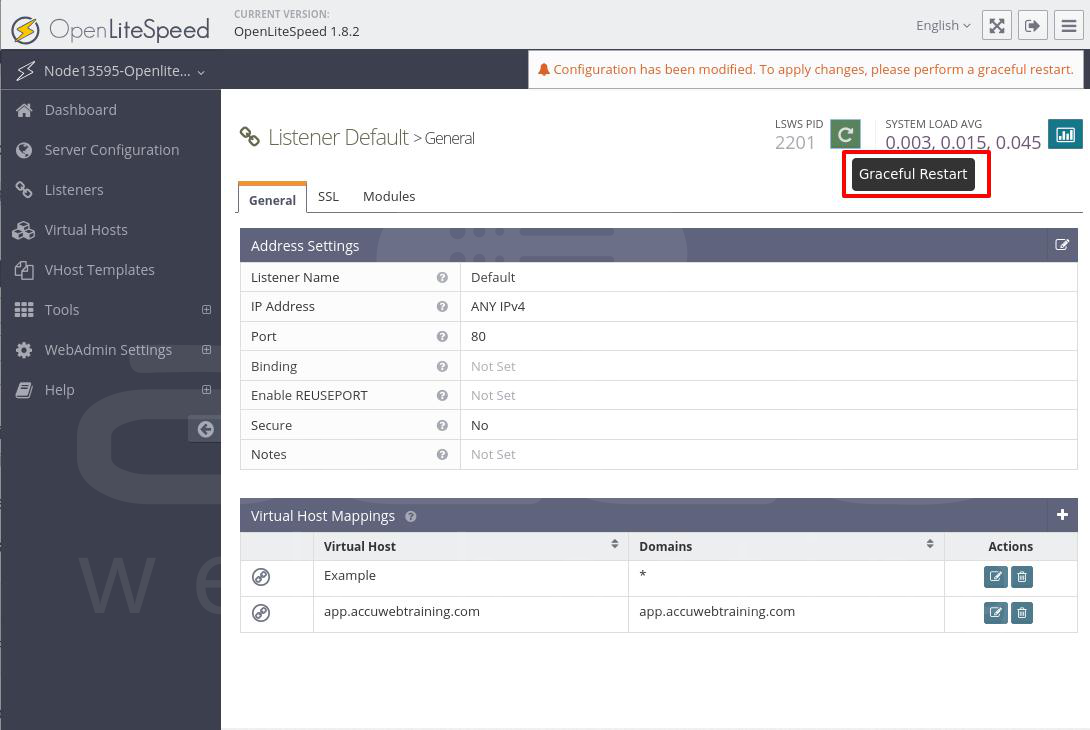
Step 12: Restart the server:
Click Graceful Restart in the top-right corner. Confirm with Go.
Step 13: Add a test HTML file:
SSH into the server:
ssh root@server-ip-address
Create an HTML file:
Add this content:
<html>
<head>
<title>OpenLiteSpeed Server Install Test</title>
</head>
<body>
<h1 align='center'>Welcome to AccuWeb Hosting!</h1>
</body>
</html>
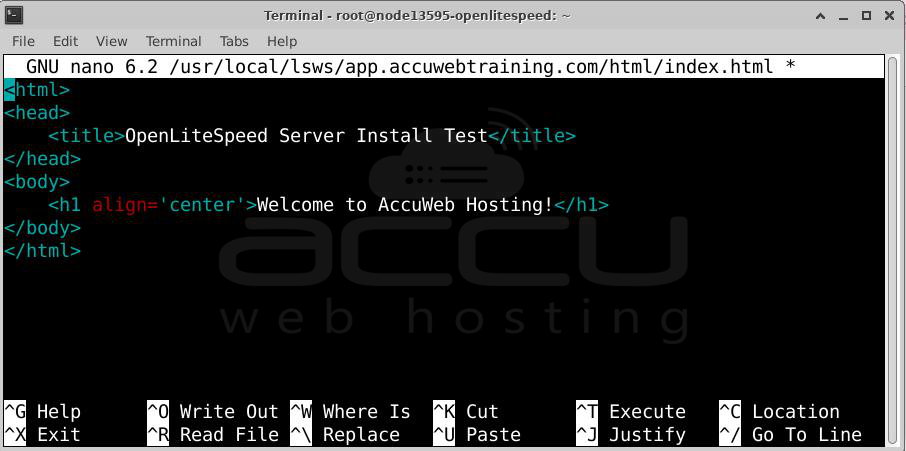
Save and close.
Step 14: Open port 80 in the firewall.
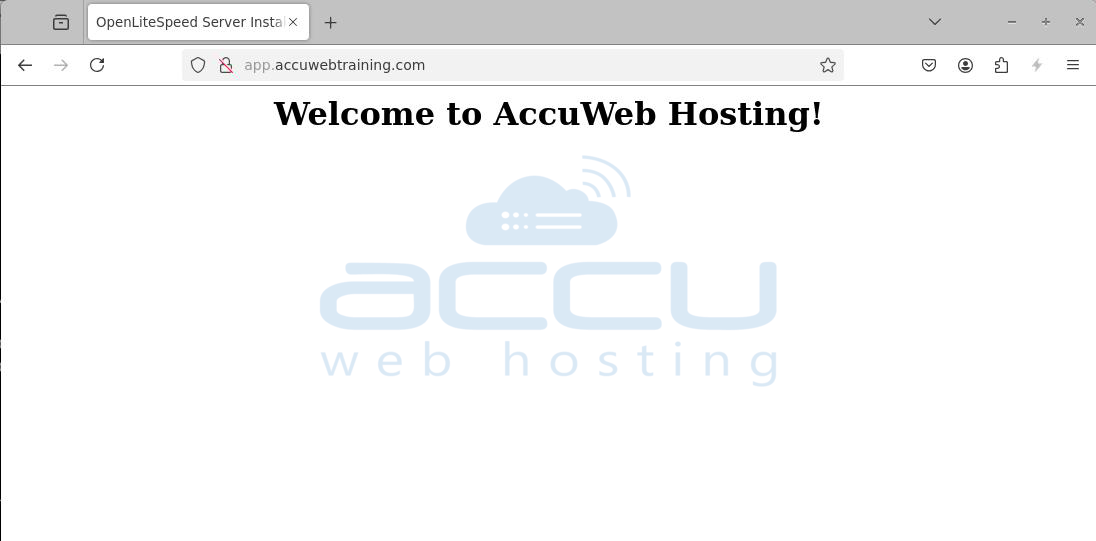
Step 15: Test your virtual host:
Visit http://app.accuwebtraining.com in a browser. You should see:
Welcome to AccuWeb Hosting!
Secure the OpenLiteSpeed Webserver
By default, OpenLiteSpeed serves websites over HTTP on port 80, which doesn't encrypt the connection between your web server and visitors. To secure the connection, you need to use HTTPS on port 443, which requires an SSL certificate. Here's how to use Let's Encrypt to secure your server.
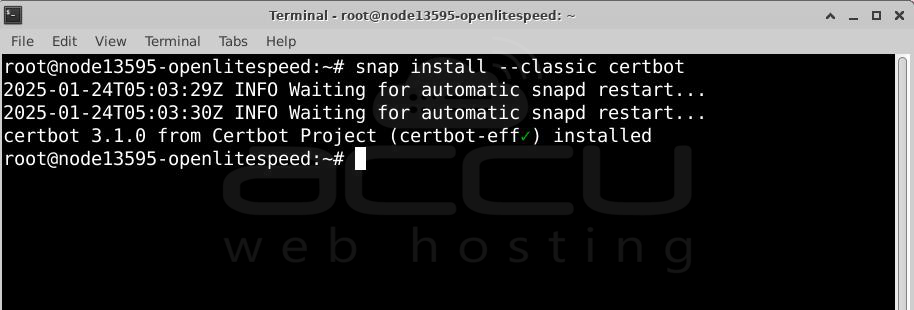
Step 1: Install the Certbot tool to generate Let's Encrypt certificates.
Step 2: Generate an SSL certificate using Certbot. Replace app.accuwebtraining.com and admin@example.com with your actual details.
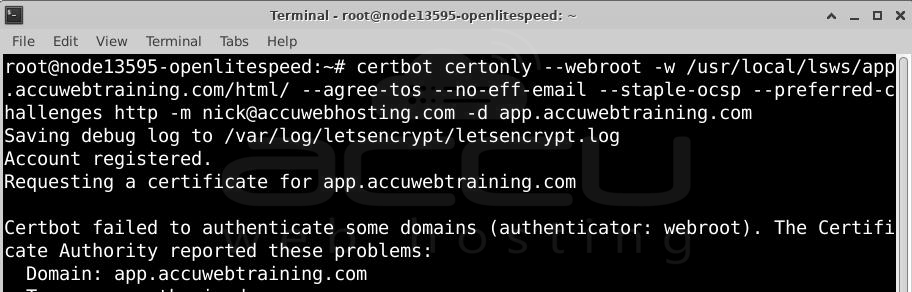
This creates a new Let's Encrypt SSL certificate for your domain and web root. Since Certbot doesn't automatically configure OpenLiteSpeed, you'll need to manually enable the certificate in your server settings.
Step 3: Test the SSL certificate renewal process.
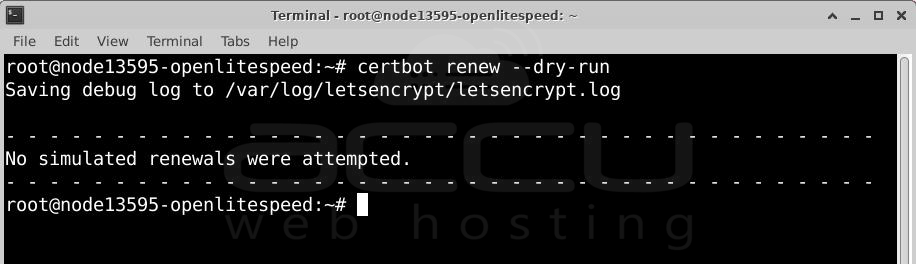
Step 4: Access your OpenLiteSpeed admin panel at:
http://server-ip-address:7080
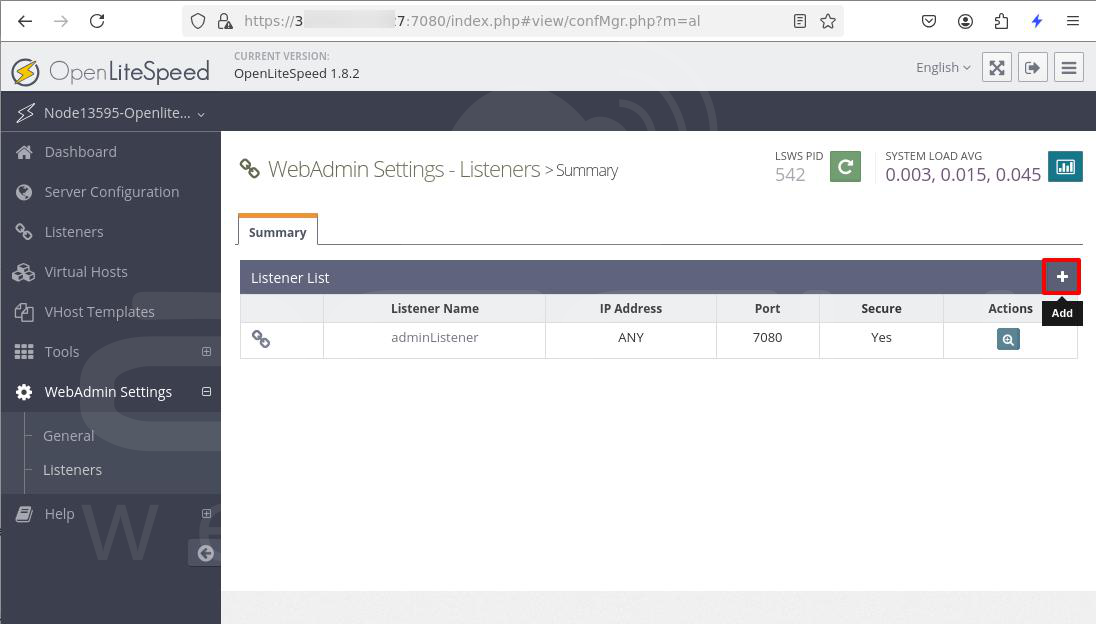
Step 5: Go to the Listeners section in the admin panel.
Step 6: Click Add to create a new listener for HTTPS.
Step 7: Enter these details for the new listener:
Listener Name: HTTPS
IP Address: ANY IPv4
Port: 443
Secure: Yes
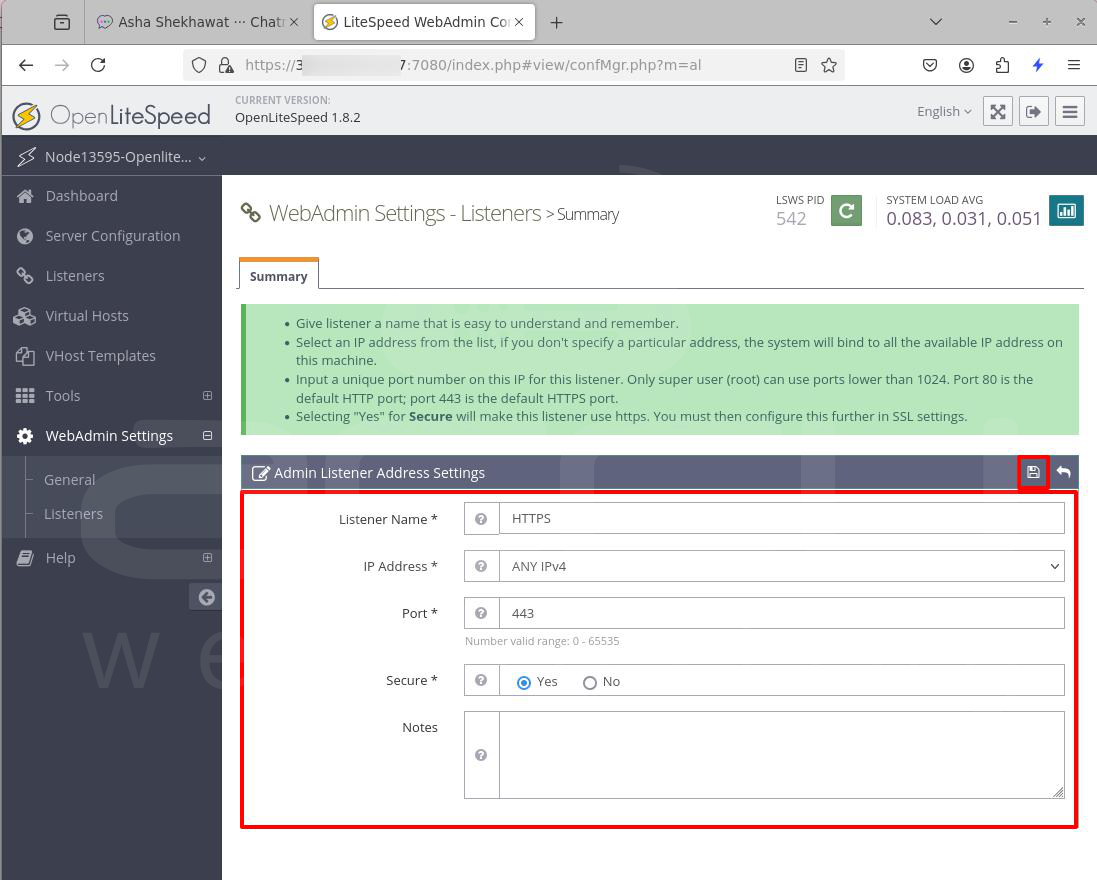
Step 8: Save the new listener.
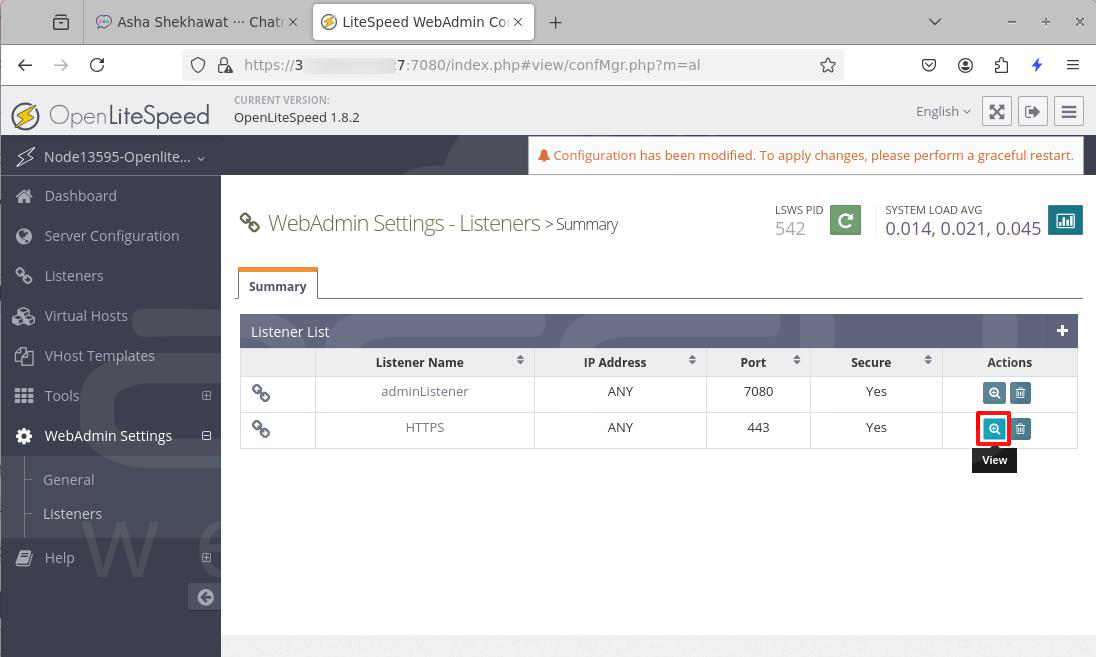
Step 9: Find your new HTTPS listener and click View to edit its settings.
Step 10: Click Add in the Virtual Host Mappings section to link the listener to your virtual host.
Step 11: Enter the following:
Virtual Host: app.accuwebtraining.com
Domains: app.accuwebtraining.com
Step 12: Save the changes.
Step 13: Go to the SSL tab and click Edit under the SSL Private Key & Certificate section.
Step 14: Enter these details to match your Let's Encrypt SSL certificate files:
Private Key File: /etc/letsencrypt/live/app.accuwebtraining.com/privkey.pem
Certificate File: /etc/letsencrypt/live/app.accuwebtraining.com/fullchain.pem
Chained Certificate: Yes
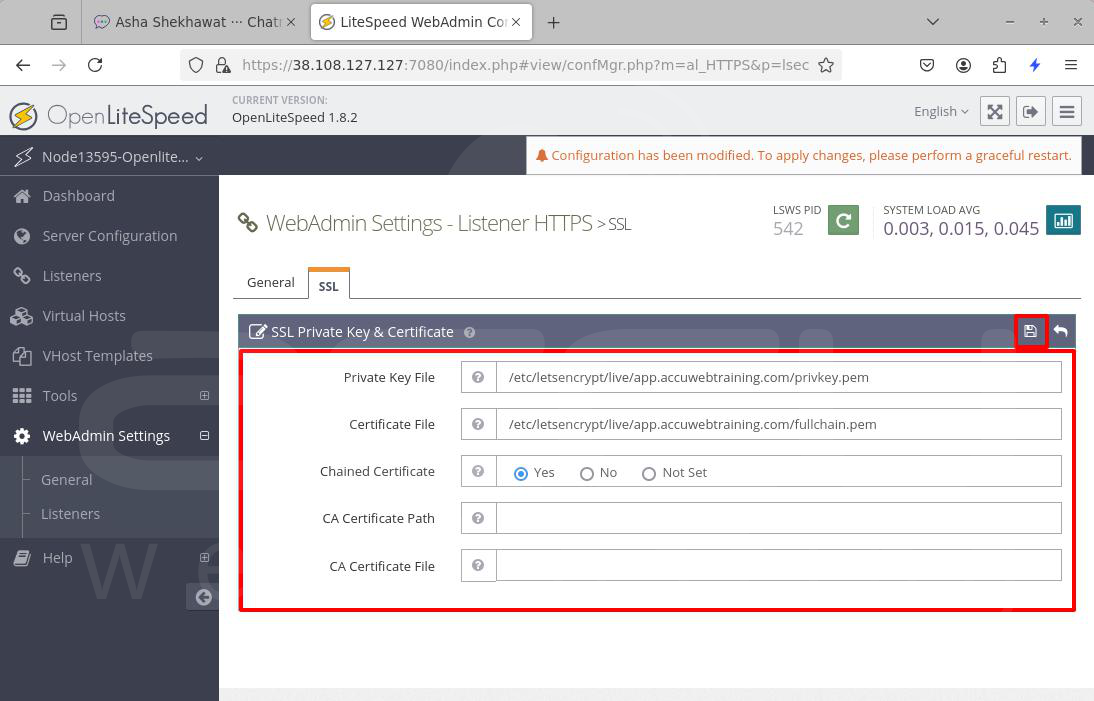
Step 15: Save your SSL certificate details.
Step 16: Click Graceful Restart to apply the new certificate.
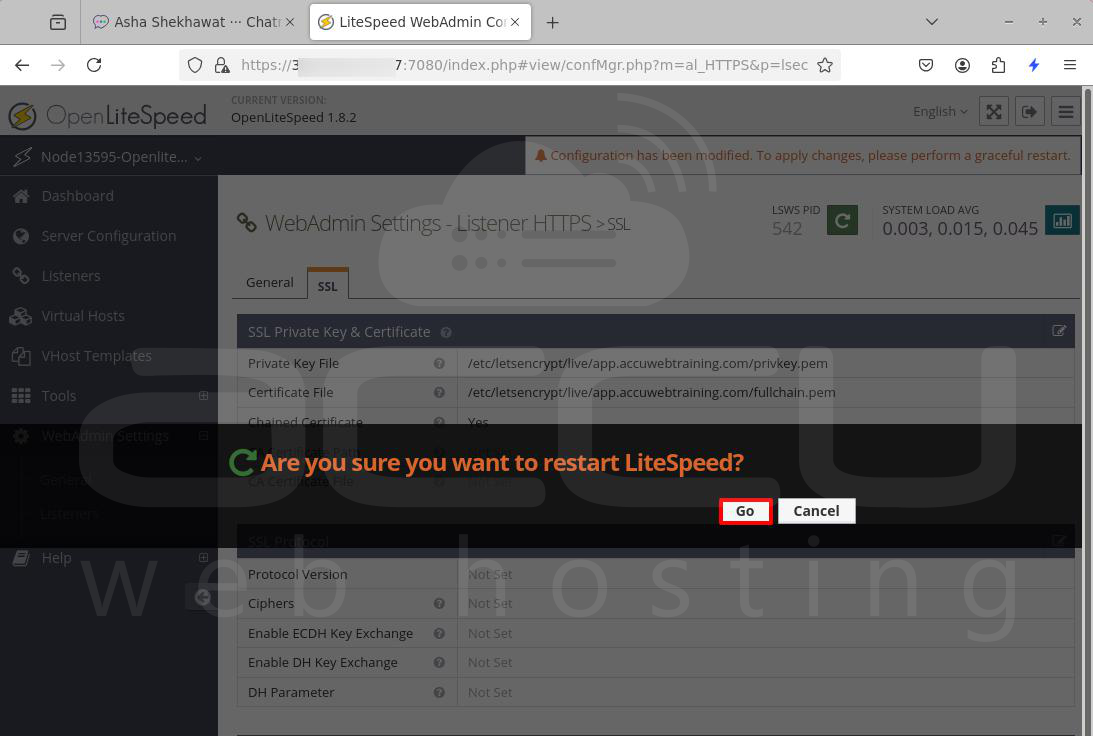
Step 17: Confirm by clicking GO to restart OpenLiteSpeed and apply the changes.
Important Note:
If you have multiple virtual hosts, go to the Virtual Hosts tab, open the target host, and click SSL to link the SSL certificate to that host.
Set Up Firewall Rules
By default, Ubuntu servers on Vultr have the Uncomplicated Firewall (UFW) active. To make sure your OpenLiteSpeed server can communicate, you need to allow connections for the web administration, HTTP, and HTTPS ports. Follow these steps:
Step 1: Enable UFW and allow SSH connections on port 22 (if it isn't already enabled).
Step 2: Allow connections to the OpenLiteSpeed admin port (7080).
Step 3: Allow HTTP connections on port 80.
Step 4: Allow HTTPS connections on port 443.
Step 5: Reload UFW to apply your changes.
Step 6: Check the firewall status to ensure the new rules are applied.
Step 7: Open your web browser and visit your virtual host's domain using HTTPS to test the SSL setup.
https://app.accuwebtraining.com
Conclusion:
You have installed OpenLiteSpeed on Ubuntu 22.04, created a virtual host, and configured your firewall rules to securely serve web applications. OpenLiteSpeed supports PHP for running dynamic applications based on your needs.