ReactJS is one of the most popular JavaScript libraries for building modern user interfaces. Many developers use React for dashboards, websites, admin panels, and customer-facing applications. However, deploying a React application can become challenging when working with Linux shared hosting environments.
Most shared hosting plans do not provide SSH or terminal access, Full server control, and Docker or cloud services. Instead, they rely on cPanel, File Manager, and limited features such as Setup Node.js App. Because of these restrictions, many developers believe React cannot be hosted on shared hosting. This is not true. This article provides a complete, step-by-step guide to deploying a ReactJS application on Linux shared hosting with cPanel, using only tools available in shared environments.

Step 1: Create and Build the React Application Locally
Shared hosting does not allow you to run build commands on the server. For this reason, the React app must be built on your local machine.
Ensure the following are installed locally:
- Node.js (LTS version recommended)
- npm (comes with Node.js)
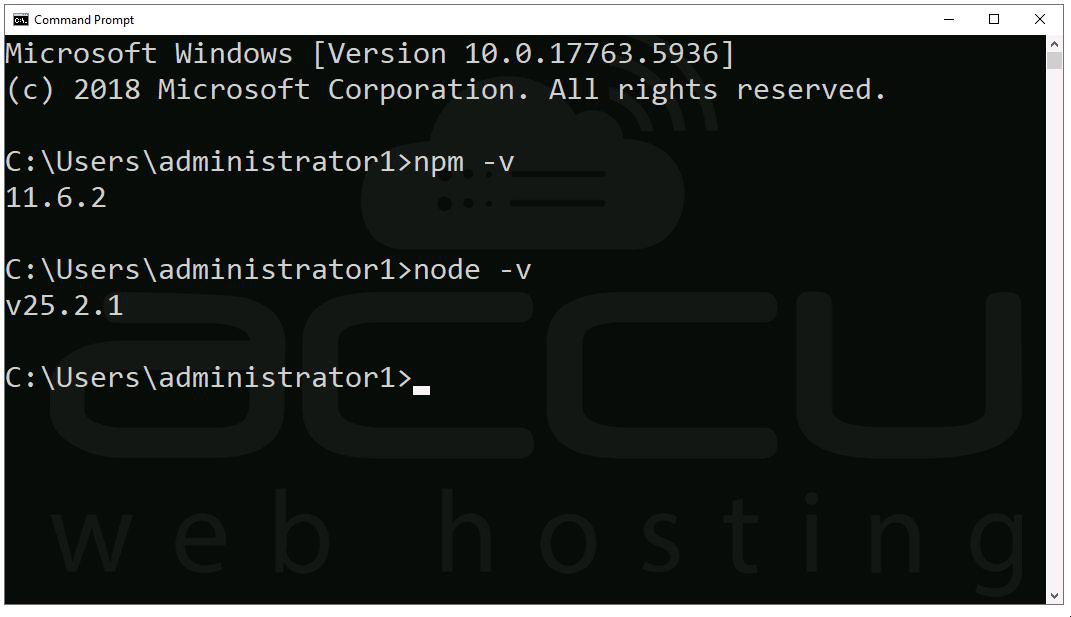
Verify installation using:
node -v
npm -v
Create the React Application
If you are starting a new project:
npx create-react-app my-react-app

You will get Success message, once it is done.
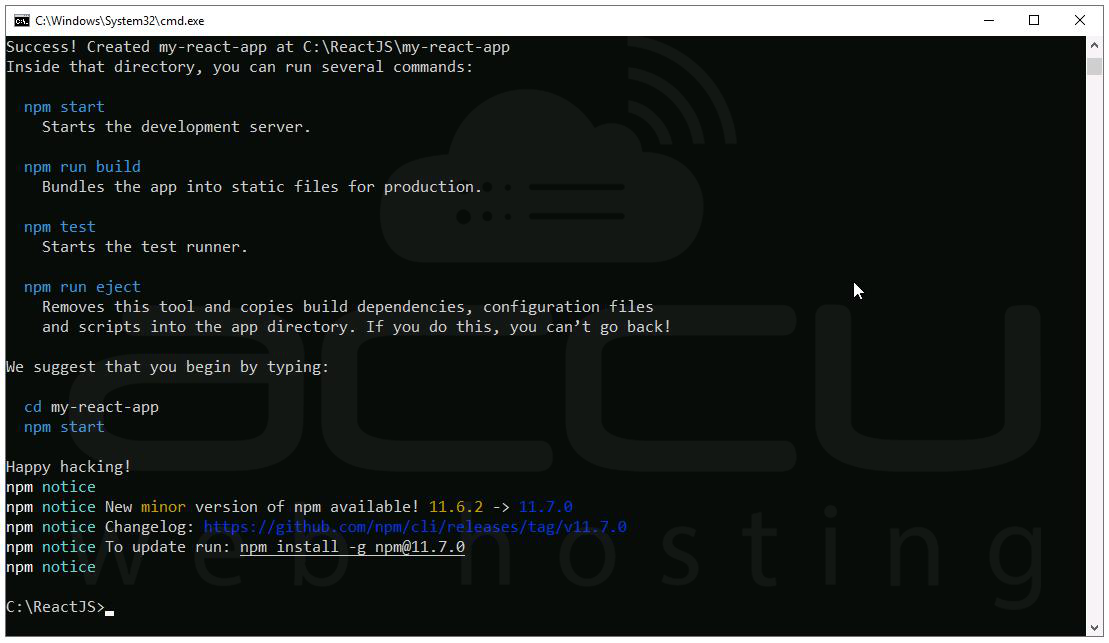
cd my-react-app
If you already have a React project, navigate to its directory.
Build the Application: npm run build
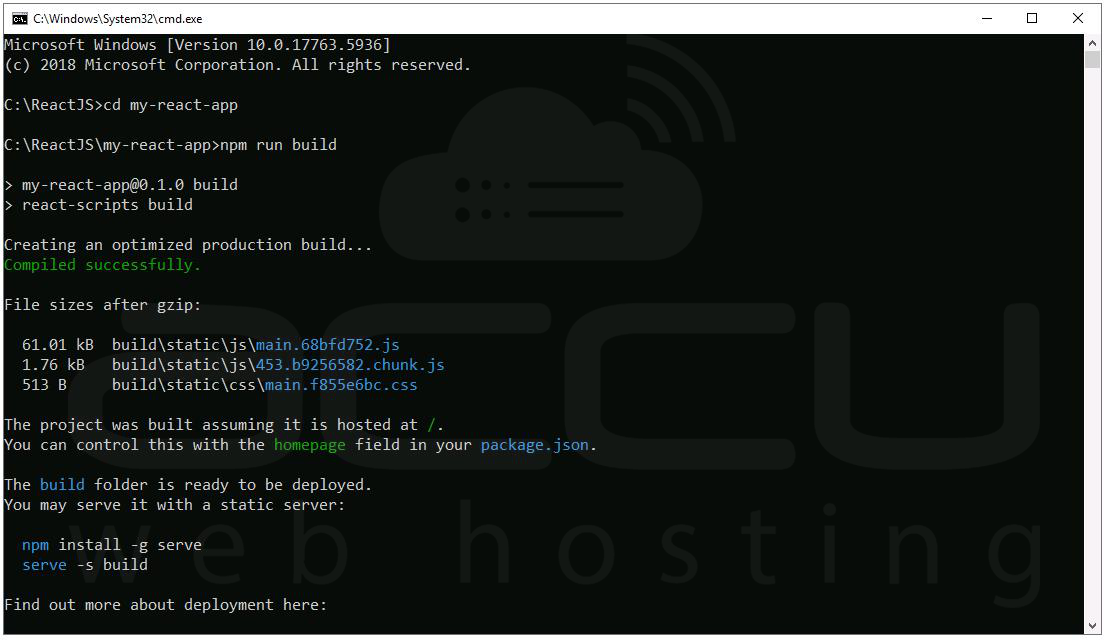
The build/ folder is the final output that will be uploaded to the server.
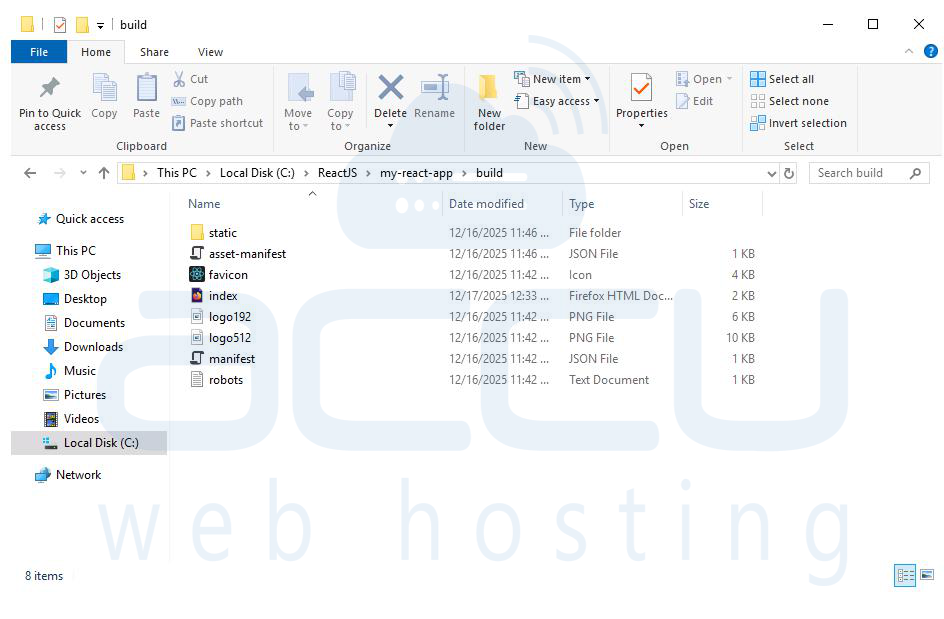
Step 2: Inside the build/ folder, you will find index.html, static/ directory (JS, CSS, media files), Asset manifests. These files are Platform-independent, Ready for production and Compatible with shared hosting. At this stage, your React app is no longer dependent on Node.js for execution.
Step 3: Only upload the files required for production. Uploading unnecessary files can increase storage usage, slow down deployment, and cause security issues.
Step 4: Create the Server File (Node.js Method Only)
If you plan to use Node.js, you need a server file to serve the React build.
Create a file named server.js in your project root.
Example server.js
const express = require('express');
const path = require('path');
const app = express();
// Serve static files
app.use(express.static(path.join(__dirname, 'build')));
// Handle client-side routing
app.get('*', (req, res) => {
res.sendFile(path.join(__dirname, 'build', 'index.html'));
});
// Use port assigned by cPanel
const PORT = process.env.PORT || 3000;
app.listen(PORT);
Step 5: Upload Files to cPanel
Log in to cPanel and open File Manager.
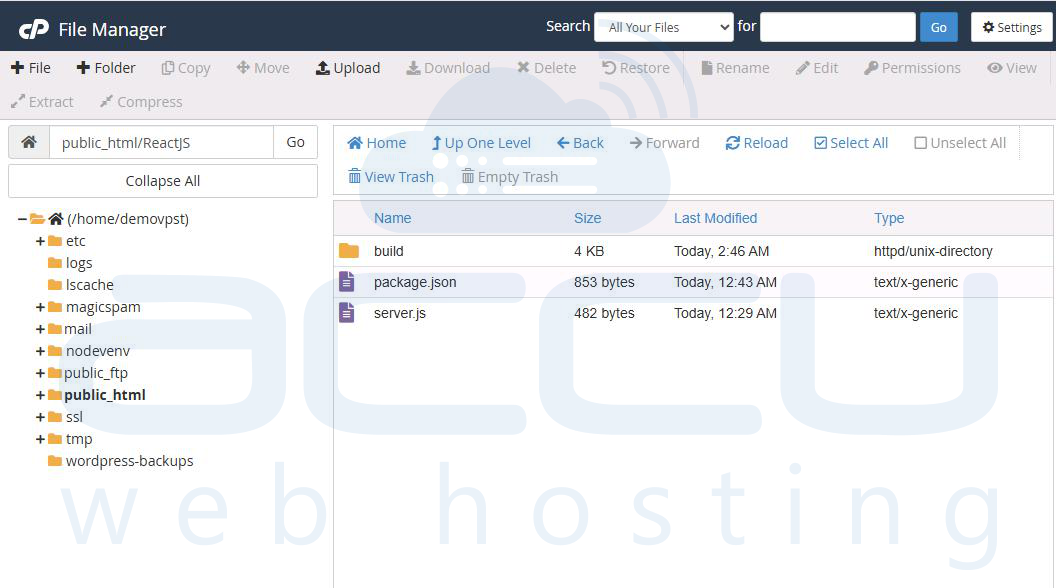
Navigate to /home/username/public_html and create a folder, for example: ReactJS
Upload the following into the folder:
- build/
- package.json
- server.js
Alternatively, you may use FTP software for large uploads.
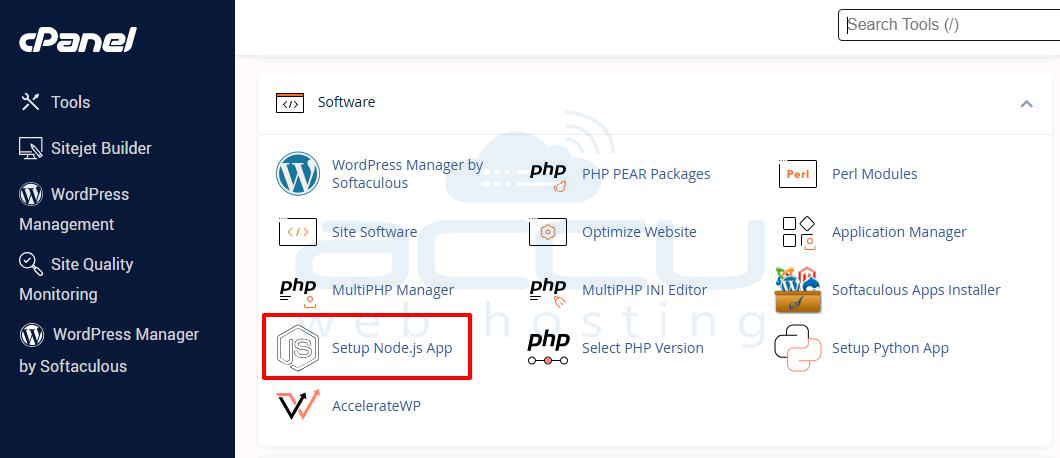
Step 6: Set Up Node.js Application in cPanel. This step applies only if you are using the Node.js method. Open cPanel, Click Setup Node.js App.
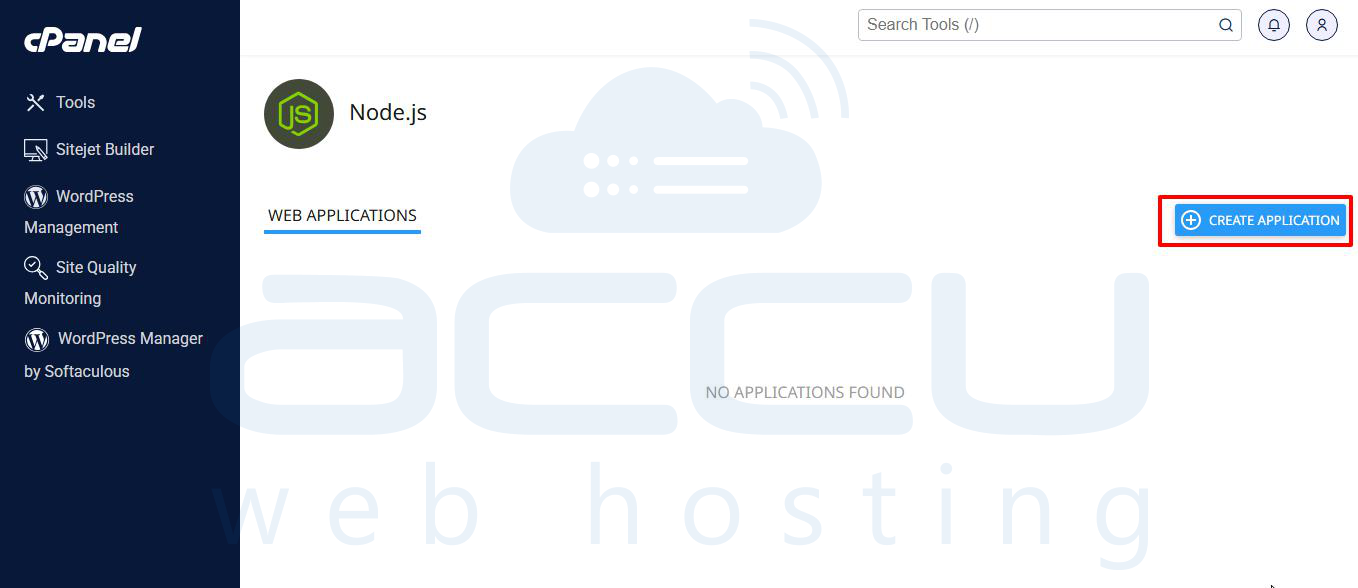
Step 7: Click Create Application
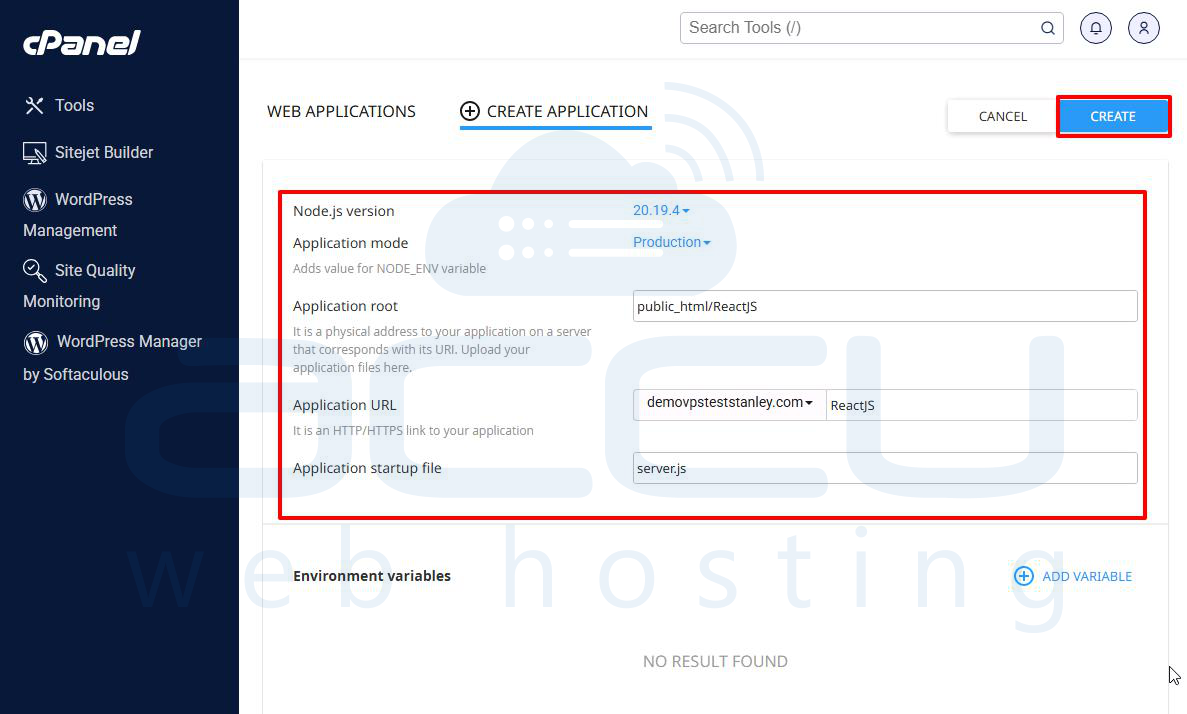
Step 8: In Application Configuration,fill in the required fields carefully:
Node.js Version: Latest available
Application Mode: Production
Application Root: public_html/ReactJS
Application URL: https://yourdomain.com/ReactJS
Startup File: server.js
Click Create to continue.
Step 9: After creating the application, cPanel provides an option to install dependencies. Click Run NPM Install
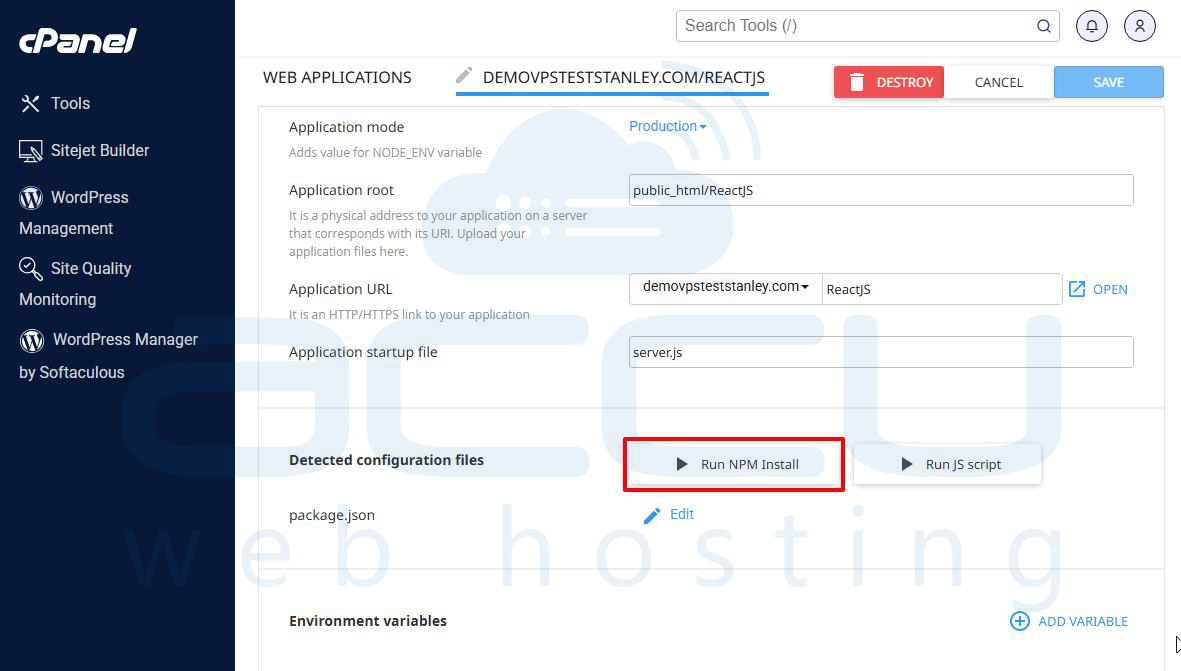
cPanel will read package.json, install dependencies inside its isolated environment
Minimal package.json
{
"name": "ReactJS",
"version": "1.0.0",
"private": true,
"dependencies": {
"express": "^4.18.2"
}
}
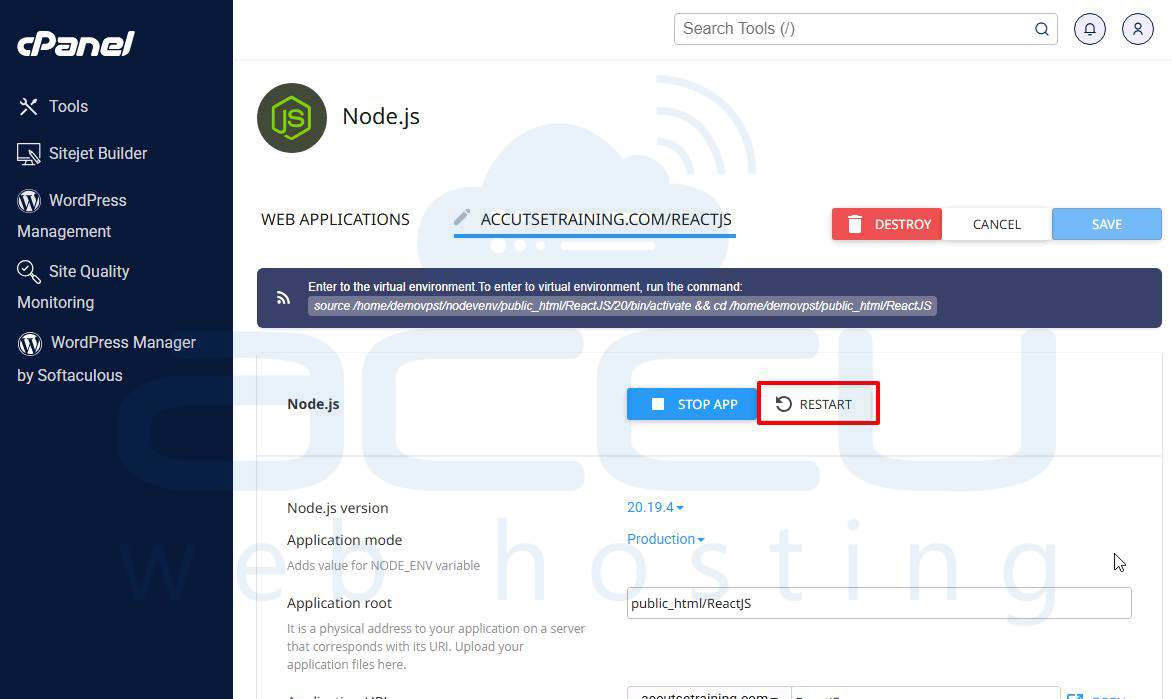
Step 10: Restart the Node.js Application. After installation, go to Setup Node.js App and Click Restart Application. Once restarted, the app becomes accessible at the configured URL.
Step 11: If your React app does not require backend logic, uses APIs hosted elsewhere, is purely frontend, Node.js is not required on the server. Upload only the contents of the build/ folder into /public_html/ReactJS. Do not upload the build folder itself; upload its contents directly.

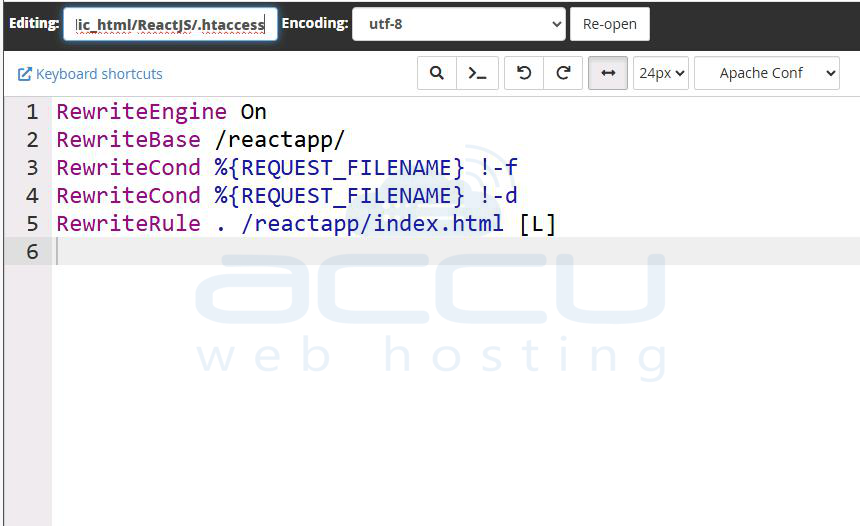
Step 12: Create a .htaccess file inside the same directory.
RewriteEngine On
RewriteBase /ReactJS/
RewriteCond %{REQUEST_FILENAME} !-f
RewriteCond %{REQUEST_FILENAME} !-d
RewriteRule . /ReactJS/index.html [L]
This configuration, redirects all routes to index.html, allows React Router to handle navigation and prevents 404 errors on page refresh.
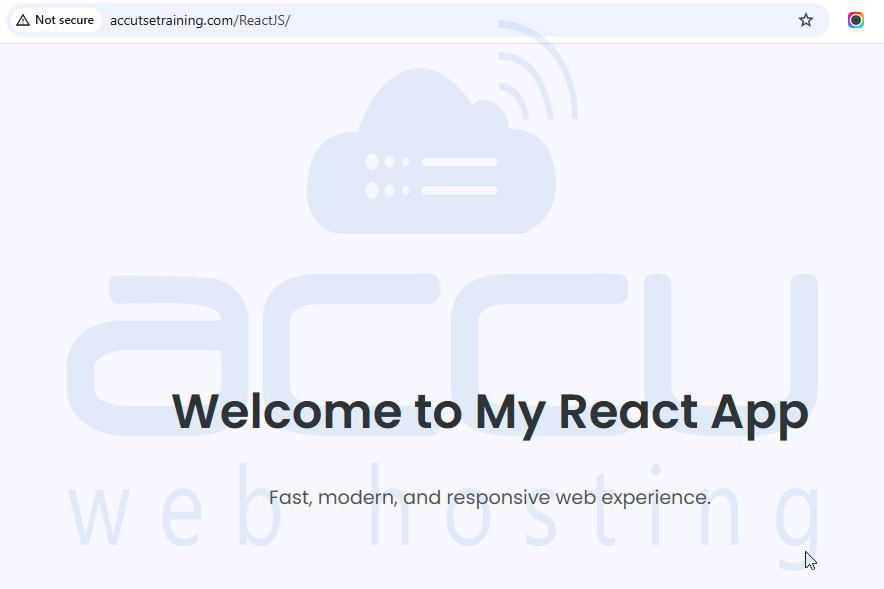
Step 13: After setup, open your browser and visit:
https://yourdomain.com/ReactJS
Conclusion
ReactJS applications can be successfully deployed on Linux shared hosting when the correct approach is used. By understanding the limitations of shared hosting and leveraging cPanel tools effectively, developers can deliver modern React applications without upgrading to VPS or cloud infrastructure.
