If you think your cPanel account has been hacked, don’t panic – but act quickly! A hacked cPanel can put your website at risk, but by troubleshooting the issue, you can secure your site and prevent further damage. Are you unsure where to start? In this guide, we’ll walk you through the key steps to troubleshoot a hacked cPanel account.
Step 1: Confirm the Hack
Before taking any action, confirm whether your cPanel account has indeed been hacked. Common signs include:
- Unexpected emails about login attempts.
- Your website is showing unusual activity, such as redirects or pop-up ads.
- A noticeable slowdown or missing files from your website.
- Unauthorized changes to your website or cPanel settings.
Step 2: Lock Down Access
If you confirm the hack:
1. Change your cPanel password
a. Log into your cPanel and navigate to Preferences > Password & Security. 
b. Add the old and new passwords, then click on Change your password now. 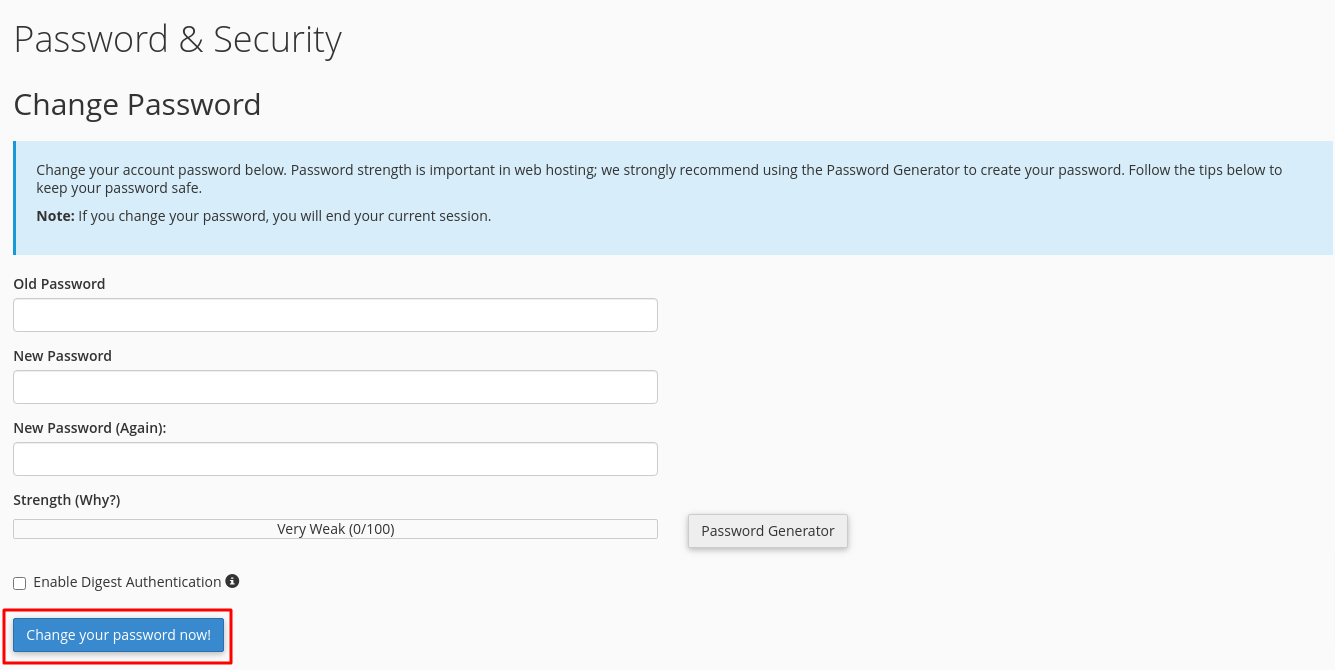
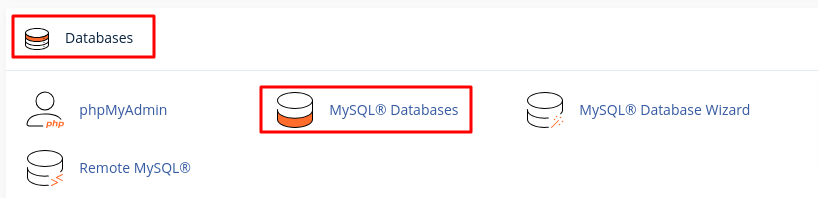
2. MySQL Database Passwords:
a. Go to Databases > MySQL Databases and update any database passwords.
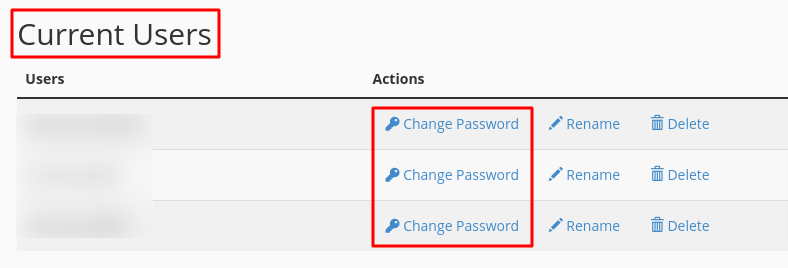
b. Under the Current Users section, locate the user associated with the database and click on Change Password. Enter a strong new password and save it.
3. FTP Accounts Passwords
a. In cPanel, navigate to the Files section and select FTP Accounts.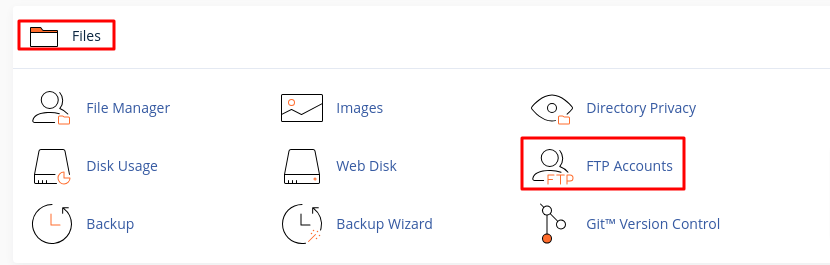
b. Identify each FTP account you wish to update.
c. For each account, enter a new strong password in the provided field and click on Change Password.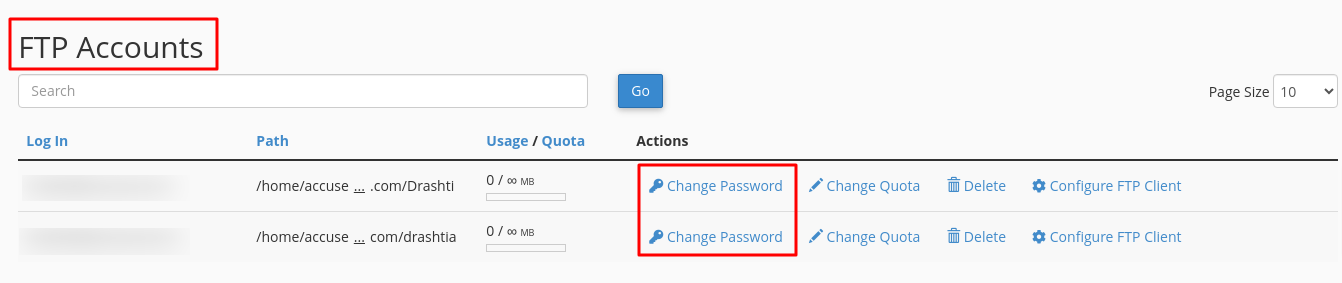
Step 3: Review cPanel Activity Logs
To understand how the hacker gained access and what they did, check your cPanel logs:
1. Access Raw Access Logs
a. In the Metrics section, find and click on Raw Access.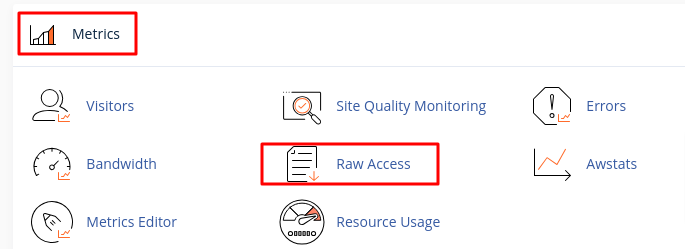
b. You will see a list of your domains. Click on the domain for which you want to view logs. This will allow you to download a compressed file of the raw access log.
c. Open the log file in a text editor. Look for:
- Identify any unfamiliar IPs that may indicate unauthorized access.
- Check for repeated failed login attempts.
Note: Raw logs may only contain a few hours' worth of data as they are discarded after processing unless archiving is enabled. If archiving is set up, the system stores raw log data before discarding it.
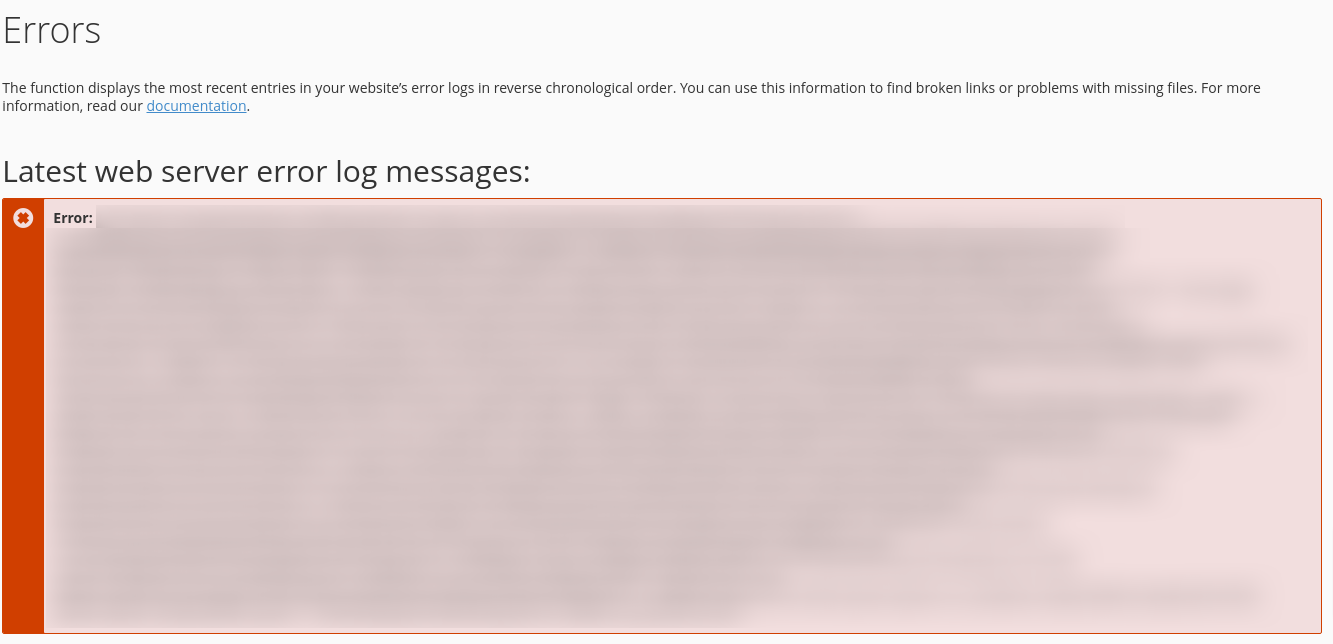
2. Review Error Logs
a. In cPanel, go back to the Metrics section and click on Errors.
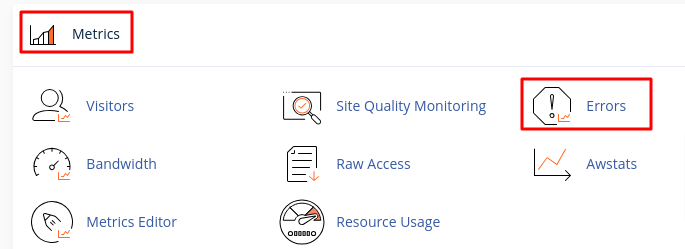
b. This section displays the last 300 lines of your site's error log.
Step 4: Scan for Malware
a. Log into your cPanel, navigate to the Advanced Section, and click on Virus Scanner. 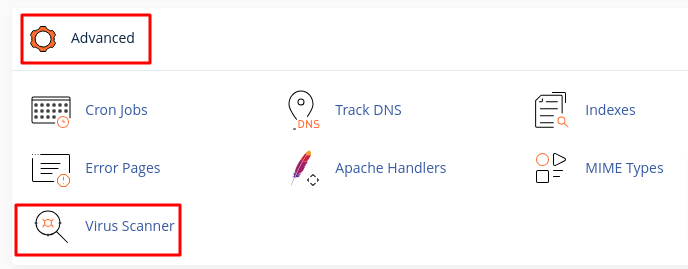
b. You will see several options for scanning:
- Scan the Entire Home Directory
- Scan Mail
- Scan Public FTP Space
- Scan Public Web Space
Choose the option that best suits your needs (e.g., Scan Entire Home Directory).
c. Click on the Scan Now button. The system will begin scanning the selected files for viruses and malware. 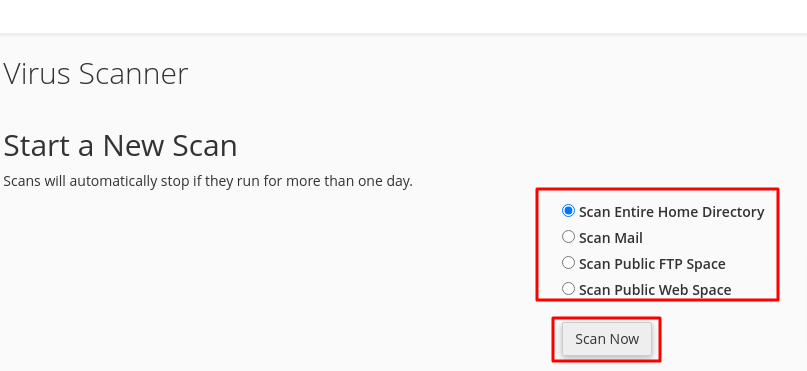
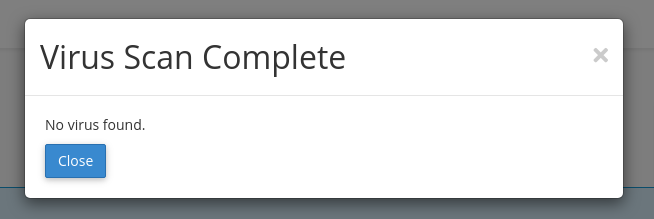
d. Once the scan is complete, you will receive a message indicating whether any infected files were found:
- If no threats are detected, you’ll see “Virus scan complete. No virus found.”
- If infected files are detected, they will be listed along with options for handling them (e.g., quarantine or delete).
Step 5: Check All User Accounts
1. Review FTP Accounts
a. Login to your cPanel account. In the Files section, click FTP Accounts.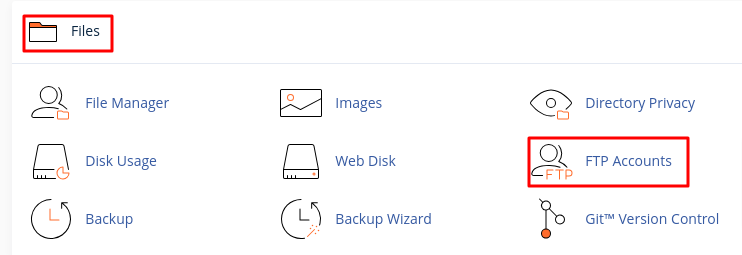
b. Review the list of existing FTP accounts for any unknown or suspicious entries.
c. If you find any unauthorized accounts, click Delete next to the account name.

2. Review Email Forwarders
a. In the Email section, click Forwarders.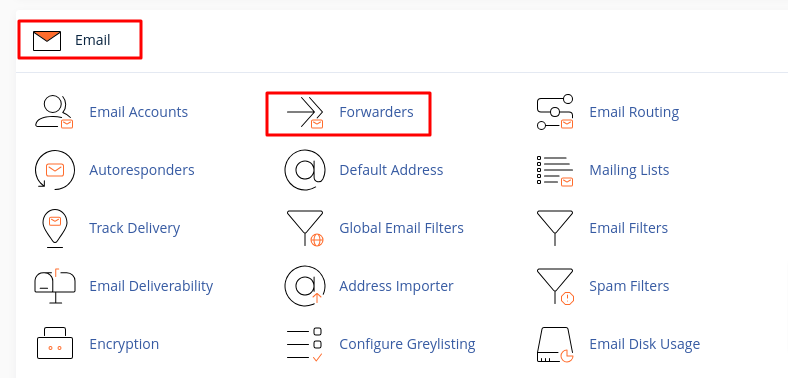
b. If you find any unexpected or unauthorized forwarders, click Delete next to them.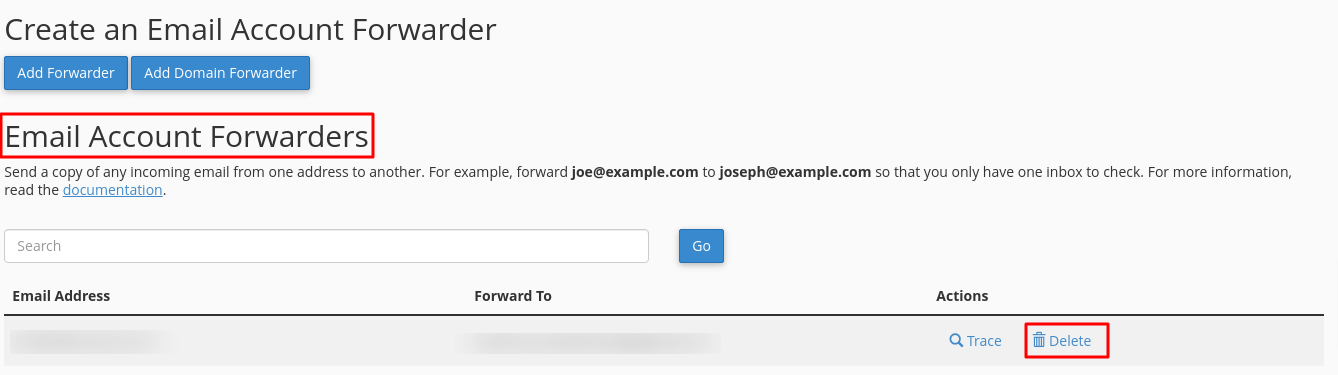
These steps will help secure your account and protect your website from further harm.


