Automating the process of clearing ASP.NET temporary files is useful for improving performance or resolving issues with outdated or corrupted cached files. The ASP.NET framework stores temporary files in specific directories, such as compiled assemblies and cache files. These files can sometimes accumulate and cause problems if they are not cleared periodically.
To automate the clearing of ASP.NET temporary files, you can use a combination of batch scripts, PowerShell scripts, or Windows Task Scheduler.
Here’s a step-by-step guide for automating this process:
Step 1: Identify the ASP.NET Temporary Files Location
ASP.NET stores temporary files in various directories and these are commonly located in the following paths:
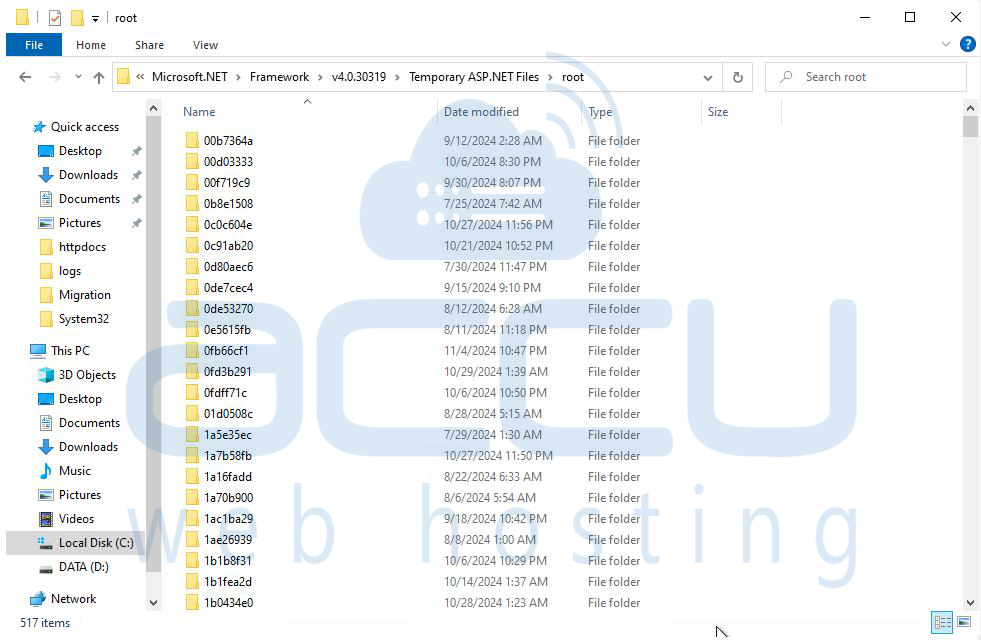
- Temporary ASP.NET Files (for compiled assemblies)
- Location:
C:\Windows\Microsoft.NET\Framework\[Version]\Temporary ASP.NET Files\
Or, for 64-bit systems:
C:\Windows\Microsoft.NET\Framework64\[Version]\Temporary ASP.NET Files\
- Location:
C:\inetpub\wwwroot\[YourSite]\App_Data\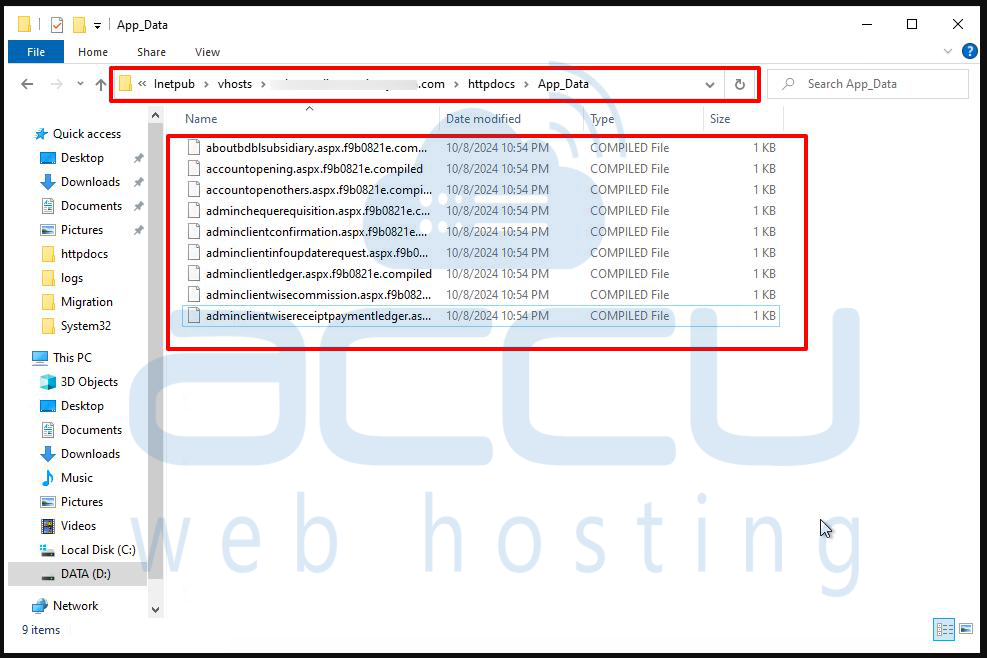
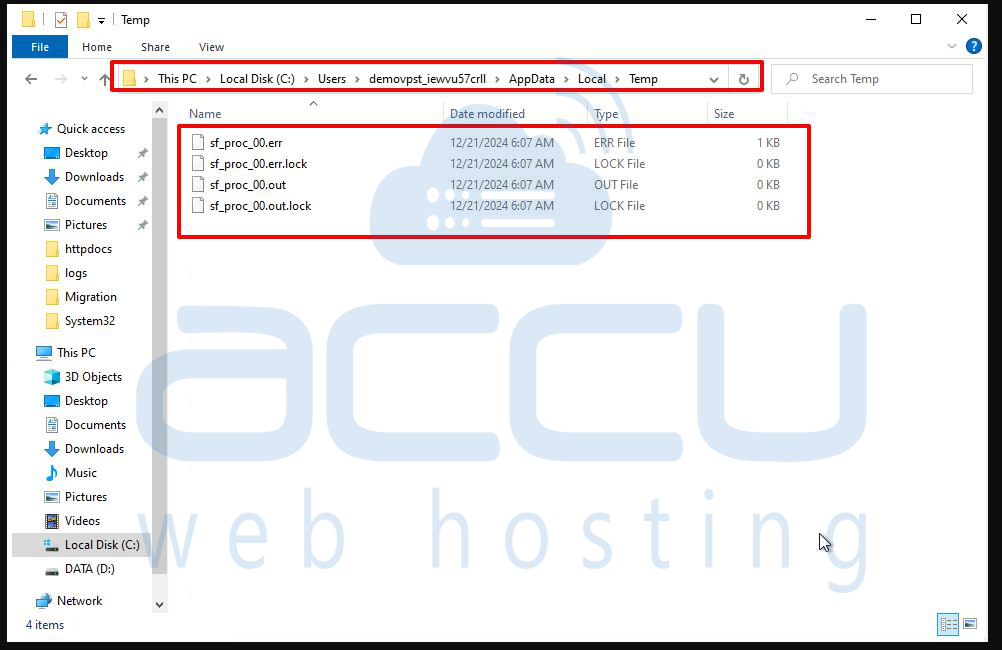
- Location:
C:\Users\[UserName]\AppData\Local\Temp\
Note that the paths may vary depending on your version of .NET and custom configurations, so adjust these based on your environment.
Step 2: Create a PowerShell Script to Clear Temporary Files
To automate clearing the temporary files, you can write a PowerShell script that deletes these temporary files periodically.
Here’s an example PowerShell script to delete the ASP.NET temporary files:
# Clear ASP.NET Temporary Files Script
# Define the path to the Temporary ASP.NET Files directory for both 32-bit and 64-bit versions of .NET
$temporaryFiles32Bit = "C:\Windows\Microsoft.NET\Framework\v4.0.30319\Temporary ASP.NET Files"
$temporaryFiles64Bit = "C:\Windows\Microsoft.NET\Framework64\v4.0.30319\Temporary ASP.NET Files"
# Clear the files in the specified directories
if (Test-Path $temporaryFiles32Bit) {
Write-Host "Clearing temporary files in: $temporaryFiles32Bit"
Remove-Item "$temporaryFiles32Bit\*" -Recurse -Force
}
if (Test-Path $temporaryFiles64Bit) {
Write-Host "Clearing temporary files in: $temporaryFiles64Bit"
Remove-Item "$temporaryFiles64Bit\*" -Recurse -Force
}
# Optional: Clear the web application cache
$webAppCachePath = "C:\inetpub\wwwroot\[YourSite]\App_Data"
if (Test-Path $webAppCachePath) {
Write-Host "Clearing web application cache in: $webAppCachePath"
Remove-Item "$webAppCachePath\*" -Recurse -Force
}
# Optional: Clear local user-specific ASP.NET Temp files
$userTempPath = "C:\Users\[UserName]\AppData\Local\Temp"
if (Test-Path $userTempPath) {
Write-Host "Clearing ASP.NET temp files in: $userTempPath"
Remove-Item "$userTempPath\*" -Recurse -Force
}
Write-Host "Temporary ASP.NET files have been cleared."
- Explanation:
- The script checks if the specified temporary directories exist.
- If they exist, it deletes all files in those directories using Remove-Item -Recurse -Force.
- It also includes optional steps to clear specific web application caches and local temporary files.
Step 3: Automate the Script Using Windows Task Scheduler
To automate the PowerShell script, you can schedule it to run at regular intervals using Windows Task Scheduler.
Steps to Schedule the Script:
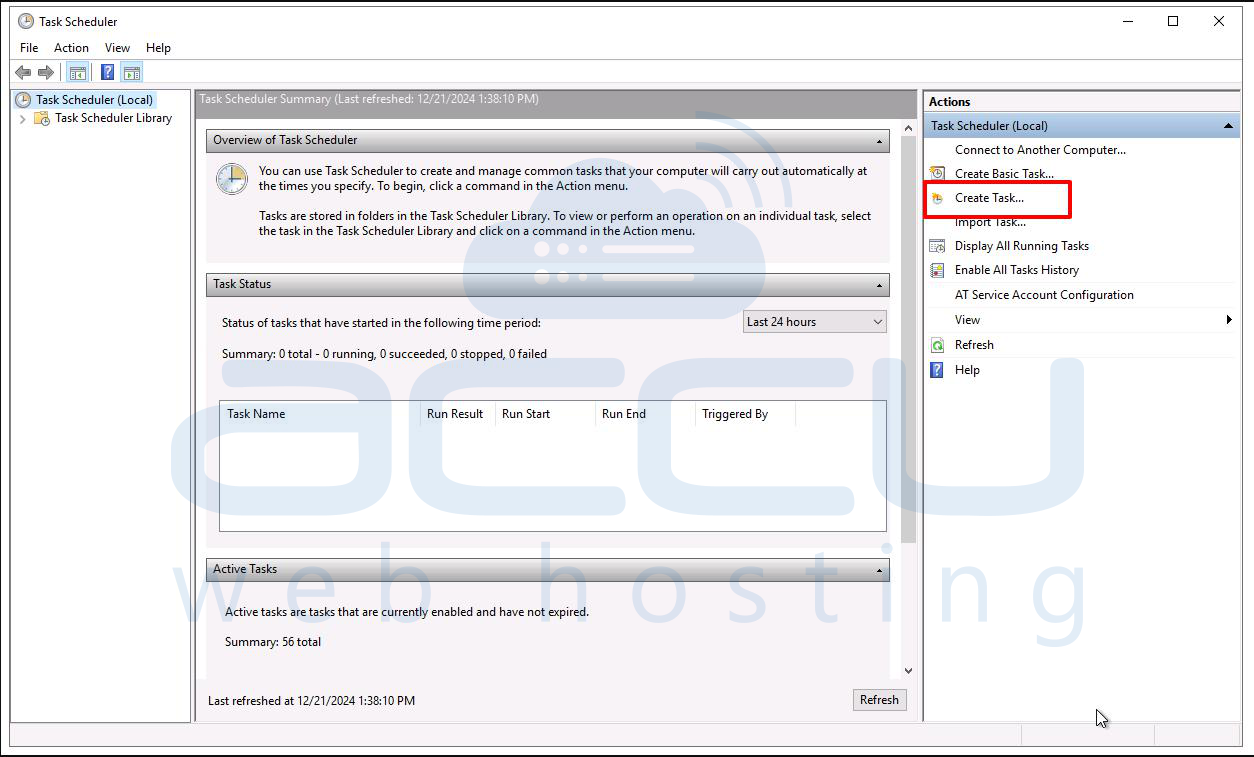
- Open Task Scheduler by typing Task Scheduler in the Windows Start menu search bar and selecting the Task Scheduler application.
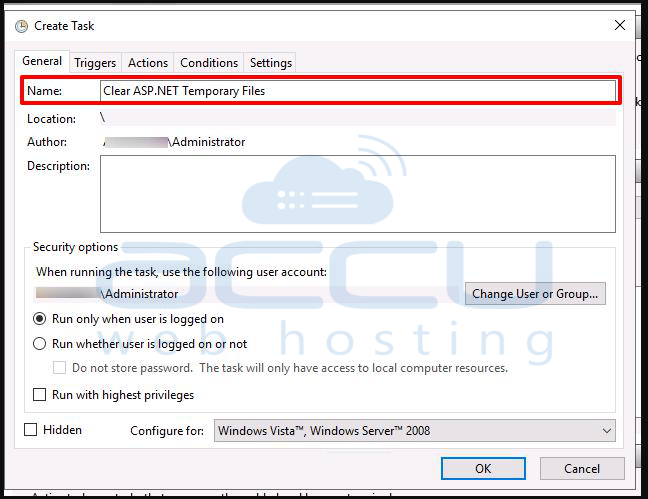
- Click on Create Task on the right panel.
In the General tab, provide a name for the task (e.g., "Clear ASP.NET Temporary Files").
- Go to the Triggers tab, and click New to create a trigger that defines when the task will run. For example:
- Select Daily to run it once per day, or
- Select Weekly for weekly execution.

- In the Actions tab, click New and set:
- Action: Start a program
- Program/script: Enter powershell.exe
- Add arguments (optional): Enter the path to your PowerShell script, for example:
"C:\scripts\ClearTempFiles.ps1"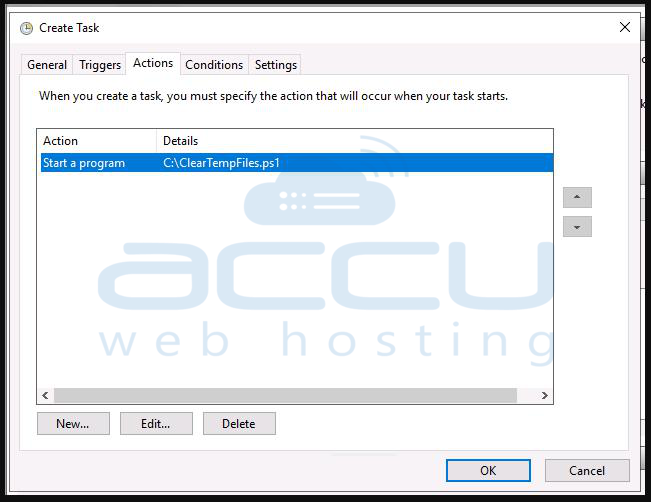
- In the Conditions and Settings tabs, configure any additional conditions, such as running the task only if the computer is idle or whether it should stop if it runs for too long.
- Click OK to save the task.
Now, the script will automatically run at the specified intervals, clearing ASP.NET temporary files on your server.
Step 4: Testing and Logging
- After configuring the scheduled task, you should test it to ensure it works correctly. You can manually run the task from Task Scheduler to verify that the PowerShell script executes without any errors.
- Consider adding logging to the PowerShell script to keep track of when it runs and which files were cleared. You can add the following at the end of your script:
# Logging output to a file
$logFile = "C:\scripts\ASPNetTempClear.log"
$logMessage = "$(Get-Date): Temporary files cleared."
Add-Content -Path $logFile -Value $logMessage
This will append a log entry each time the script runs, allowing you to monitor its execution.
Conclusion
By using a PowerShell script and Windows Task Scheduler, you can automate the process of clearing ASP.NET temporary files. This will help to keep your server running efficiently by ensuring that old, cached, or compiled files are regularly cleared out without manual intervention.
