PowerShell has a built-in NetSecurity module that helps you manage the Windows Firewall. With the New-NetFirewallRule command, you can block an IP address or a website by adding a new firewall rule to your computer. This lets you create new firewall rules for incoming or outgoing connections on your computer.
Blocking IP or Website with PowerShell
Blocking IP addresses works well, but blocking websites or domain names is more complicated. A website can have multiple IP addresses, and the DNS (Domain Name System) can assign different IPs each time. Also, other services may share some IPs, so blocking one IP could block more than just the website.
You can do two things:
1. Block local or internet IP addresses
2. Block websites or domain names
Important Note: You’ll need admin privileges to run the commands.
How do you block an IP address using PowerShell?
Below are the steps on how to block an IP address using PowerShell.
Step 1: Login into your Windows Server with the administrator user.
Step 2: Go to the Taskbar and click on the Search icon.
Step 3: In the Search box, type Powershell. Select the PowerShell ISE, right-click, and select Run as administrator.

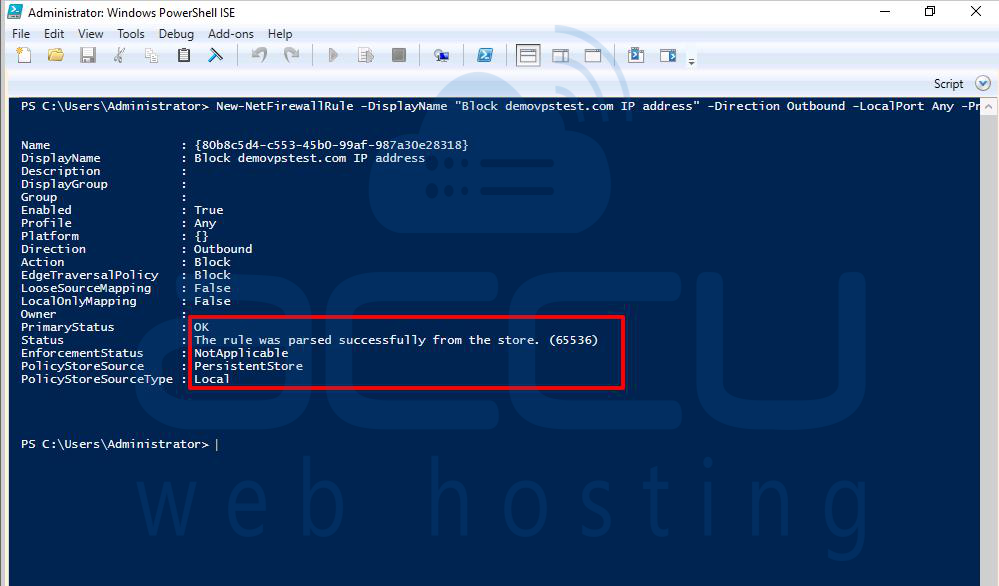
Step 4: In the Windows PowerShell ISE window, run the following command to block a single IP address or a range of IPs.
New-NetFirewallRule -DisplayName "Block demovpstest.com IP address" -Direction Outbound -LocalPort Any -Protocol TCP -Action Block -RemoteAddress 192.168.3.0/23

Explanation:
- DisplayName: Replace "Block demovpstest.com IP address" with any name that will help you easily remember what the rule does.
- RemoteAddress: This is the IP or range of IPs that will be blocked. Any website or service linked to these IPs will not be accessible.
- If you need to block a local network IP, replace RemoteAddress with LocalAddress.
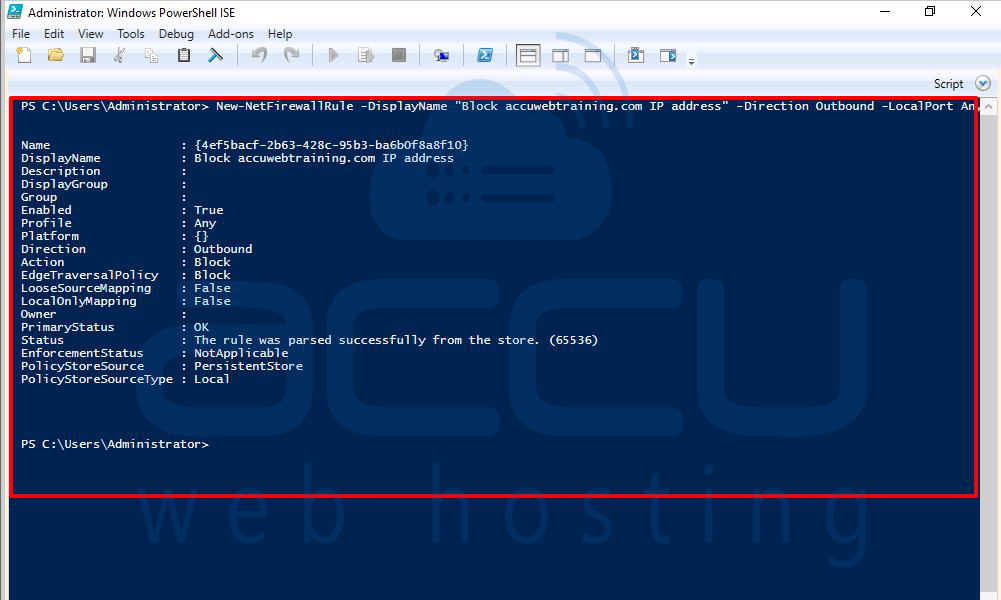
After running the command, you should see a message like:
The rule was parsed successfully from the store. (65536)
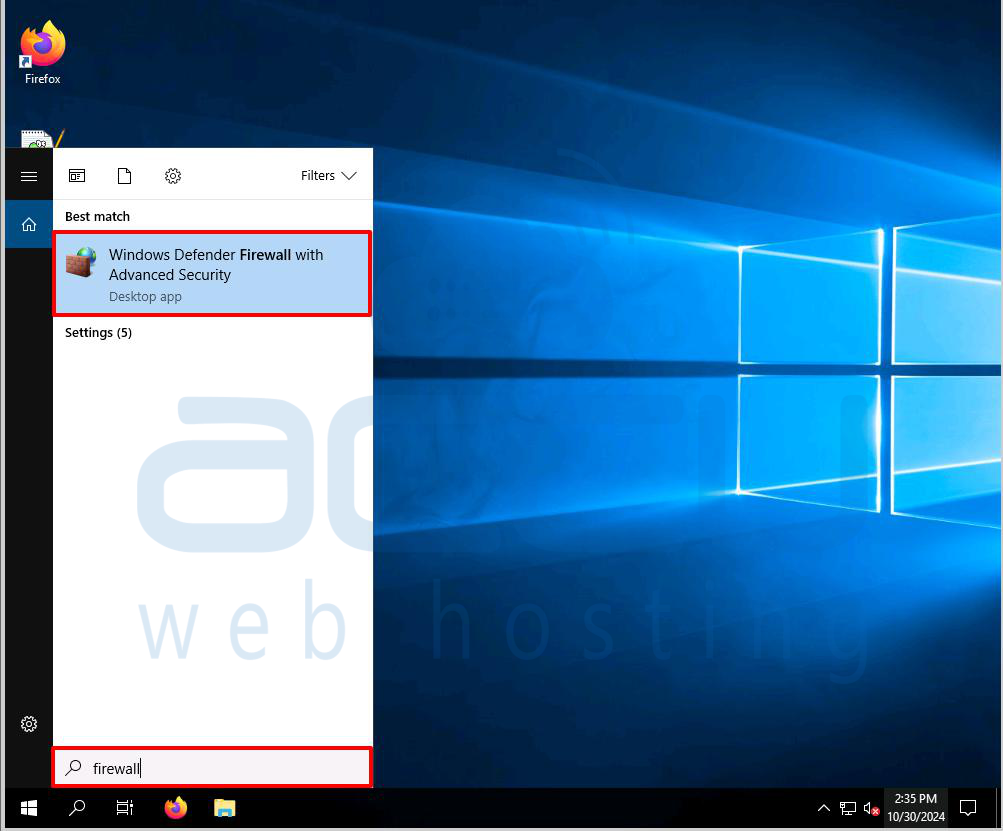
Step 5: Now, open Windows Firewall to confirm that the rule is listed. Go to the Taskbar and click on the search icon.
Step 6: In the Search box, type firewall. Select the Windows Defender Firewall with the Advanced Security option and click on it to open it.
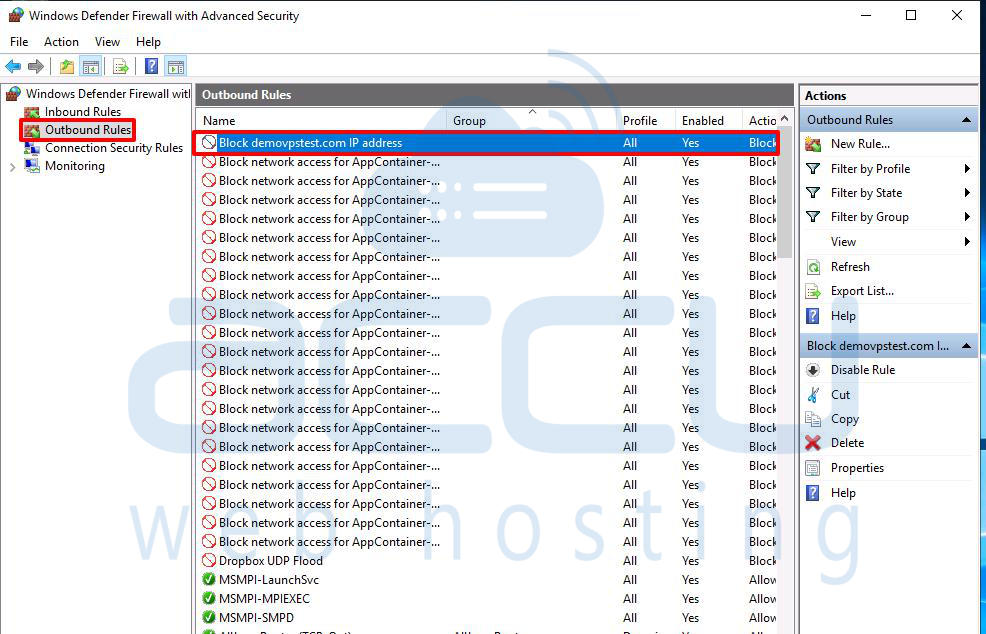
Step 7: In the Windows Defender Firewall with Advanced Security window, click on the Outbound Rules.
Step 8: In the Outbound Rules, you can see the rules which you have added.
Step 9: Right-click on the rule and select the Properties option.
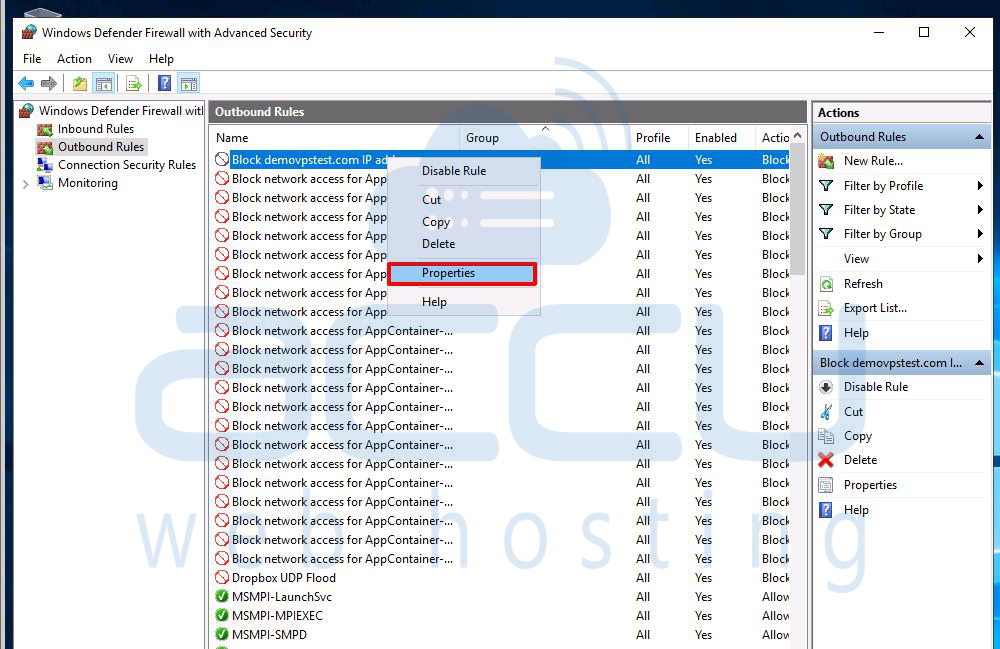
In the IP address Properties window, click on the Scope tab. Then, go to the Remote IP address section and verify the IP address you added.
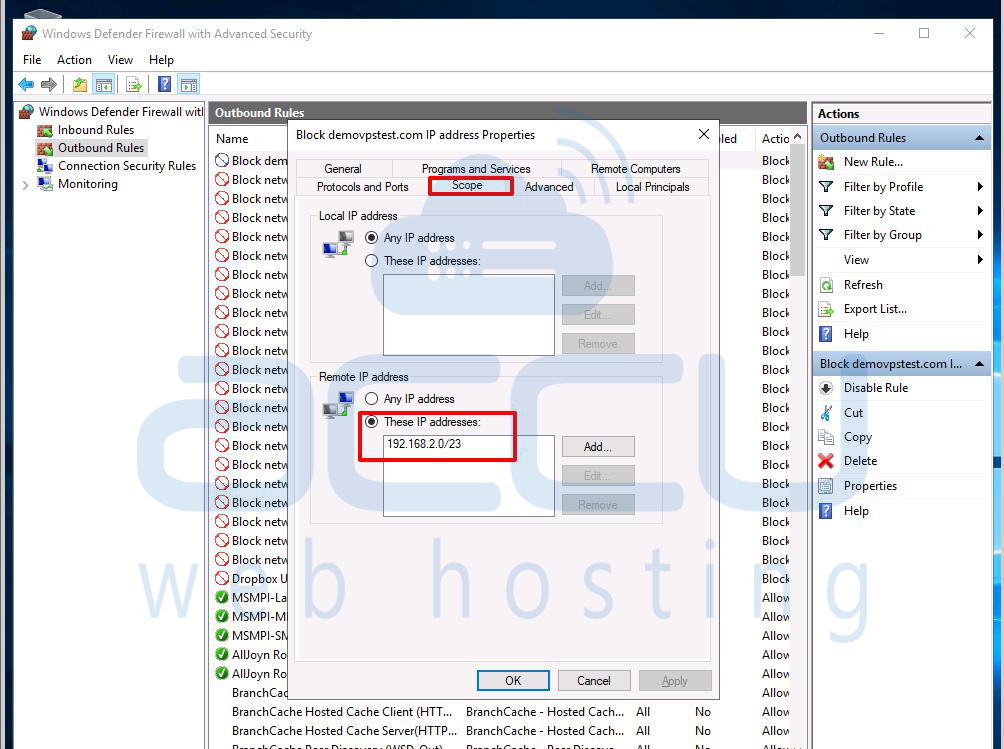
Once it’s confirmed, you can add more rules using the same method.
How do you block websites without URL support in PowerShell?
Since PowerShell can’t block URLs directly, you have two options:
1. Find and block all possible IPs associated with the website.
2. Block official IP ranges for the service.
- The second option is safer since it reduces the risk of blocking unrelated services.
- If blocking the website is critical, consider using other software designed for URL blocking.
To find the IP addresses of a domain, use the following command:
Resolve-DnsName "accuwebtraining.com"
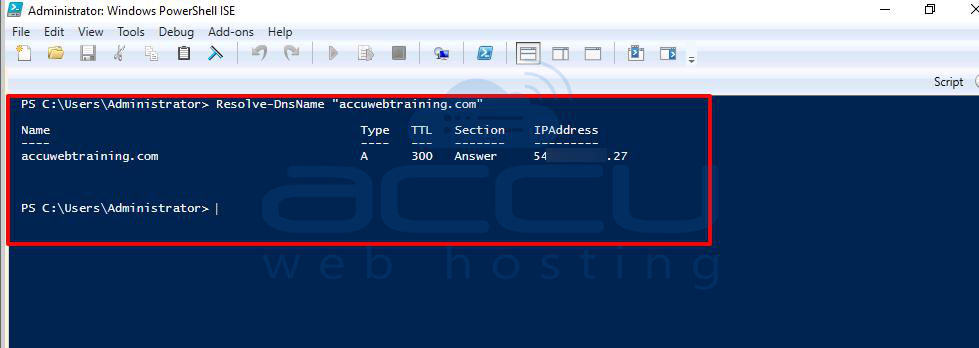
Write down the IP addresses. You can use them in the next command to block the site:
New-NetFirewallRule -DisplayName "Block accuwebtraining.com IP address" -Direction Outbound -LocalPort Any -Protocol TCP -Action Block -RemoteAddress 192.168.4.0/23
Note:
- This method works for some websites (like accuwebtraining.com) but not for others (like YouTube).
- If a site uses multiple IPs that change frequently, blocking it with this method might not be effective.
Conclusion:
Using PowerShell commands is simple—just like using the command prompt. We hope you were able to block the IP or website successfully. If you ever need to remove the rule, you can do it from Windows Firewall or by using the Remove-NetFirewallRule command.
