When hosting an ASP.NET web application using Plesk, it is essential to set up the database connection string in the web.config file. This configuration document holds different settings for your application, including the information needed to establish a connection with your database, whether it's SQL Server or MySQL.
Here is a detailed, step-by-step guide on adding or modifying a connection string through the Plesk Control Panel.
Step 1: Log in to Plesk
Open your browser and go to your Plesk login URL.
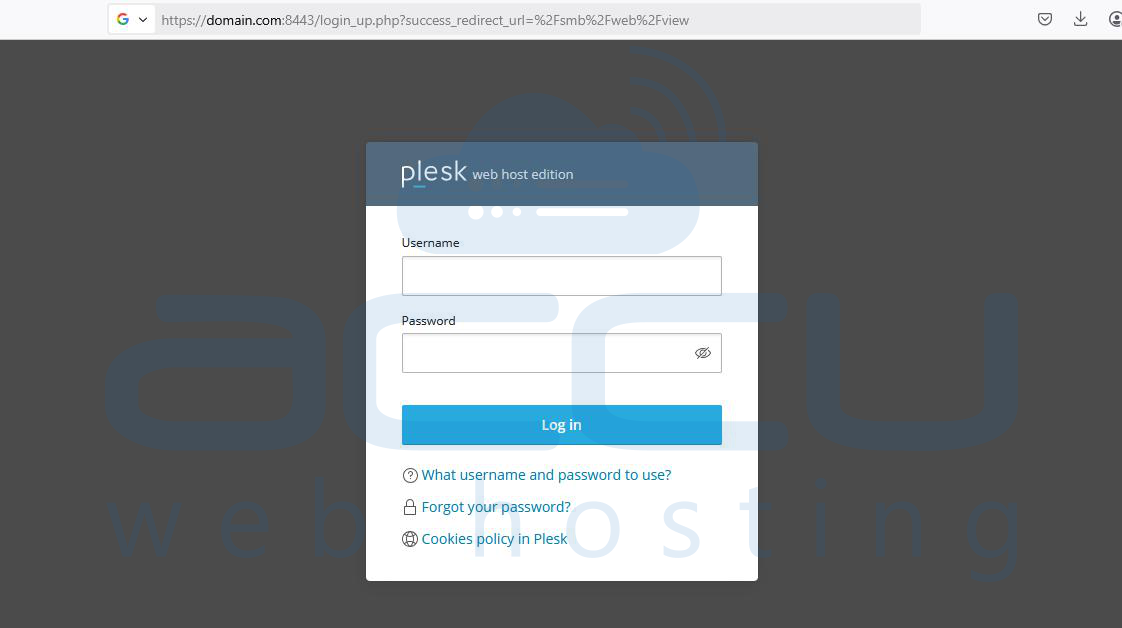
Enter your credentials to log in to the Plesk dashboard.
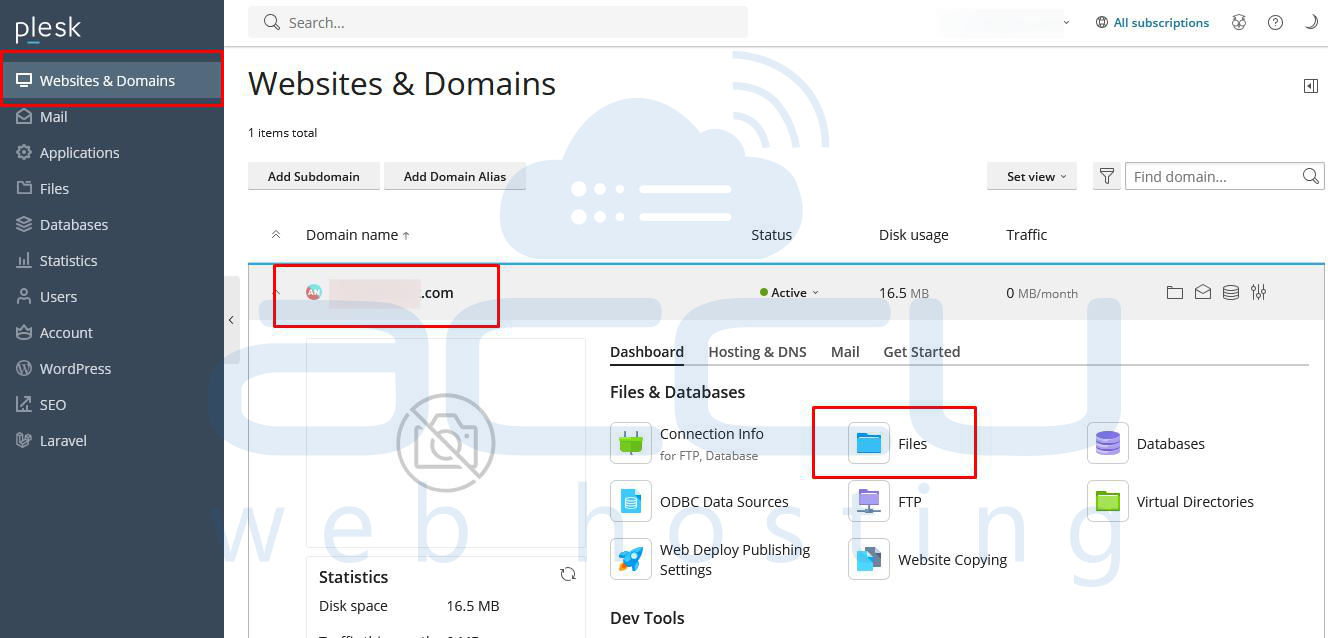
Step 2: Access the Files
- In the Plesk dashboard, go to Websites & Domains.
- Choose the domain or subdomain that hosts your website.
- Click on Files.
Step 3: Locate and Edit web.config
- In the root directory (commonly httpdocs or wwwroot), locate the web.config file.
- Click on the file and choose Edit in Code Editor (or just "Edit").
- Look for the <connectionStrings> section. If it does not exist, you can add it manually inside the <configuration> tag.
Step 4: Add Your Connection String
Below is a standard format for a SQL Server connection string:
<configuration>
  <connectionStrings>
    <add name="DefaultConnection"
         connectionString="Server=your_server_name;Database=your_db_name;User Id=your_db_user;Password=your_db_password;"
         providerName="System.Data.SqlClient" />
  </connectionStrings>
  <!-- other settings -->
</configuration>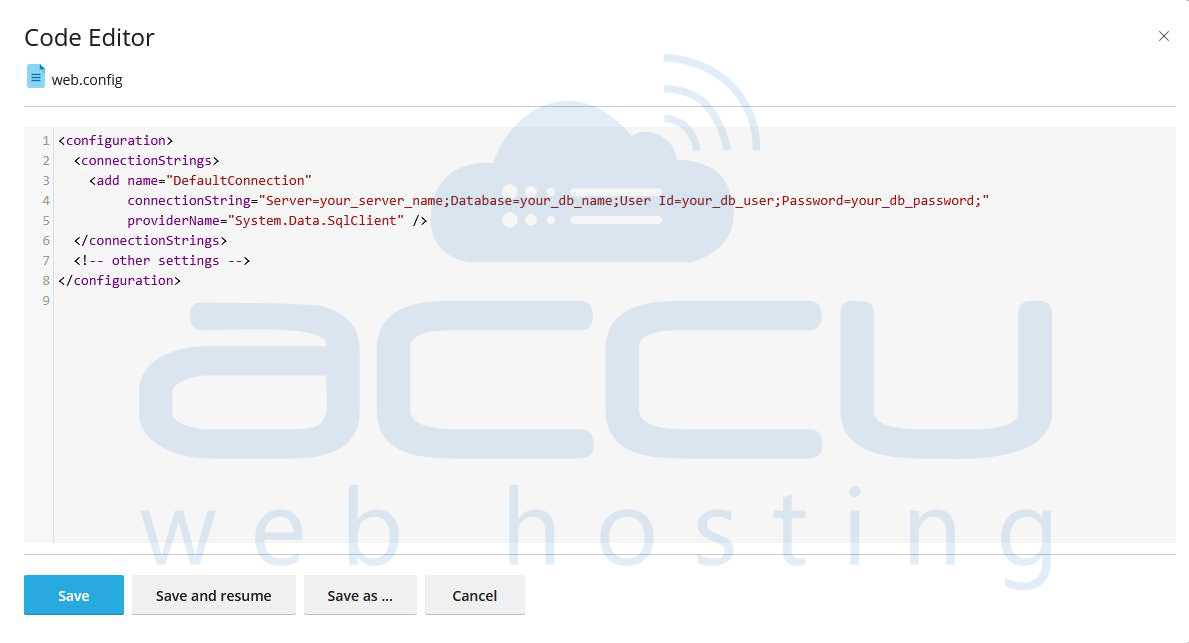
Replace:
Replace your_server_name with the host of your database, which is typically either localhost or an IP address.
Replace your_db_name, your_db_user, and your_db_password with the corresponding actual values.
For MySQL, use:
<add name="MySqlConnection"
     connectionString="Server=your_server;Database=your_db;Uid=your_user;Pwd=your_password;"
     providerName="MySql.Data.MySqlClient" />
Step 5: Save Changes and Test
- After editing, click Save.
- Check your website or application to ensure it successfully connects to the database without any issues.
- Check error logs (via Plesk or /logs/ folder) if any issues occur.
Conclusion
Editing the web.config file in the Plesk Control Panel allows you to set up database connection strings crucial for ASP.NET applications. Using Plesk’s File Manager, you can easily locate and edit the file without needing FTP access. Adding a connection string under the <connectionStrings> section helps your app communicate with SQL Server or MySQL databases. This method ensures centralized configuration, improved maintainability, and secure management of database credentials. It’s a quick, reliable way to manage database connectivity in hosted environments.
