Signature Banner/Email signatures are typically used to indicate the sender's name and contact information at the bottom of the email. They may also be used to provide links to websites or memorable anecdotes. Regardless of your signature, it would be much easier if that content was automatically added at the bottom of each email instead of manually adding it to each email.
How to set Signature Banner in the Roundcube webmail application?
Below are the steps to set the Signature Banner in the Roundcube webmail application.
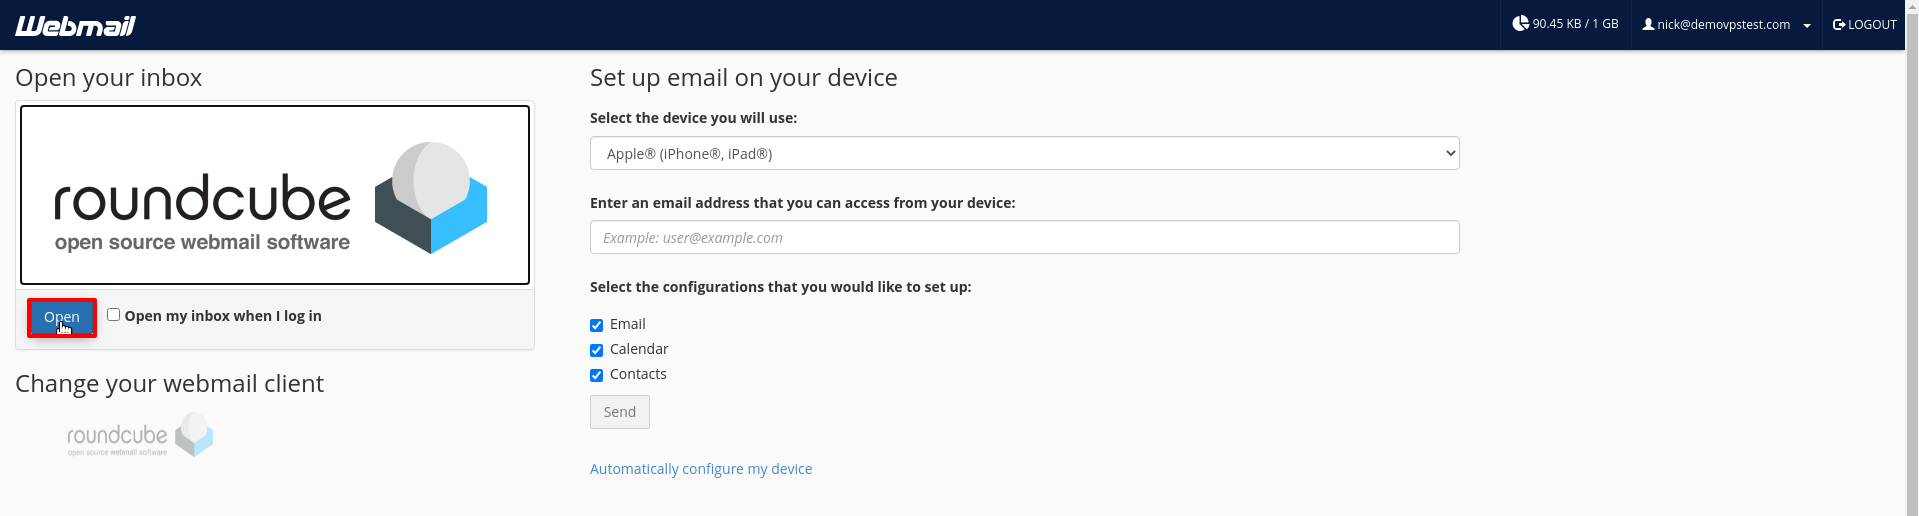
- Login into the Webmail.
- Go to the Open your inbox section and click on the Open option to open the email account in the Roundcube webmail client.
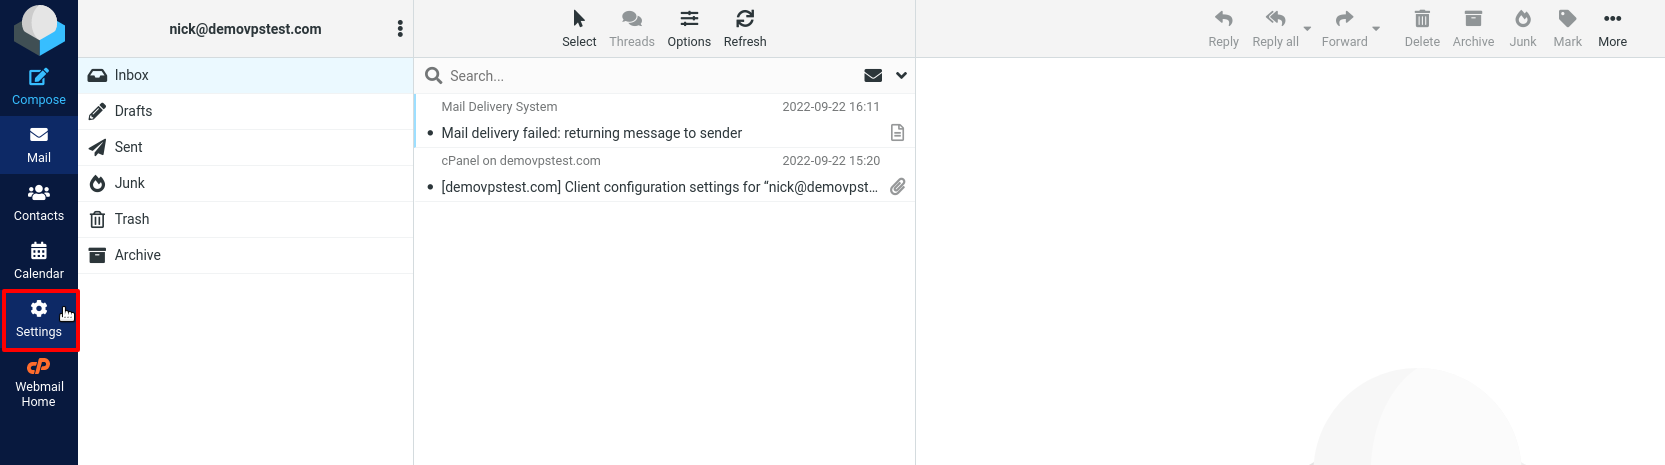
- Click on the Settings option on the left side of the screen below the calendar option.
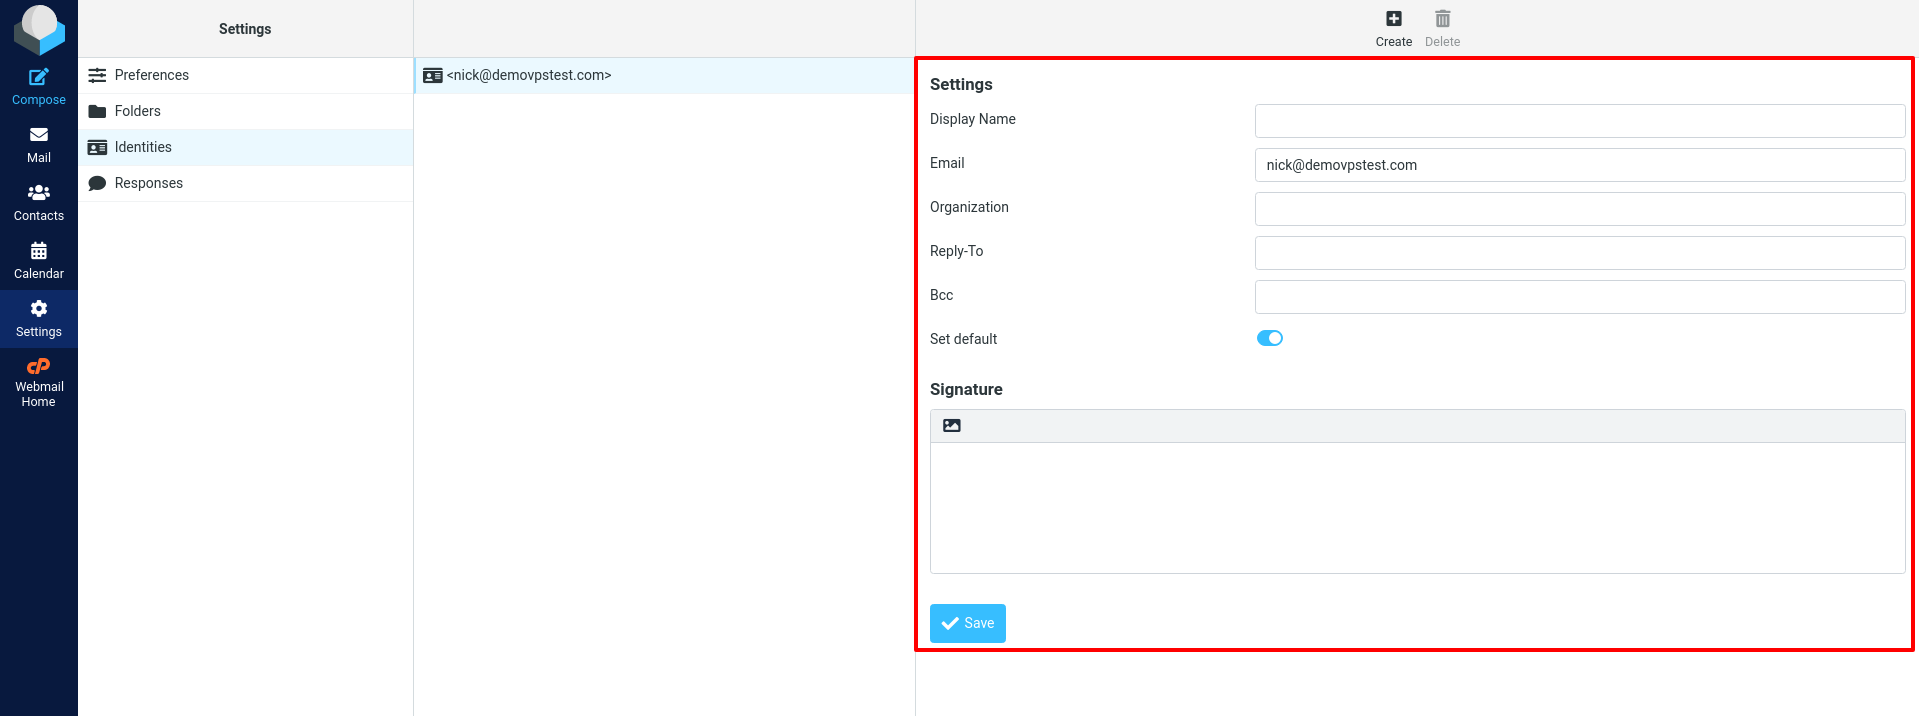
- In the Settings section, click on the Identities option.

- Once you click on the Identities option, you will get a list of the email account you created in the cPanel in the next column. Here, you can see one email account [email protected] because we have created only one email account.

- Select the email account on which you want to set the Signature Banner/signature and click on it. Here, we have selected the email account [email protected] as an example.
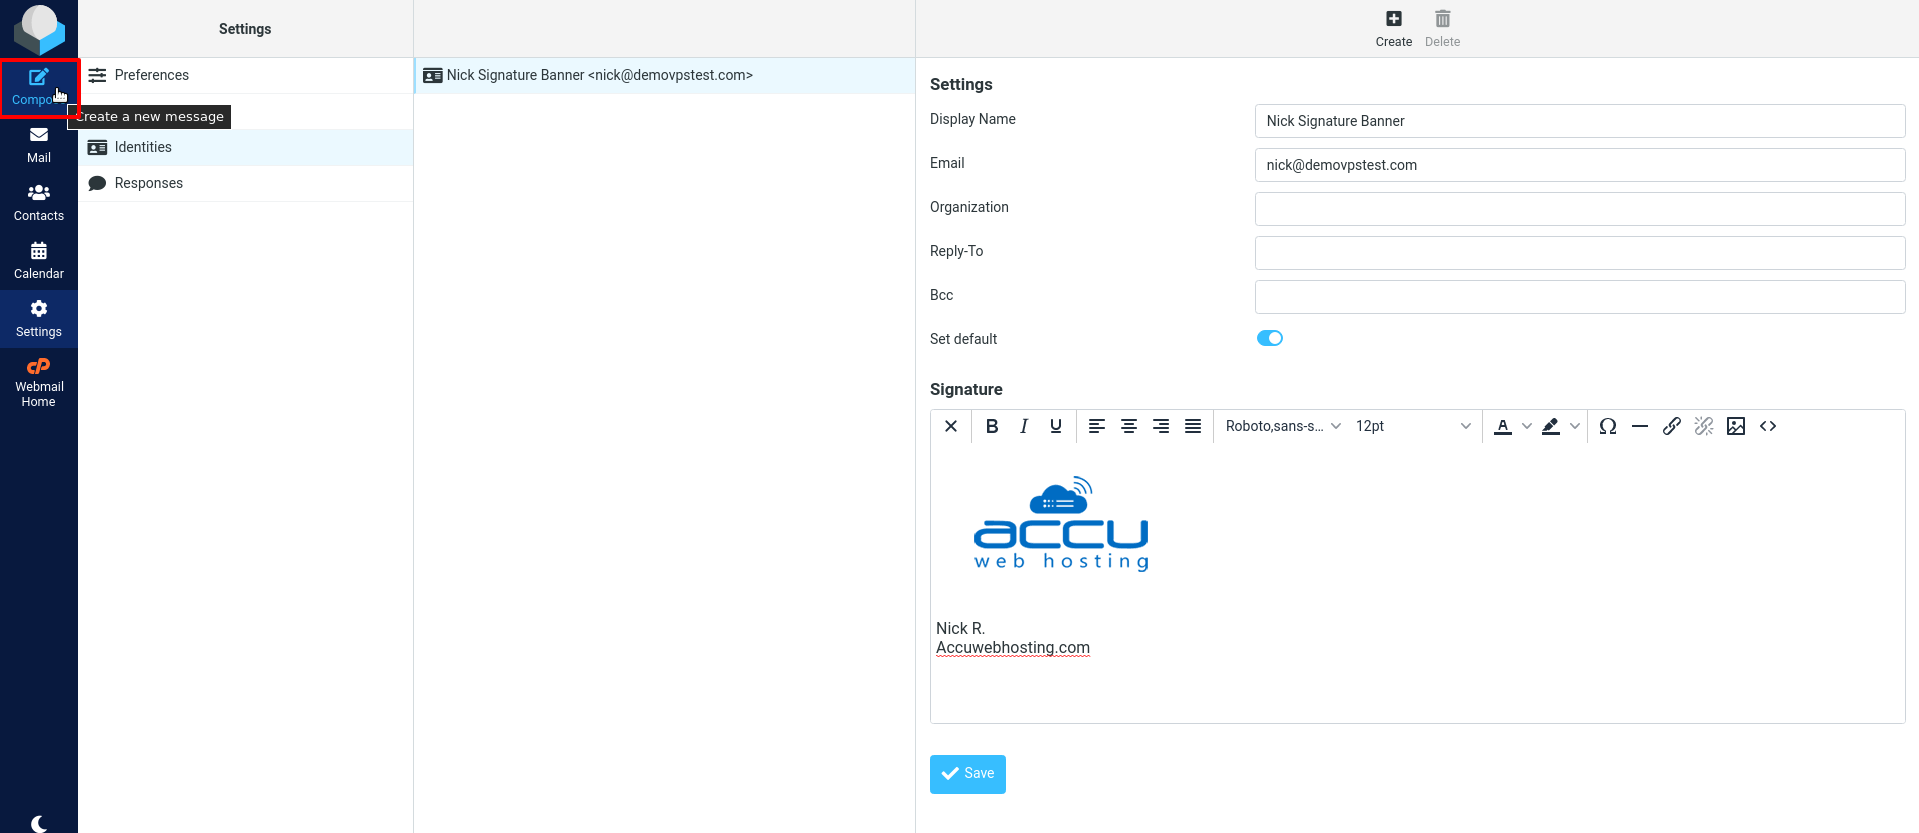
- You will get a Setting section in the next column by clicking on the email account.
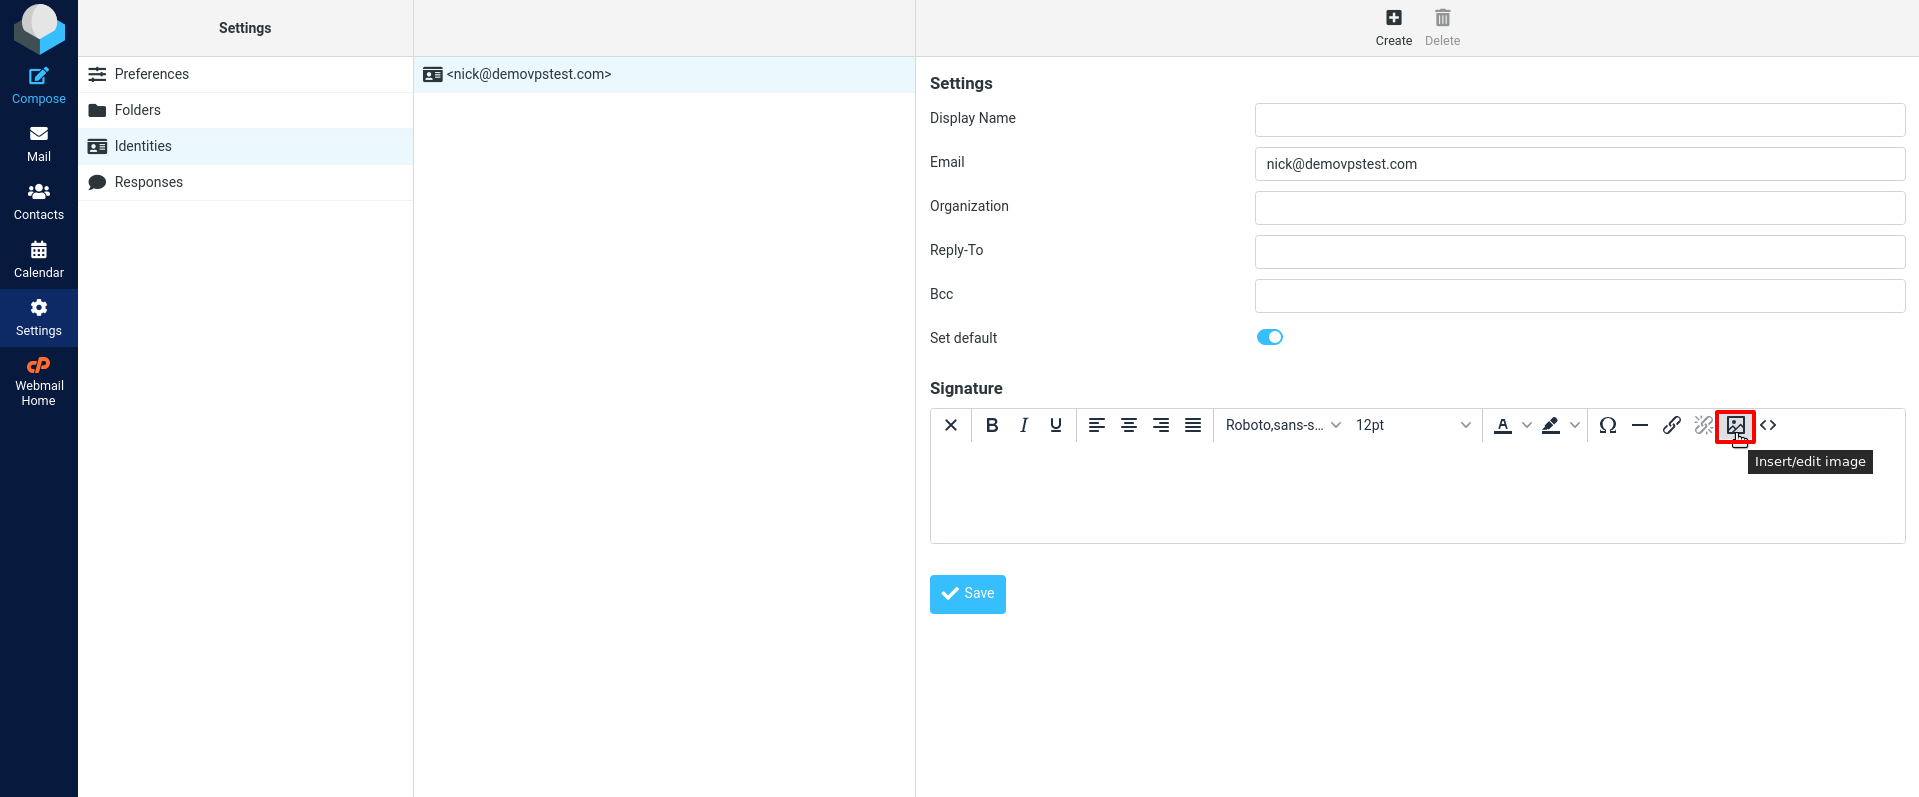
- Go to the Signature section and click on the HTML Signature checkbox.
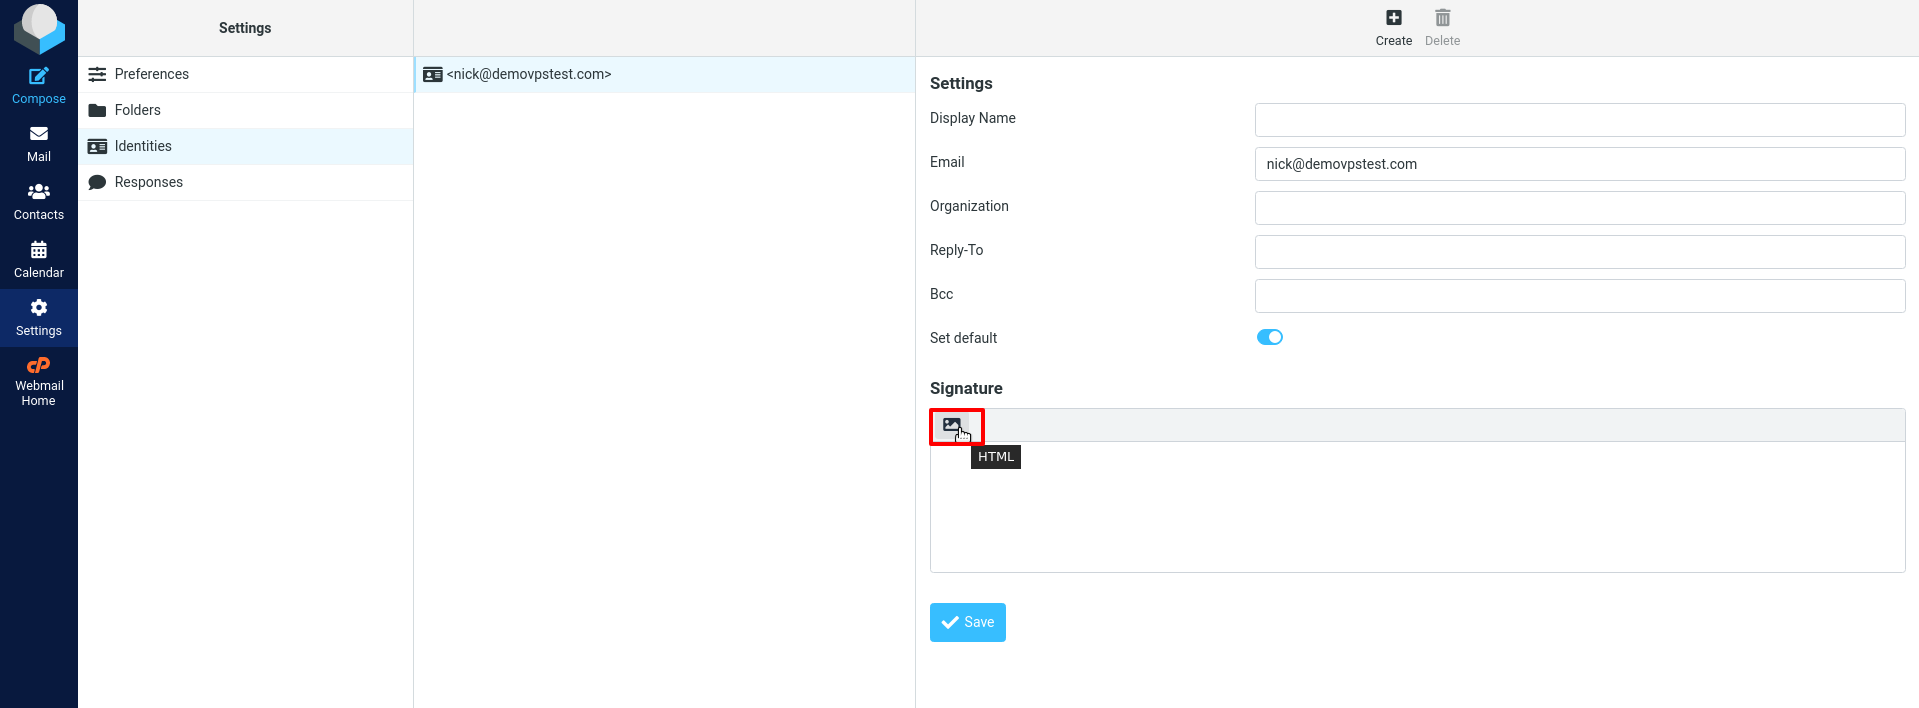
- Click on the image icon to upload the Signature banner in Webmail.
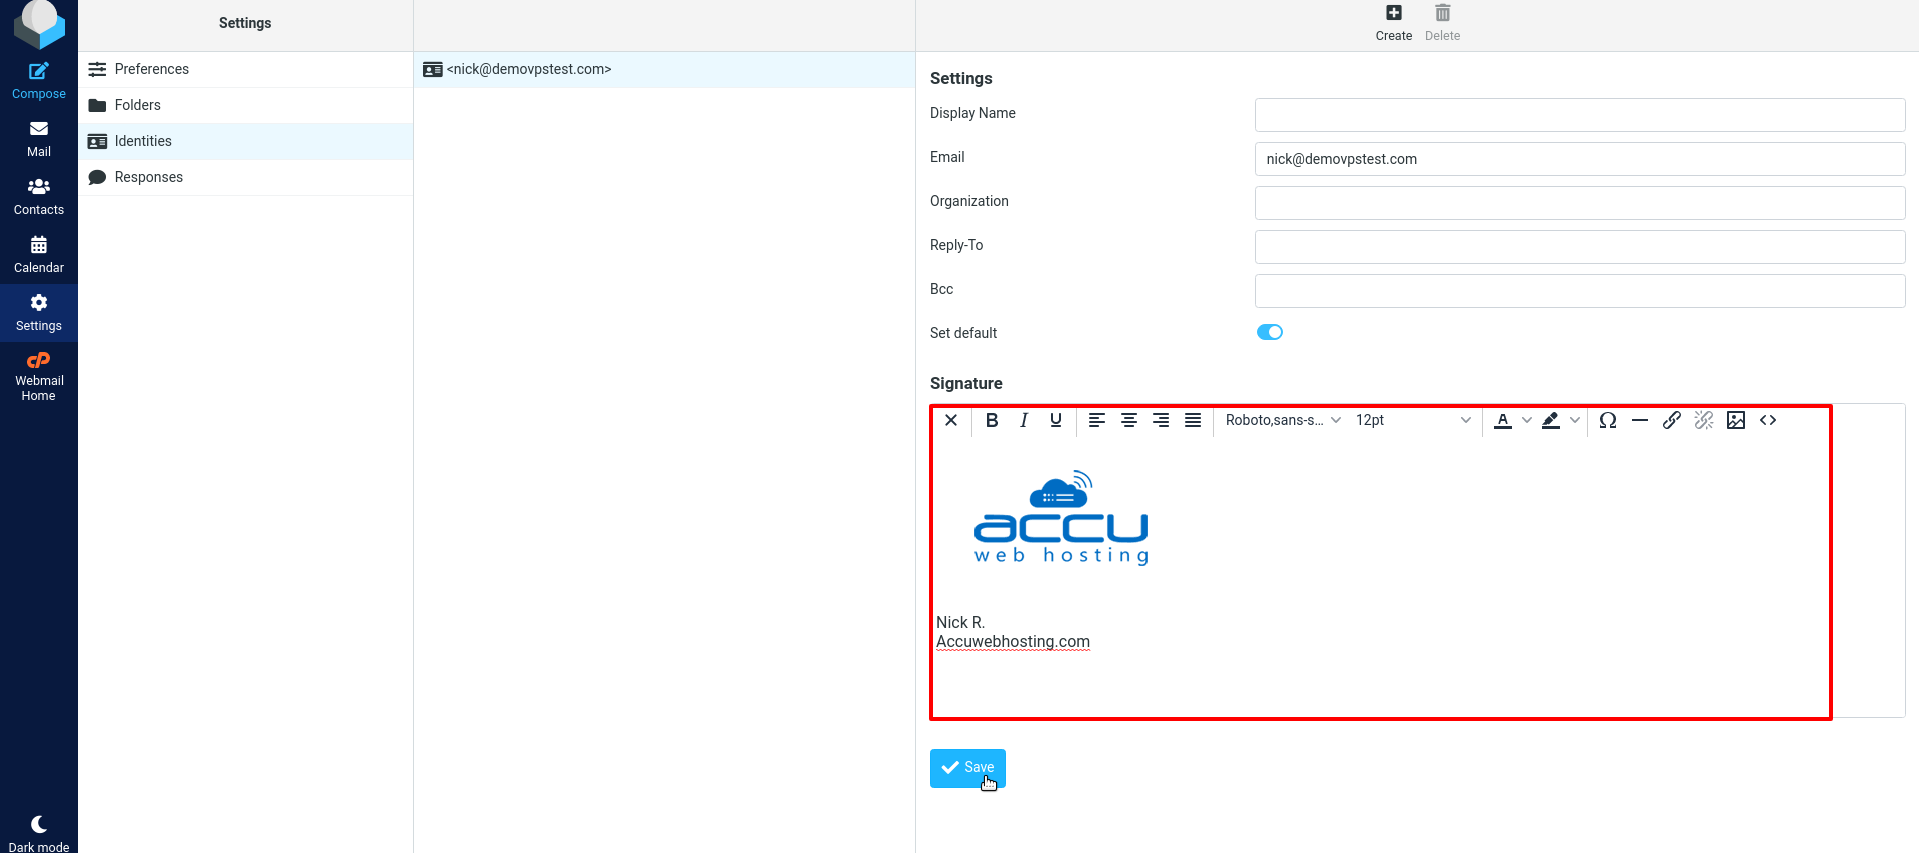
- Once you click on it, a window will be opened. In the Source field, you need to select the path of the banner from your local system. Next, you can enter the appropriate value in the Width and height field so the banner looks good. After then, click on the Save button to save the changes.

- You will get a preview of the Signature banner in the Signature section. If it is perfect, click on the Save button to save it.
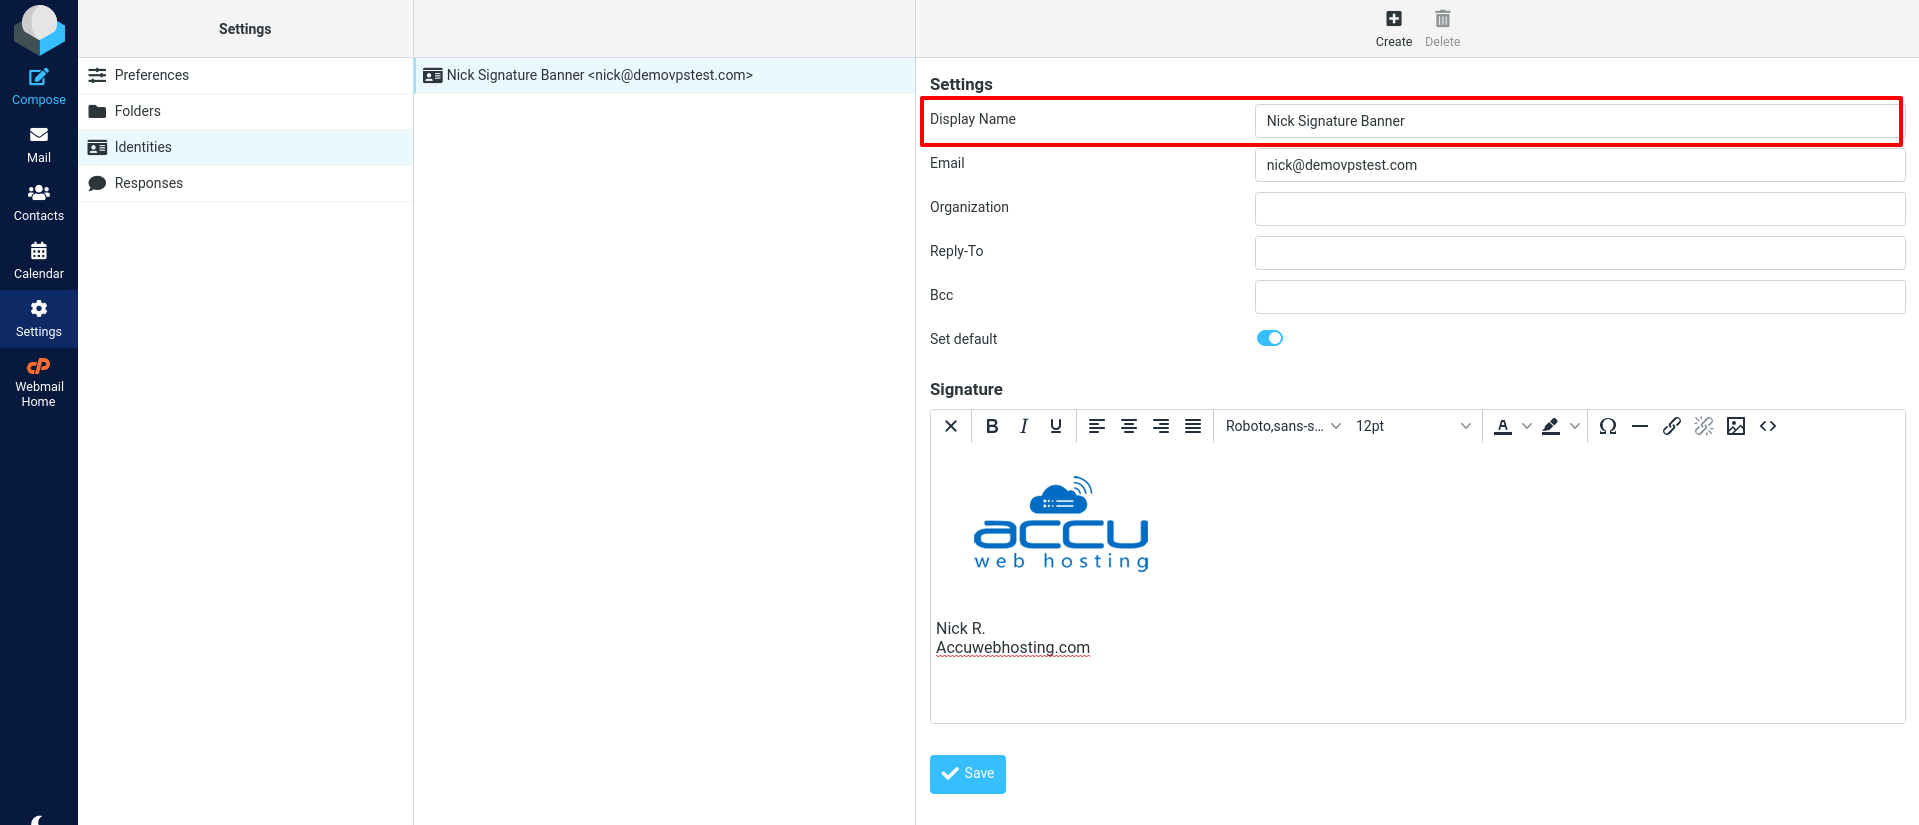
- In the Display Name, enter the name you want to set for the signature to identify the signature from the list quickly. Click on the Save button to save the changes.
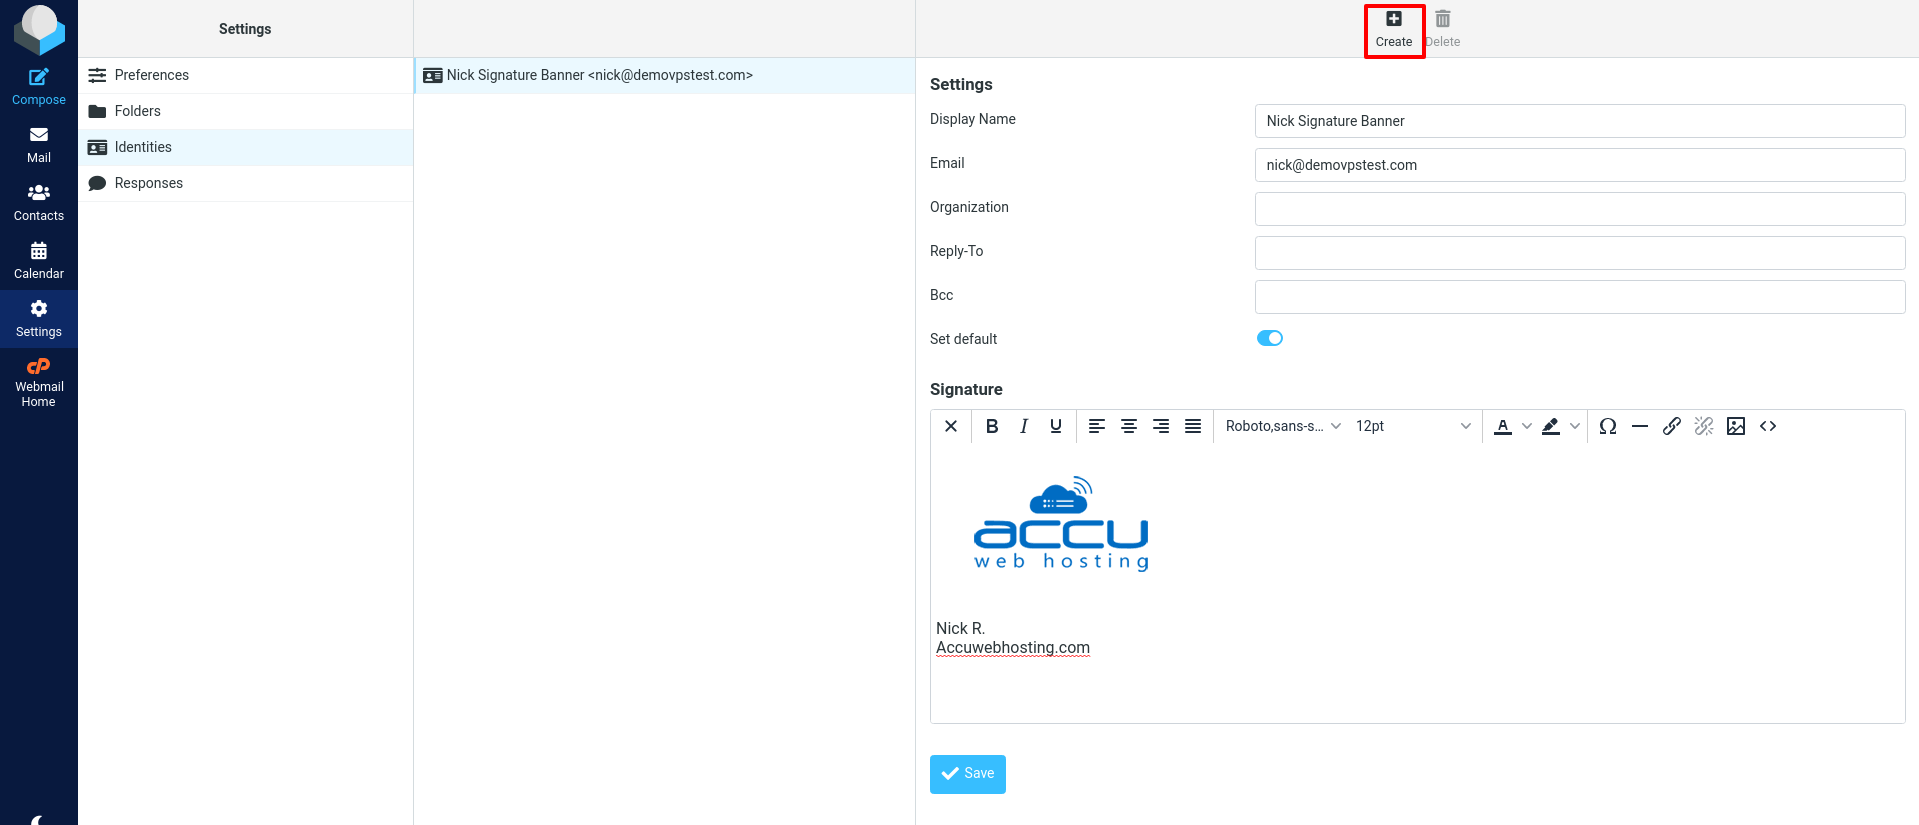
- If you want to create more than one Email account signature banner, click on the Create option on the screen's upper side.
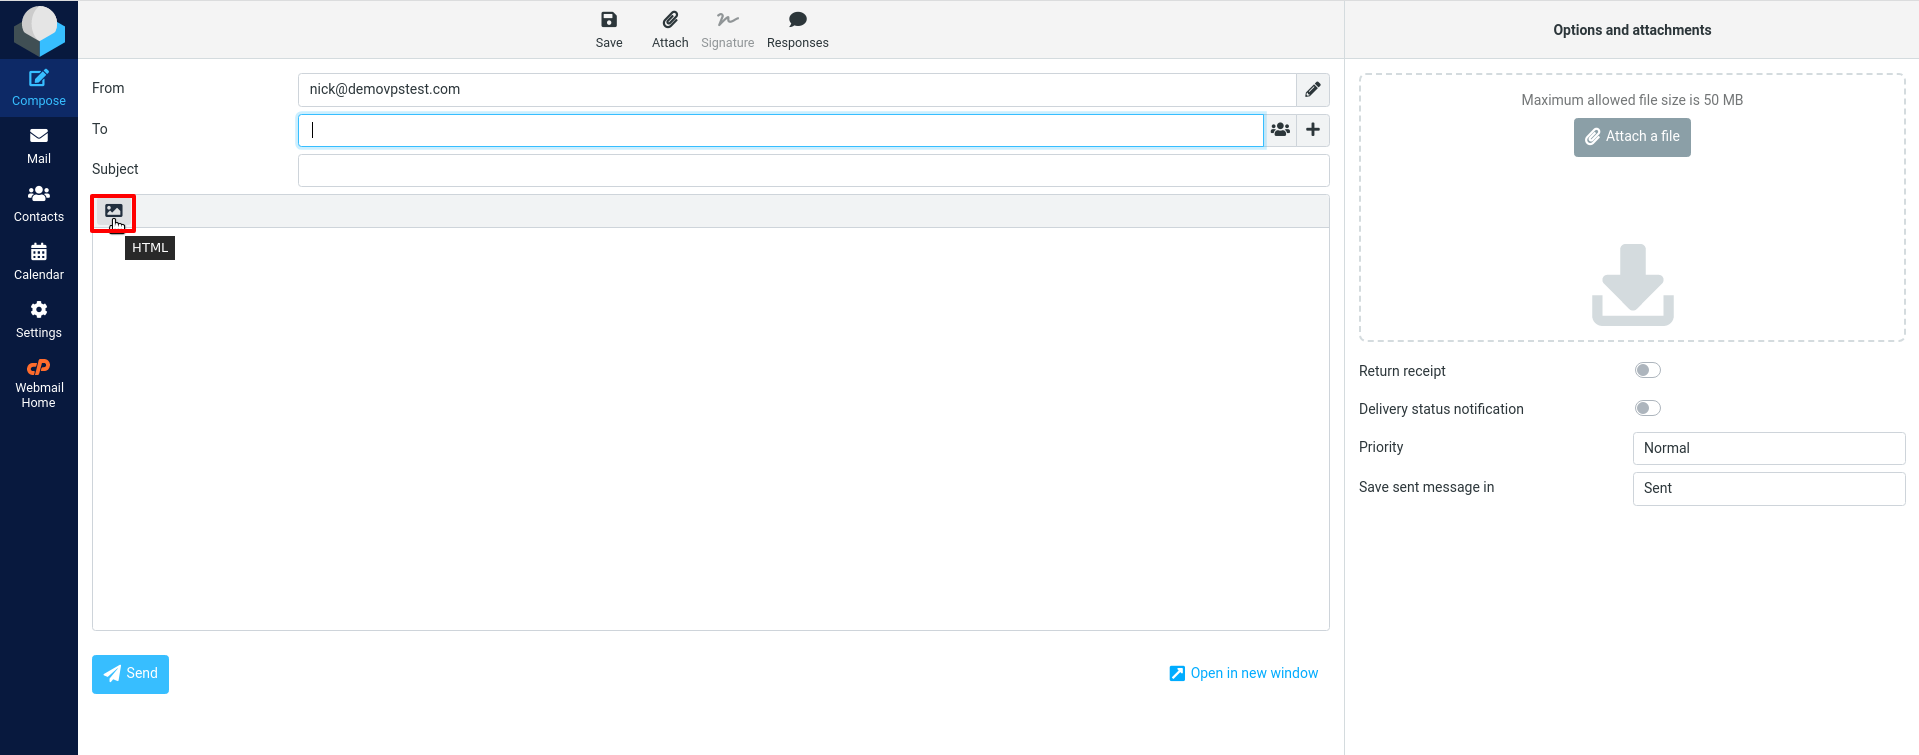
- Go to the upper left side of the screen and click on the Compose icon to create a new message.
- After then, click on the HTML Signature checkbox.
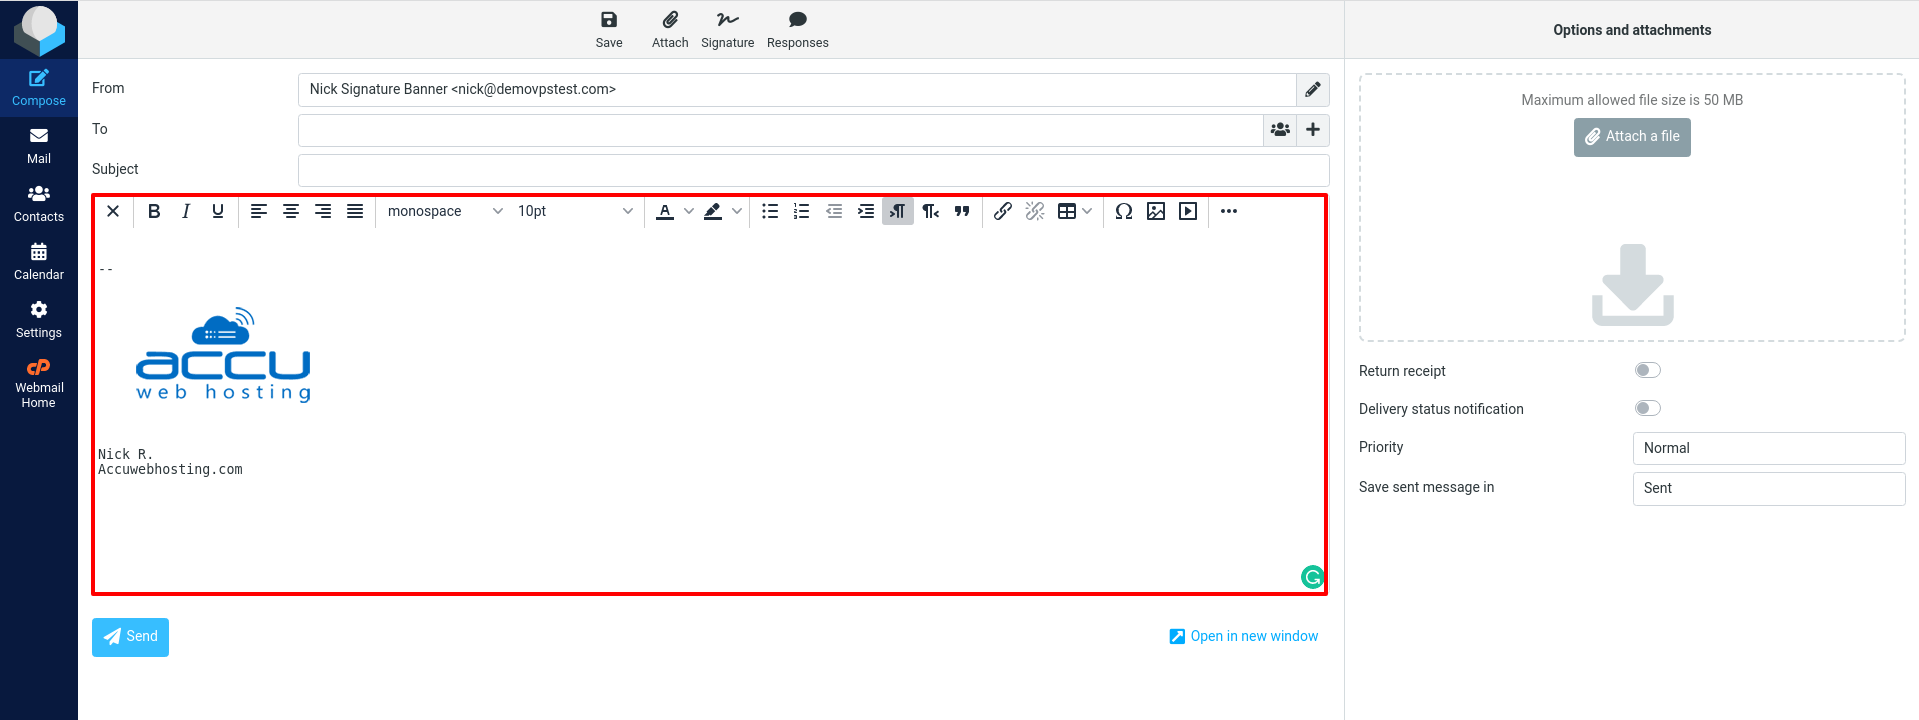
- You can see that the signature Banner is successfully created.
That's all.
