Introduction
Yes, it is possible to change the outgoing mail server (SMTP) IP address in WHM. This guide provides instructions on how to change the IP address for outbound mail on a cPanel & WHM system. To complete this process, you must have root access to the system.
Procedure:
Step 1: Log in to WHM: The first step in changing the outgoing mail server (SMTP) IP address in WHM is to log in to your WHM account. Once you are logged in, you will be able to access the Exim Configuration Manager, which is where you can make the necessary changes.

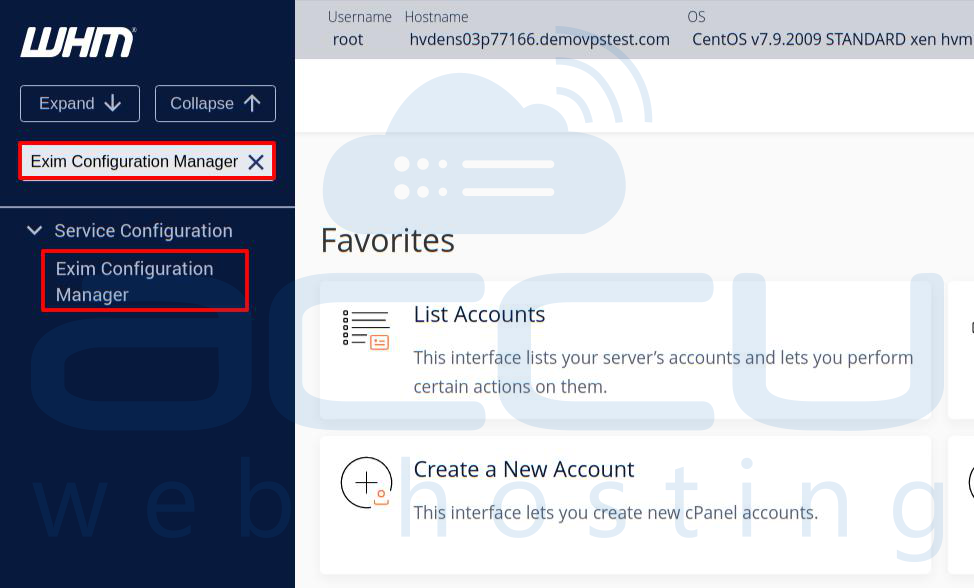
Step 2: Navigate to Exim Configuration Manager: Once you are logged in to WHM, navigate to the Exim Configuration Manager by typing "Exim" into the search bar at the top of the page. Then, click on the "Exim Configuration Manager" link that appears.
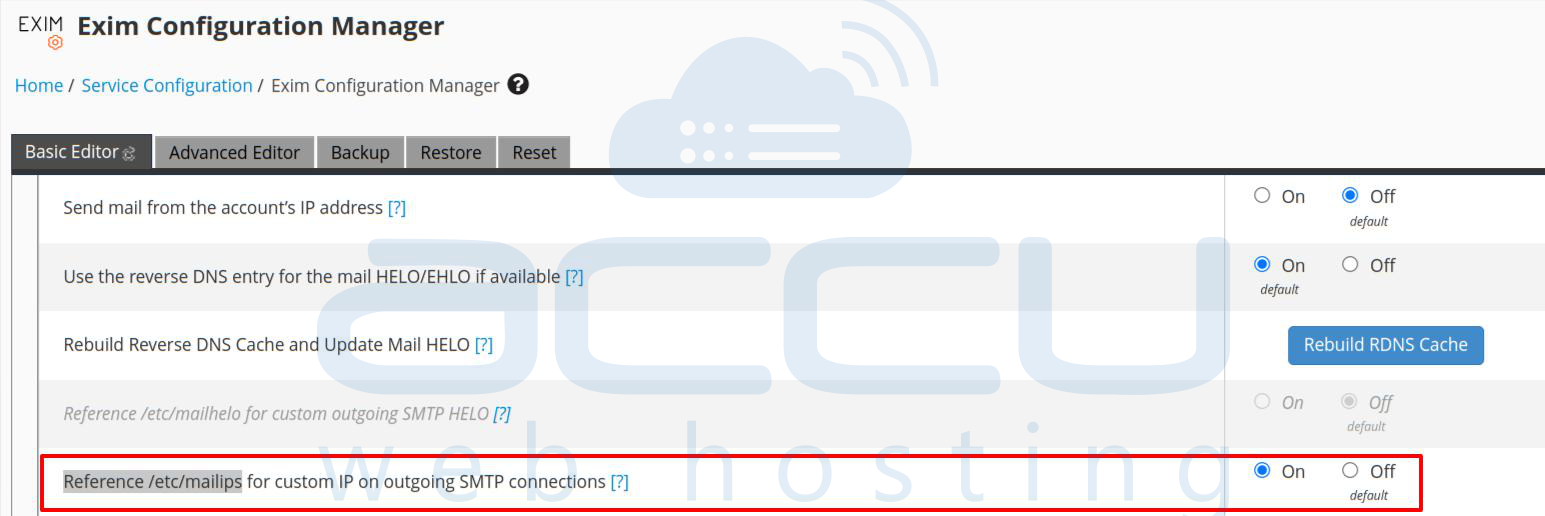
Step 3: Enable "Reference /etc/mailips for outgoing SMTP connections": In the Exim Configuration Manager, make sure that the "Reference /etc/mailips for outgoing SMTP connections" option is enabled. This option ensures that Exim uses the IP address specified in the /etc/mailips file for outgoing SMTP connections.
Step 4: Edit /etc/mailips file in SSH:
Next, you need to edit the /etc/mailips file in SSH or using the WHM Terminal. You can do this by logging in to your server via SSH and opening the file in a text editor.
vi /etc/mailips
Once you have the file open, add the following line, replacing "192.168.2.152" with the IP address that you want to use:
*: 192.168.2.152
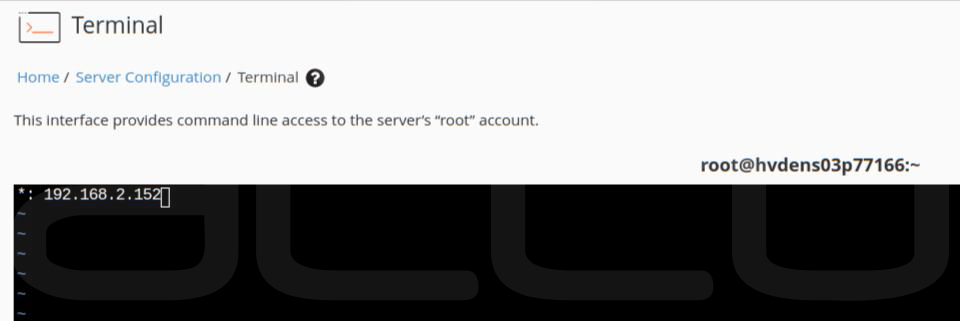
This code will configure Exim to send mail for all domains from the specified IP address.
If you have more than one IP address and want some domains to use a specific IP address, you can do this by using a setup like the one below.
domain1.tld: 192.168.2.153
domain2.tld: 192.168.2.154
*: 192.168.2.152
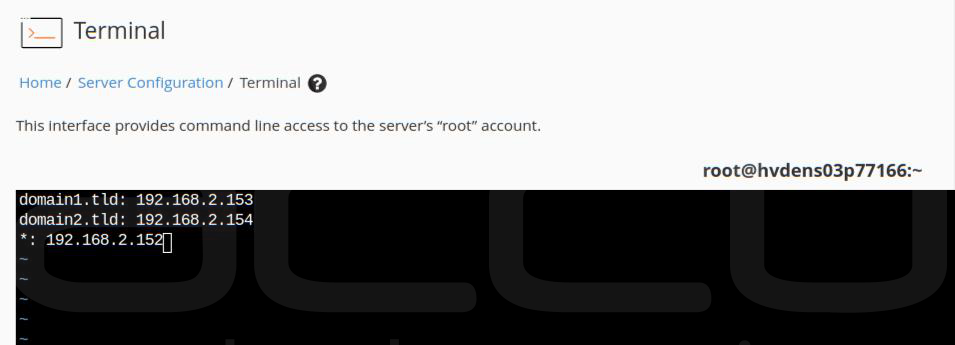
In this example, domain1.tld will use the IP address 192.168.2.153, domain2.tld will use the IP address 192.168.2.154, and all other domains will use the IP address 192.168.2.152.
Step 5: Do not forgot to save the file /etc/mailips/.
Your exim mail server is now configured to send email from the IP address specified in the /etc/mailips file. Remember to update your domain's SPF record with the new IP address (e.g., "v=spf1 a mx ip4:actual_IP_address ~all") to avoid email rejection by the recipient's host.
Conclusion:
Changing the outgoing mail server (SMTP) IP address in WHM is a relatively simple process that can be done with just a few clicks. By following the steps outlined in this guide, you can ensure that your mail is delivered successfully and avoid being marked as spam.


