PostgreSQL is an open-source object-relational database system. It uses the SQL language with features that store and scale complicated data workloads. Please refer to the following steps to install PostgreSQL on the Windows server.
Step 1: Log in to the Windows server. Please refer to How to Login to Your Windows Server.
Step 2: We will download PostgreSQL. Please click on Download PostgreSQL.
Step 3: Run the installer, and it will start your installation process, so click on Next.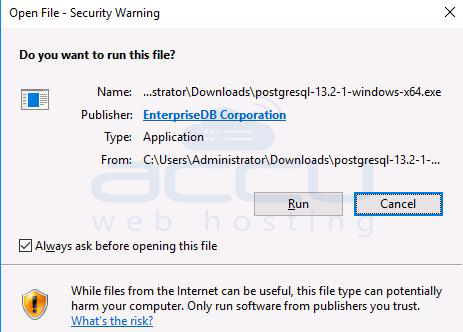
Step 4: Enter your PostgreSQL password.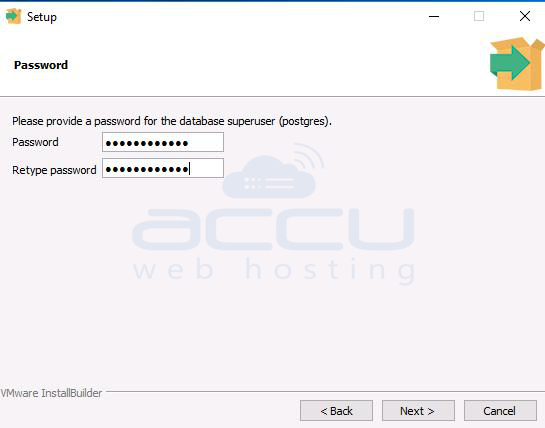
Step 5: PostgreSQL uses port 5432. You can change the port as per your requirement and open it in the Windows firewall. 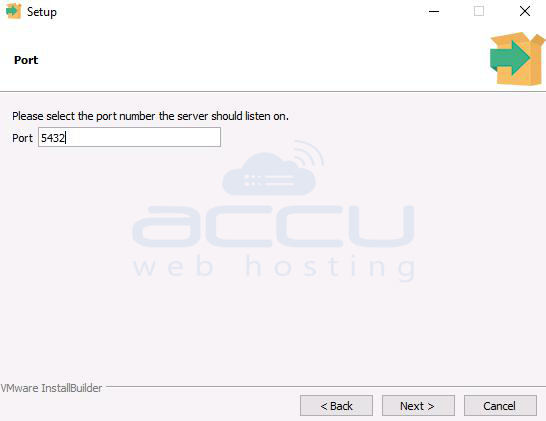
Step 6: Select the default local or timezone, or you can choose your timezone here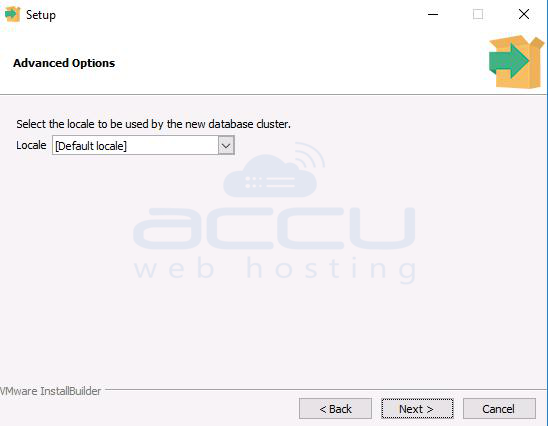
Step 7: Ensure that you read all the installation summaries. If you find anything you want to change, you can click on the back button and change it. 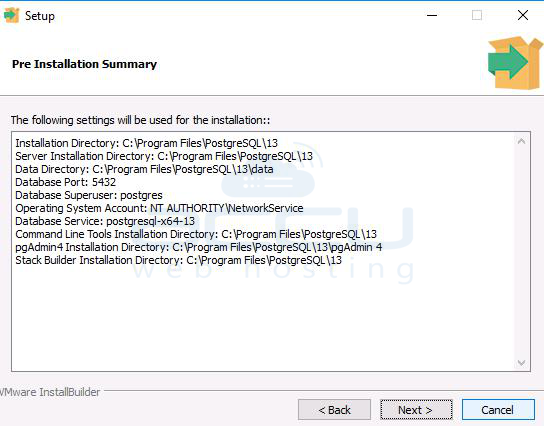
Step 8: Untick on downloading Stack Builder and click on the finish button.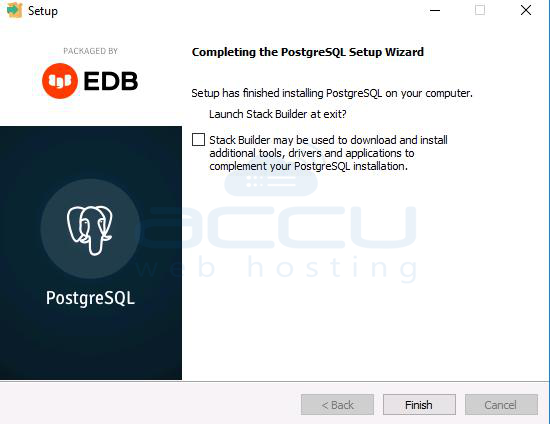
Step 9: Click on the Start and double-click on pgAdmin 4.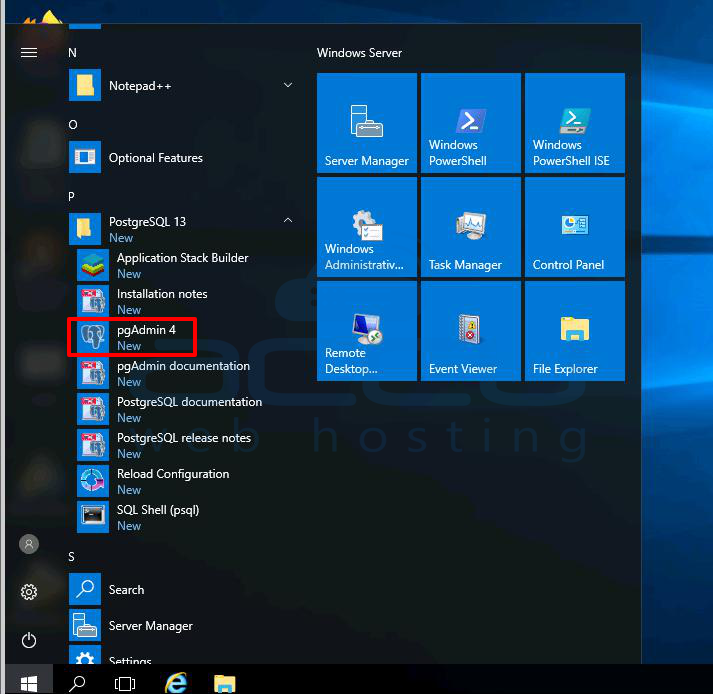
Step 10: It will ask for the password. Enter your password.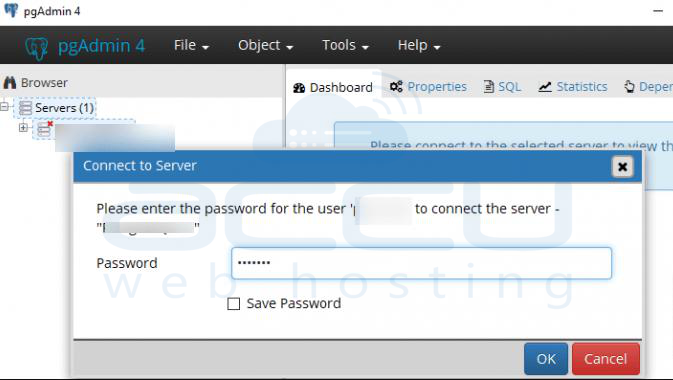
Step 11: You will see the following objects after the successful installation of PostgreSQL.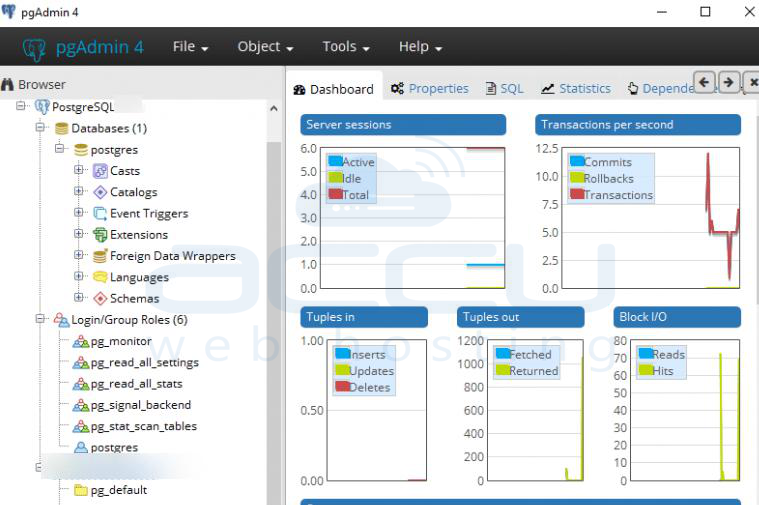
Conclusion:
With PostgreSQL successfully installed on your Windows Server, you now have access to one of the most advanced open-source database platforms available. This setup enables you to handle everything from small projects to large-scale enterprise applications with ease. By leveraging its robust feature set, strong community support, and proven reliability, PostgreSQL can serve as the backbone of your data infrastructure, delivering high performance and flexibility for years to come.
