Adding a DKIM record strengthens your domain’s email security by helping verify that messages are genuinely sent from your domain, reducing the chances of spoofing and phishing. By following the steps below, you can easily publish a DKIM record in DNS using the Windows Server interface.
We will add the DKIM record as a TXT record in DNS. Please refer to the following steps to add the DKIM record on the Windows server.
If you are referring to creating a DKIM record, you should first refer to the following articles.
(1) How to create a DKIM record in SmarterMail?
(2) How to create a DKIM record in MailEnable?
Here is an example of a DKIM record:
| Record Name/DKIM Selector | Record | Fully Qualified Domain name | Record Data |
| 8D8xxxxxxxx4BF6 | TXT | 8D8xxxxxxxx4BF6._domainKey .demovpstest.com |
p=xxxxxxxxxxxxxxxxxxxxxxxxxxxxxxxxxxxxxxxxx xxxxxxxxxxxxxxxxxxxxxxxxxxxxxx/v9TTwmphHab WeuW50BZConBpNrXBbvj2d2a98ink0oy4vEr2aV QN8jTdJxH9XmTLmTHFqv9wCiIg/k+MUsNMUp6 MD9X6mqXEcl7V4Zp1JiVlmvdKuDUK8b5QkiC3rX Kpr1MiOJwYEBGcz6gVlqLxxxxxxxxxxxxxxxxxxxxx xxxxxxxxxxxxxxxxxxxxxxxxxxxxxxxxxxxxxxxxxxxxxx xxxxxxxxSuEx2iSbeOSbpuguyI1P3M2M3bC8x+Nep GHKIYuUzn/rOaiMbha9gcAerhC0eoBMz/T1oJQke WWwIDAQAB |
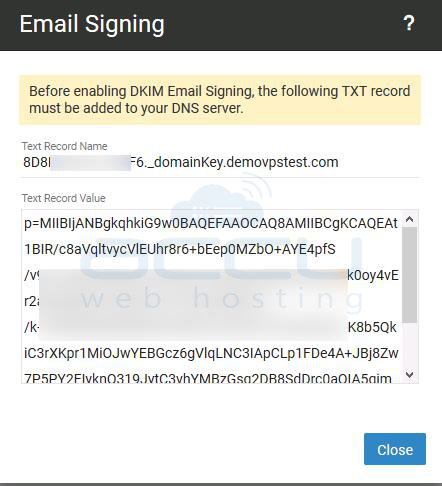
If you have created the DKIM record in Smartermail, it should look as below.
1. Log in to your Windows server. Click on Start >> Windows Administrative Tools.
2. Click on DNS.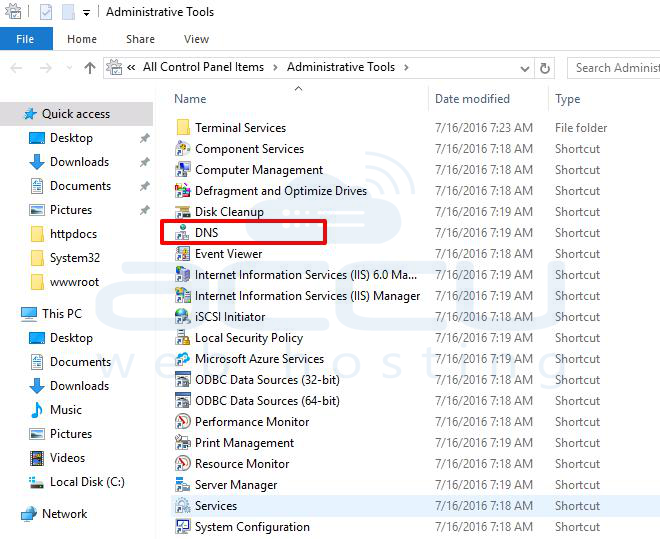
3. Inside the forward lookup zone, double-click on the domain for which you want to set the DKIM record. 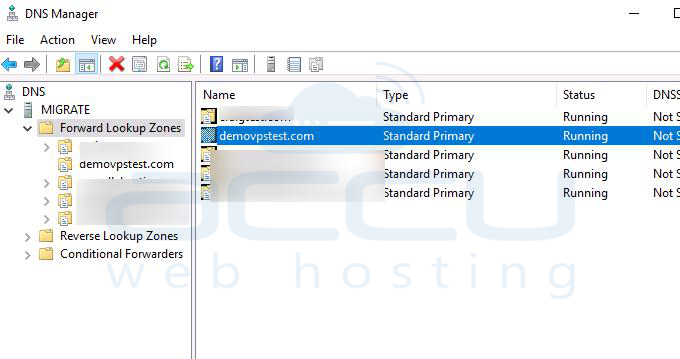
4. Right-click on the blank space where all the DNS records are added and click on the Other New Records.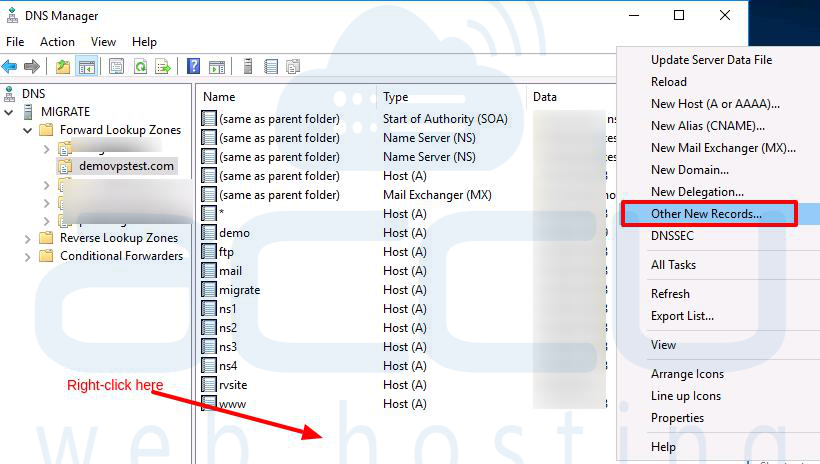
5. From the drop-down, select Text (TXT) Record and click on the Create Record button. 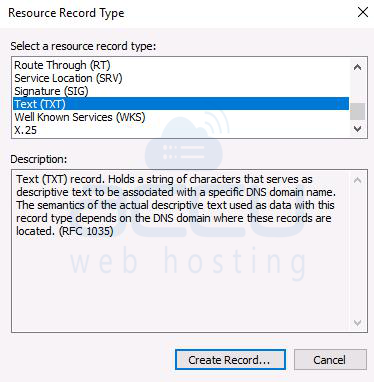
6. At first, Enter the record name. It should be like 8D8xxxxxxxx4BF6._domainKey, so your FQDN becomes 8D8xxxxxxxx4BF6._domainKey.yourdomain.com. Inside Text, enter the text record value. 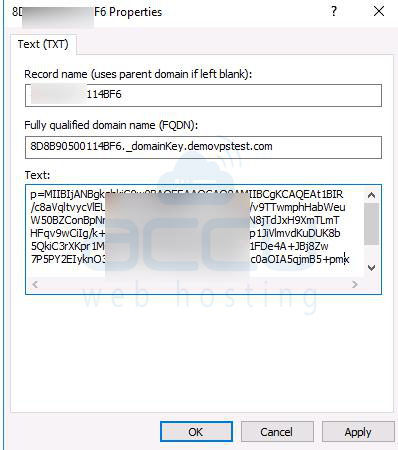
7. Once you add the record, click on the OK button and click on Done at Resource Record Type.
