Softaculous is an application installer of cPanel. We can install Invoice Ninja through Softaculous in cPanel as per the steps listed below:
1. Log in to your cPanel.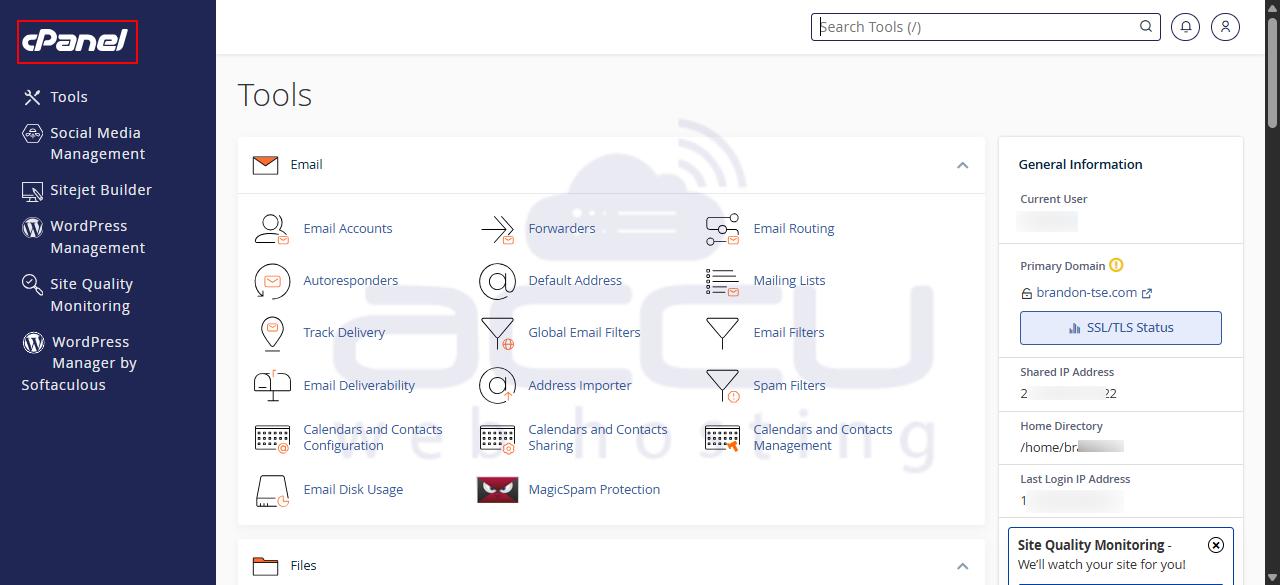
2. Go to the Softaculous Apps Installer page that you can find under the Software option.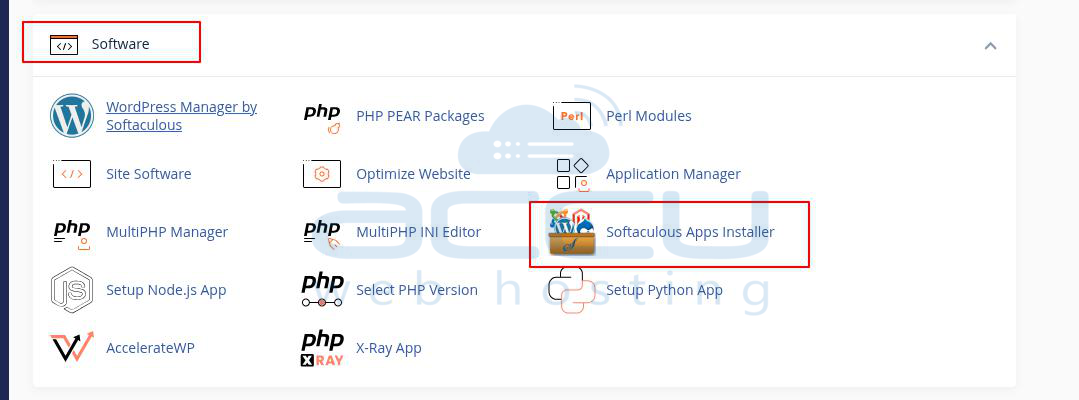
3. Inside the search box, type Invoice Ninja, press enter, and select Invoice Ninja.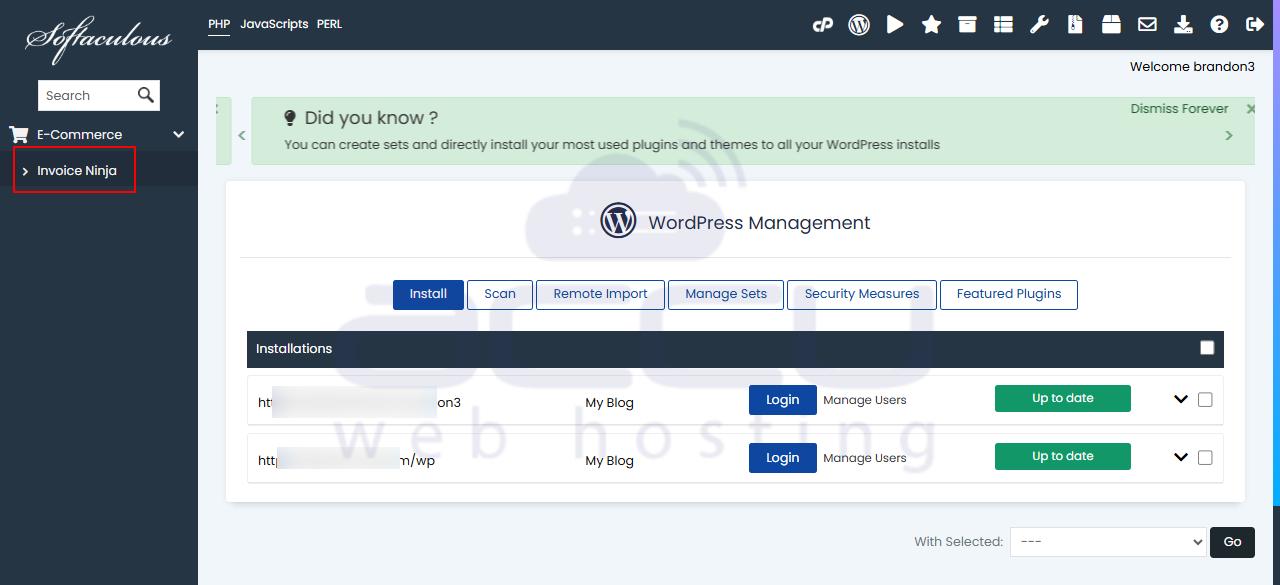
4. Click on the Install button to install Invoice Ninja. It will show you the Installer Page.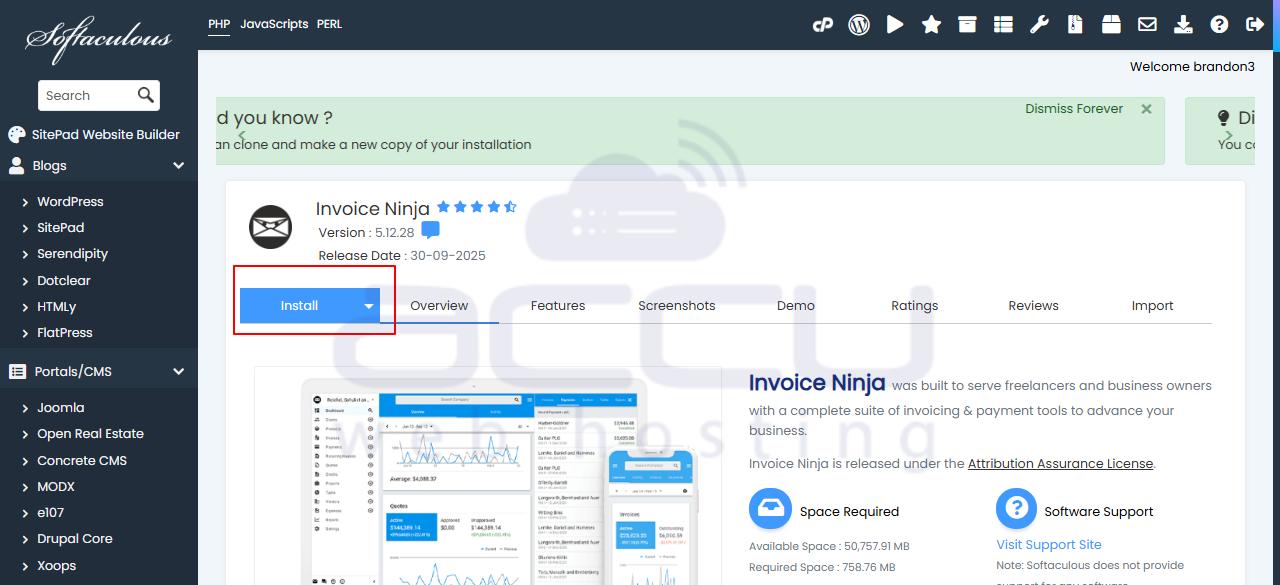
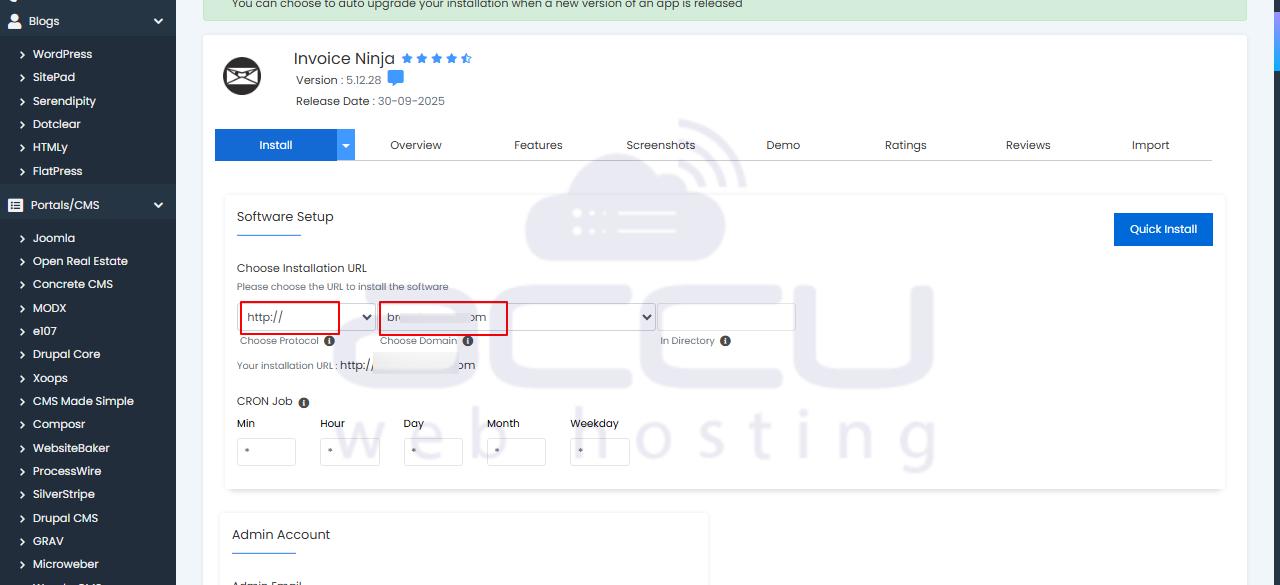
5. Next, we need to add the details mentioned below -
- Choose Protocol: HTTP or HTTPS. If you have an SSL Certificate installed on the website, you can choose HTTPS or go with HTTP.
- Choose Domain: Select the Domain name from the dropdown on which you want to install Invoice Ninja.
- Directory: Location of Invoice Ninja Installation. You can leave it blank to install it directly on your website.
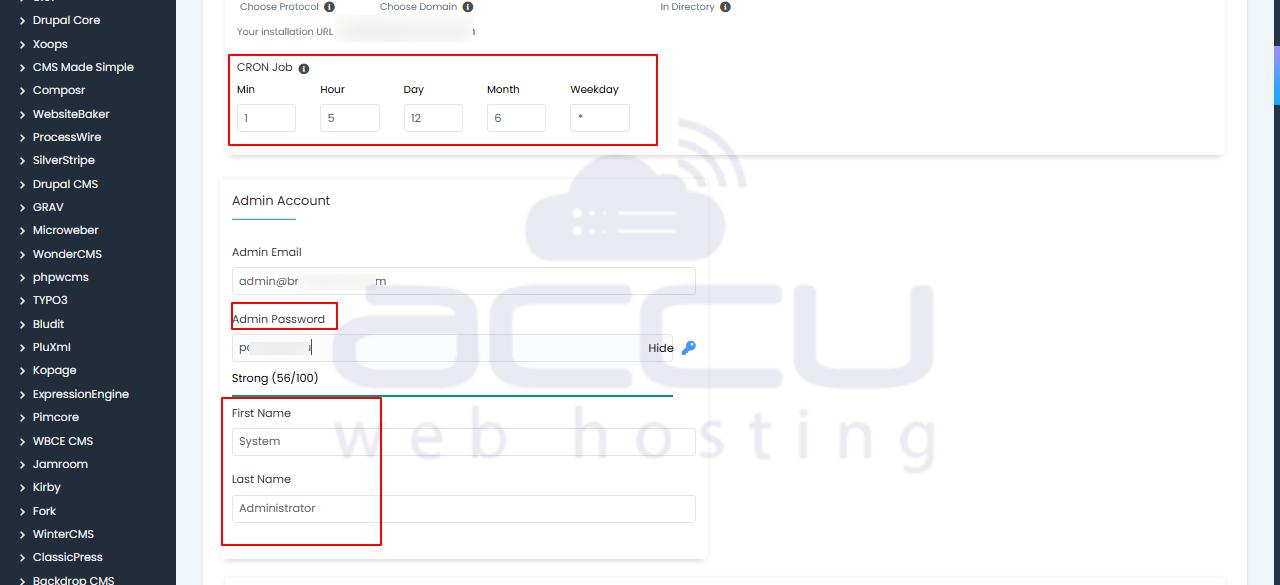
- Cron Job: Leave it as it is until you don't require to set a specific CRON.
- Admin Email: Enter the Email account for website administration.
- Admin Password: Enter your required Password.
Note: Keep the Admin Email and Password in a safer place. You can log in to the Invoice Ninja admin panel using this.
- First Name: Enter your choice of First Name or leave it as it is.
- Last Name: Enter your choice of Last Name or leave it as it is.
6. Expand the Advanced Options by clicking on it.
- Database Name: Enter the required Database Name or leave it as it is.
- Untick the Disable Update Notifications Emails.
7. If you want to take a backup, you can choose the following options -
- Backup Location: Select the Path to take the website Backup.
- Automated Backups: Select the required Backup timing.
- Backup Rotation: Select the required Backup Rotation.
8. Finally, click the Install button to install Invoice Ninja.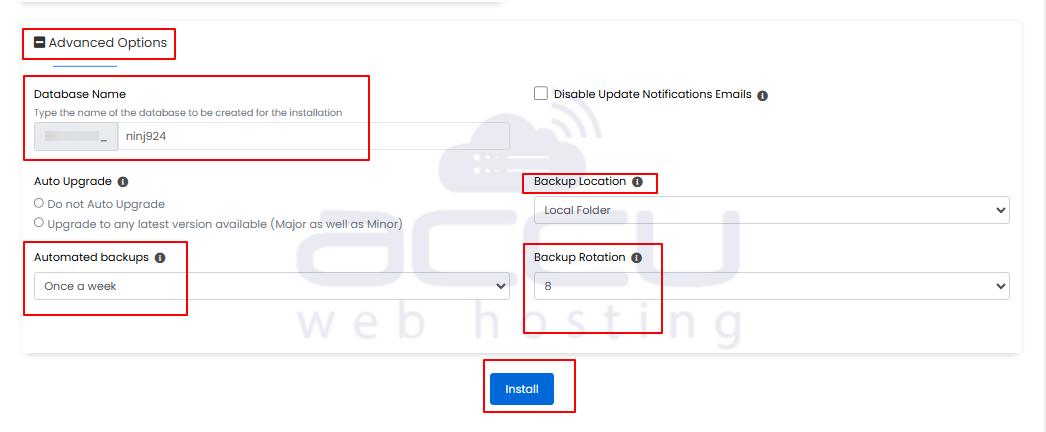
9. It will show you the below screen once the installation is completed successfully.
Important Note: If you don't have a domain and want to run Invoice Ninja on cPanel's temporary URL, you can make the following changes
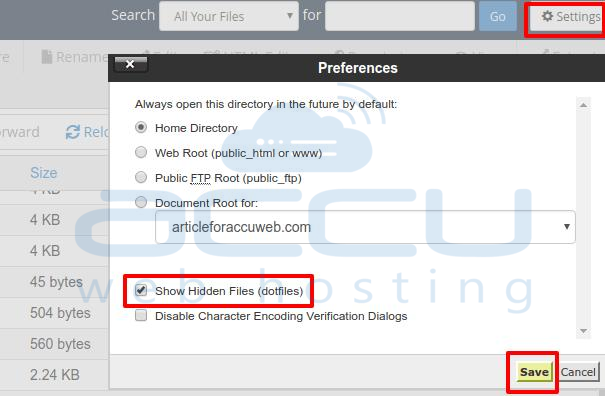
1. Open the .htaccess file.
- If you don't find .htaccess, you can click on Settings >> tick on show hidden files >> Click on the Save button.
2. Inside .htaccess, go to the last line, and you will see a redirection rule set to your domain name.
You can replace the domain name with a temp URL/ public.
- RedirectMatch 301 ^/$ your-temporary-url/public
3. Save the .htaccess file.
You can now access it with your temporary URL, redirecting you to the Invoice Ninja admin panel.
You can log in with your provided credentials.
