The SmarterMail server provides a security feature for a failed login attempt. By Default, a user can be locked out for 5 minutes after 10 failed login attempts. You can change this setting as per your requirement. The following are the steps to change the maximum failed login attempts for the Smartermail.
1. Connect your server using RDP where SmarterMail is installed.
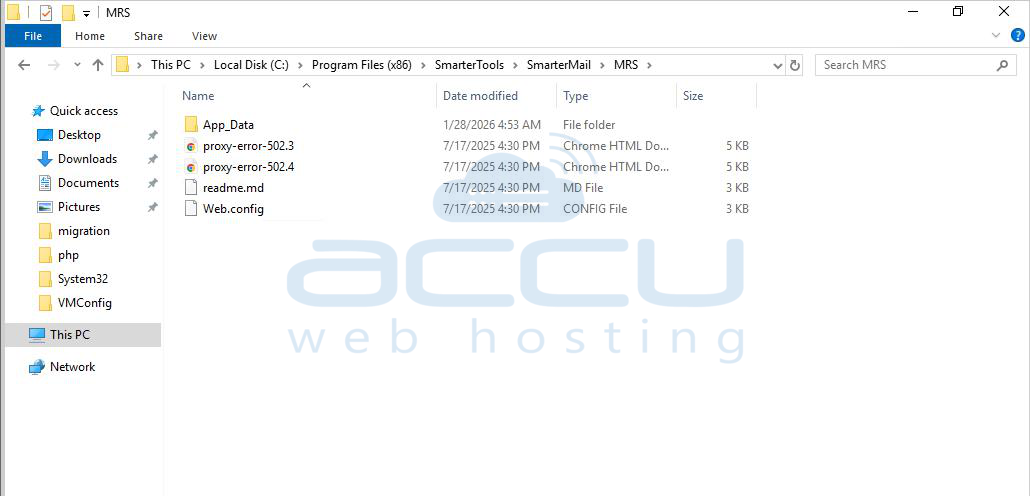
2. Open the Smartermail Web.config file located at the default location C:\Program Files (x86)\SmarterTools\SmarterMail\MRS or C:\Program Files\SmarterTools\SmarterMail\MRS.
3. Find the following line in the web.config to change the number of attempts before the block.
<add key="ForgotPassword.BruteForceDetection.TriesBeforeBlock" value="10"/>
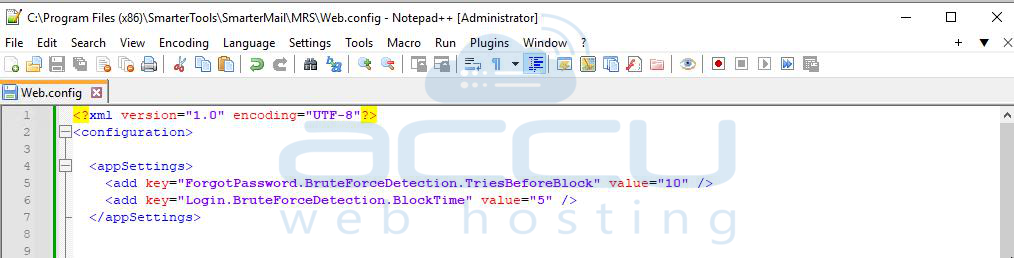
The value 10 represents the number of failed login attempts allowed. You can edit the value to change the failed login attempt before the block is applied.
4. Edit the value to reflect the amount of time, in minutes, that the block is maintained.
<add key="Login.BruteForceDetection.BlockTime" value="5"/>

The value 5 represents the block duration in minutes. You can edit the value to change the blocking time for the IP Address.
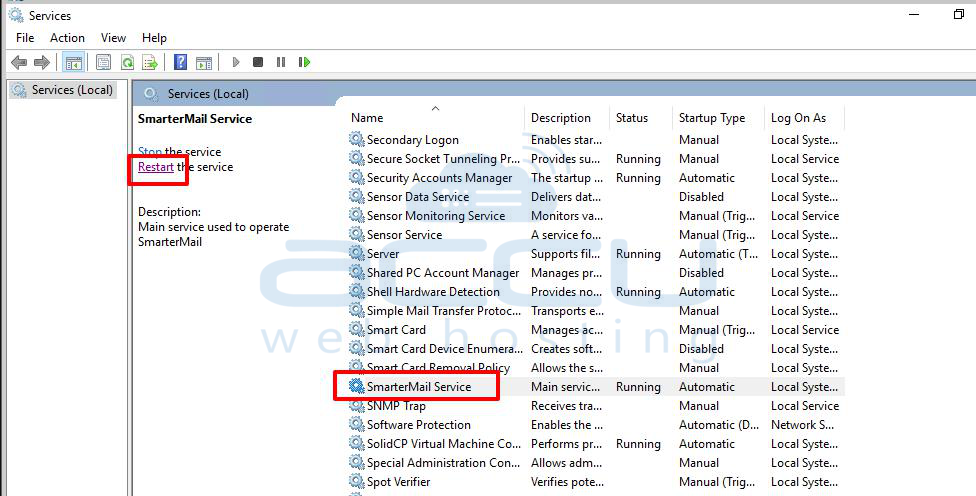
5. Search services and find the SmarterMail service, and restart the SmarterMail service to ensure the changes take effect.
You can verify the setting by entering the wrong credentials to SmarterMail at your end.
Conclusion
Adjusting the failed login attempt and block time settings in SmarterMail allows you to fine-tune security based on your organization’s needs.
While stricter limits improve protection against brute-force attacks, ensure the settings remain user-friendly to avoid unnecessary lockouts.
