LiteSpeed is the famous popular web server and a drop-in replacement for the Apache web server. It provides features to optimize web content and faster content delivery. It allows your website to perform better with a smaller memory footprint. It is also compatible with Apache features that help to reduce downtime during migration from Apache to LiteSpeed Web Server.
Here are the steps to install LiteSpeed Web Server on CentOS 7.x with cPanel.-
Note: Make sure that you are logged in with the root user on your CentOS server.
Step 1: Log in to your server using SSH with root privileges.
Step 2: Update your server using the command below.
# Yum update -y
Step 3: Enter the command below to go into the src directory.
# cd /usr/src
Step 4: Download the LiteSpeed Web Server installation script for cPanel using the command below.
# wget http://www.litespeedtech.com/packages/cpanel/lsws_whm_plugin_install.sh
Step 5: Now, let us run the script.
# sh lsws_whm_plugin_install.sh
Step 6: Once LiteSpeed is installed, you will find the following output in your SSH session. 
Step 7: We will remove the installation script using the command below.
# rm -f lsws_whm_plugin_install.sh
Install LiteSpeed Web Server from WHM/cPanel.
Step 8: Log in to your WHM Panel using root access.
Step 9: We have installed the LiteSpeed plug-in for cPanel. Next, log in to WHM Control Panel and navigate to Plugins. You should find the LiteSpeed Web Server listed on that page. Click on LiteSpeed Web Server. 
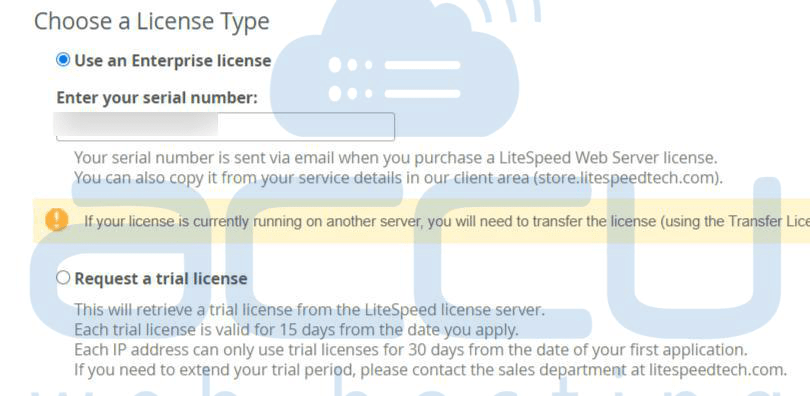
Step 10: on the next page, tick on I Agree, 
Choose a License type. (a) Enter your serial number (If you choose an enterprise license) or (b) Select a required trial license.
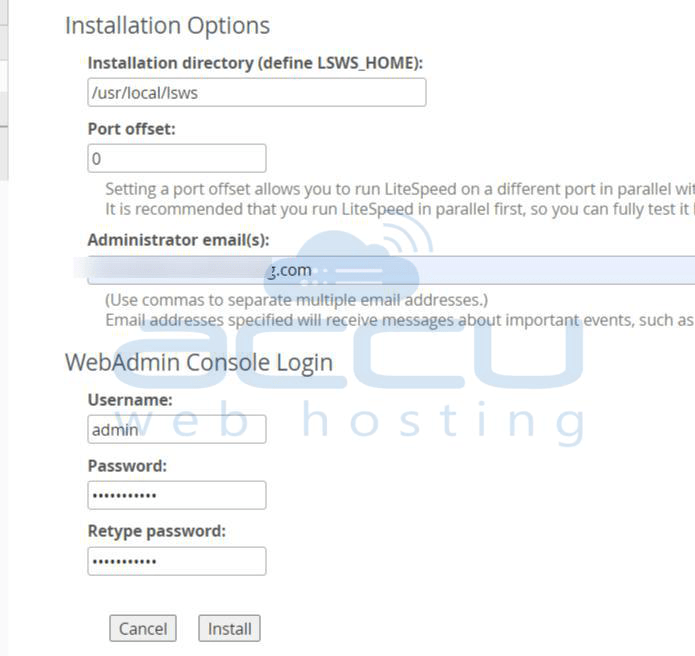
Installation Option :
Set the Port Offset value to 0 to replace Apache with LiteSpeed. Change the value to 2000 if you want to use LiteSpeed on Port 2080.
Provide your Email Account and set Web admin console username and password, and finally click onthe Install Button.
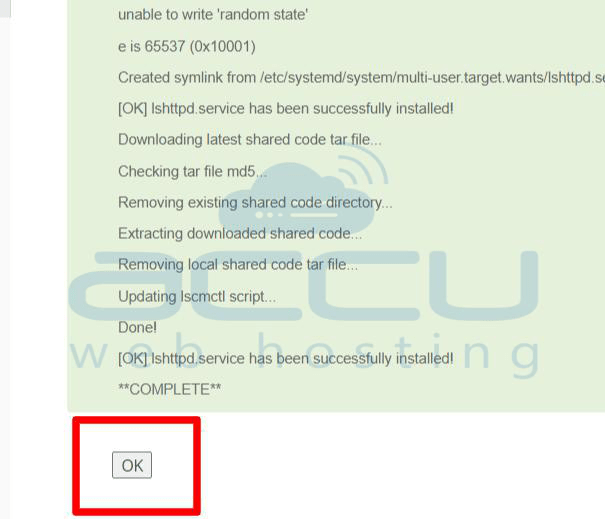
Once it is installed completely, you will find the screen below. Click on the OK button at the end of the page.
Step 11: Click on the Manage Cache Installations to generate cache management data. 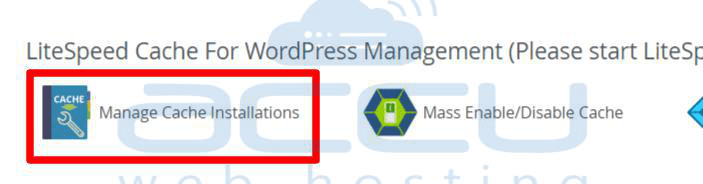
Step 12: Hit the Switch to LiteSpeed button to replace Apache with LiteSpeed Web Server. 

Step 13: Click on the OK button to finish your installation. 
Step 14: Go to SSH and verify that the LiteSpeed Web Server service is running with the following command.
# systemctl status lshttpd


