EasyApache is a powerful script that allows you to upgrade and configure the Apache web server. It also lets you enable/disable Apache or PHP modules using the EasyApache tool in WHM. During this process, cPanel rebuilds Apache and PHP with the options you select or deselect.
With an older version of cPanel, EasyApache version 3.0 was shipped, whereas in the latest version of cPanel (58.0), EasyApache version 4.0 is shipped.
EasyApache 4.0 is a little trickier to configure compared to EasyApache 3.0. In this tutorial, we'll show you how to enable/disable Apache & PHP modules using the EasyApache4. If you are using EasyApache 3.0, you should refer to this tutorial.
Step 1: Login to your WHM panel via URL https://server-IP-Address:2087.
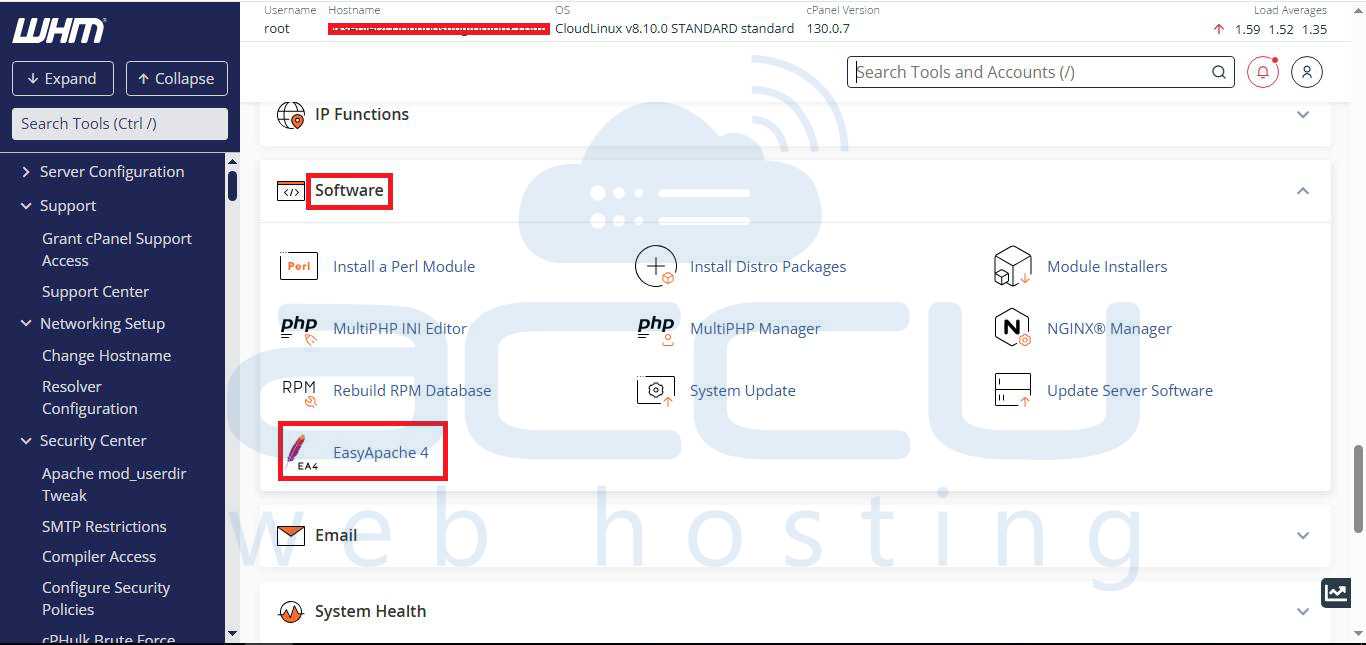
Step 2: In the left-hand menu pane, type EasyApache, and you will see the EasyApache4 option appearing.
Step 3: Click on the EasyApache4 option.
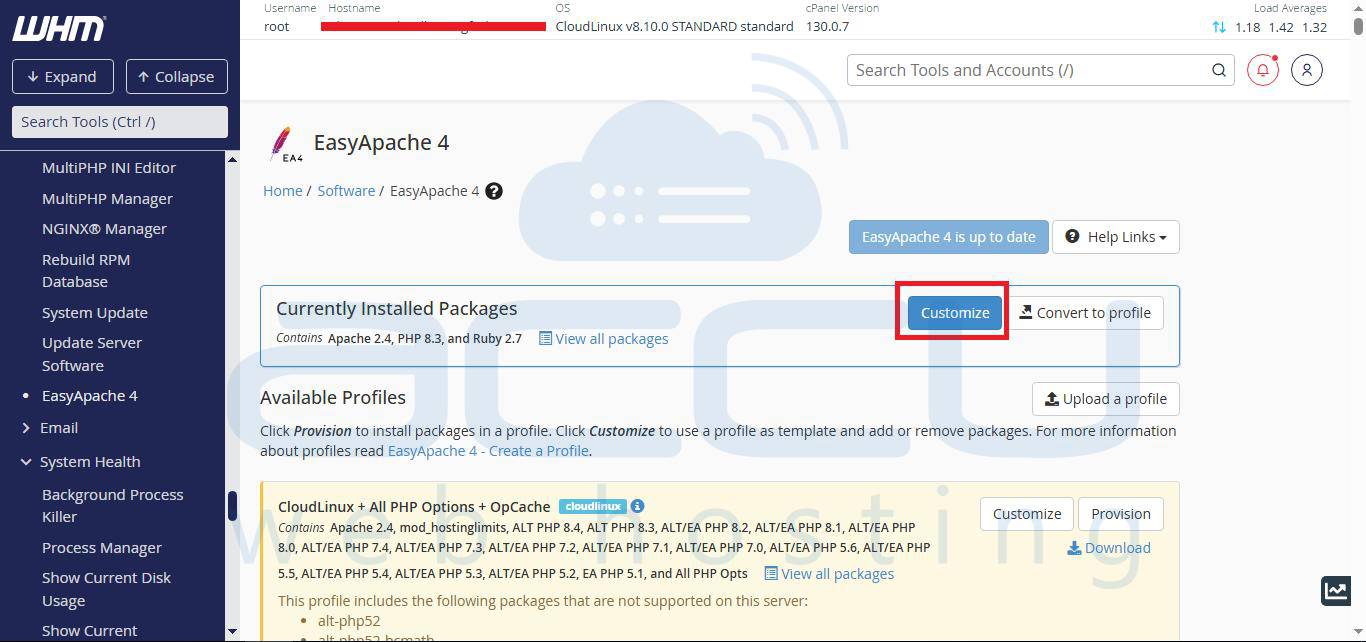
Step 4: On the next screen, click on the Customize button. It will load your current Apache settings.
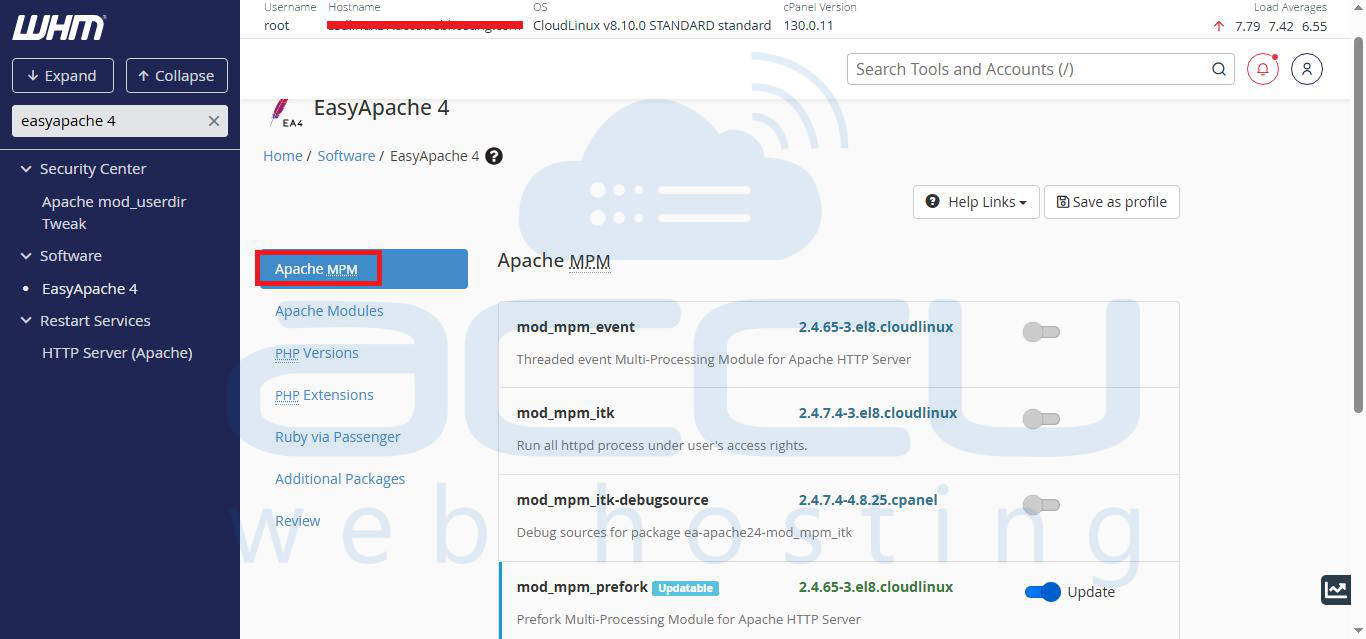
Step 5: In the Apache MPM option, select the Apache MPM module option that you wish to install. The interface displays any existing conflicts. Click Yes to resolve any conflicts or No if you do not wish to make the changes.
Notes: You can only use one Apache MPM module at a time. To navigate between customization options, click that option’s link on the left side of the interface.
Step 6: Click on the Next button to move forward.

Step 7: Once you click on it, you will reach Apache Modules. Here, you will get all the available Apache modules.
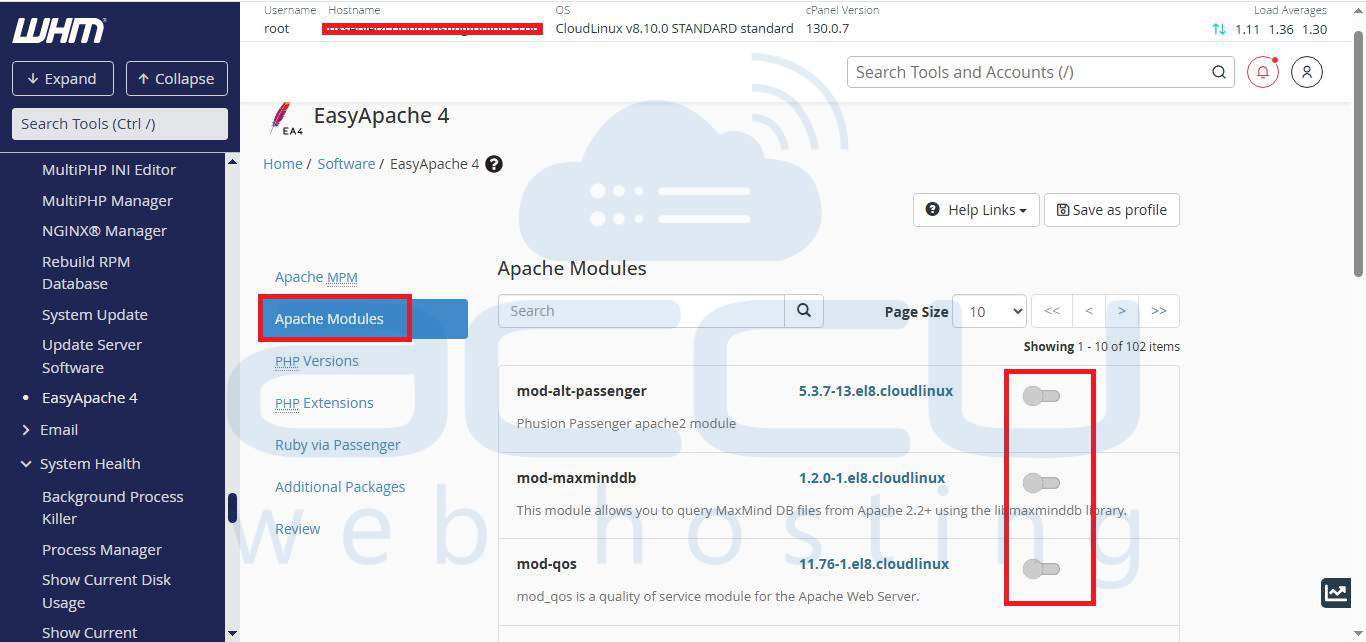
Step 8: Select the Apache modules that you wish to install. You can also search for your desired packages by typing them in the search box. Here, we have typed the LSAPI Apache module as an example.
It provides a fast and stable way to serve PHP applications. Once you type it, it will appear below the search box. You can see that the mod_lsapi Apache module is shown below the search box.
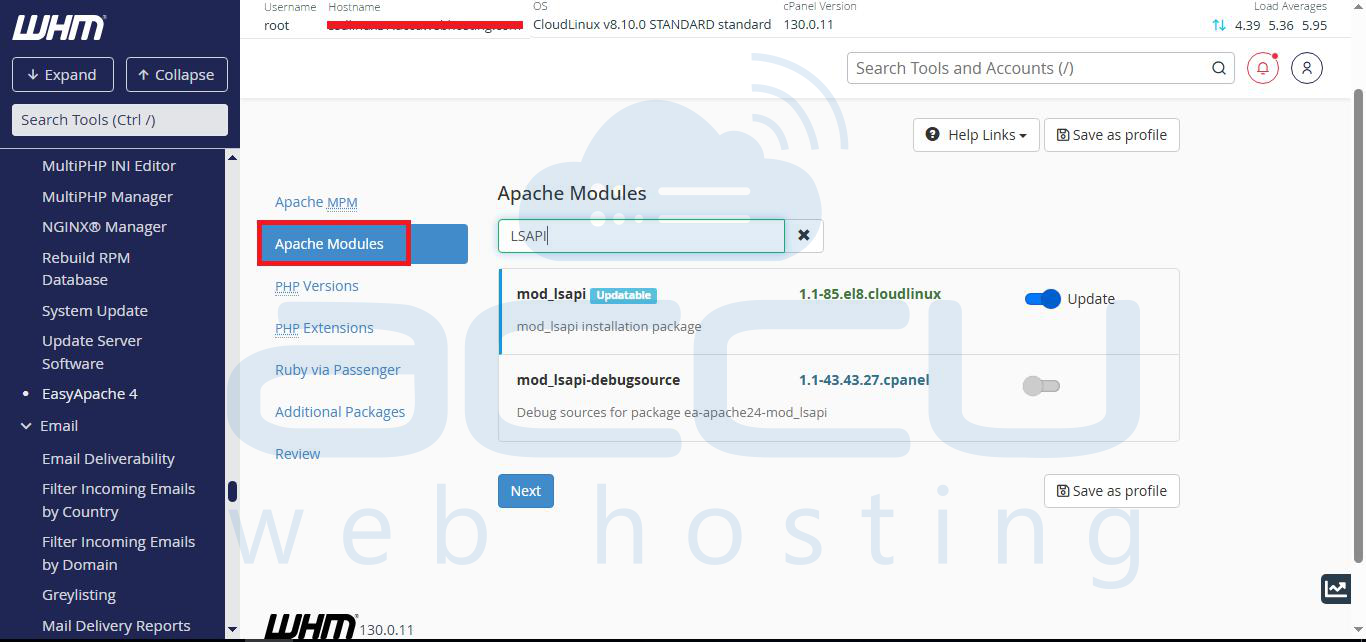
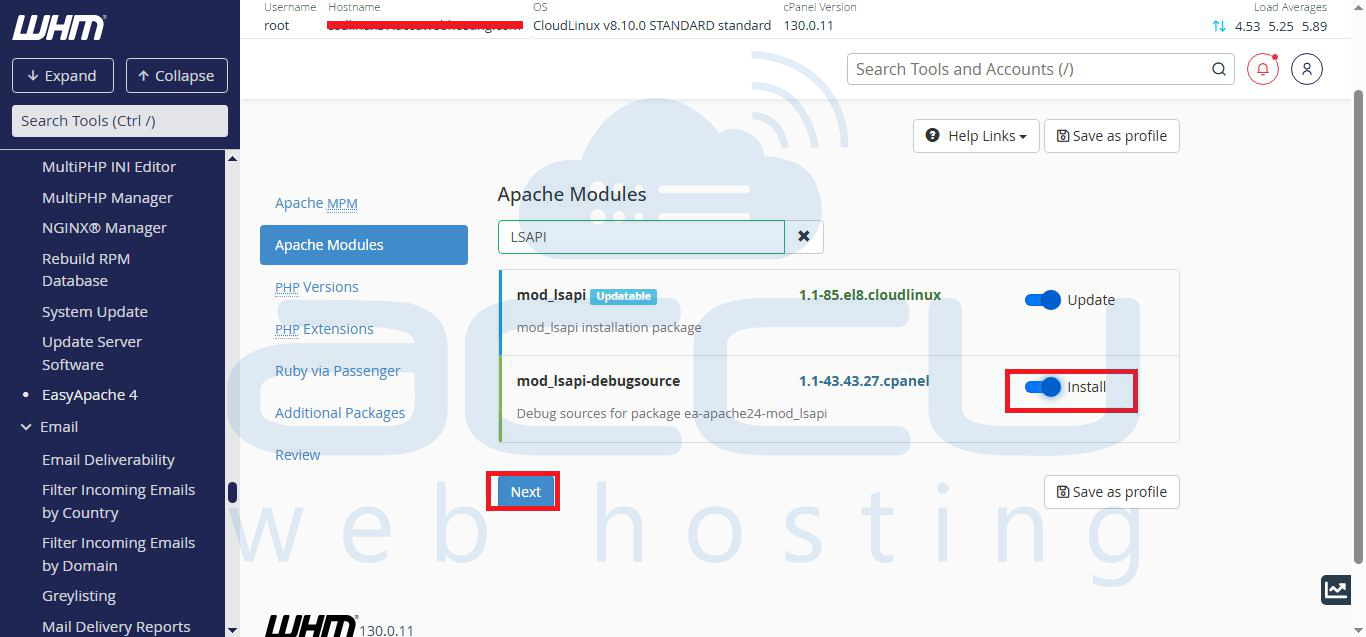
Step 9: Click on the install button to enable it on the VPS or dedicated server. If you are getting the button in the blue colour, it means that it is enabled. If you are getting the button in the Grey colour, then it means that it is disabled.
Click on the Next button once all the modules are selected.
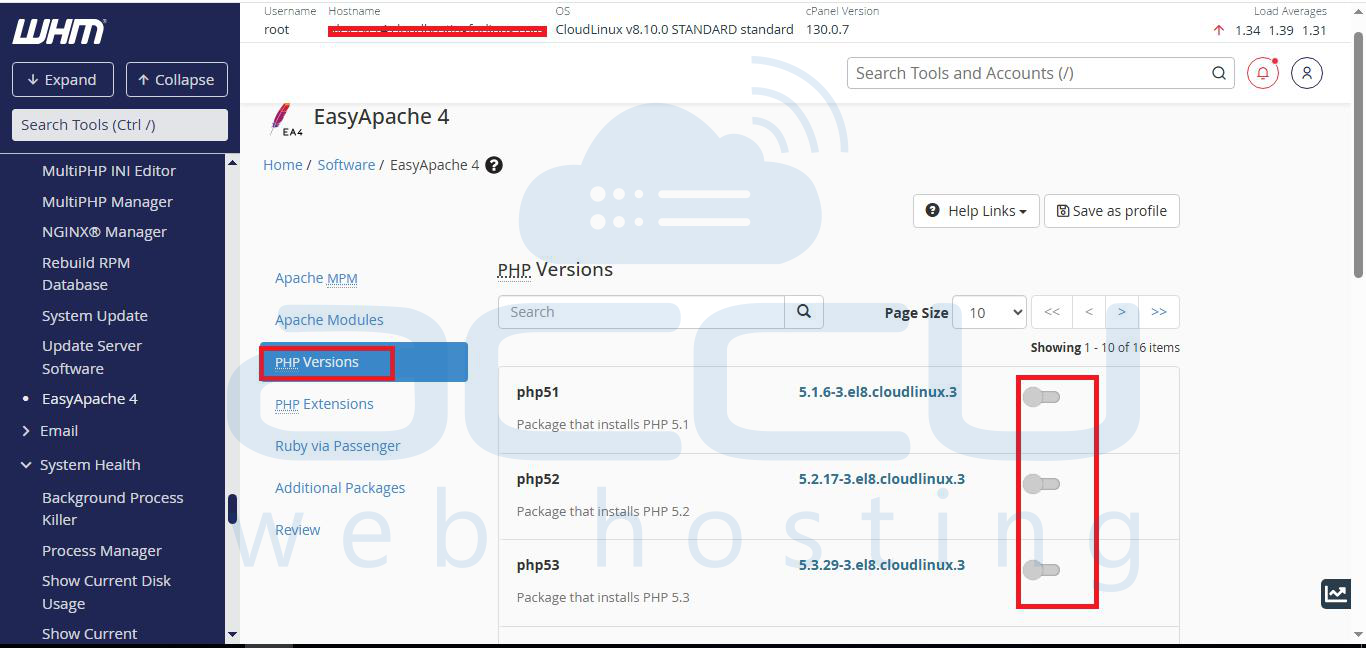
Step 10: In the PHP versions option, select the PHP version you want to add to the current profile. Here, you will get all the available PHP versions.
Step 11: You can also search for the PHP version by typing it in the search box. Here, we have selected PHP 8.3 to enable it on our VPS.
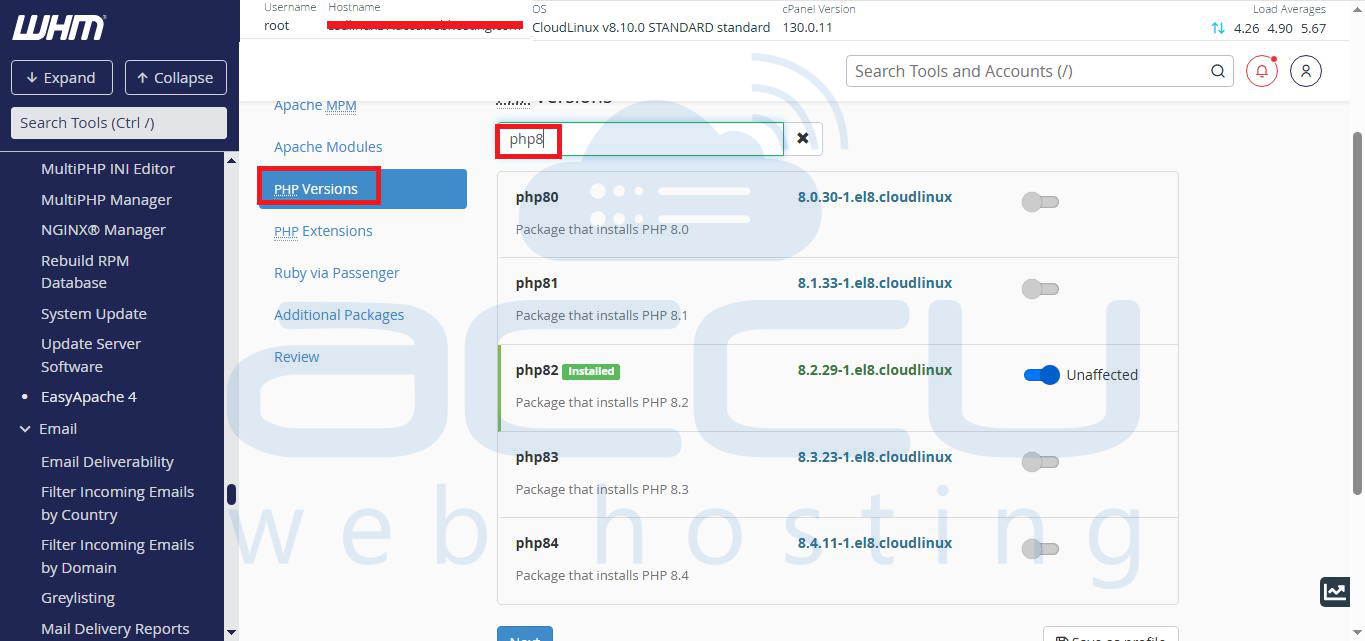
Step 12: Click on the grey button to install PHP 8.0 in the current profile. If you are getting the button in the blue colour, it means that it is installed.
If you are getting the button in the Grey colour, then it means that it is uninstalled.
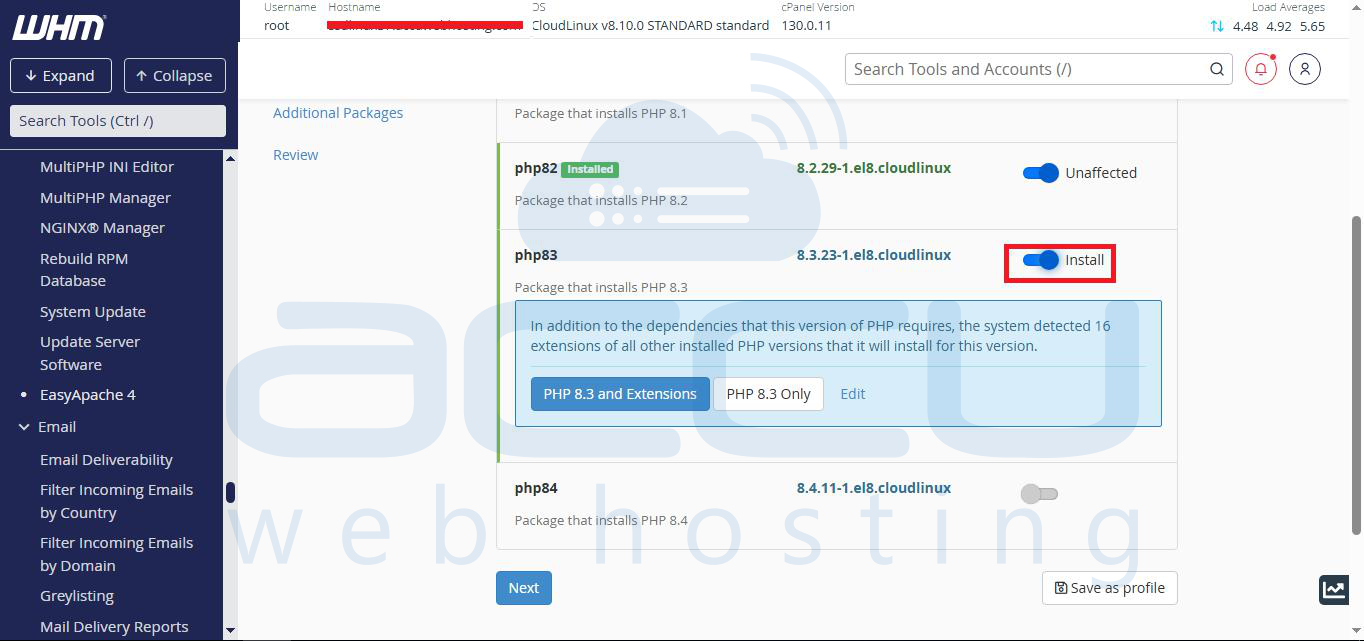
Step 13: If you select a new version of PHP, the system will detect the PHP extensions that already exist for other installed versions of PHP. You can select the following options:
Notes:
- In the following examples, php ## represents the PHP version that you selected. If you do not select one of the following options, the system only installs the selected PHP version and its required extensions.
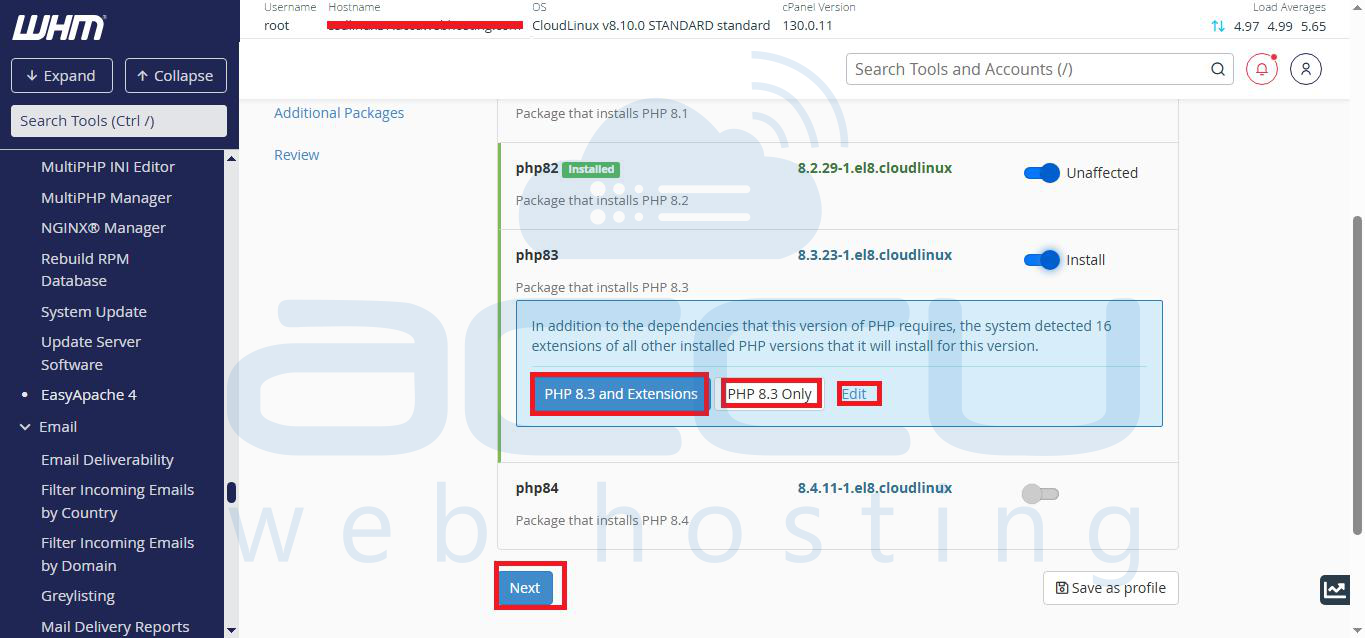
- PHP ## and Extensions — This option installs the selected PHP version and all detected extensions.
- PHP ## only — This option only installs the PHP version and its required extensions.
- Edit — This option displays the proposed PHP extensions. You can deselect any extensions that you do not wish to install.
Step 14: Click on the Next button to move to the PHP Extension section.
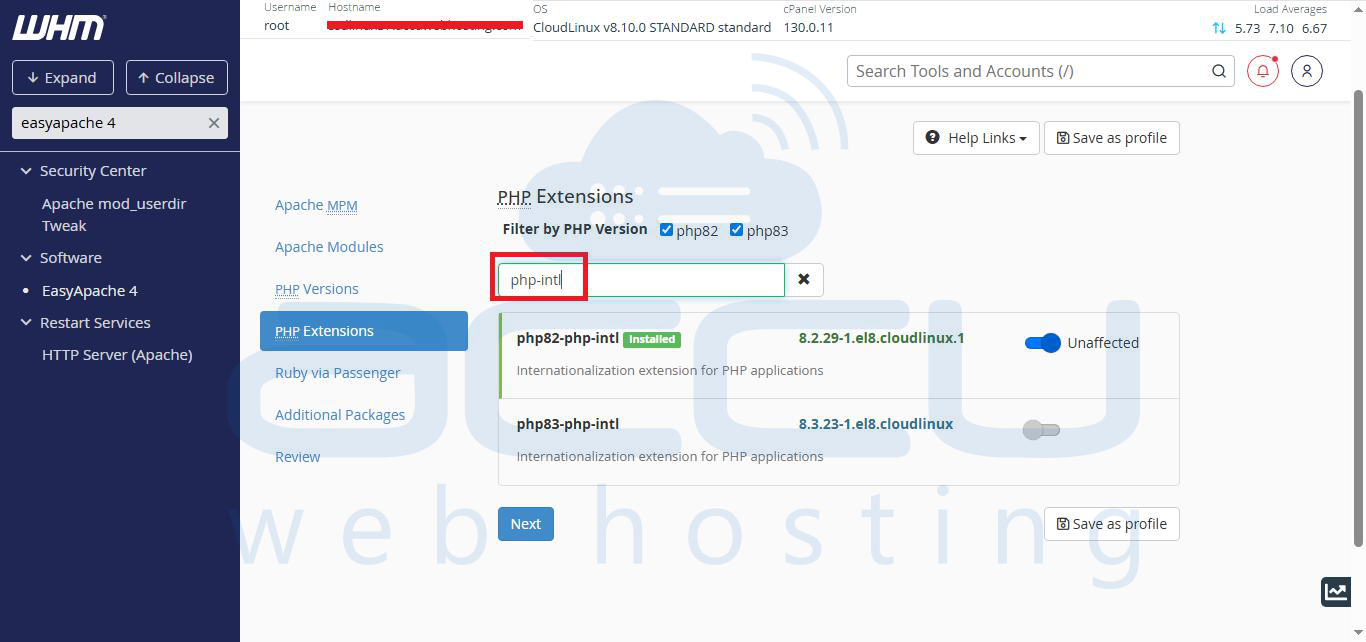
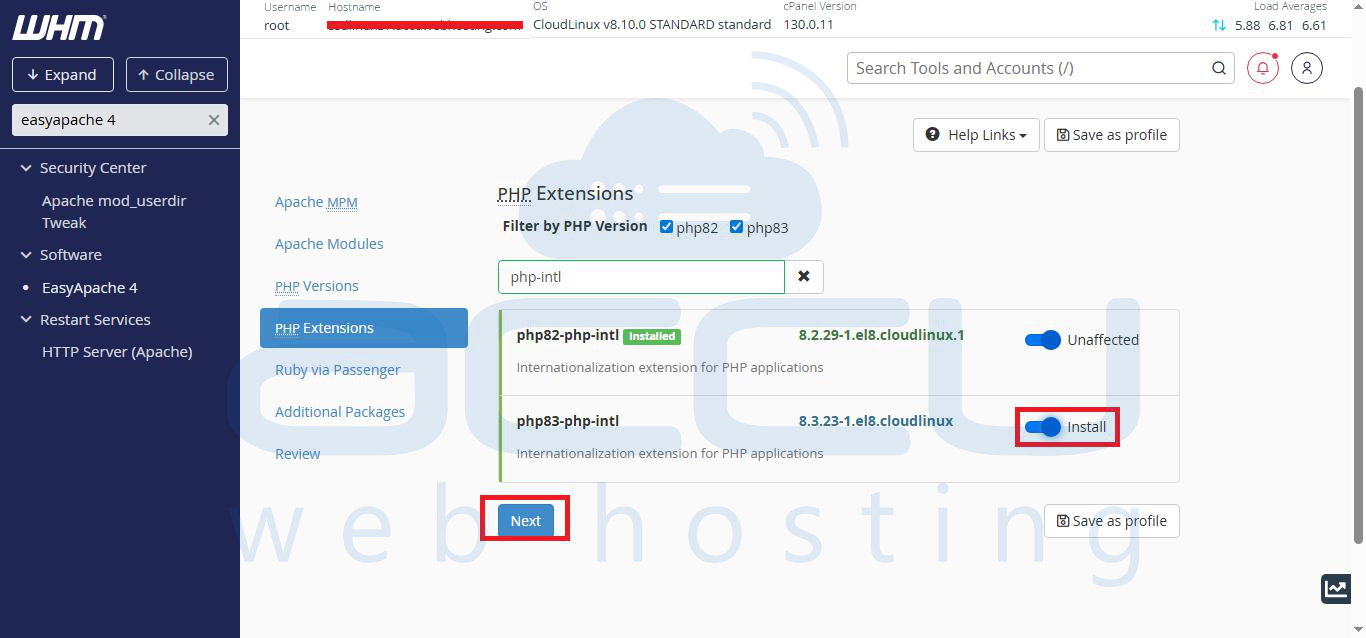
Step 15: In the PHP Extension option, select the PHP extensions that you wish to install in your current profile. Select the checkbox for a version of PHP if you wish to filter your results.
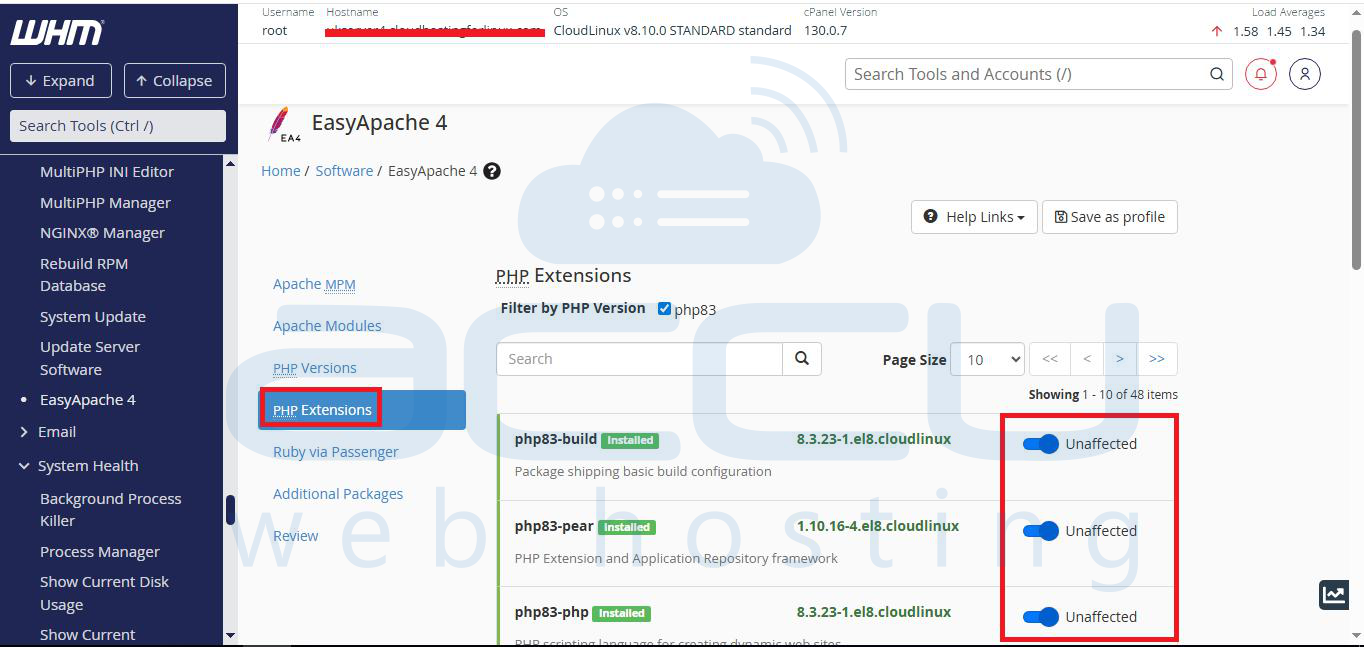
Step 16: You can also search for a particular extension by typing its name in the search box.
Step 17: In the default VPS configuration, we enable the following PHP extension.
# ea-php83-pear
ea-php83-php-bcmath
ea-php83-php-bz2
ea-php83-php-calendar
ea-php83-php-cli
ea-php83-php-common
ea-php83-php-curl
ea-php83-php-devel
ea-php83-php-exif
ea-php83-php-fpm
ea-php83-php-ftp
ea-php83-php-gd
ea-php83-php-gettext
ea-php83-php-iconv
ea-php83-php-imap
ea-php83-php-mbstring
ea-php83-php-mysqlnd
ea-php83-php-pdo
ea-php83-php-posix
ea-php83-php-soap
ea-php83-php-ioncube10
ea-php83-php-sockets
ea-php83-php-tidy
ea-php83-php-xml
ea-php83-php-xmlrpc
Ea-php83-php-zip
Ea-php83-runtime #
Step 18: Once the necessary PHP extensions are selected, click on the Next button to move forward.
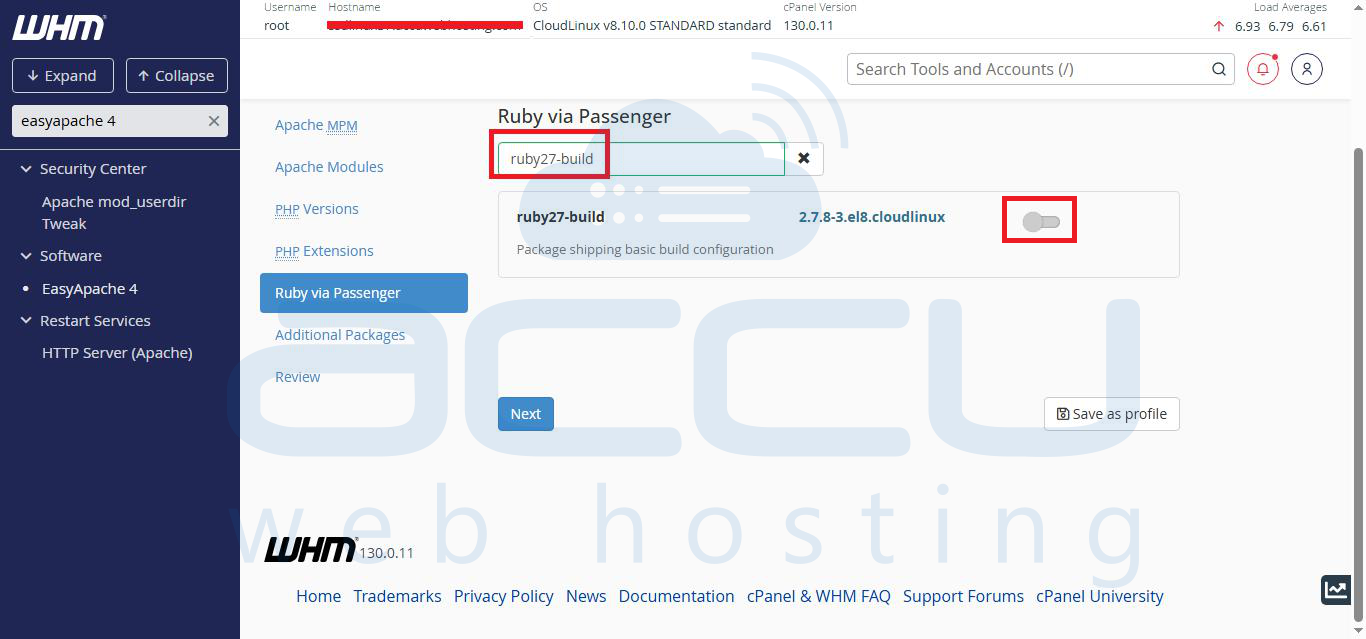
Step 19: Next is Ruby via Passenger. In this option, the available Ruby RPMs will appear.
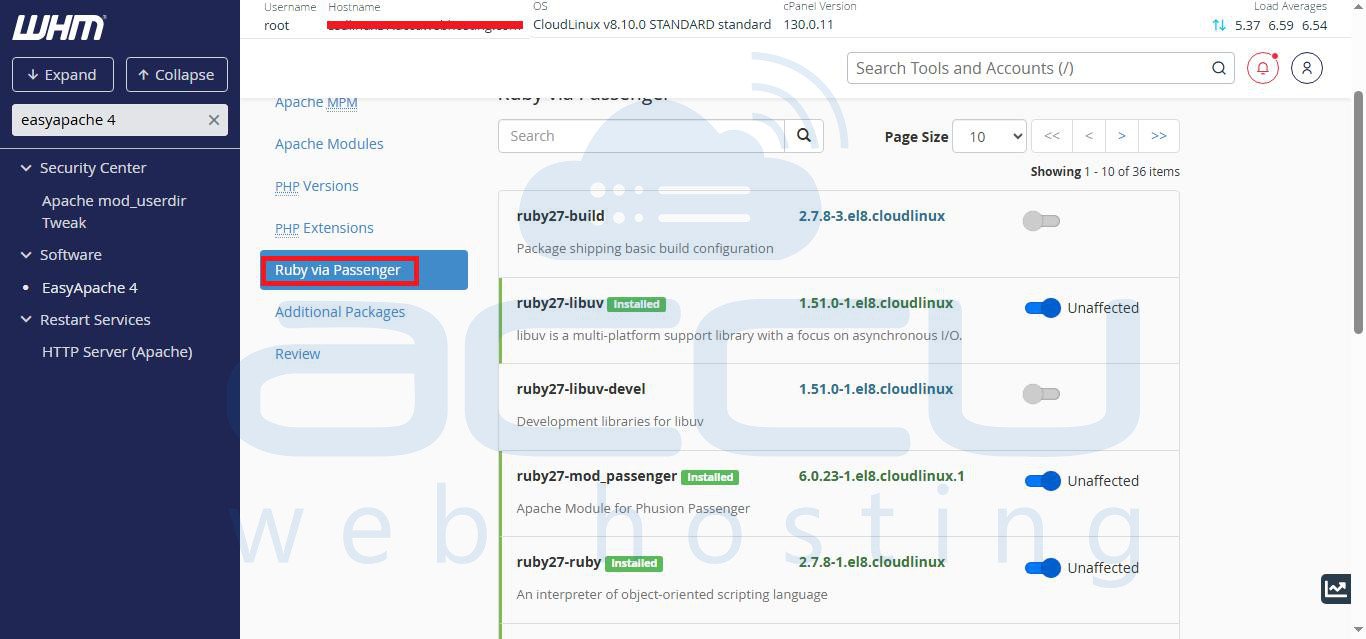
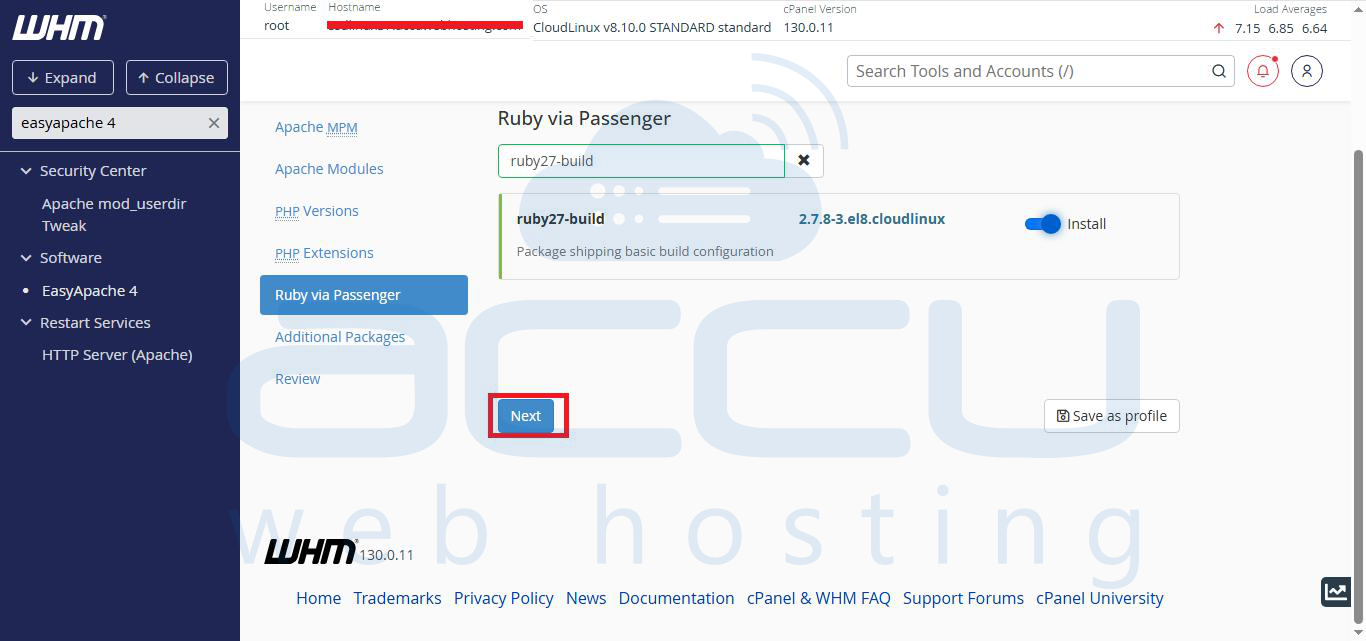
Step 20: You can also search Ruby RPMs by typing it in the Search box. Select the Ruby RPMs and click on the grey button to install them.
Step 21: Click on the Next button to go to the additional packages section.
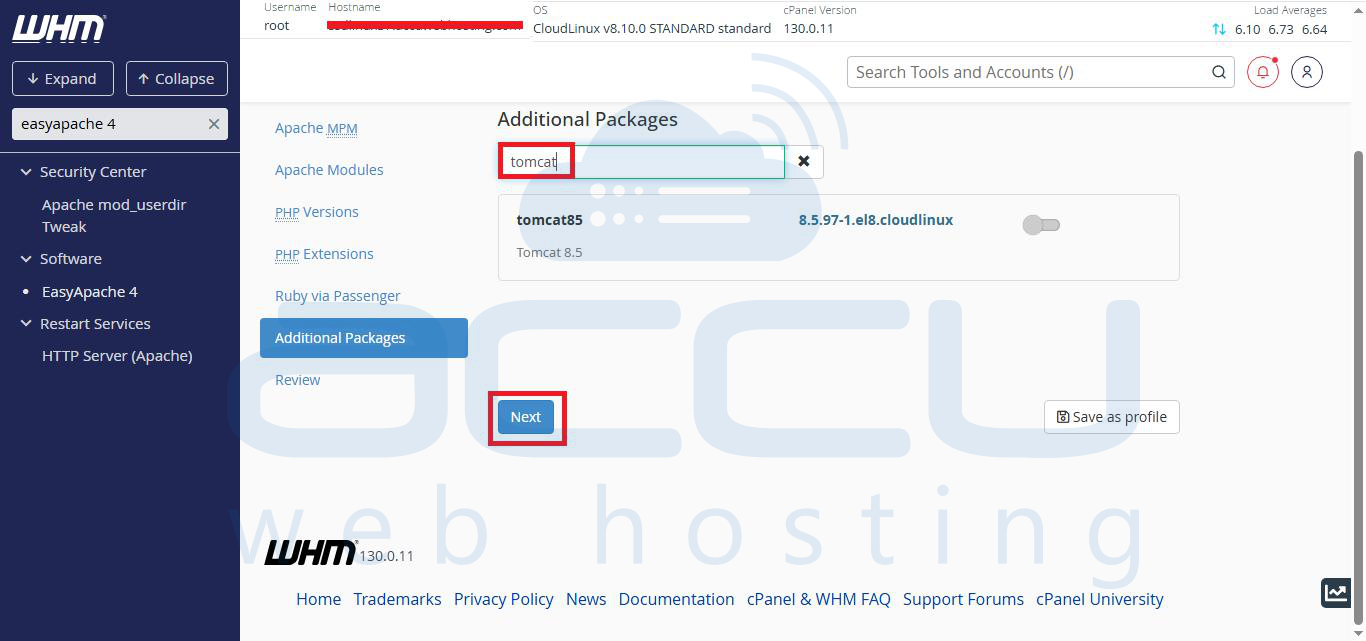
Step 22: By clicking on it, you will move to the Additional Packages section. Here, the available additional packages will appear. Please note that this section only displays additional packages if any exist.
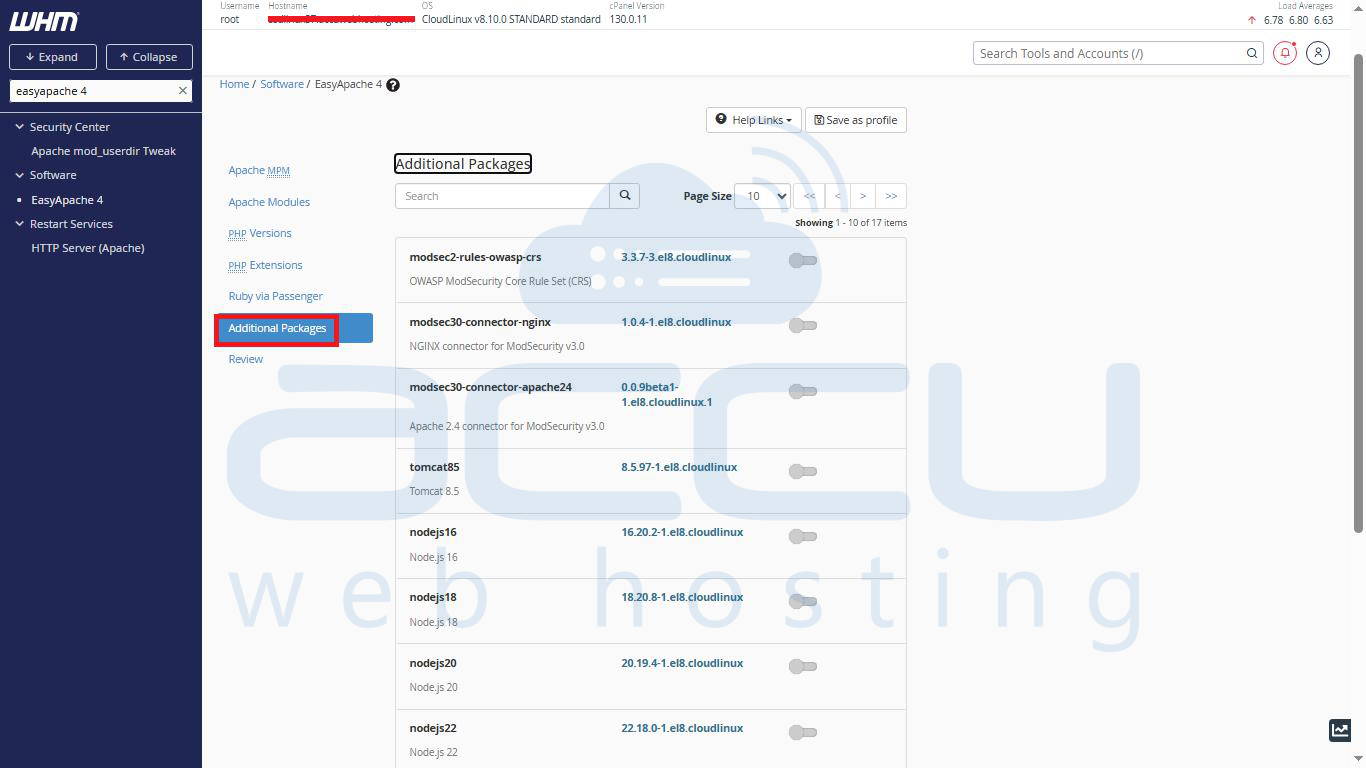
Step 23: You can select the Tomcat package if you want to install Nginx in your VPS or dedicated server. Click on the Next button
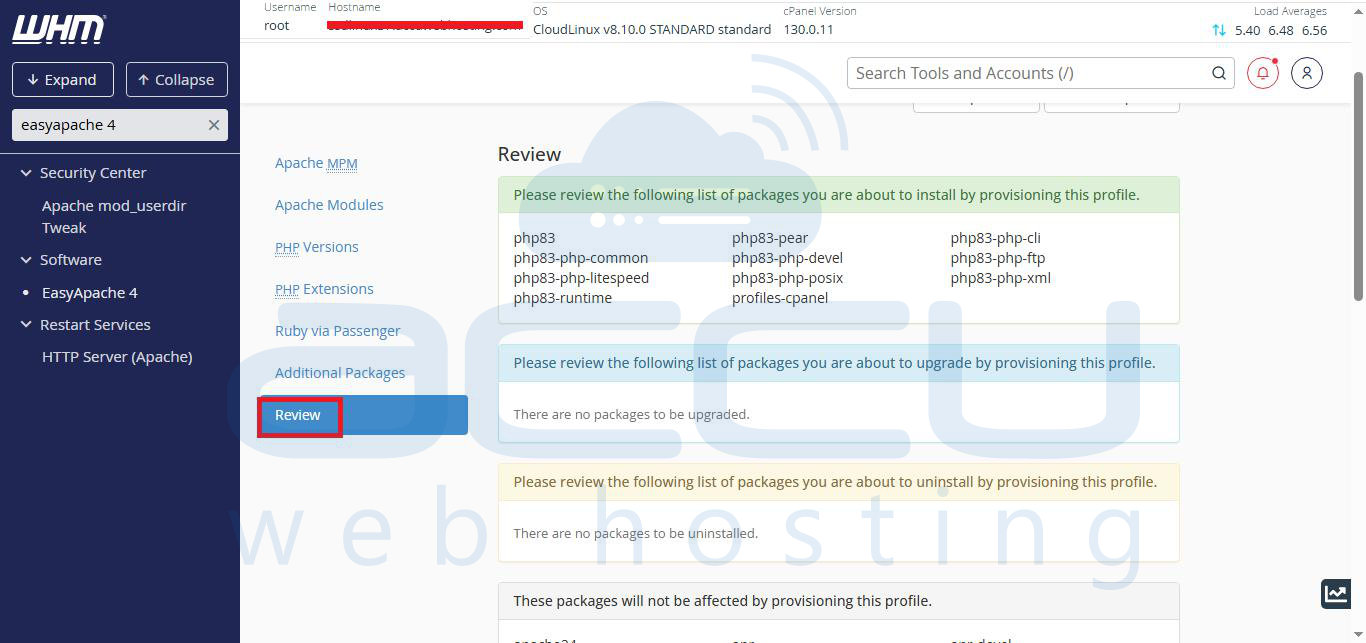
Step 24: Once you click on it, the review section will appear. The setup will review all the selections. It may take between 2 and 15 minutes based on the number of selected modules. Review your selections to confirm the changes. The Review section displays the following information:
- The packages that the system will install.
- The packages that the system will upgrade.
- The packages that the system will uninstall.
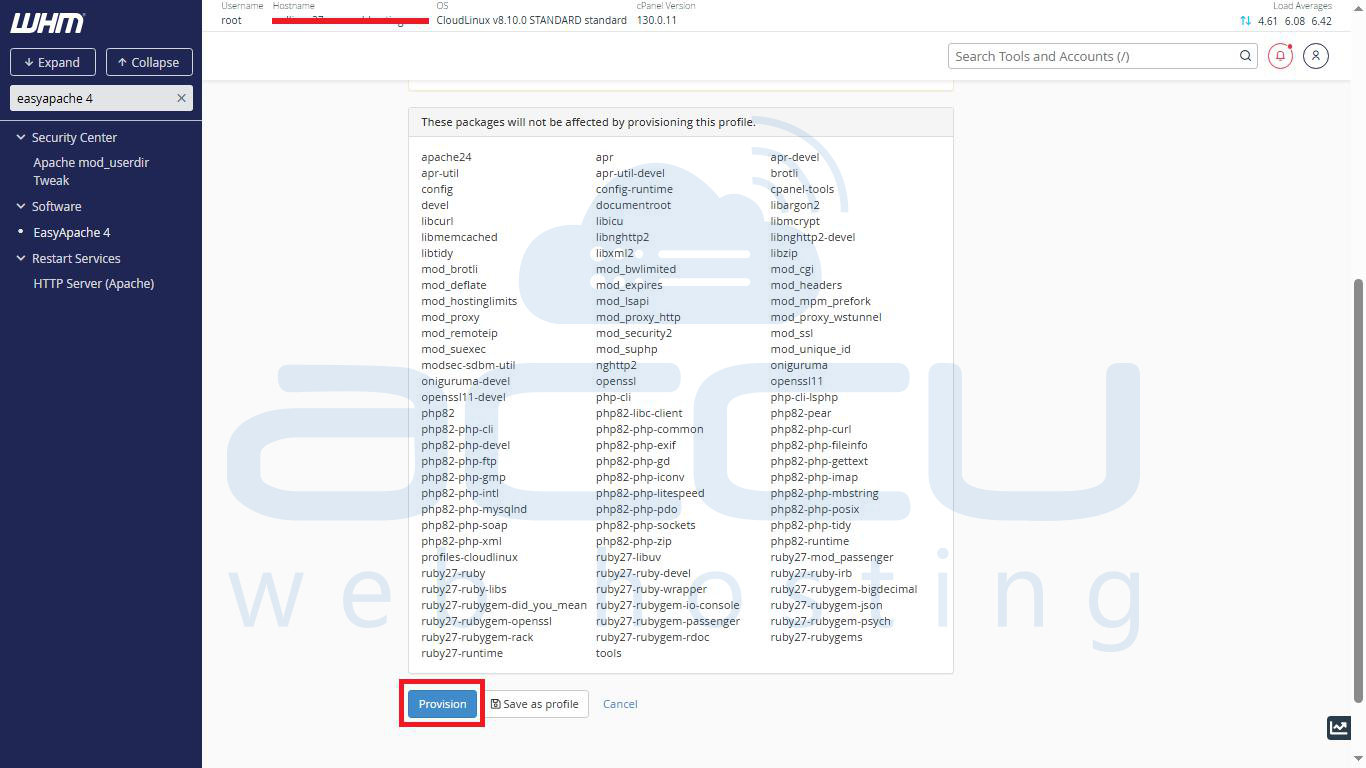
- Unaffected packages.
Step 25: To accept the changes, click on the Provision button to start the build process.
Step 26: Click on the Done button once the provision process is completed.
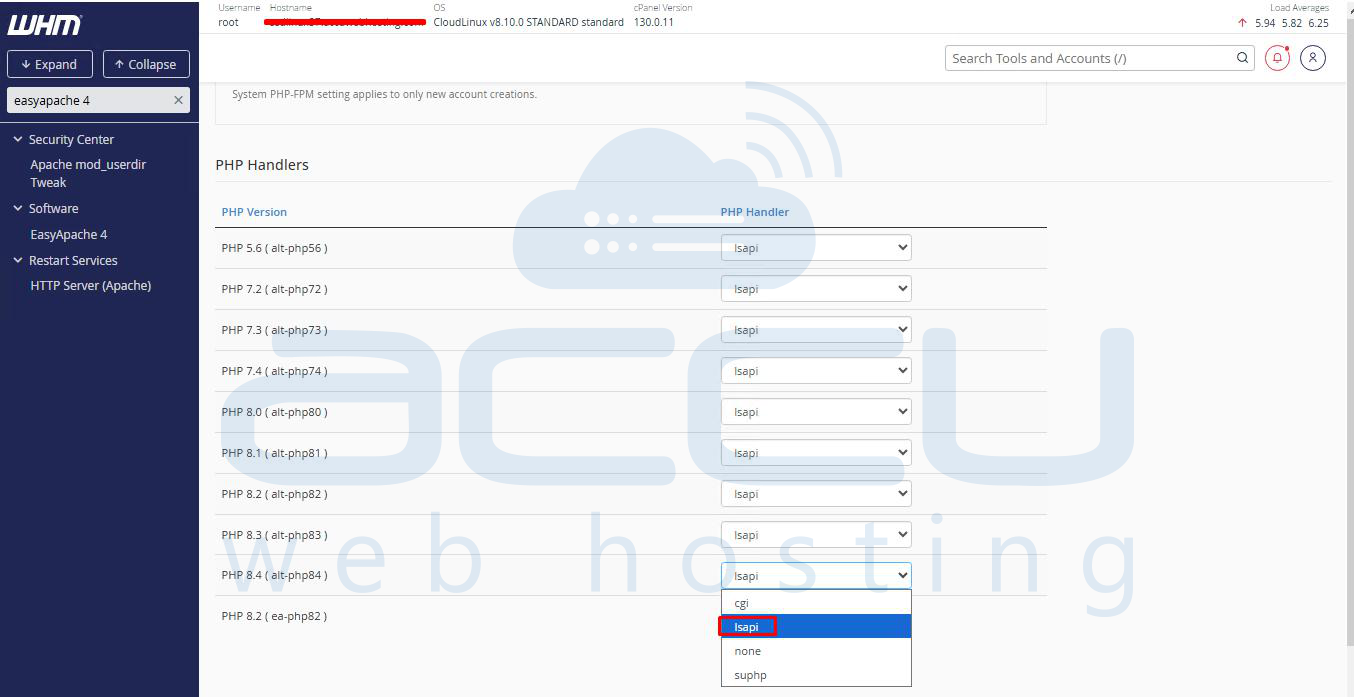
Step 27: Now, we need to enable LSAPI for all the PHP versions. Go to PHP Manager, click on Edit, and select lsapi.
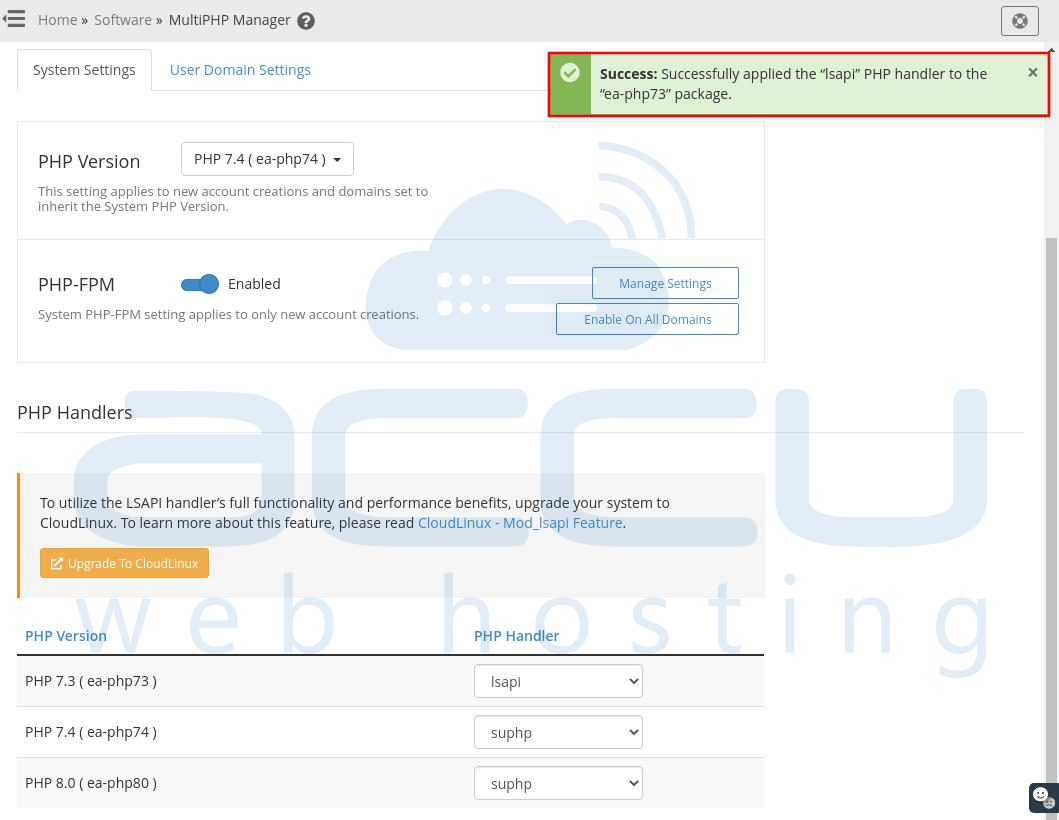
Step 28: Once you select it for the PHP version, it will save automatically. You will get a message on the screen that Success: Successfully applied the 'lsapi' PHP handler to the ea-php" package.
That's all
