Installing SmarterTrack
SmarterTrack comes as a single installation file that contains everything necessary to install the product and get it set up on your server, regardless of the Edition that you intend to use. The features available are based on the license used during the activation process; if no license is entered, the Free Edition will be installed. The SmarterTrack installer can be downloaded from the SmarterTools website. Before you get started, however, make sure you have reviewed the System Requirements necessary for SmarterTrack to run.
Installation on a VPS:
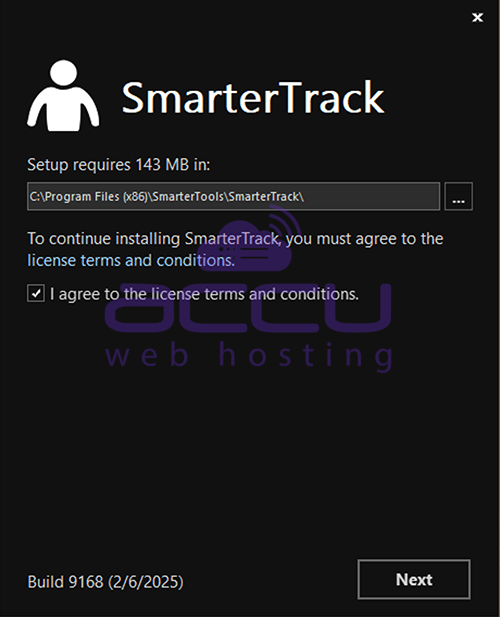
SmarterTrack starts by installing the overall application and application files. This is just like any standard program installation: you start the installation, select the path for the installation and then agree to the SmarterTrack license terms and conditions.
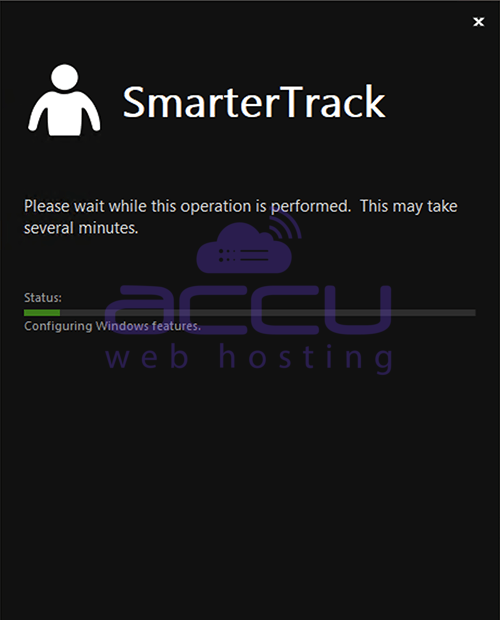
You'll be able to track the progress of the installation as SmarterTrack is configured on the server. Once the initial file installation occurs, the next step is walking through the IIS Configuration Tool. This installation process includes:
1. First step, you're presented with the default installation path and are asked to agree to the SmarterTools license terms and conditions.
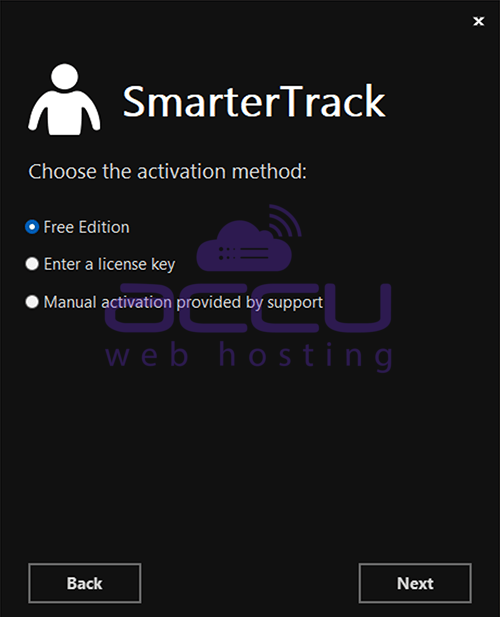
2. Next is selecting your activation method. This includes whether you're installing the Free Edition, whether you have a license key, or whether you've been given a manual activation from SmarterTools. Manual activations are used in circumstances where SmarterTrack will be used on an internal network that has no public access.
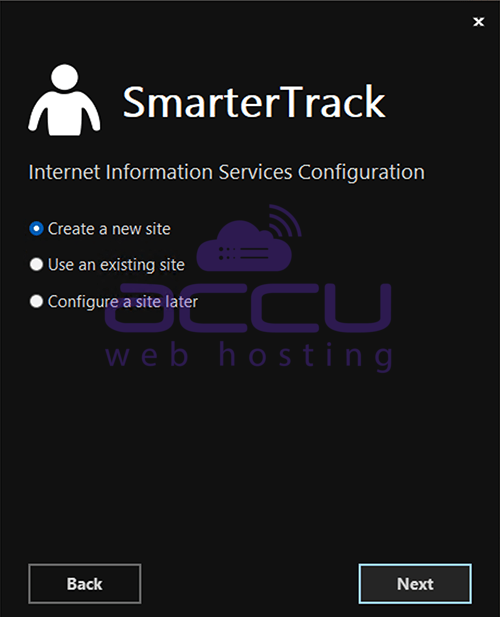
3. A check is performed to see if a SmarterTrack site already exists on the server. If not, one can be created. If a site already exists, you can select that site and use it for your installation. Using an existing site is perfect for users who are simply upgrading their installation to the latest version.
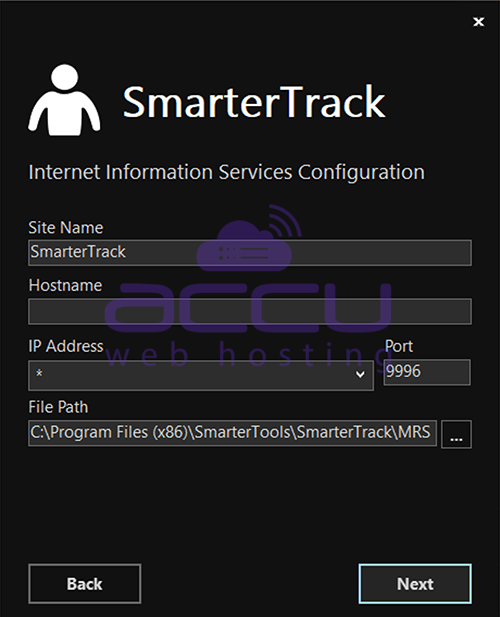
If setting up a new site, you set the site name, set your hostname, select the IP(s) to use for the installation, and the file path for the Management and Reporting Server (MRS). If using an existing site, these steps are bypassed; you're asked to select the site you wish to use for the installation.
4. Then, the installation process will verify that IIS is installed. If IIS isn't present, the installation will actually install IIS for you, as it is a requirement for SmarterTrack.
After the IIS check, a check is performed to see if a SmarterTrack site already exists on the server. If not, one can be created. If a site already exists, you can select that site and use it for your installation. Using an existing site is perfect for users who are simply upgrading their installation to the latest version.
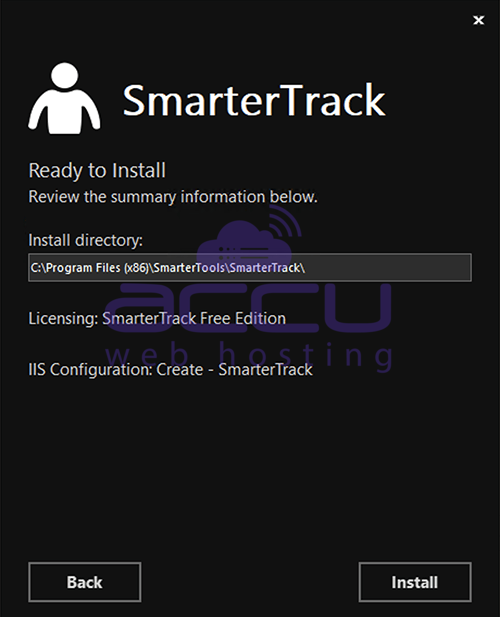
5. After entering the requested information, SmarterTrack is ready to install.
After setting up your new site, SmarterTrack will create an app pool using that site name, then set up a site in IIS that uses the new app pool.
6. Next, the necessary permissions are set for the site.
7. Finally, the installation is verified.
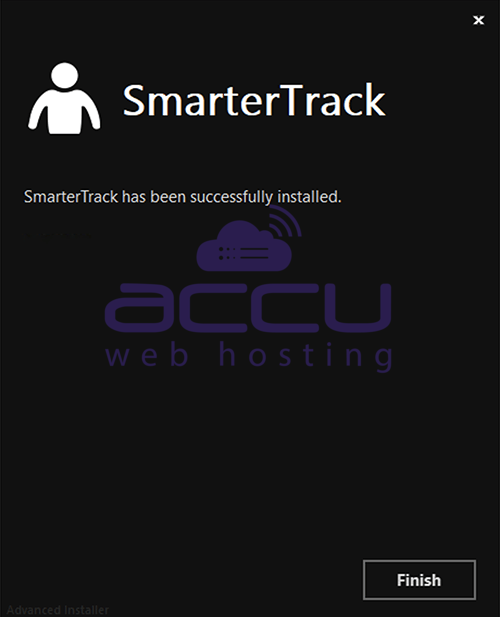
Once everything is verified, the Getting Started Wizard opens using the server's default browser. (If a default browser is not set, you'll be offered options on which browser to use.)
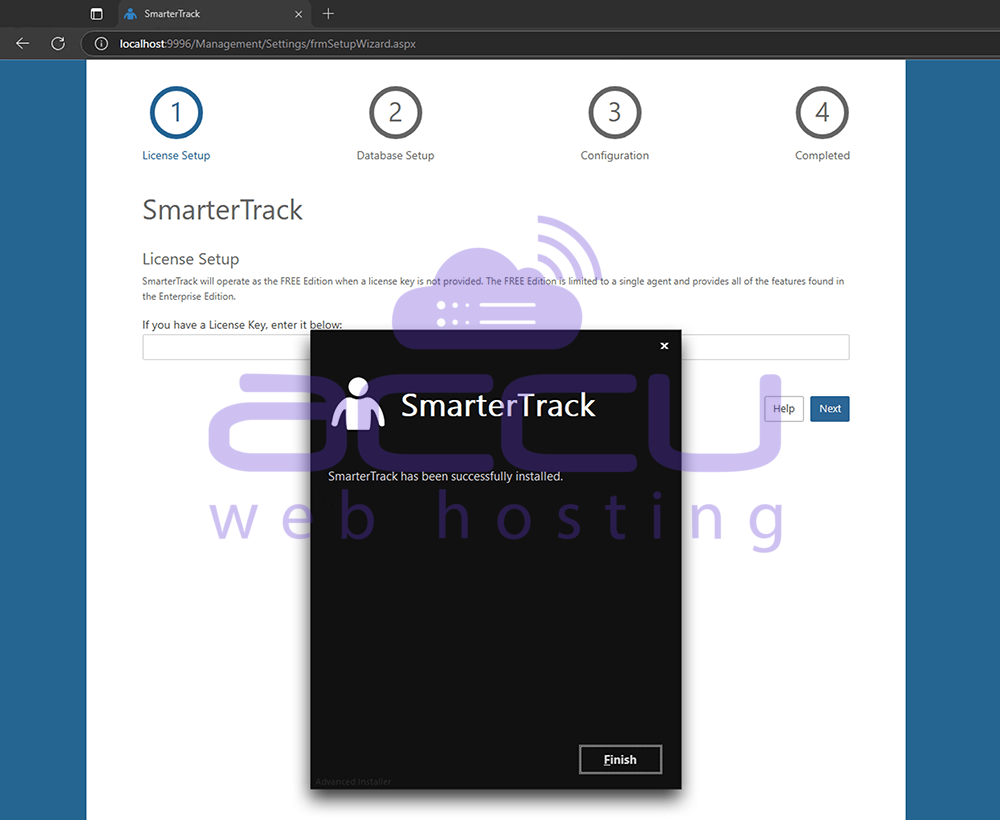
8. After clicking Finish, your default browser will open up.
Getting Started Wizard:
The Getting Started Wizard is a simple yet complete process to get SmarterTrack up and running on a server. Using it, you walk through the following pages:
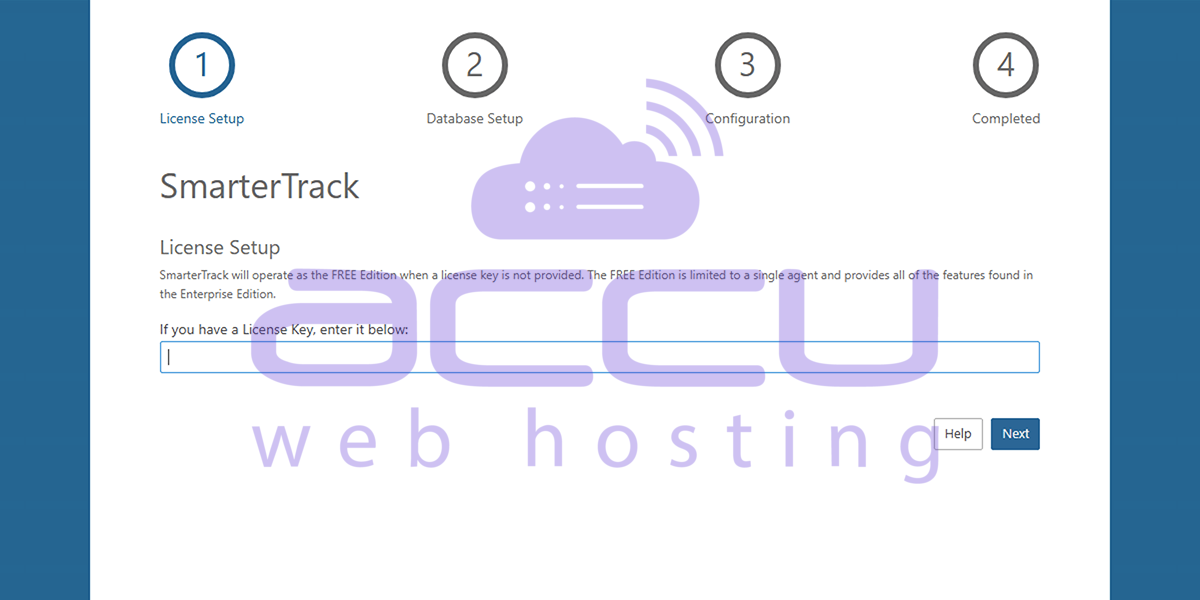
1. Enter your license key. The first page allows you to activate your license key. If you don't have a license key, you can simply hit Next, and the Free Edition will be activated.
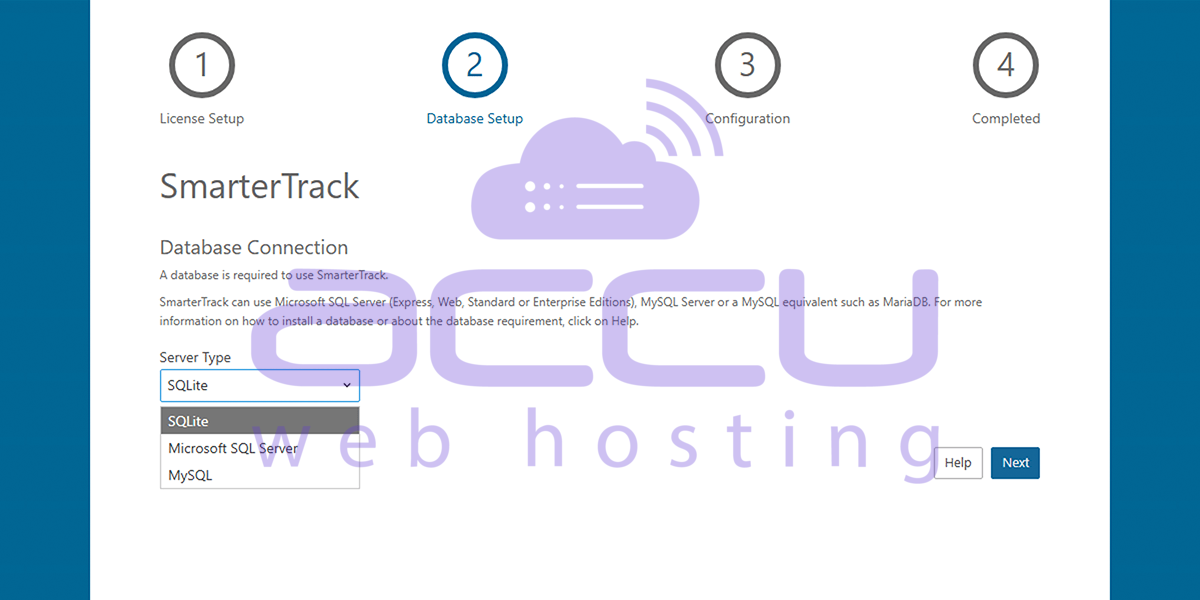
2. Next, you set up or connect to a database. By default, SQLite is selected. For smaller SmarterTrack organizations, we recommend using SQLite. SQLite is a super lightweight, easy-to-use database that doesn’t need a server and keeps everything in a single file. However, if you're running a larger organization and need better performance, go with MySQL or Microsoft SQL Server.
Note: As mentioned, SmarterTrack requires a database back end for storing tickets, live chats, KB articles, and more. Therefore, part of the Getting Started process is telling SmarterTrack not just the type of database to use. Regardless of which type of database you use, once your settings are input and you hit the Next button, SmarterTrack will start running through the necessary SQL commands to start constructing the tables and relationships necessary for SmarterTrack to run.
Option 1. SQLite Database Selection Screen.
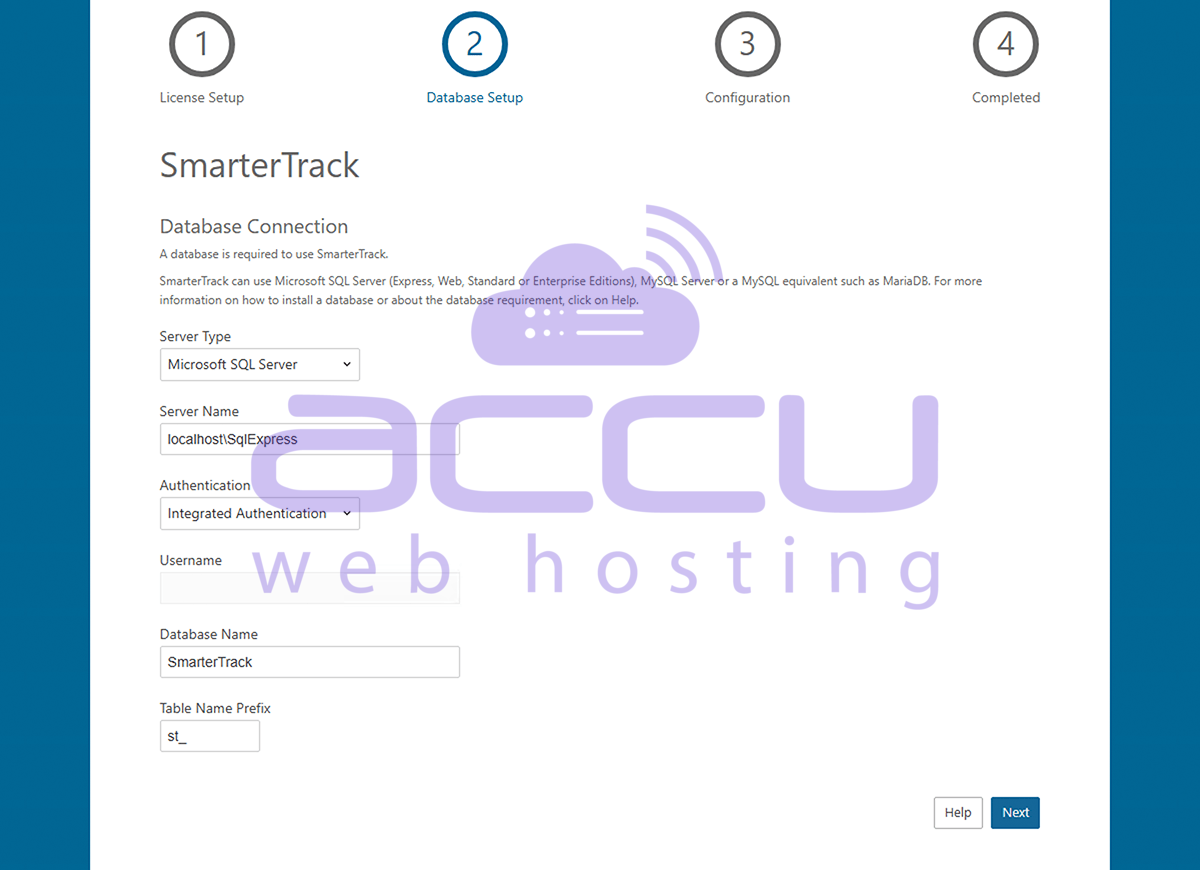
Option 2. Microsoft SQL Database Selection Screen.
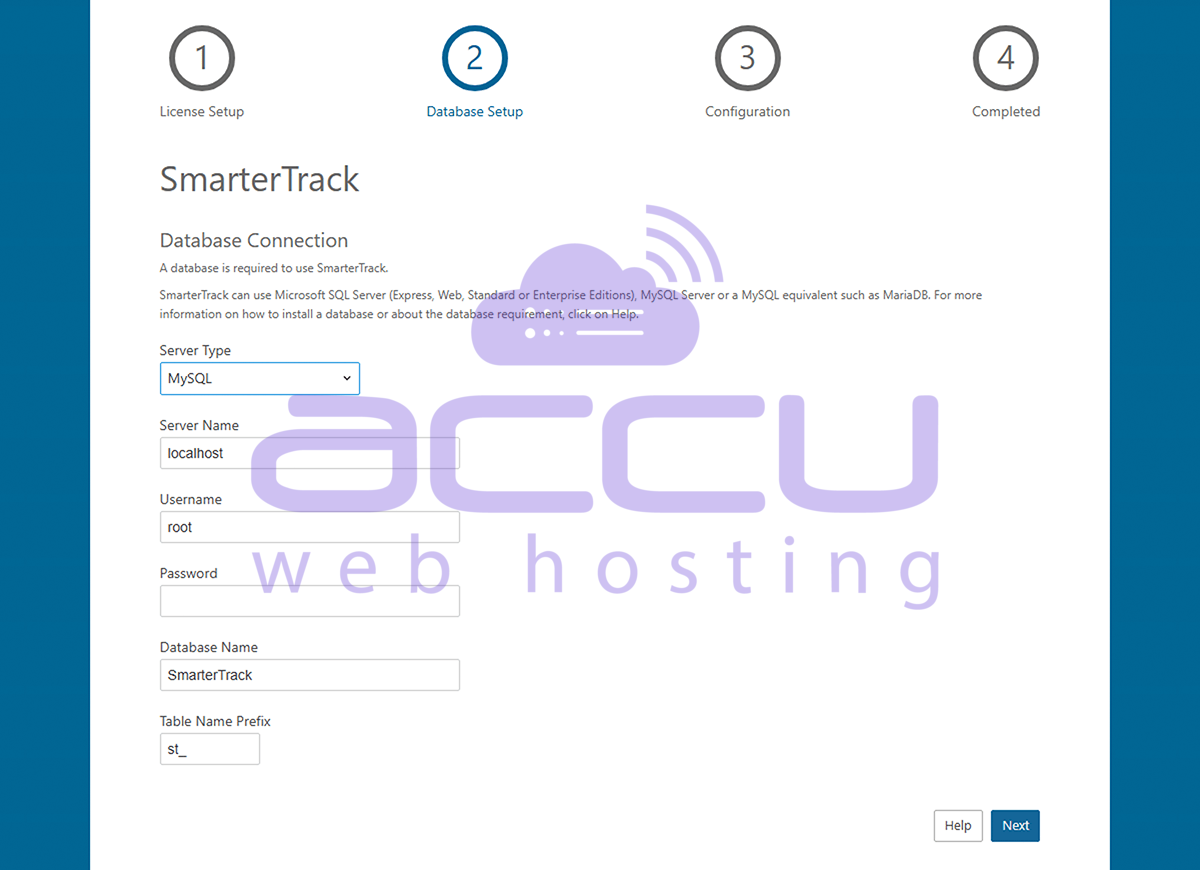
Option 3. MySQL Database Selection Screen.
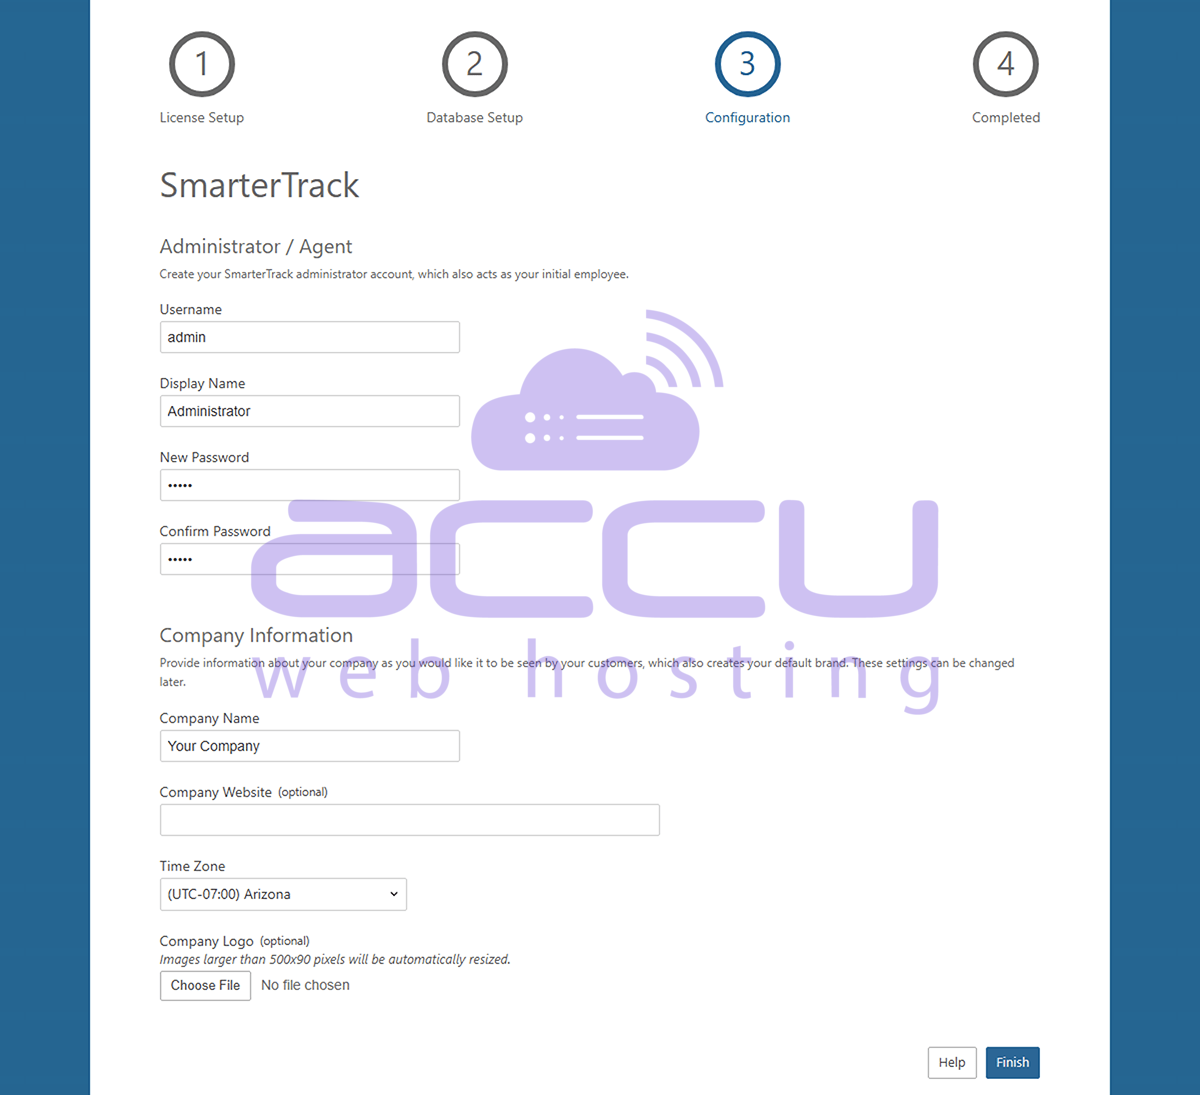
Next, you'll configure your installation. After your database is set up, you'll then create your "Administrator / Employee", who will act as the Administrative account for your SmarterTrack installation as well as your first Employee. (If you want this account to ONLY act as the Administrator for SmarterTrack, you can remove the Agent Role from the account AFTER you have created additional Agents.) You will also add information about your company, such as your company name, a company logo, etc.
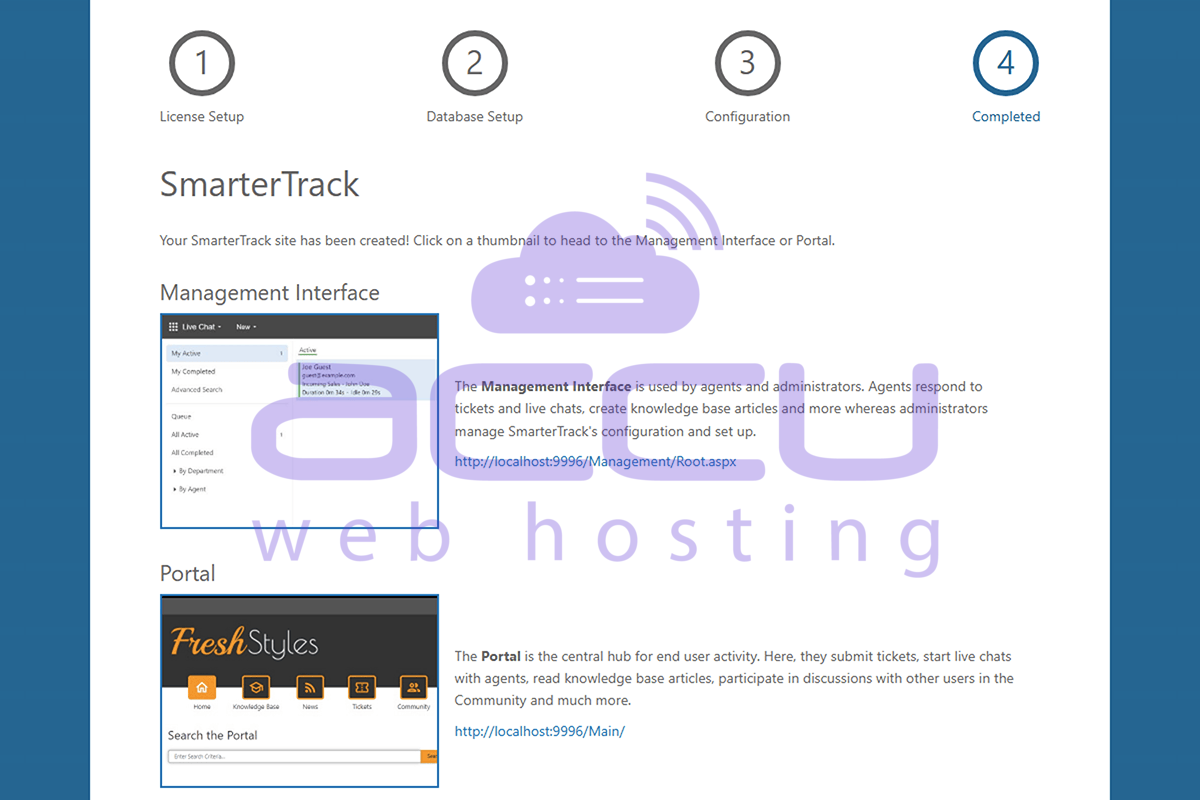
Installation complete! Finally, you're ready to use SmarterTrack. The last page of the Getting Started Wizard offers up 2 areas to move to next: the Management Interface or the Portal. Regardless of where you go, you'll already be logged in with the Administrator / Employee account you created earlier. First, the Management Interface is where you'll go to begin adding in your Departments and Groups as well as additional Agents, as needed. For information on these items, and how to set up SmarterTrack to fit your particular needs, see the Company Organization page to see how certain types of businesses can organize their installation. Going to the Portal, you'll see your logo, company name, and other company information displayed, as well as your Employee's name in a drop-down button. (Clicking that button will allow you to log into the Management Interface as well.) The Portal is where customers will go to submit tickets, start live chats, read knowledge base articles, and more. It's the customer-facing part of SmarterTrack that your users will see.
Conclusion:
Installing SmarterTrack is a straightforward process that equips organizations with a powerful and scalable customer support platform. By following the structured installation workflow—from downloading the installer and configuring IIS to completing the Getting Started Wizard—administrators can quickly deploy a fully functional help desk environment on their server or VPS.
The flexibility offered during setup, such as choosing between SQLite, MySQL, or Microsoft SQL Server databases, ensures that SmarterTrack can support both small teams and large enterprises with growing support demands. Additionally, the ability to configure licensing, create administrative users, and customize company information during the initial setup allows businesses to tailor the platform to their operational needs from the very beginning.
Once installation and configuration are complete, teams gain access to both the Management Interface and the customer-facing Portal, enabling efficient ticket management, live chat support, knowledge base creation, and streamlined customer communication. With the right configuration and organizational structure in place, SmarterTrack becomes a centralized hub for delivering fast, reliable, and professional customer service.
In short, a proper SmarterTrack installation lays the foundation for a modern help desk system that improves support workflows, enhances customer satisfaction, and scales alongside your business growth.
