This article will assist you in changing the ASP.NET version of the virtual directory from SolidCP.
Here, it is assumed that you have already created a virtual directory. If not, please refer to our article on How to create a virtual directory from SolidCP?
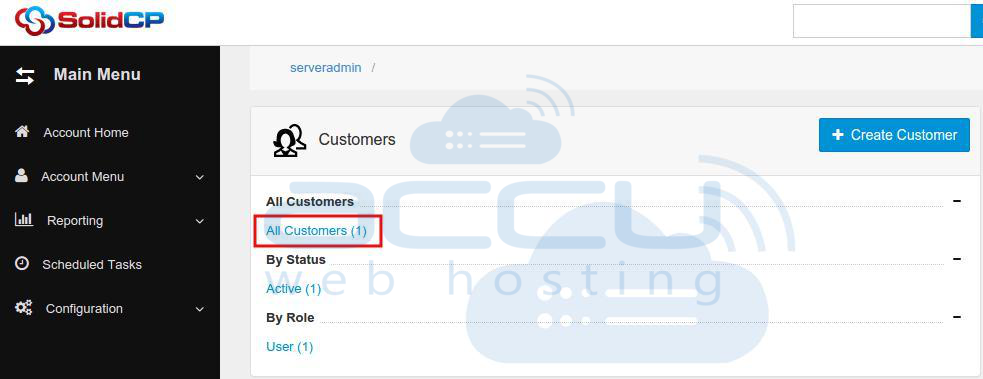
1. If you have a Reseller or VPS account, first click on the All Customers link as shown in the following image.
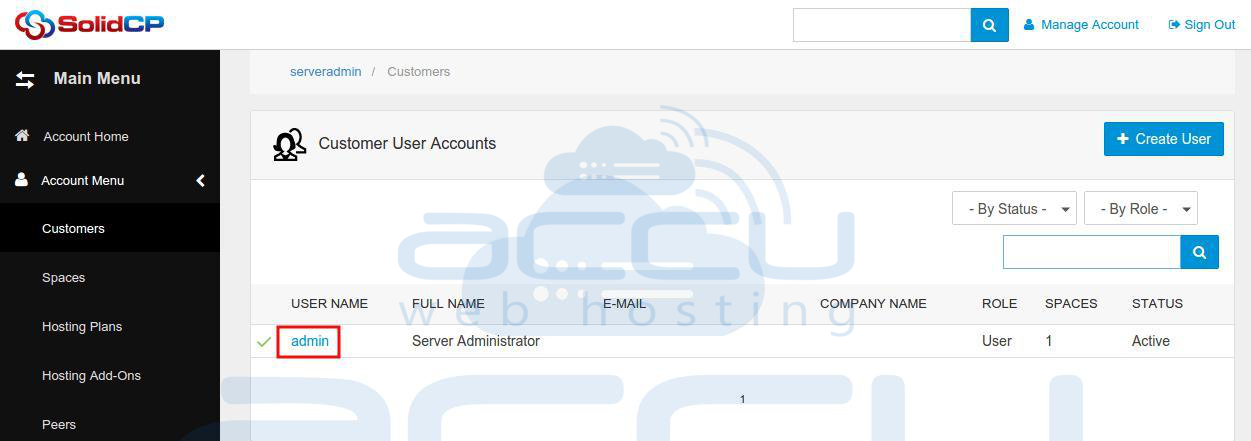
2. It will show you the list of all customers you have created in SolidCP. Click on the customer name under whom you have added the virtual directory.
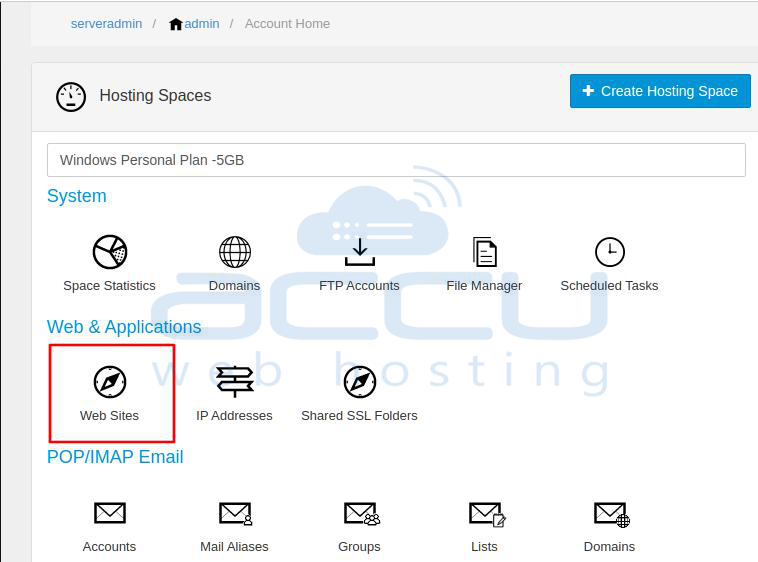
3. Shared Hosting customers would see the following screen once they log into SolidCP. Click on the Web Sites icon under the Web & Applications section
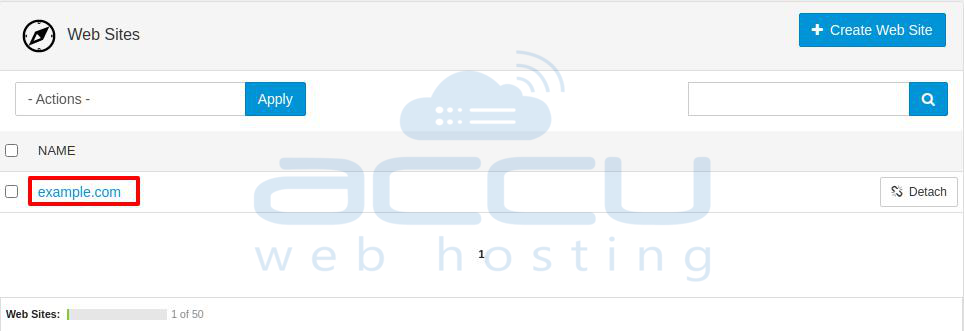
4. You will see a list of created websites here. Click on the website name under which you have created the virtual directory.
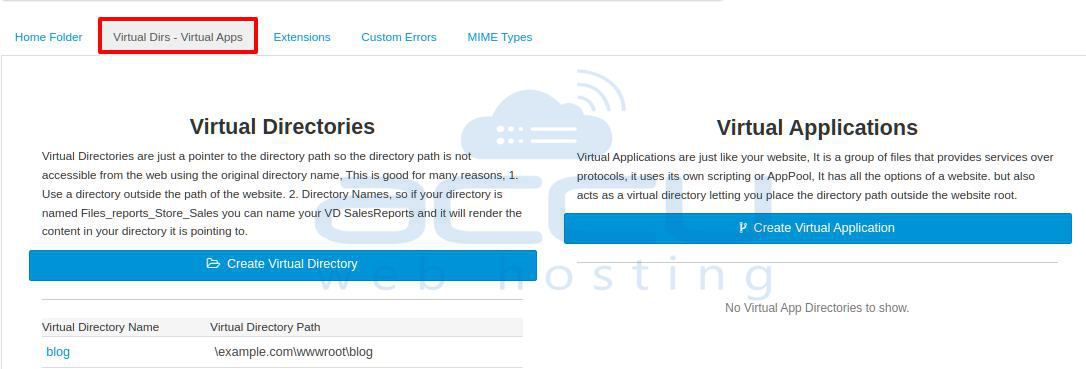
5. On the Web Site Properties page, you will see the Virtual DIrs - Virtual Apps tab; click on this tab to see a list of all the created virtual directories.
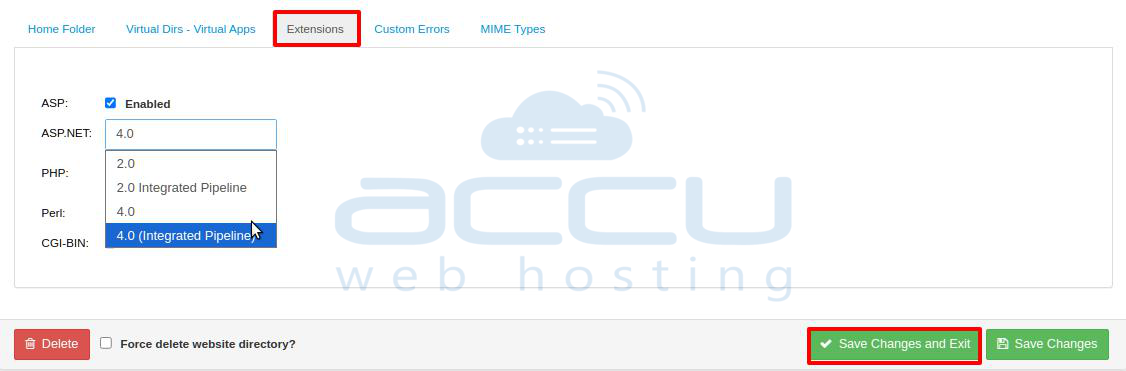
6. Click on the Extensions tab, select the .NET version from the drop-down menu, and click on the Save Changes and Exit button.