The following article will provide you the step by step guidance on how to create a Virtual directory in SolidCP:
1. Log in to the SolidCP panel.
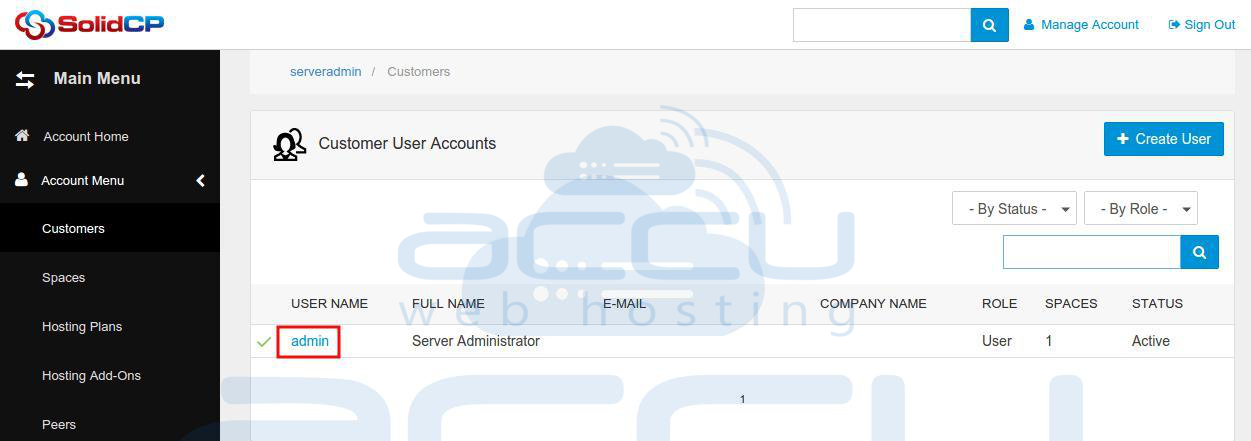
2. It will show you the list of all customers you have created in SolidCP. Click on the customer name under whom you have added the virtual directory.
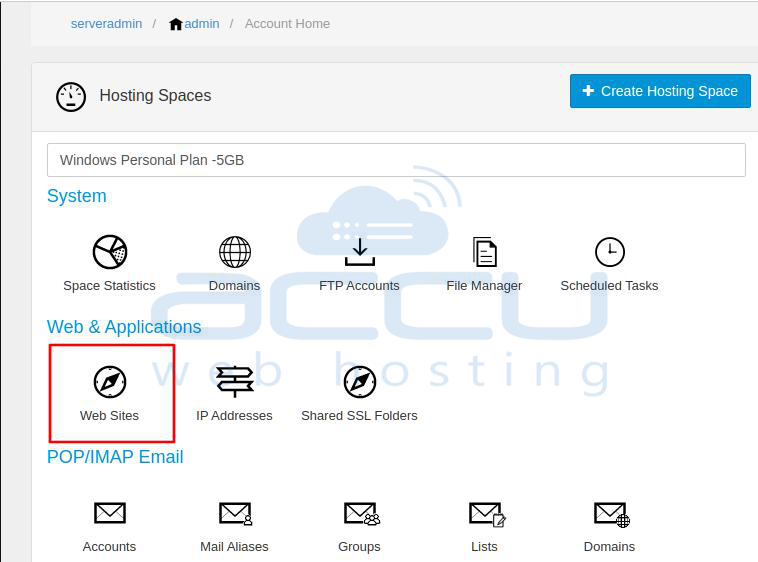
3. Shared Hosting customers would see the following screen once they log into SolidCP. Click on the Web Sites icon under the Web & Applications section
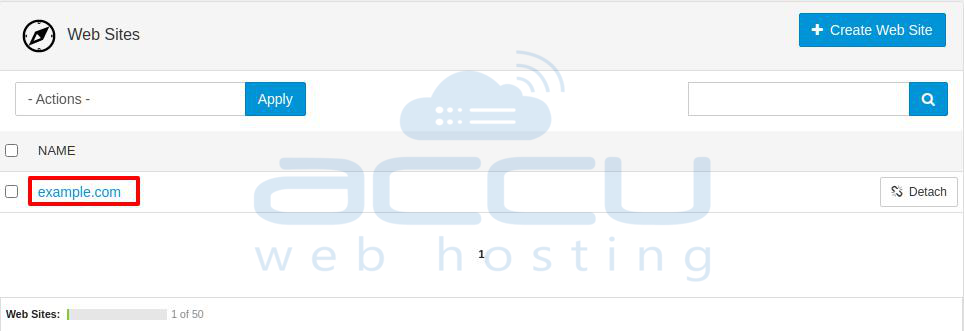
4. You will see a list of created websites here. Click on the website name under which you have created the virtual directory.
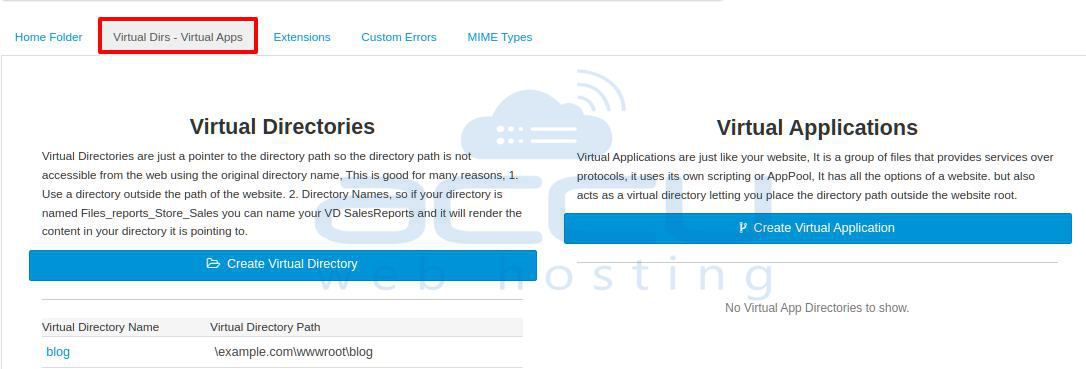
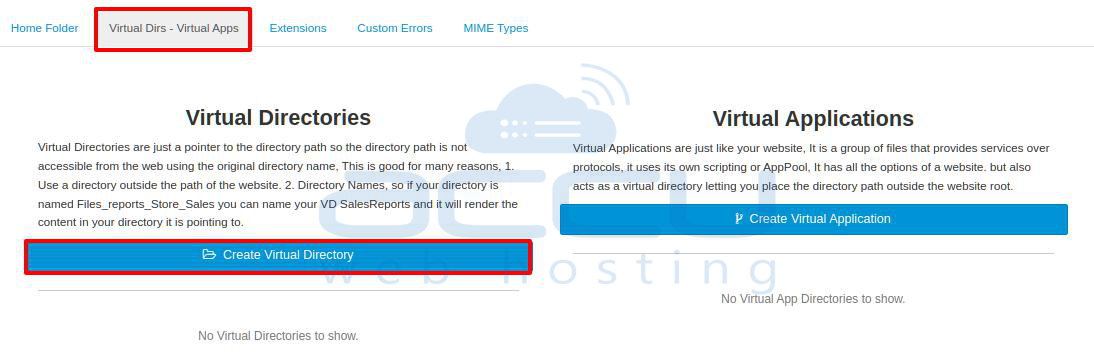
5. On the Web Site Properties page, you will see the Virtual DIrs - Virtual Apps tab.
After, click on the Create Virtual Directory button to create a virtual directory.
6. Enter the virtual directory name and browse the appropriate path where the contents will be placed for this virtual directory.
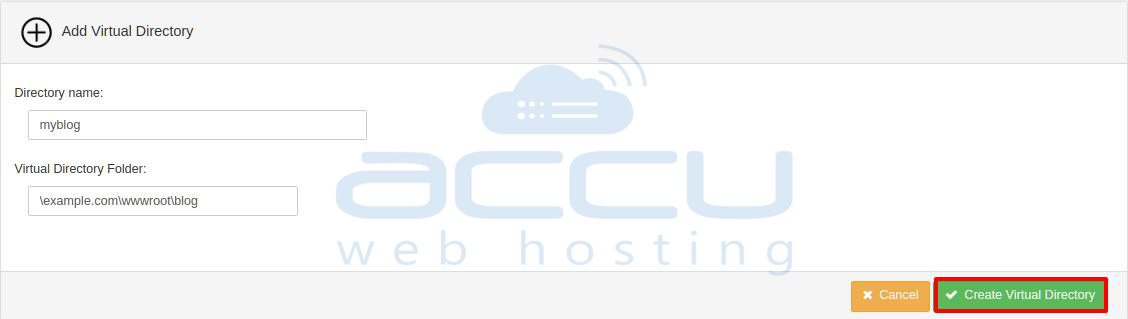
7. Click on the Create Virtual Directory button.
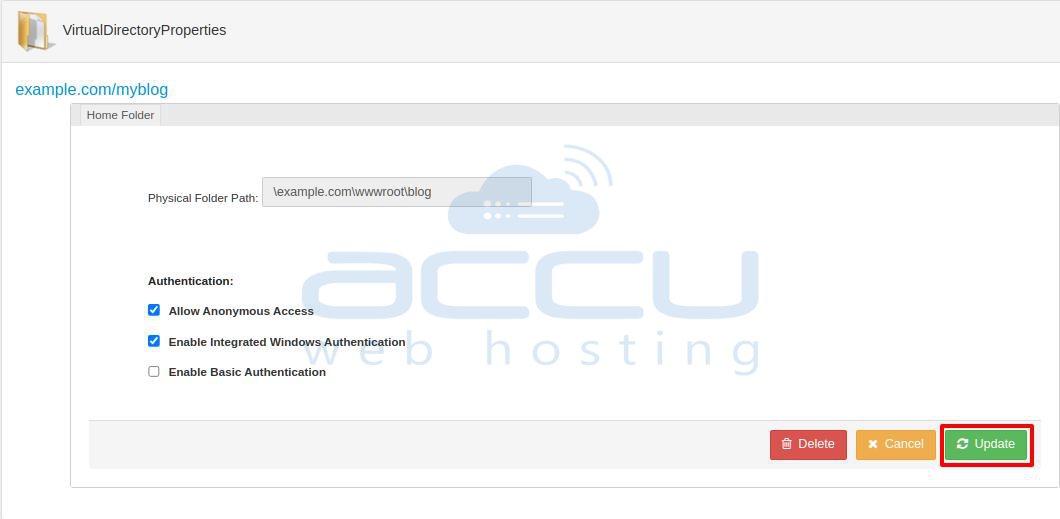
8. In the next screen, enable Authentication based on your requirements and click on the Update button.
9. Navigate to the Web Site Properties page, click on the Virtual DIrs - Virtual Apps tab, to see the created virtual directory.