Sometimes, you are required to open some ports in the firewall to run applications. With VPS Hosting, we offer a CSF firewall on demand. If you have not requested a firewall, you do not need to open any ports.
If you have installed any other (except CSF) firewall on your VPS Hosting, you’ll have to refer to its manual to open ports and other configuration settings.
In this article, we will learn how to open a port in the CSF firewall from Web Host Manager (WHM) and SSH.
Open Port in CSF Firewall through SSH
CSF firewall is too easy to configure in both ways (through WHM and SSH).
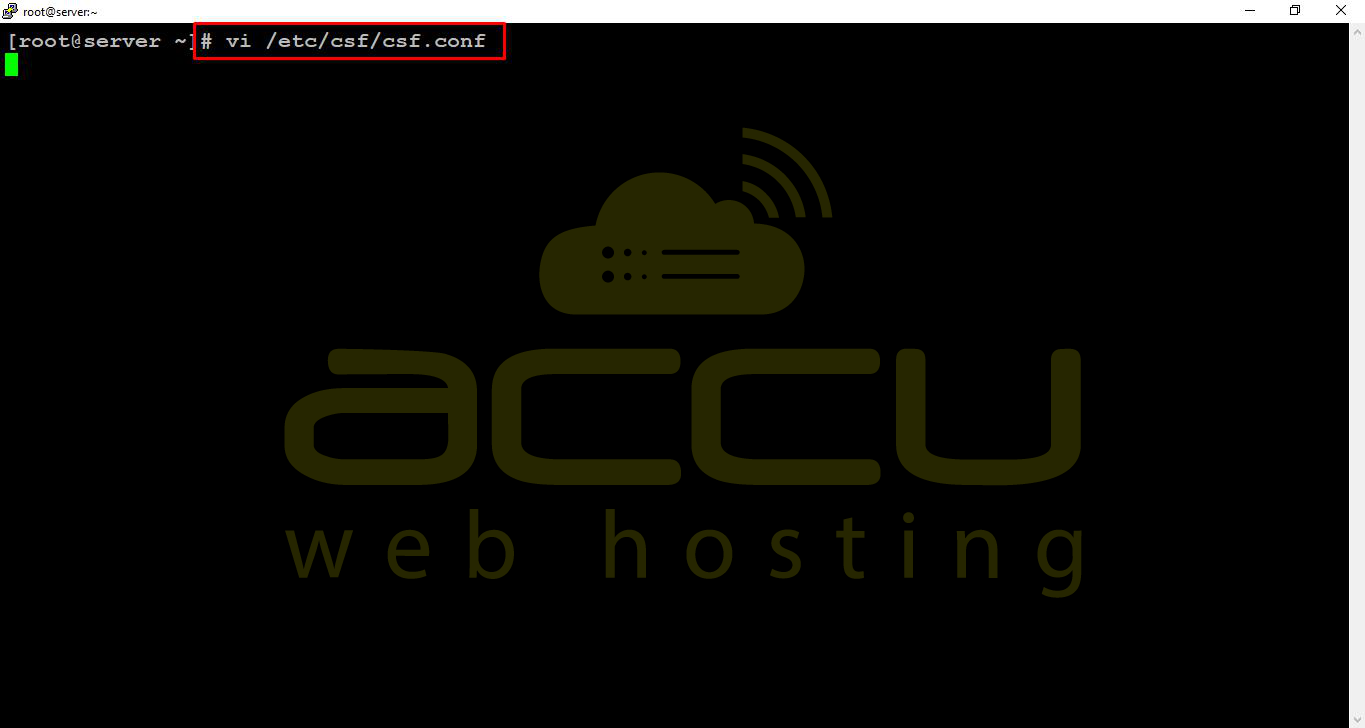
Step 1: Log in to your Linux machine through SSH. Open the csf.conf file using any text editor.
# vi /etc/csf/csf.conf
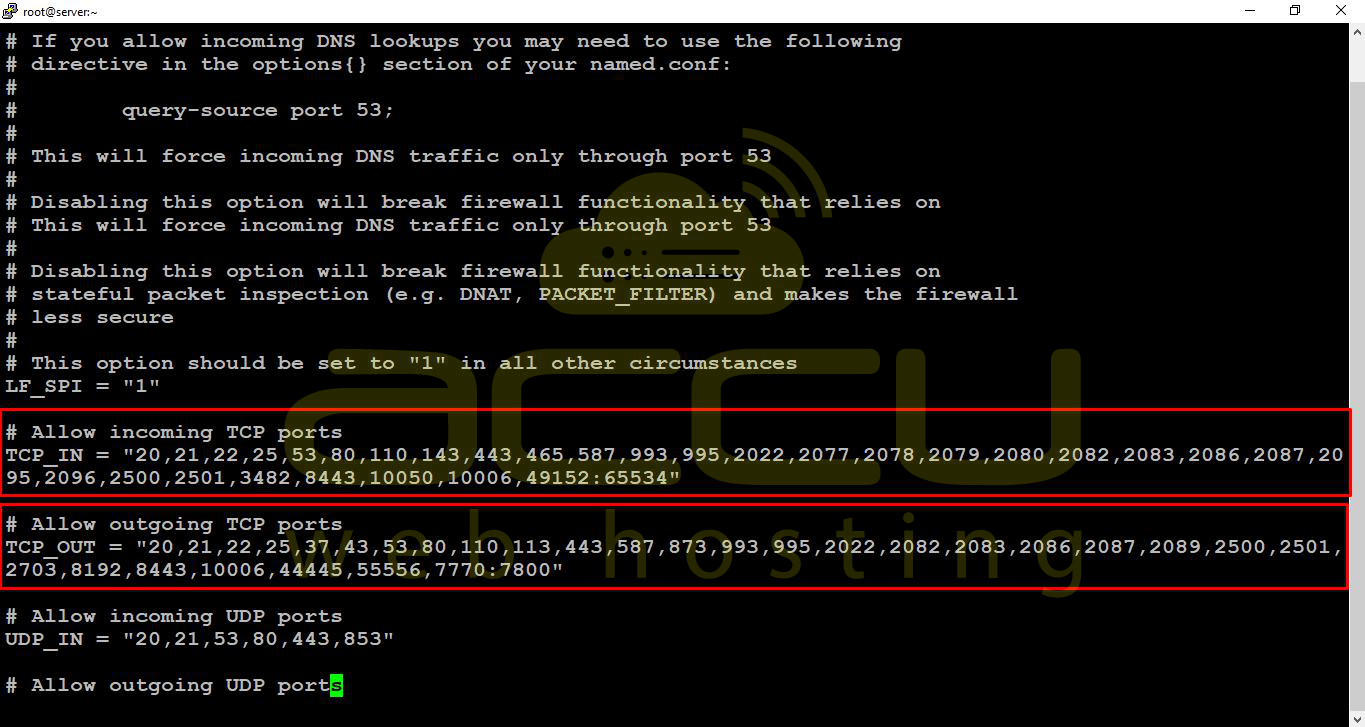
Step 2: Add the port you wish to open and restart the CSF firewall for the changes to take effect.
# Allow incoming TCP ports
TCP_IN = "20,443,465,21,22,587,993,25,53,80,110,143,995"
# Allow outgoing TCP ports
TCP_OUT = "20,21,443,587,22,25,80,110,43,53"
Step 3: Restart the firewall:
# csf -r
Open Port in CSF Firewall through WHM
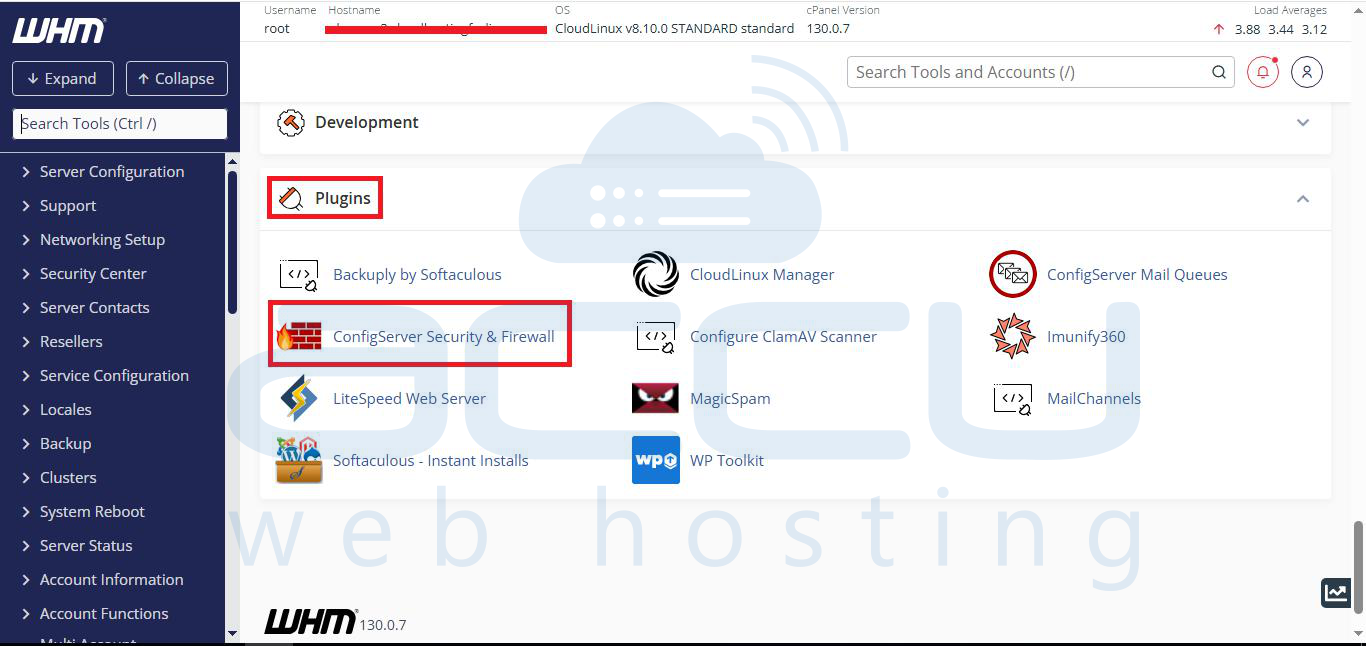
Step 1: Log in to WHM.
Step 2: Under Plugins and click on the ConfigServer Security & Firewall.
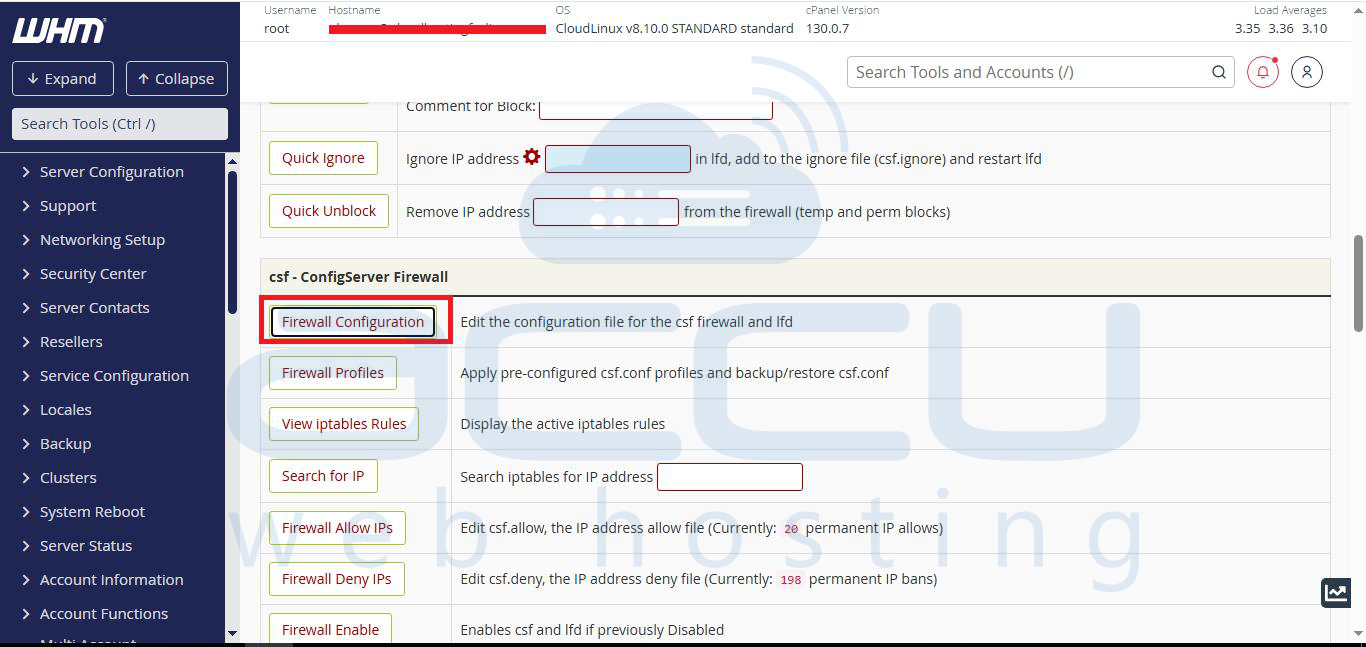
Step 3: On this page, click on the Firewall Configuration button.
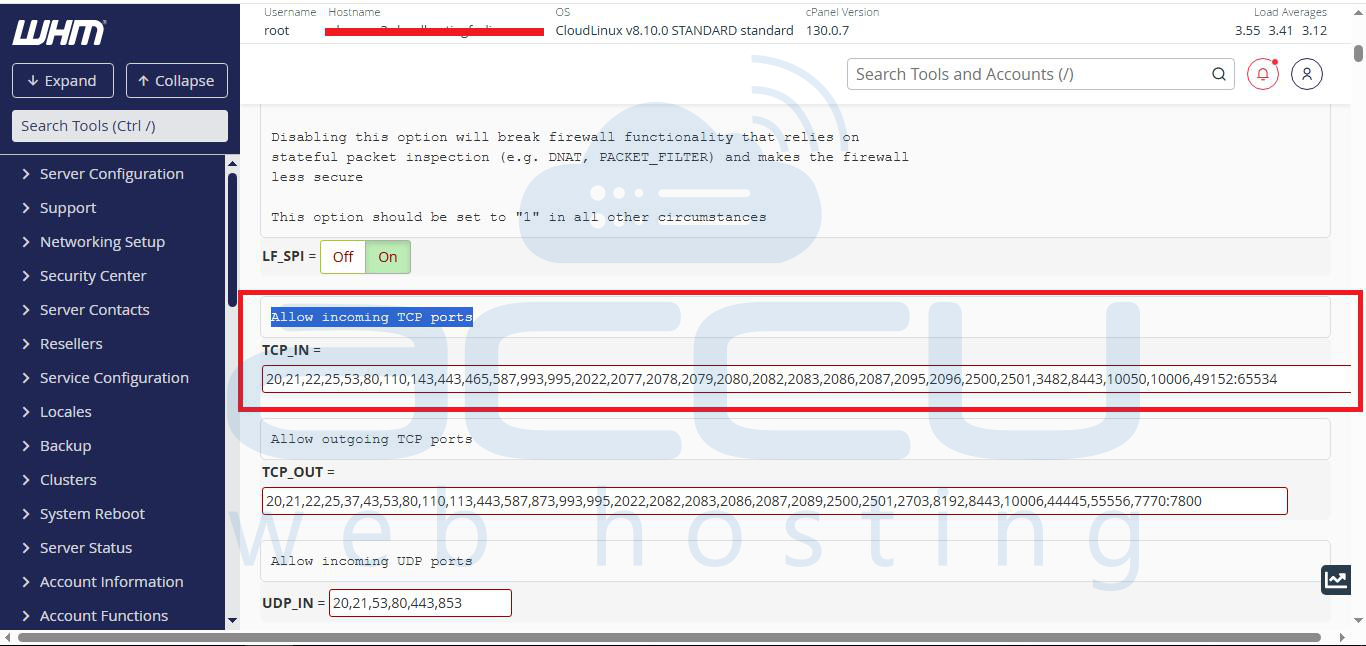
Step 4: Scroll down and locate the Allow incoming TCP ports section. Enter the port you wish to open and click the Change button at the bottom to save your changes.
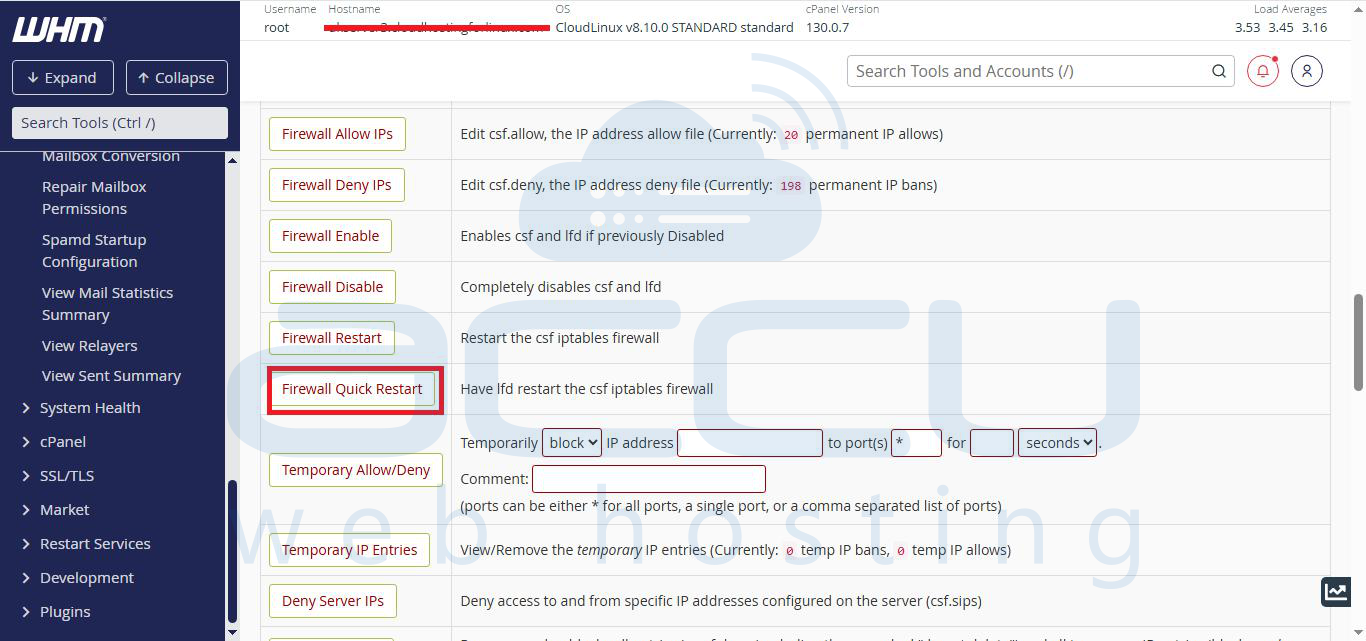
Then, after, you will need to restart CSF by clicking on the Restart csf+lfd button.
→ Want to change the default SSH Port? Please refer to the change SSH port for more details.


