This article will guide you on adding or editing DNS records for a domain in Plesk Control Panel.
Step 1: Log in to the Plesk Panel with your credentials.

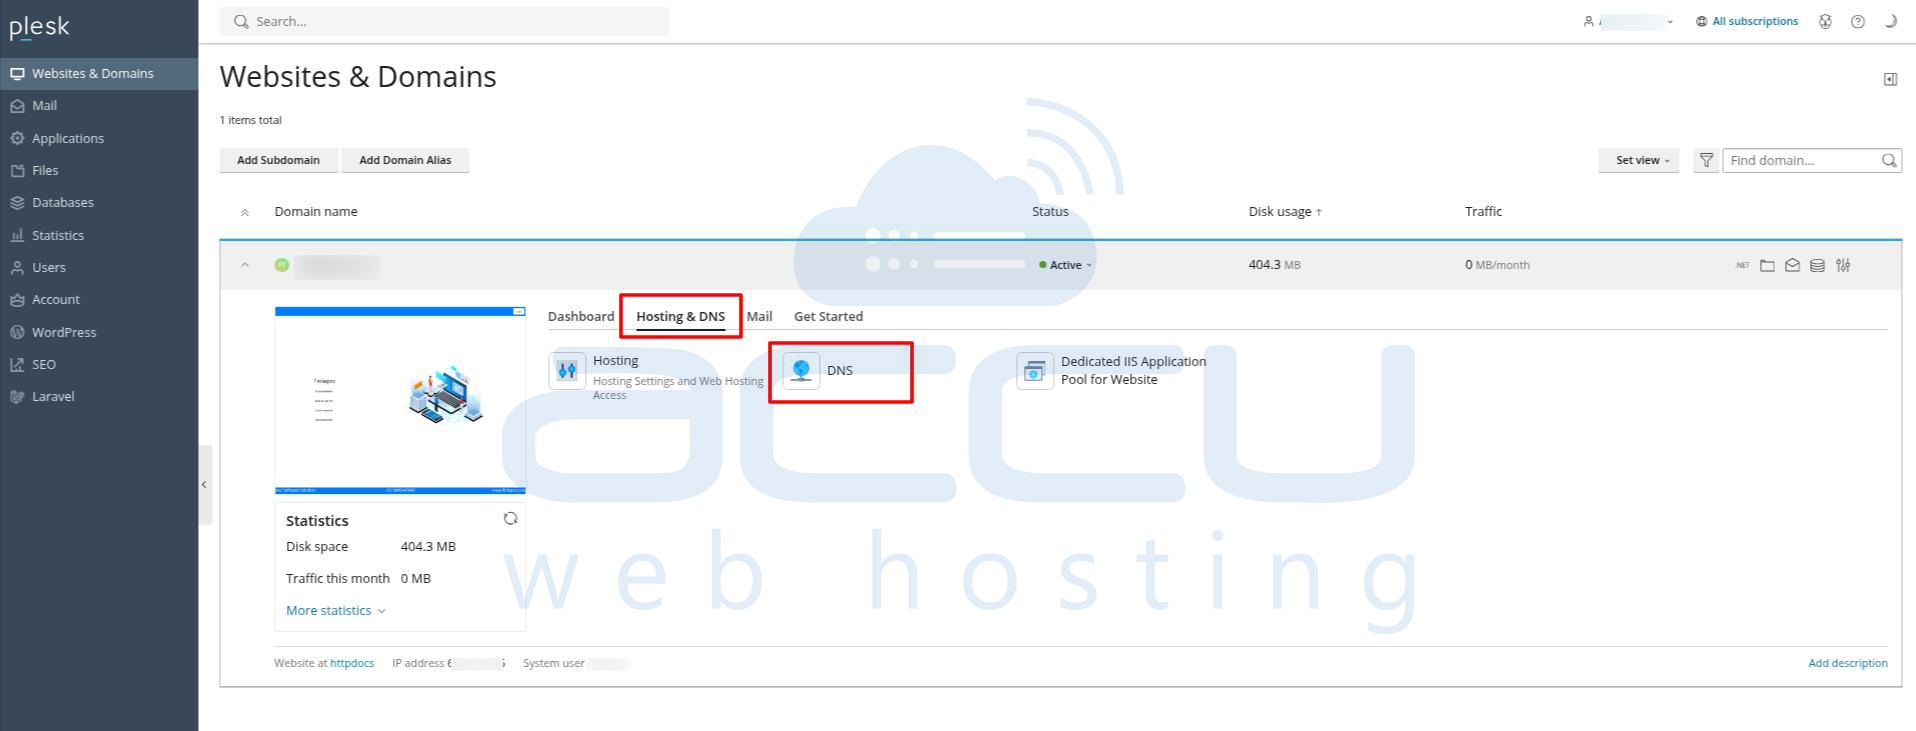
Step 2: Go to your domain, navigate to hosting & DNS, and click on DNS to add/edit the DNS records.
Step 3: To add DNS records, please click on the Add Record button as shown in the following image.

Step 4: To add an A record, please refer to the steps below. Once all details are added, click on the OK button.
- Select Record Type: A
- Domain Name: Here, put the required name. e.g., www
- IP address: Enter the appropriate IP address.

Step 5: To add, MX record, please refer to the steps below. Once all details are added, click on the OK button.
- Select Record Type: MX
- Mail Domain: Leave Blank
- Mail exchange server: Here, put the appropriate domain name. e.g. mail.demovpstest.com
- Specify the priority of the mail exchange server: Here, put the appropriate priority, e.g., 10

Step 6: Now, you will need to update the DNS records to save the changes. Please refer to the screen captures below:


Edit DNS Records of a Domain:
Step 1: To edit a DNS record, you need to click on the same record that you need to edit, as shown image below:

Now, you can make the required changes in the DNS record and save them.
→ Looking to manage DNS zone on Plesk? Please refer to manage the DNS Zone for more details.
→ Looking to DKIM record on Plesk? Please refer to add DKIM on Plesk for more details.
→ Looking to add a Domain and a sub on Plesk? Please refer to add a domain and a sub-domain on Plesk for more details.
