
Introduction:
Managing multiple Linux servers manually can quickly become time-consuming and error-prone. Whether you need to install software, update configuration files, deploy applications, or perform routine maintenance, repeating the same commands on every server is inefficient.
This is where Ansible becomes an excellent solution.
Ansible is an open-source automation tool that helps system administrators, DevOps engineers, and developers automate repetitive tasks across one or more servers. Unlike many other automation tools, Ansible is agentless, meaning you do not need to install any additional software on the servers you want to manage. It communicates securely over SSH, making deployment simple and lightweight.
In this article, we will explain what Ansible is, why it is widely used, and how to install it on an Ubuntu VPS. We will also explain how to create a simple inventory file, test connectivity, and run your first Ansible playbook.
What is Ansible?
Ansible is an open-source automation and configuration management platform developed to simplify IT operations. Instead of logging into each server individually, you can define tasks once and execute them across multiple systems simultaneously.
With Ansible, you can automate tasks such as:
-
Installing software packages
-
Updating operating systems
-
Managing users and permissions
-
Configuring web servers
-
Deploying applications
-
Restarting services
-
Managing cloud infrastructure
-
Performing routine maintenance
Ansible uses simple YAML files called playbooks, making automation easy to read, write, and maintain.
Why Use Ansible?
Ansible offers several advantages that make it one of the most popular automation tools.
Agentless Architecture:
Unlike many configuration management tools, Ansible does not require installing agents on managed servers. It uses SSH to communicate with Linux systems, reducing maintenance and improving security.
Easy to Learn:
Ansible playbooks are written in YAML, a human-readable format that is easy for beginners to understand.
Simple Deployment:
Installing Ansible only requires one control machine. From there, you can manage hundreds or even thousands of servers.
Idempotent Operations:
Ansible only makes changes when necessary. If a server is already configured correctly, Ansible skips that task instead of making unnecessary modifications.
Cross-Platform Support:
Although commonly used with Linux, Ansible can also manage:
Windows servers
Cloud platforms
Containers
Network devices
Virtual machines
Prerequisites:
Before installing Ansible, ensure you have:
An Ubuntu 22.04 LTS or Ubuntu 24.04 LTS VPS
A user with sudo privileges
SSH access to the VPS
At least one remote Linux server (optional for testing)
Step 1: Update the System
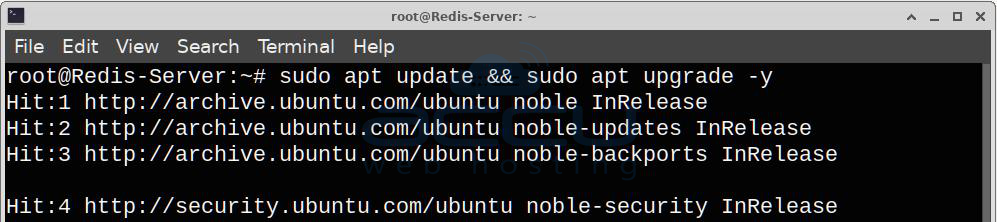
Before installing Ansible, update Ubuntu's package list.
Log in to your Ubuntu VPS via SSH and update your package lists to ensure your system is up to date.
sudo apt update && sudo apt upgrade -y
Step 2: Install Required Dependencies
Install the software properties package that allows Ubuntu to manage additional repositories if needed.
sudo apt install software-properties-common -y

Although newer Ubuntu releases already include many required components, this package helps manage repositories and is commonly installed before Ansible.
Step 3: Install Ansible
Ubuntu includes Ansible in its official repositories, making installation straightforward.
sudo apt install ansible -y
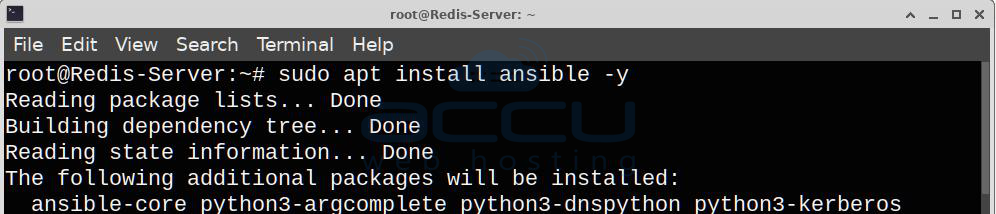
Ubuntu downloads and installs Ansible along with its required Python packages and dependencies.
Installation may take a few moments.
Step 4: Verify the Installation
After installation completes, verify that Ansible is installed correctly.
ansible --version
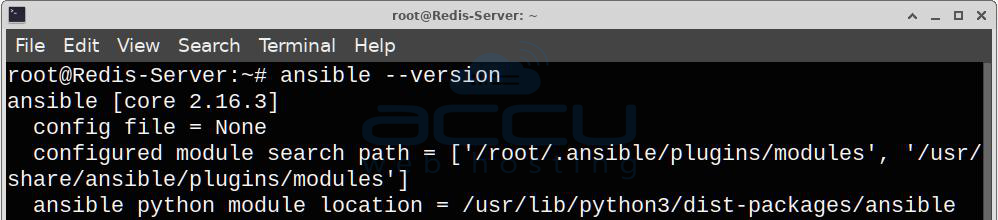
Example output:
ansible [core 2.16.x]
config file = None
configured module search path = ['/home/user/.ansible/plugins/modules']
python version = 3.12.x

The exact version may differ depending on your Ubuntu release and available package updates.
If you see version information similar to the above, Ansible has been installed successfully.
Understanding the Ansible Control Node:
The system where Ansible is installed is known as the control node.
The servers managed by Ansible are called managed nodes.
Communication typically occurs using:
SSH for Linux
WinRM for Windows
Since Ansible uses SSH, ensure the remote servers have SSH enabled and are accessible.
Step 5: Create a Simple Inventory File
Ansible needs an inventory file that lists the systems it will manage.
Create a project directory.
mkdir ~/ansible-project
cd ~/ansible-project
Now create an inventory file.
nano inventory.ini
Add the following content.
[servers]
192.168.1.10
192.168.1.11
If using a different SSH user, specify it like this:
[servers]
192.168.1.10 ansible_user=ubuntu
192.168.1.11 ansible_user=ubuntu
Save the file and exit the editor.
Note: Replace 192.168.1.10 with your server's IP address and ubuntu with the username you use to connect to your server via SSH.
Step 6: Test SSH Connectivity
Before using Ansible, verify that SSH access works.
If SSH login succeeds, Ansible should also be able to connect.
For passwordless authentication, it is recommended to use SSH key authentication.
Generate an SSH key if you do not already have one.
Ssh-keygen -t ras -b 4096
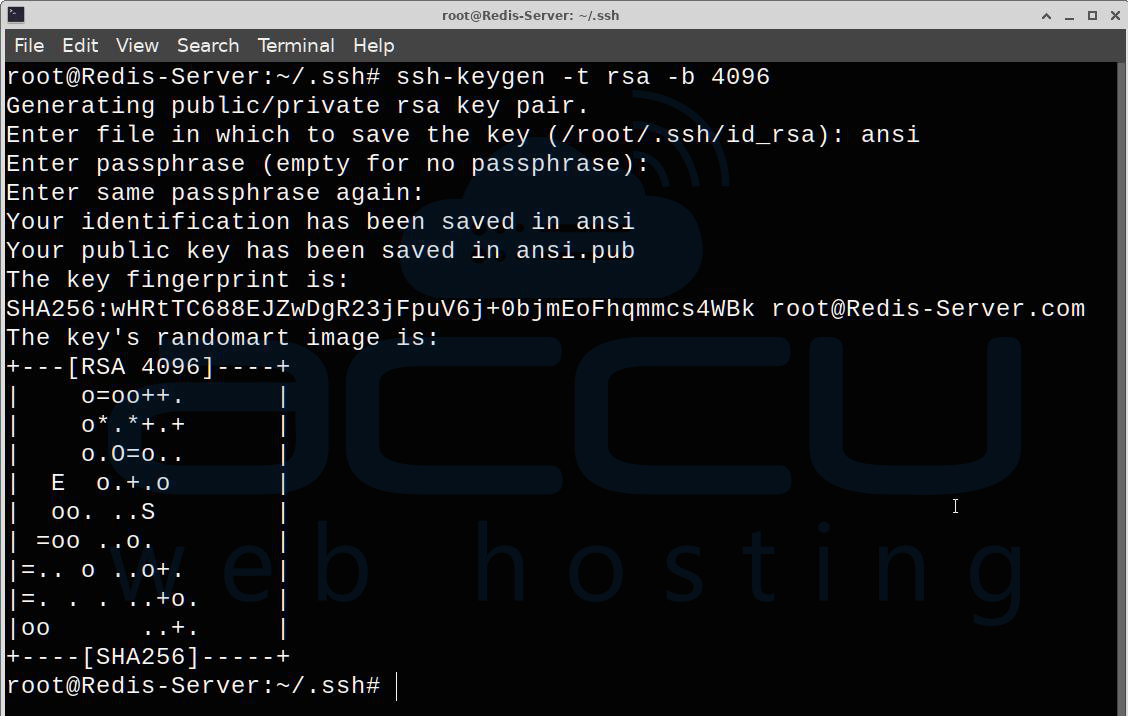
Copy the public key to the remote server.
ssh-copy-id -i ~/.ssh/ansi.pub [email protected]
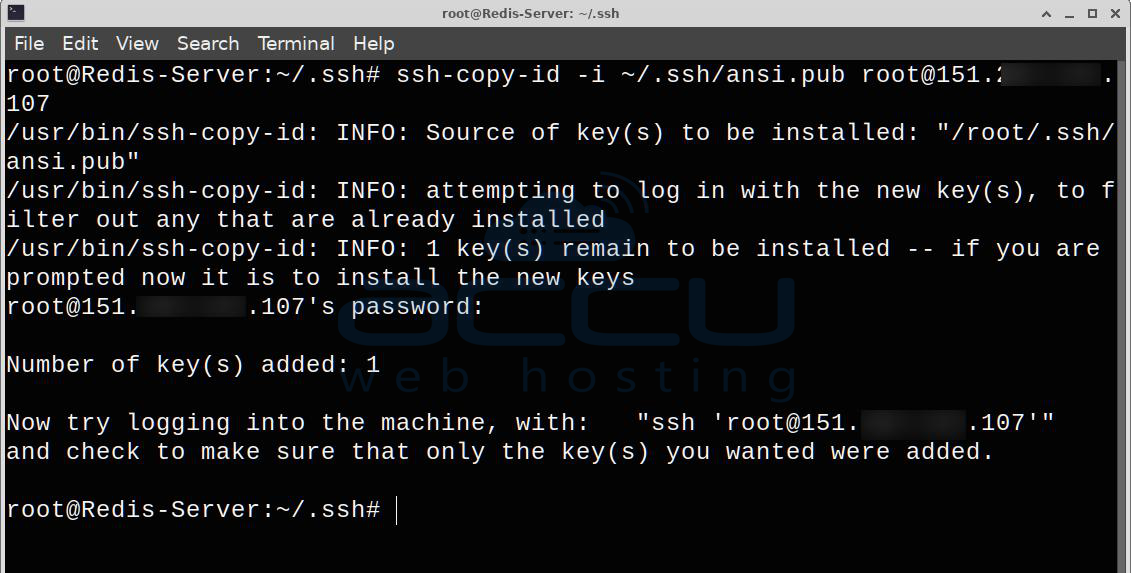
This allows Ansible to connect without prompting for a password each time.
Step 7: Test Ansible Connectivity
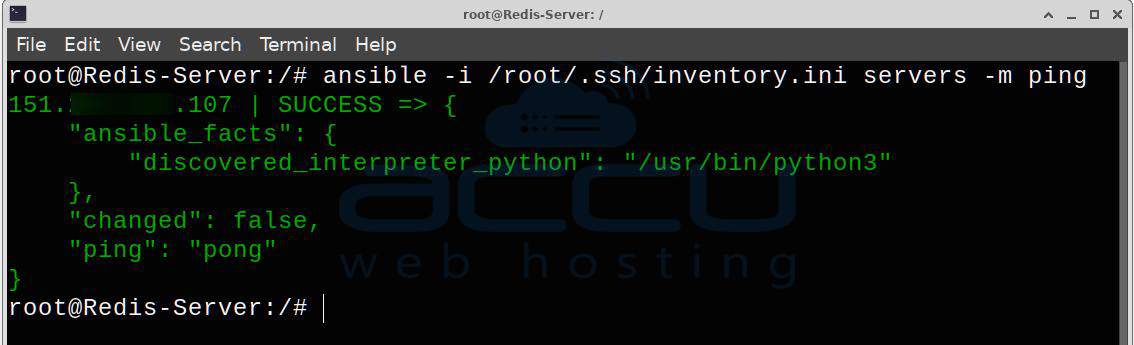
Ansible includes a built-in ping module that checks whether managed hosts are reachable.
ansible -i /root/.ssh/inventory.ini servers -m ping
Explanation:
-i specifies the inventory file.
Servers are the inventory group.
-m ping runs the Ansible ping module.
Example output:
192.168.1.10 | SUCCESS => {
"changed": false,
"ping": "pong"
}
Receiving "pong" indicates that Ansible successfully connected to the remote server.
Understanding Ad Hoc Commands
Ad hoc commands execute a single task without requiring a playbook.
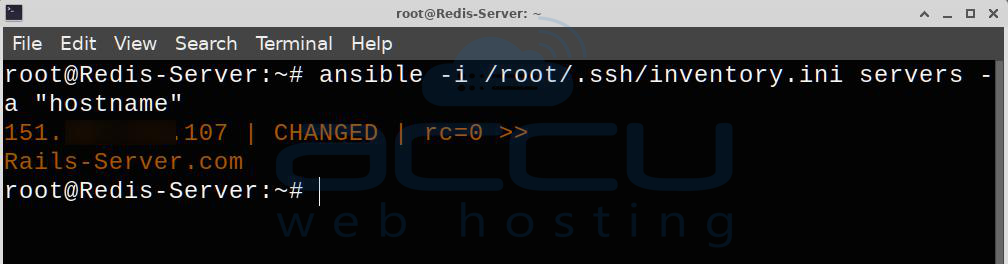
For example, display the hostname of every server.
ansible -i /root/.ssh/inventory.ini servers -a "hostname"
Display disk usage.
ansible -i /root/.ssh/inventory.ini servers -a "df -h"
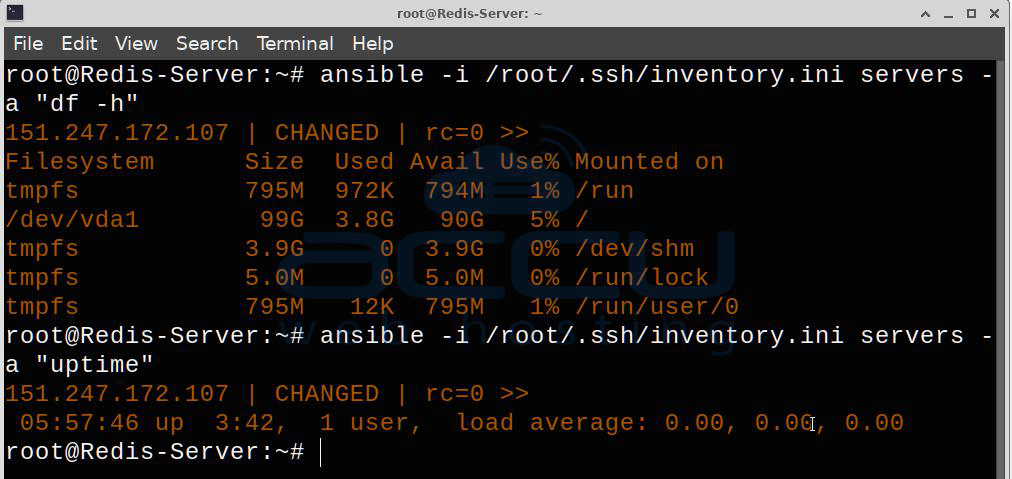
Check system uptime.
ansible -i /root/.ssh/inventory.ini servers -a "uptime"
These commands are useful for quick administrative tasks.
Create Ansible Playbook:
Playbooks allow you to automate multiple tasks using YAML.
Create a file named:
nano install-nginx.yml
Add the following content.
---
- name: Install Nginx on Ubuntu servers
hosts: servers
become: yes
tasks:
- name: Update package cache
apt:
update_cache: yes
- name: Install Nginx
apt:
name: nginx
state: present
This playbook performs two tasks:
Updates the package cache.
Installs the Nginx web server if it is not already installed.
Run the Playbook:
Execute the playbook using the command below
ansible-playbook -i inventory.ini install-nginx.yml
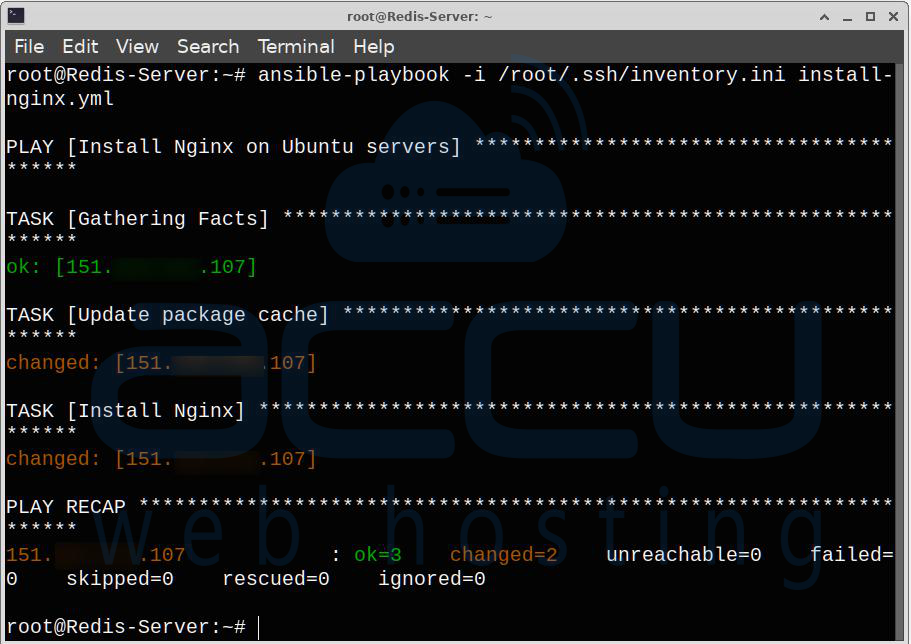
Ansible connects to each server in the inventory and performs the defined tasks.
Since Ansible is idempotent, running the playbook again will not reinstall Nginx if it is already present.
Verify Nginx
You can verify that Nginx is running with:
ansible -i /root/.ssh/inventory.ini all -m shell -a "systemctl is-active nginx"
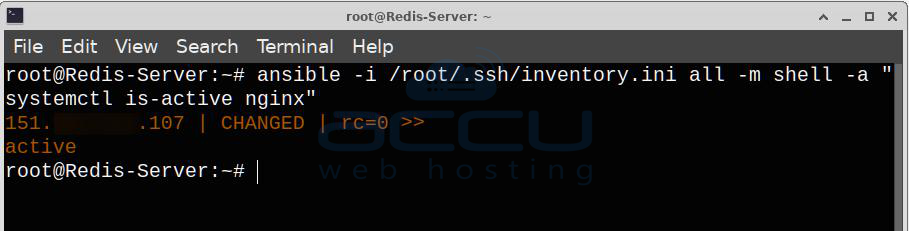
Expected output:
151.xxx.xx.107 | CHANGED | rc=0 >>
active
Conclusion:
Ansible is a powerful yet beginner-friendly automation tool that simplifies the management of Linux servers. Its agentless design, easy-to-read YAML playbooks, and extensive library of built-in modules make it an excellent choice for automating repetitive administrative tasks, deploying applications, and maintaining consistent server configurations.
By following this article, you have learned how to install Ansible on an Ubuntu VPS, verify the installation, create an inventory file, test connectivity with an ad hoc command, and run your first playbook. As you gain experience, you can explore advanced concepts such as roles, variables, templates, and automation workflows to manage larger environments more efficiently. With regular practice, Ansible can become an essential part of your server administration and DevOps toolkit.
If you encounter any issues during installation, please feel free to contact us via chat or support. Our support team will assist you with the installation process.