
Install RealVNC Server on Ubuntu 24.04 LTS VPS
A fresh installation of Ubuntu 24.04 LTS Server is designed for command-line administration and does not include a graphical desktop environment. Since RealVNC Server shares and controls a graphical desktop session, additional components must be installed before remote desktop access can be configured.
To prepare the server, you must install:
-
A desktop environment – Provides the graphical user interface (GUI) that users will access remotely.
-
A display manager – Manages graphical login sessions and starts the desktop environment.
-
RealVNC Server – Enables secure remote desktop access to the Ubuntu system.
This guide walks you through the complete installation and configuration process for a fresh Ubuntu 24.04 LTS VPS, including installing a desktop environment, configuring a display manager, installing RealVNC Server, and verifying that the remote desktop service is ready for use.
System Requirements
-
Ubuntu 24.04 LTS (Fresh Installation)
-
Root or sudo privileges
-
Internet connection
-
A RealVNC account
-
RealVNC Server license (Lite, Essentials, Premium, or Enterprise)
Architecture Overview
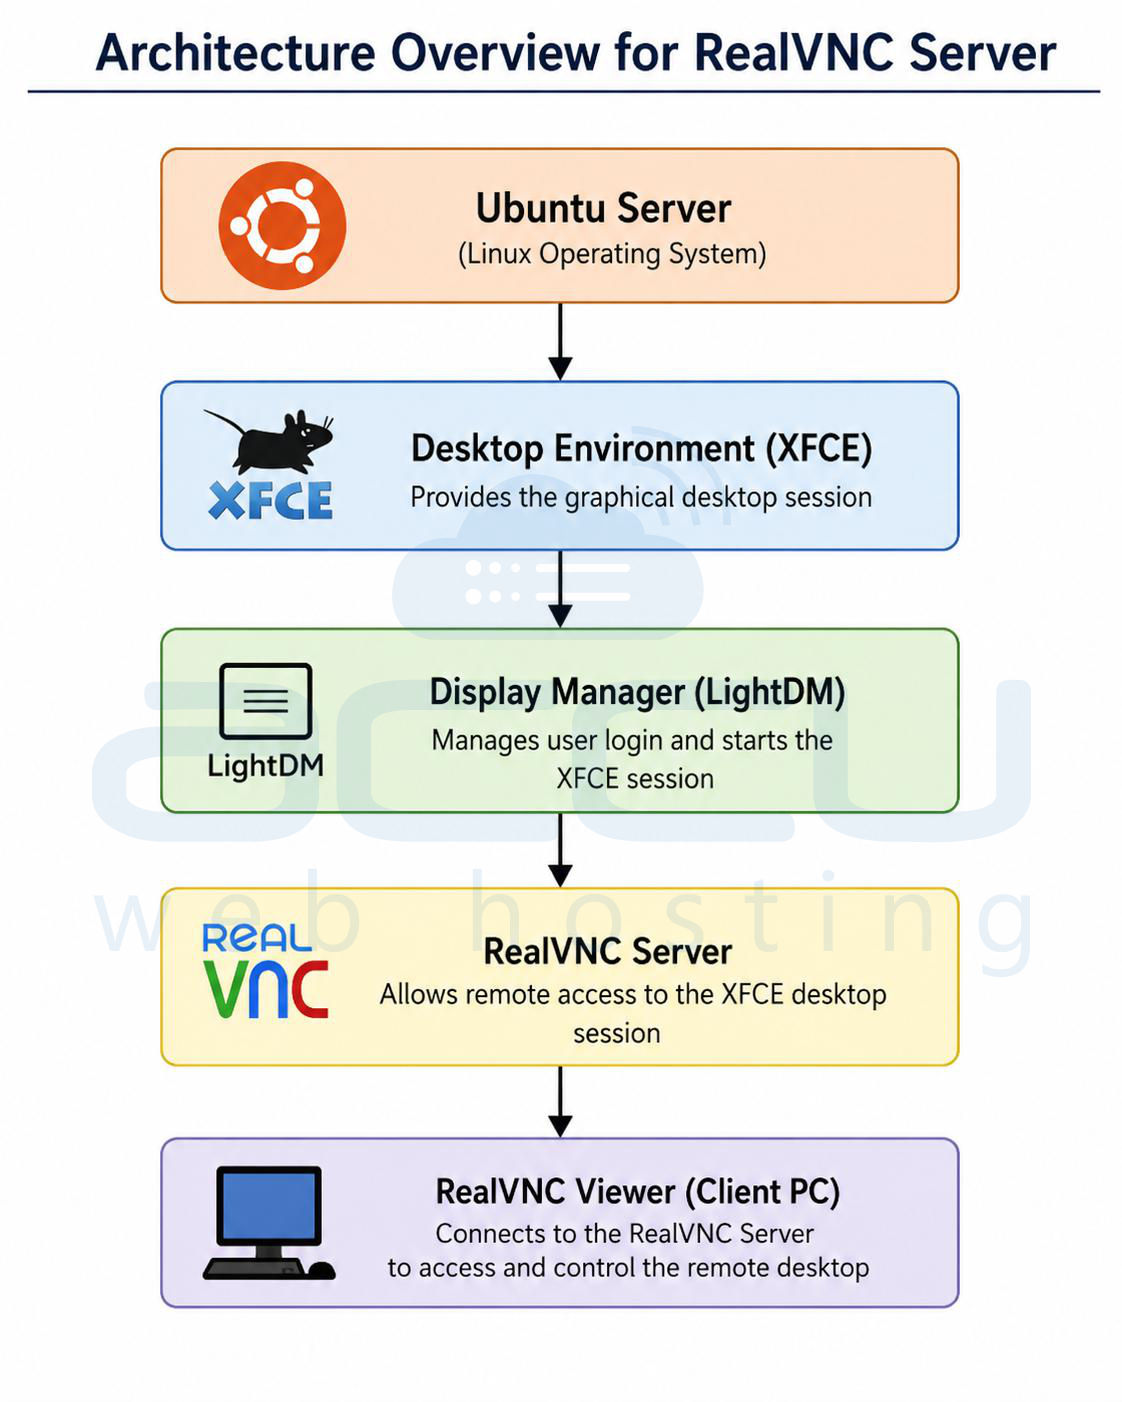
A fresh Ubuntu Server installation contains only a command-line interface (CLI).
To use RealVNC, the following components are required:
Ubuntu Server -> Desktop Environment (XFCE) -> Display Manager (LightDM) -> RealVNC Server -> RealVNC Viewer (Client PC)
What is XFCE?
XFCE is a lightweight desktop environment for Linux that is designed to provide a fast, stable, and efficient graphical interface. Compared to desktop environments such as GNOME and KDE Plasma, XFCE uses significantly fewer CPU and memory resources, making it an excellent choice for cloud VPS instances with limited system resources.
Its responsive performance and low resource consumption make it well-suited for remote desktop sessions, delivering a smooth user experience even on smaller virtual machines. Because of its stability, speed, and minimal hardware requirements, XFCE is widely recommended for VPS environments.
What is LightDM?
A Display Manager controls the graphical login screen. Its responsibilities include Starting the graphical session, Authenticating users, Launching the desktop environment after login. Without a display manager, RealVNC cannot create or share a desktop session.
LightDM is preferred because it is Lightweight, Stable, Compatible with XFCE and Easy to configure.
What is RealVNC Server?
RealVNC Server enables secure remote access to your Linux desktop environment. After installation, you can connect to your VPS from Windows, macOS, or Linux using RealVNC Viewer, allowing you to manage the graphical desktop from anywhere.
It supports remote desktop administration, making it easy to configure applications, troubleshoot issues, and perform system maintenance without requiring physical access to the server. Depending on your RealVNC license, you can also transfer files between the client and the server, print documents remotely, and benefit from encrypted connections to ensure secure communication between the VNC Server and VNC Viewer.
Steps to Install RealVNC Server on Ubuntu 24.04 LTS VPS
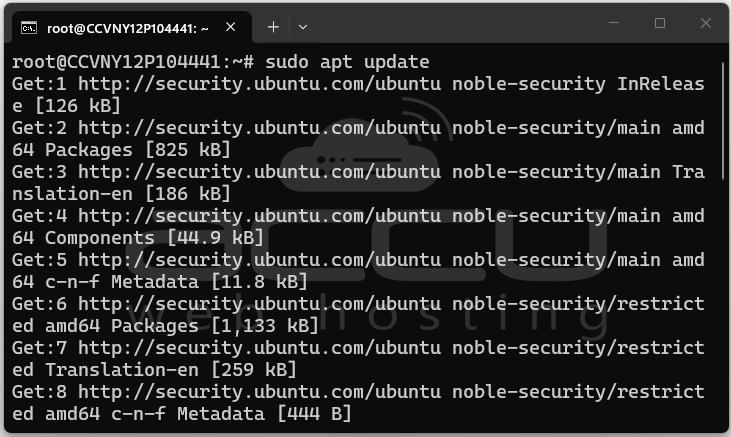
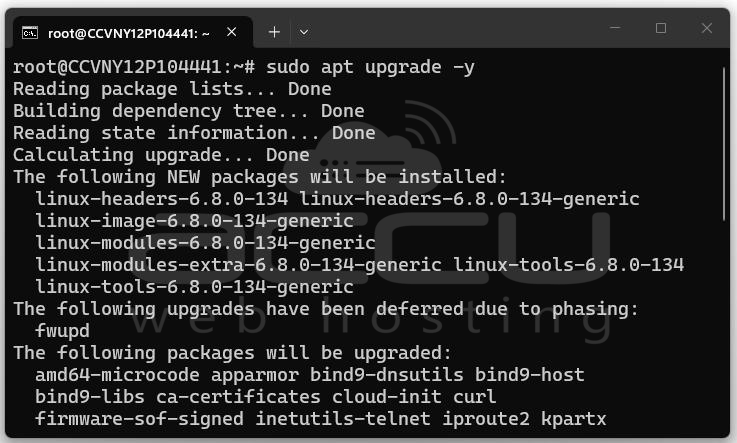
Step 1: Update the package index and install the latest security updates.
sudo apt update
sudo apt upgrade -y
Optionally reboot after updates: sudo reboot
Step 2: Install XFCE and its recommended applications.
sudo apt install xfce4 xfce4-goodies -y
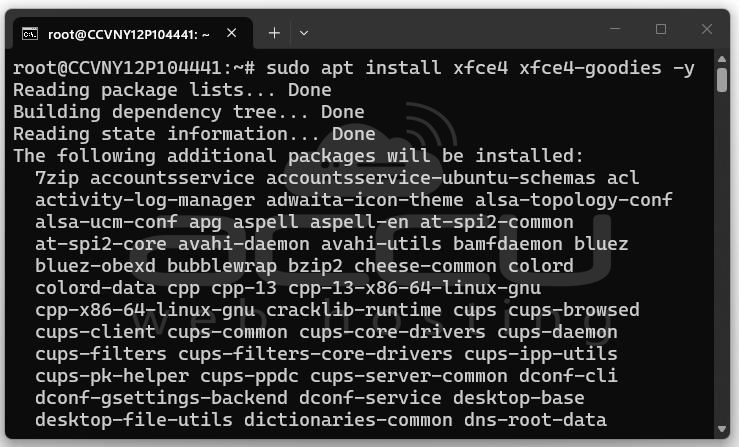
Installation may take several minutes depending on the VPS speed.
Step 3: Install LightDM.
sudo apt install lightdm -y
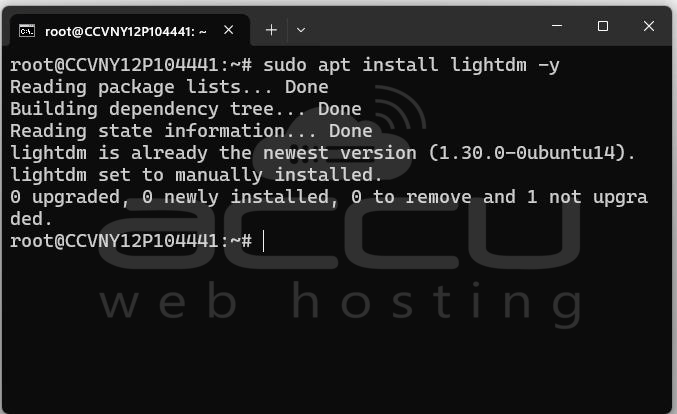
During installation, Ubuntu may ask:
Choose the default display manager. Select: lightdm
If prompted using a text-based interface:
-
Use the Arrow Keys to highlight LightDM
-
Press Enter
Verify the installation: systemctl status lightdm
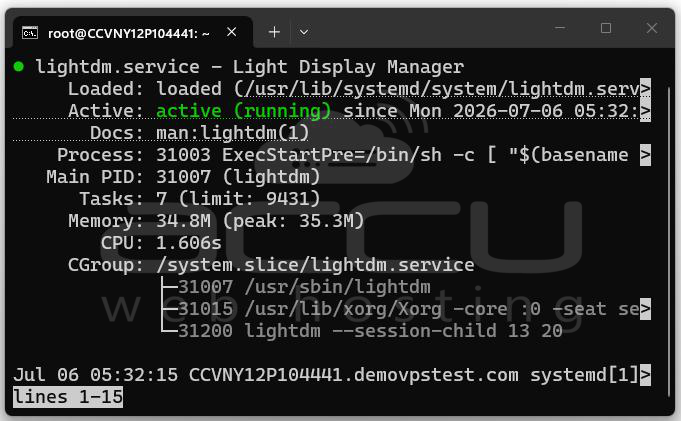
Expected output: Active: active (running)
Enable LightDM to start automatically: sudo systemctl enable lightdm
Reboot the VPS:
sudo reboot
Step 4: Install RealVNC Server. Download the latest RealVNC Server package from the official website.
Visit:
https://www.realvnc.com/en/connect/download/vnc/
Alternatively, download using wget after copying the current Linux package URL from the official site:
wget https://downloads.realvnc.com/download/file/vnc.files/VNC-Server-7.17.0-Linux-x64.deb
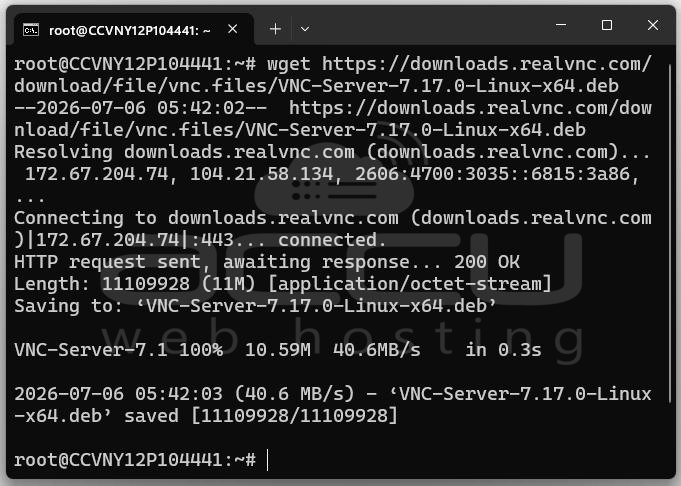
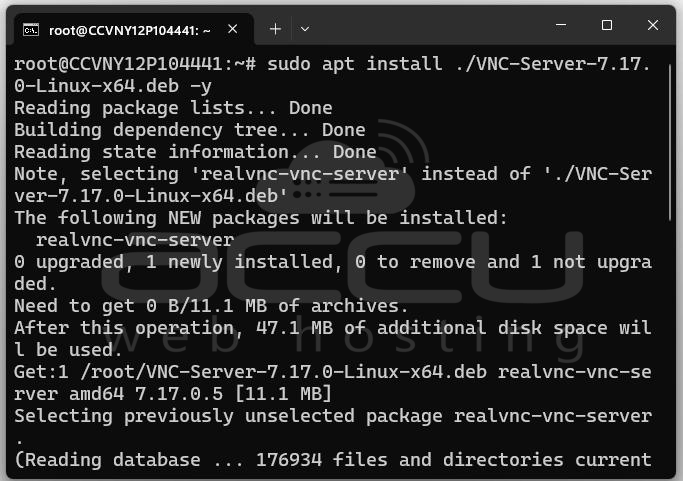
Install the package: sudo apt install ./VNC-Server-7.17.0-Linux-x64.deb -y
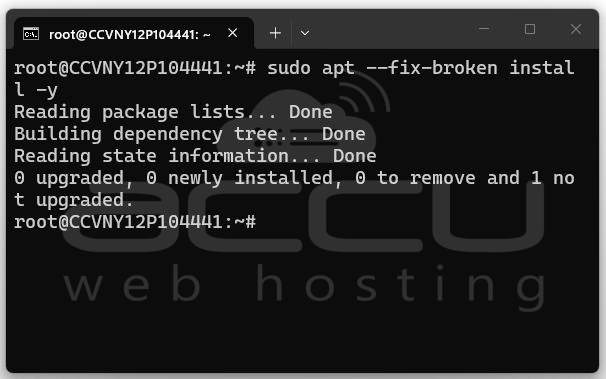
If dependencies are missing: sudo apt --fix-broken install -y
Step 5: Enable the RealVNC Service.
sudo systemctl enable vncserver-x11-serviced
Start it: sudo systemctl start vncserver-x11-serviced
Verify its status: systemctl status vncserver-x11-serviced
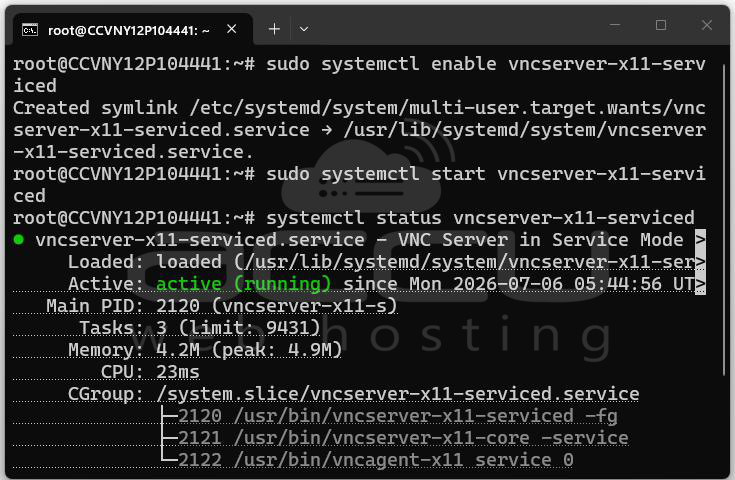
Expected output:
Active: active (running)
Step 6: Activate Your License: If you have a RealVNC license:
sudo vnclicense -add YOUR-LICENSE-KEY
Replace YOUR-LICENSE-KEY with your actual license key.
You can verify the license: vnclicense
Step 7: Configure the Firewall. If UFW is enabled, check its status:
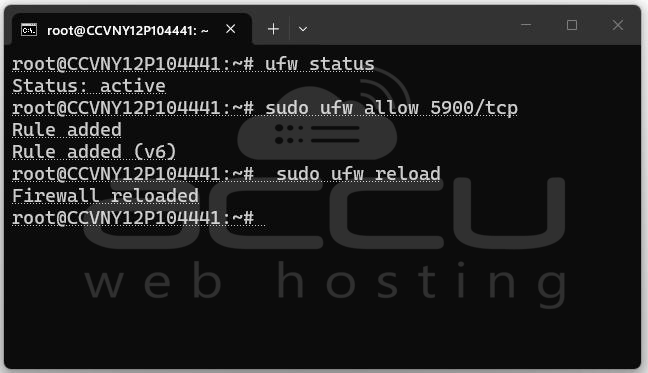
sudo ufw status
Allow VNC: sudo ufw allow 5900/tcp
Reload: sudo ufw reload
Step 8: Allow the Port in Your VPS Firewall. If your VPS provider uses a cloud firewall or security group, ensure that TCP port 5900 is open.
Common examples include: Security Groups, Network ACLs, Cloud Firewalls
Step 9: Install RealVNC Viewer. On your local computer, install RealVNC Viewer for your operating system (Windows, macOS, or Linux).
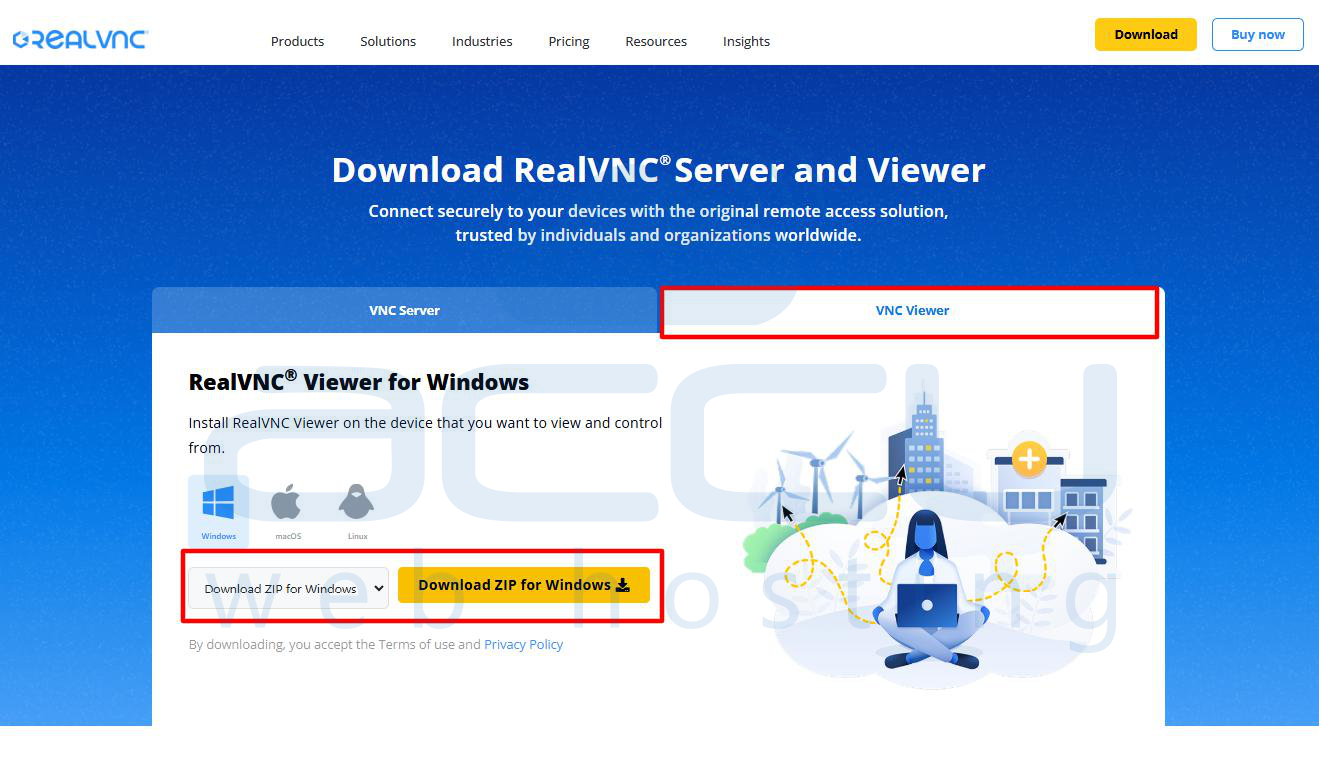
Step 10: Connect to the VPS. Open RealVNC Viewer. Enter: YOUR_SERVER_IP:5900
Example: 203.0.113.10:5900
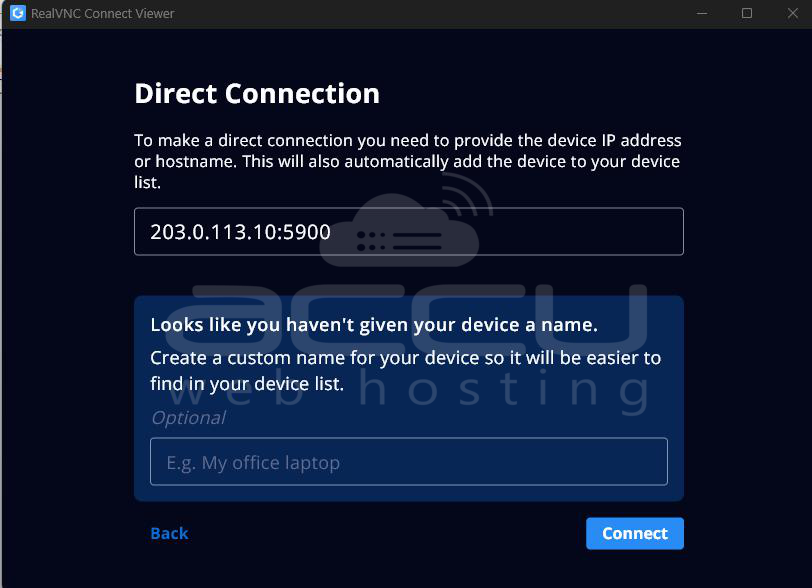
Log in using:
-
Linux username
-
Linux password
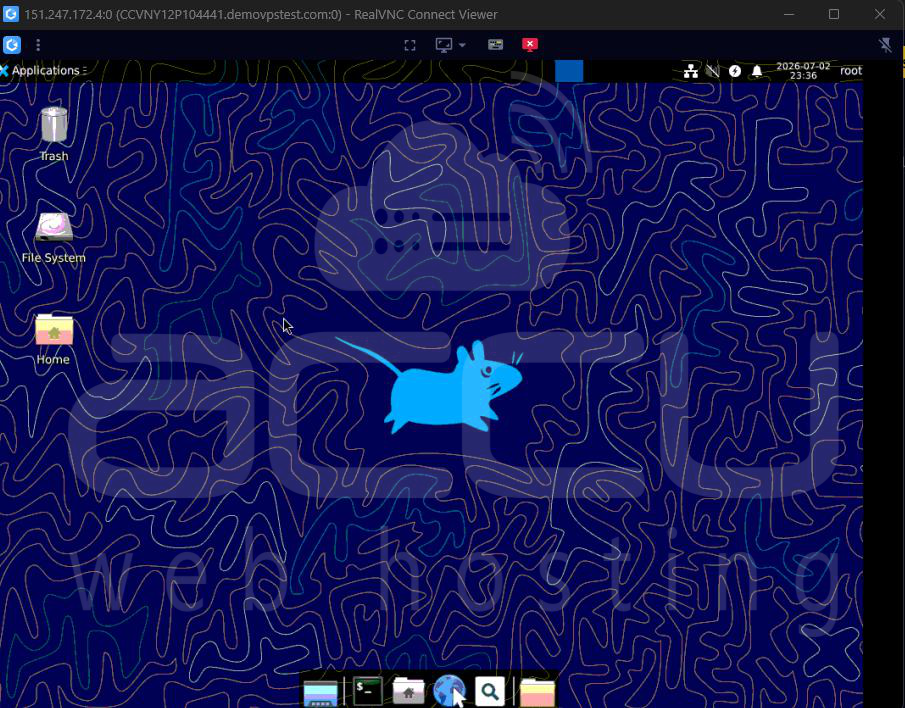
You should now see the XFCE desktop.
Useful Commands
Restart the VNC service: sudo systemctl restart vncserver-x11-serviced
Stop the service: sudo systemctl stop vncserver-x11-serviced
Start the service: sudo systemctl start vncserver-x11-serviced
Check service status: systemctl status vncserver-x11-serviced
View service logs: journalctl -u vncserver-x11-serviced
Conclusion
Installing RealVNC Server on Ubuntu 24.04 LTS requires more than just installing the VNC software. A fresh Ubuntu Server installation must first be equipped with a lightweight desktop environment (XFCE) and a display manager (LightDM) to provide a graphical session that RealVNC can share. After enabling the RealVNC service, activating your license, and opening the necessary firewall port, you can securely access your VPS from any supported device using RealVNC Viewer.
This setup offers an efficient, low-resource remote desktop solution that is well suited for VPS environments, making it easier to perform graphical administration tasks while maintaining good performance and security.