
Introduction:
Managing a Linux VPS through the command line is efficient, but some tasks are much easier when you have access to a graphical desktop environment. This is where TightVNC becomes useful. TightVNC allows you to remotely connect to your Linux VPS using a graphical interface, making it easier to manage applications, edit files, or perform desktop-based tasks from your local computer.
In this article, we will explain what TightVNC is, its benefits, and how to install and configure it on a Linux VPS running Ubuntu 24.04 LTS.
What is TightVNC?
TightVNC is a free and open-source implementation of the Virtual Network Computing (VNC) protocol. It enables users to remotely access and control the graphical desktop of a Linux server over a network.
Instead of working only with terminal commands, TightVNC provides a complete desktop environment that you can access using a VNC Viewer from Windows, macOS, or Linux.
It is lightweight, easy to configure, and suitable for personal as well as professional use.
Benefits of Using TightVNC
Some advantages of TightVNC include:
-
Free and open-source
-
Provides a full graphical desktop environment
-
Works across Windows, Linux, and macOS
-
Lightweight and consumes minimal system resources
-
Supports multiple simultaneous VNC sessions
-
Allows secure remote administration when combined with SSH tunneling
-
Simple installation and configuration
Prerequisites:
Before you begin, make sure you have:
-
A Linux VPS running Ubuntu 24.04 LTS
-
A non-root user with sudo privileges
-
SSH access to the server
-
A VNC Viewer installed on your local computer
Step 1: Update the System and Install XFCE
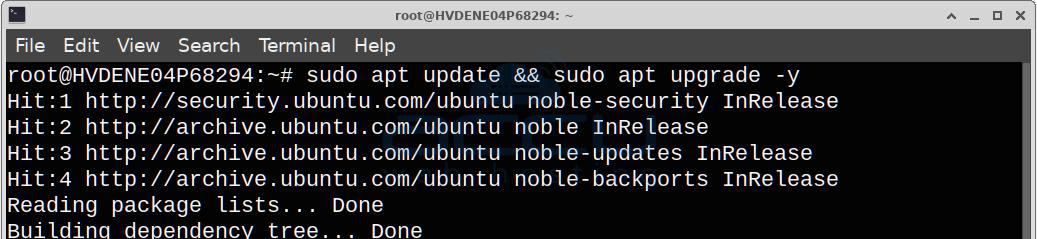
Log in to your Ubuntu VPS using SSH and update your package lists to make sure your system is up to date.
sudo apt update && sudo apt upgrade -y
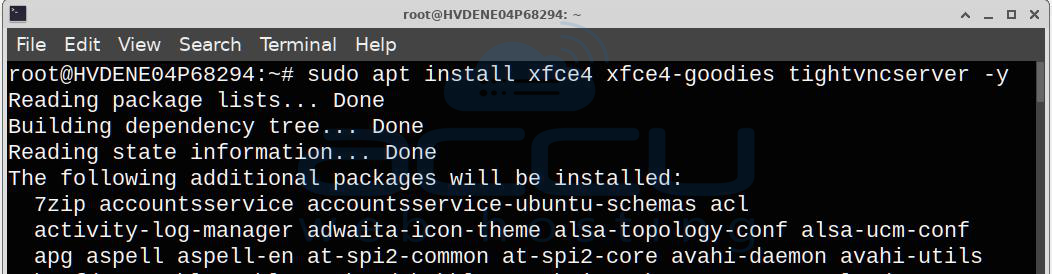
Next, install XFCE along with its additional components. XFCE is much more lightweight than GNOME, which helps keep your VPS fast and responsive.
sudo apt install xfce4 xfce4-goodies tightvncserver -y
Step 2: Initialize VNC and Create a Password
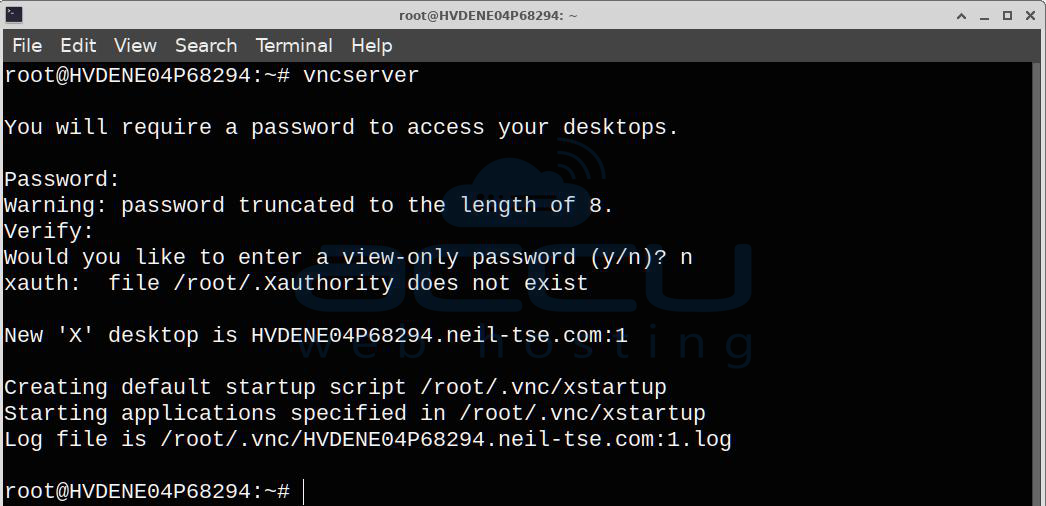
Run the vncserver command for the first time. This will initialize the VNC server, prompt you to create an access password, and generate the required configuration files.
vncserver
When prompted:
-
Password: Enter a password (6 to 8 characters maximum). If you enter a longer password, it will be automatically truncated.
-
View-only password: You will be asked whether you want to create a view-only password. Type n (No) unless you want others to view your desktop without being able to interact with it.
Step 3: Configure the VNC Startup Script
By default, VNC does not automatically start the XFCE desktop environment. To configure this, first stop the current VNC server instance and then update the startup script.
Stop the VNC server running on display :1:
vncserver -kill :1

Next, open the VNC startup script using a text editor such as nano:
nano ~/.vnc/xstartup
Replace the existing contents of the file with the following configuration so that XFCE starts automatically when you connect.
#!/bin/sh
unset SESSION_MANAGER
unset DBUS_SESSION_BUS_ADDRESS
export XKL_XMODMAP_DISABLE=1
[ -x /etc/vnc/xstartup ] && exec /etc/vnc/xstartup
[ -r $HOME/.Xresources ] && xrdb $HOME/.Xresources
xsetroot -solid grey
vncconfig -iconic &
startxfce4 &
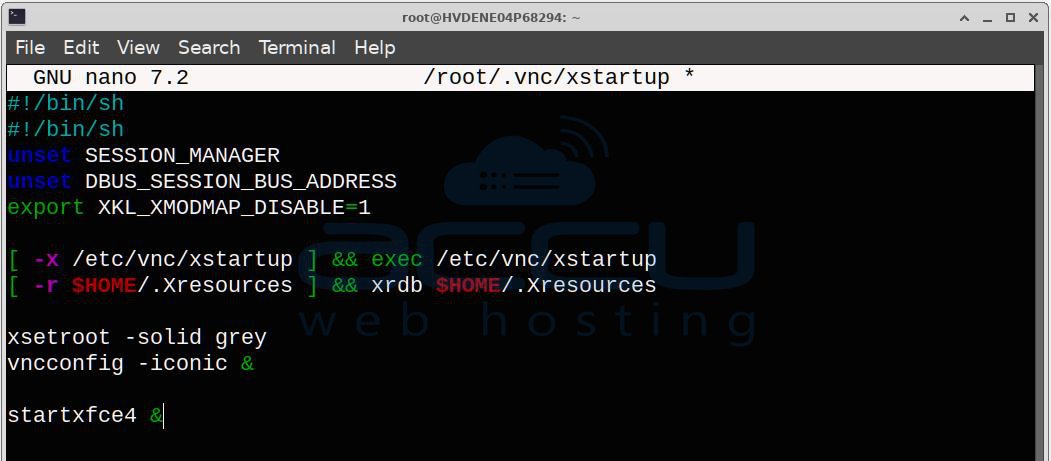
After making the changes:
-
Press CTRL + O, then ENTER to save the file.
-
Press CTRL + X to close the editor.
Now make the startup script executable:
chmod +x ~/.vnc/xstartup
Step 4: Install DBus components
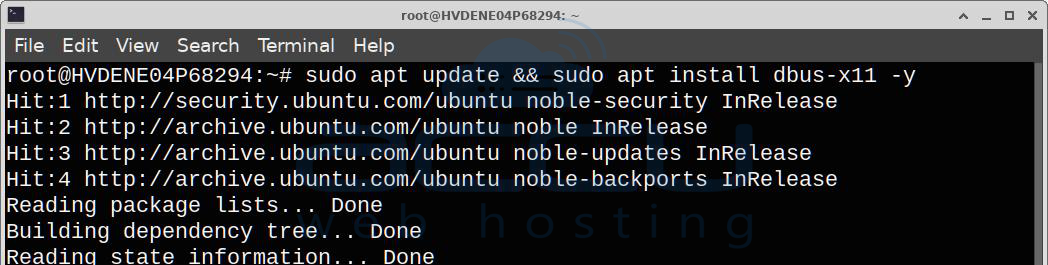
Sometimes Ubuntu Server minimal images lack the tool required to bridge headless graphics to background services. Run this to ensure it's present:
sudo apt update && sudo apt install dbus-x11 -y
Step 5: Create a Systemd Service (Optional but Recommended)
To ensure that TightVNC starts automatically whenever your VPS reboots, you can create a systemd service.
Open a new service file using nano:
sudo nano /etc/systemd/system/[email protected]
Paste the following configuration into the file. Be sure to replace your_username with your actual Ubuntu username (commonly ubuntu or root on a VPS).
[Unit]
Description=Start TightVNC server at startup
After=syslog.target network.target
[Service]
Type=forking
User=root
Group=root
WorkingDirectory=/root
PIDFile=/root/.vnc/%H:%i.pid
ExecStartPre=-/usr/bin/vncserver -kill :%i > /dev/null 2>&1
ExecStart=/usr/bin/vncserver -geometry 1920x1080 -depth 24 :%i
ExecStop=/usr/bin/vncserver -kill :%i
[Install]
WantedBy=multi-user.target
Save the file and exit the editor by pressing CTRL + O, ENTER, and then CTRL + X.
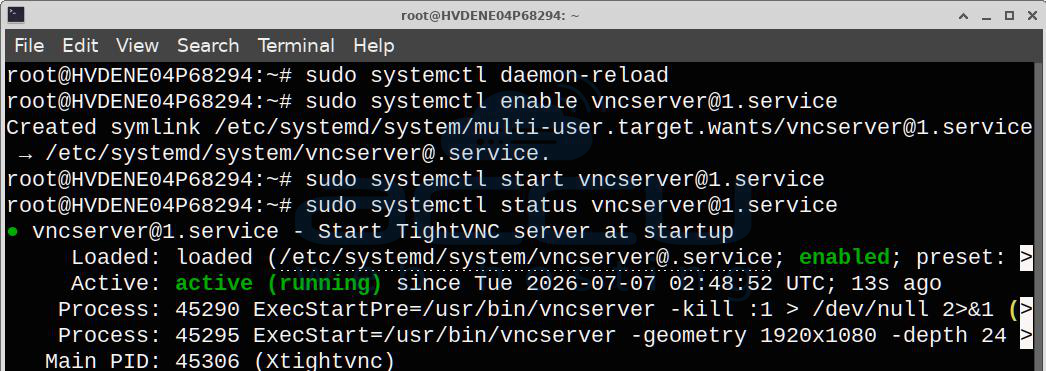
Next, reload the systemd daemon, enable the service for display :1, and start it.
sudo systemctl daemon-reload
sudo systemctl enable [email protected]
sudo systemctl start [email protected]
Step 6: Securely Connect to Your VNC Server
The most secure way to connect to your VNC server is by using an encrypted SSH tunnel.
On your local computer (using Command Prompt, Terminal, or a similar application), run the following command to create the SSH tunnel:
ssh -L 5901:127.0.0.1:5901 your_username@your_server_ip
(Keep this terminal window open while you use VNC.)
Once the tunnel is established, open your preferred VNC client, such as TightVNC Viewer, RealVNC, or Remmina.
Connect to the following address:
localhost:5901
or
127.0.0.1:5901
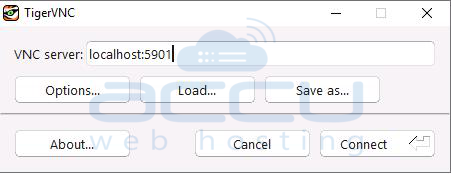
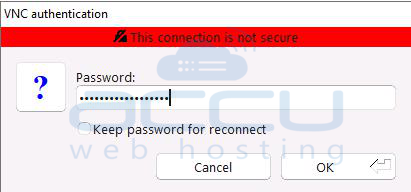
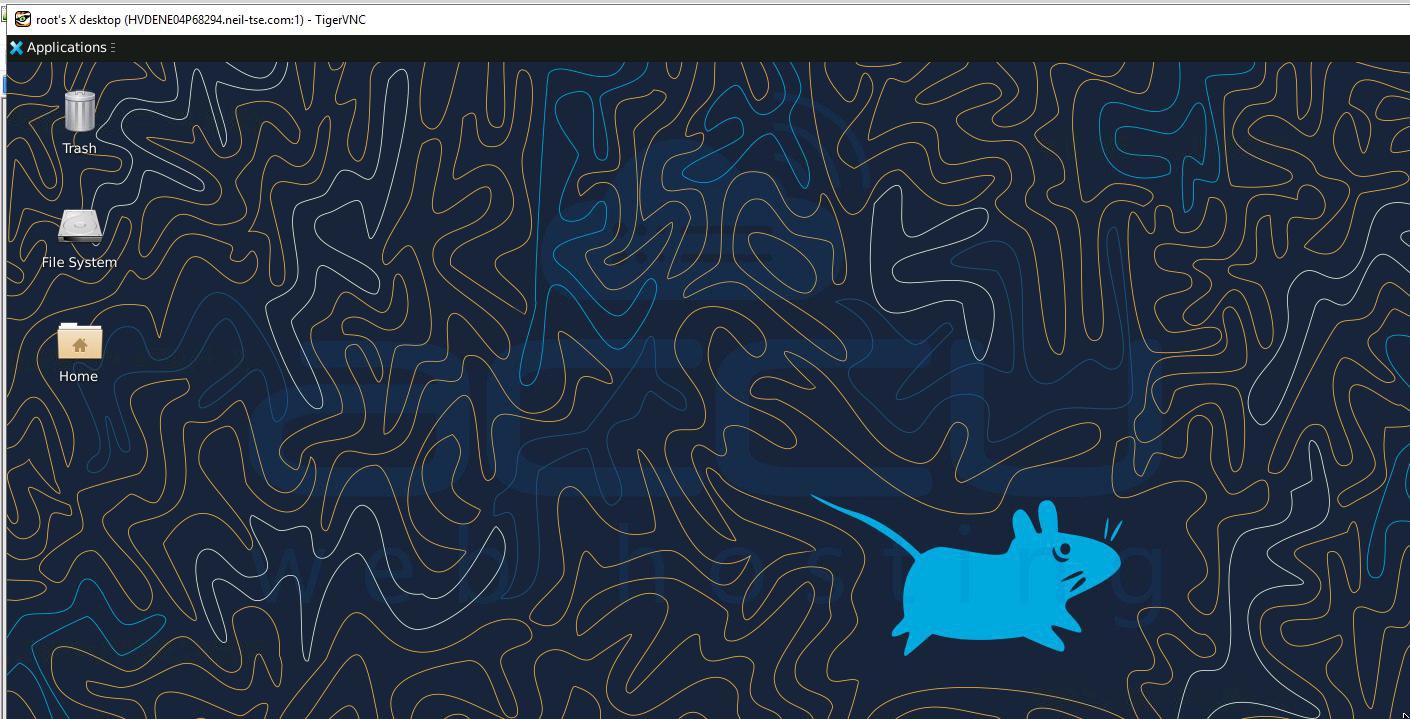
Enter the password you created in Step 2, and you will see your brand new Ubuntu 24.04 desktop.
Conclusion:
TightVNC is a lightweight and reliable solution for accessing the graphical desktop of a Linux VPS remotely. It is especially useful for users who prefer a desktop interface over the command line when managing applications or performing administrative tasks.
Whether you need to manage a workstation from another location or provide assistance to users without interrupting their current session, TightVNC offers a practical and efficient solution. By combining it with secure access methods such as SSH tunneling, you can enjoy both the convenience of remote desktop access and the security needed for everyday administration.
By following this guide, you have installed the XFCE desktop environment, configured TightVNC, and learned how to connect securely using a VNC Viewer. If you encounter any issues during installation, please feel free to contact us via chat or support. Our support team will assist you with the installation process.