Introduction:
Strapi is a headless CMS that helps you manage content on the backend while giving you complete freedom to build the frontend however you like. Unlike traditional CMS platforms, where the backend and frontend are closely connected, Strapi keeps them separate.
It allows you to manage content independently and display it across different platforms such as websites, mobile apps, and other digital devices. Its flexibility makes it a great choice for multi-platform content delivery.Strapi
supports multiple databases, including PostgreSQL, MongoDB, MySQL, and SQLite. This makes it adaptable to a variety of project requirements, whether you prefer SQL or NoSQL databases.
- Content Management Made Easy
- Flexible Content Delivery
- Customizable
- Built on Node.js
- Open Source
- Support for Multiple Databases
Install Strapi on Ubuntu 24 VPS:
In this article, we will explain to you how to install and run Strapi on an Ubuntu 24 VPS.
Prerequisites:
Before starting, make sure you have:
- An Ubuntu 24 VPS
- Root or sudo access
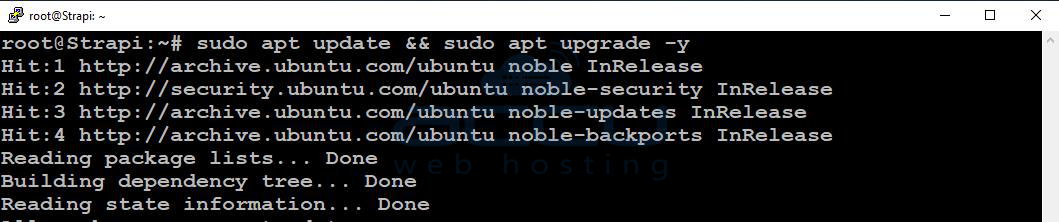
Step 1: Update Your System
It is always recommended to update your system packages before installing new software.
sudo apt update && sudo apt upgrade -y
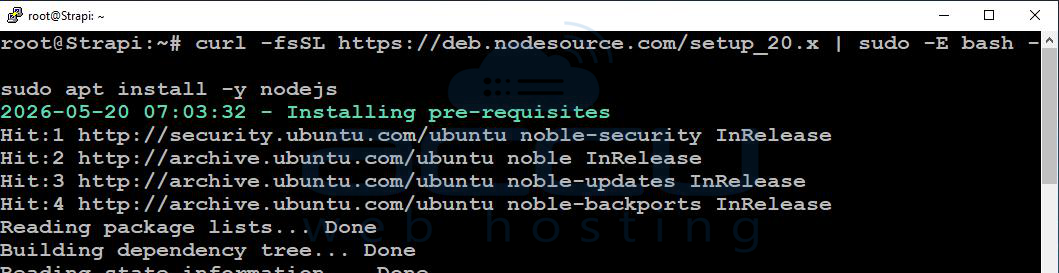
Step 2: Install Node.js (LTS Version)
Strapi requires Node.js (version 18 or 20 recommended).
curl -fsSL https://deb.nodesource.com/setup_20.x | sudo -E bash -
sudo apt install -y nodejs
Verify Installation
node -v
npm -v

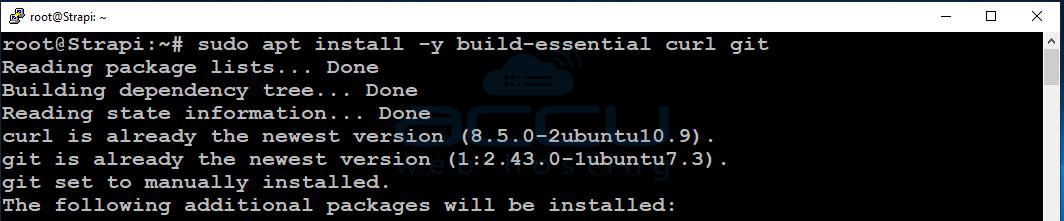
Step 3: Install Required Build Tools
These tools are necessary for compiling and installing dependencies.
sudo apt install -y build-essential curl git
Step 4: Install Yarn (Optional but Recommended)
Yarn can help manage dependencies more efficiently.
npm install -g yarn

Step 5: Create a Strapi Project
Navigate to your desired directory (for example, /var/www):
cd /var/www
Create a new Strapi application:
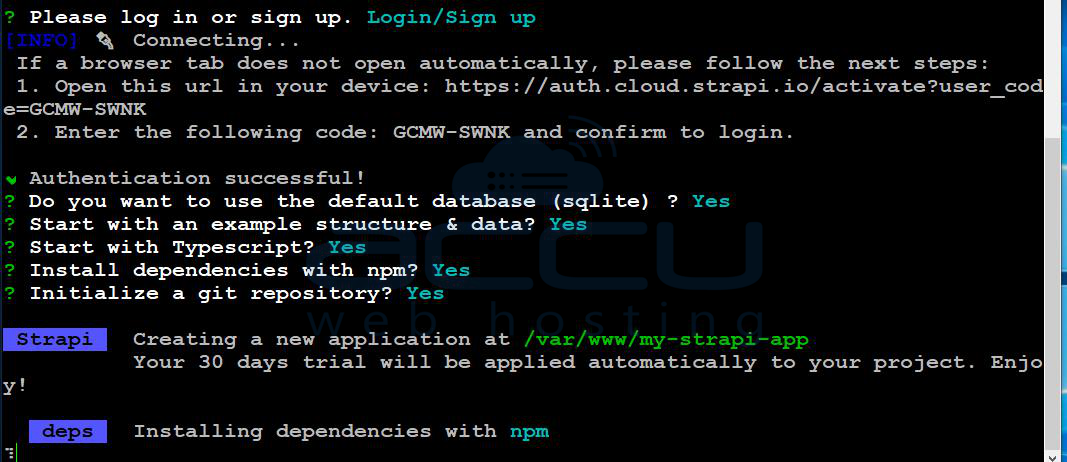
npx create-strapi-app@latest my-strapi-app
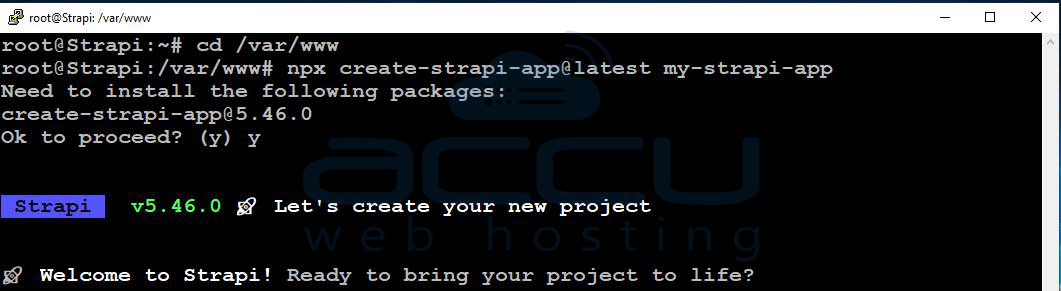
During installation, you will be asked a few questions. Set up Strapi according to your requirements.
Step 6: Run Strapi (Development Mode)
cd my-strapi-app
npm run develop

Access the Strapi Admin Panel:
Open your browser and visit:
http://your-server-ip:1337/admin
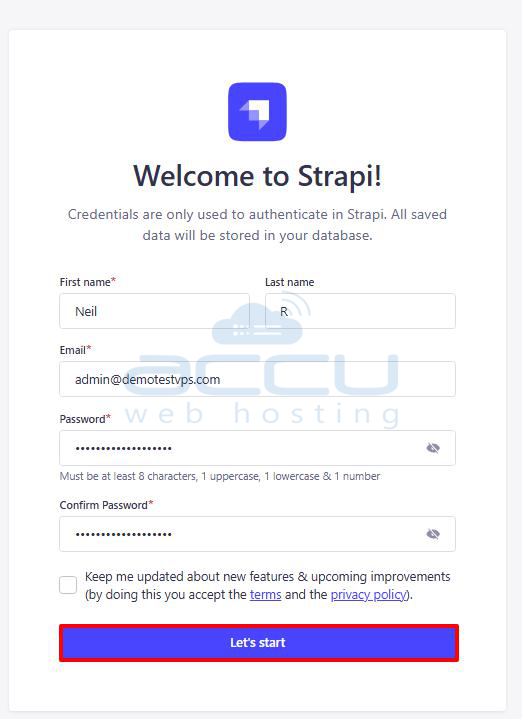
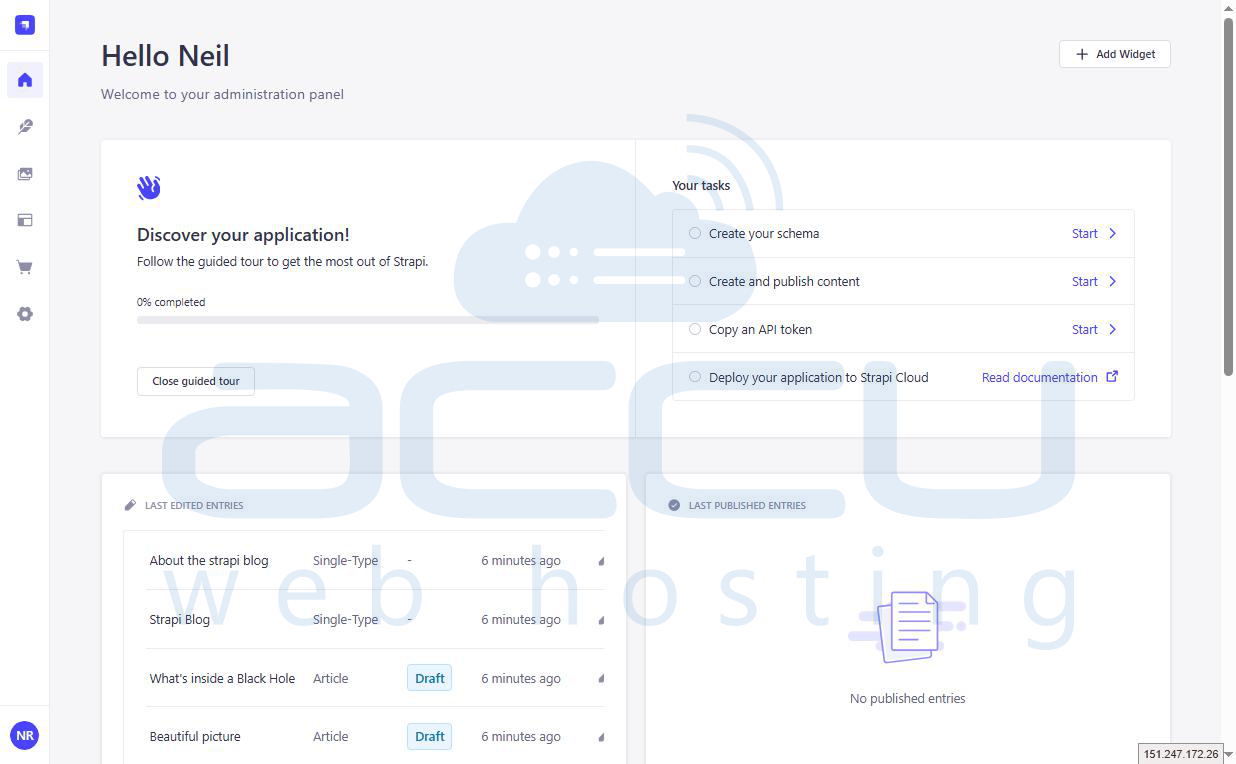
On your first visit, you will be prompted to create an admin account. Enter your details and click on the Let's start button.
Step 7: Run Strapi in Production Mode
Build and start your application:
npm run build
npm start

Step 8: Keep Strapi Running Using PM2
PM2 ensures your application stays running in the background.
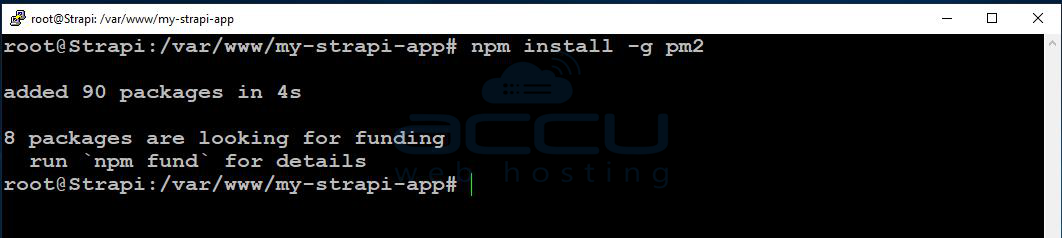
Install PM2
npm install -g pm2
Start Strapi with PM2 pm2 start npm --name "strapi" -- start pm2 save pm2 startup
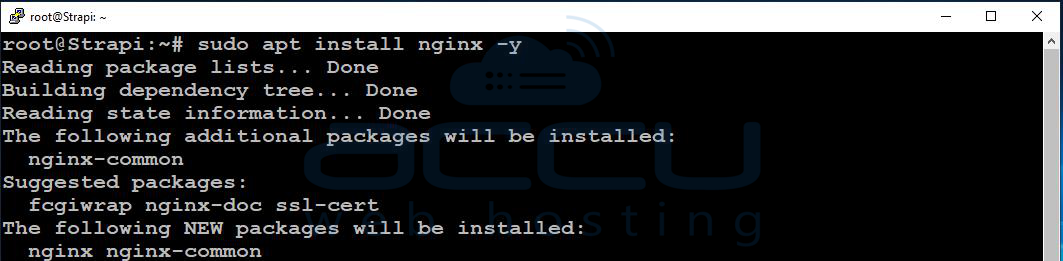
Step 9: Configure Nginx Reverse Proxy
Install Nginx:
sudo apt install nginx -y
Create a configuration file:
sudo vi /etc/nginx/sites-available/strapi

Add the Following Configuration:
server {
listen 80;
server_name yourdomain.com;
location / {
proxy_pass http://localhost:1337;
proxy_http_version 1.1;
proxy_set_header Upgrade $http_upgrade;
proxy_set_header Connection 'upgrade';
proxy_set_header Host $host;
proxy_cache_bypass $http_upgrade;
}
}
Enable the Configuration:
sudo ln -s /etc/nginx/sites-available/strapi /etc/nginx/sites-enabled/
sudo nginx -t
sudo systemctl restart nginx
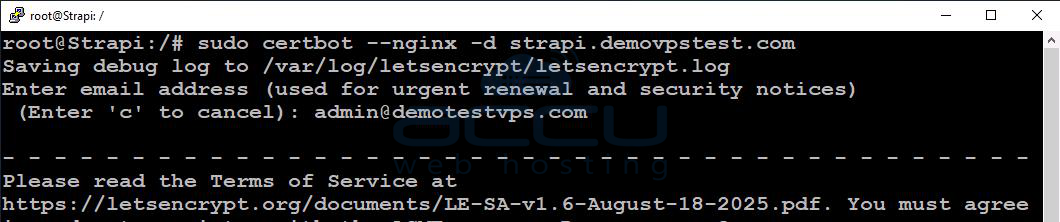
Step 10: Configure SSL Certificate
Install Certbot:
sudo apt install certbot python3-certbot-nginx -y

Generate an SSL certificate using Let’s Encrypt:
sudo certbot --nginx -d strapi.demovpstest.com
Now visit https://strapi.demovpstest.com/admin and verify the SSL.
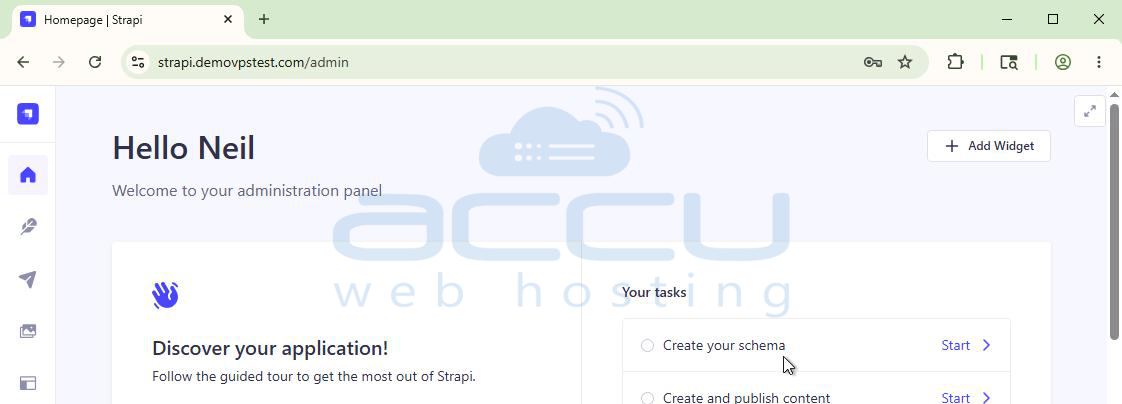
You have successfully installed and configured Strapi on your Ubuntu 24 VPS. You can now start building APIs and managing content through the Strapi admin panel.
Conclusion:
In this article, we have successfully installed and configured Strapi for a production environment on Ubuntu. We explained how to set up Node.js, PM2, and Nginx, as well as how to secure your application with a free SSL certificate from Let's Encrypt.
With this setup, your Strapi application is now better optimized for performance, reliability, and security.
If you encounter any issues during installation, please feel free to contact us via chat or support. Our support team will assist you with the installation process.
