Introduction:
Ampache is an open-source, web-based media streaming platform that allows you to host and stream your personal music and video collection from anywhere. It acts as a self-hosted alternative to platforms like Spotify or Plex, giving you full control over your content without subscriptions or restrictions.
With Docker, deploying Ampache becomes fast, portable, and easy to maintain. On an Ubuntu 24 VPS, you can get your streaming server running in minutes with minimal configuration.
This guide walks you through the complete setup using Docker and Docker Compose.
Step 1: Update System & Install Docker
First, update your server packages:
sudo apt update && sudo apt upgrade -y
Install Docker & Compose:
sudo apt install -y docker.io docker-compose
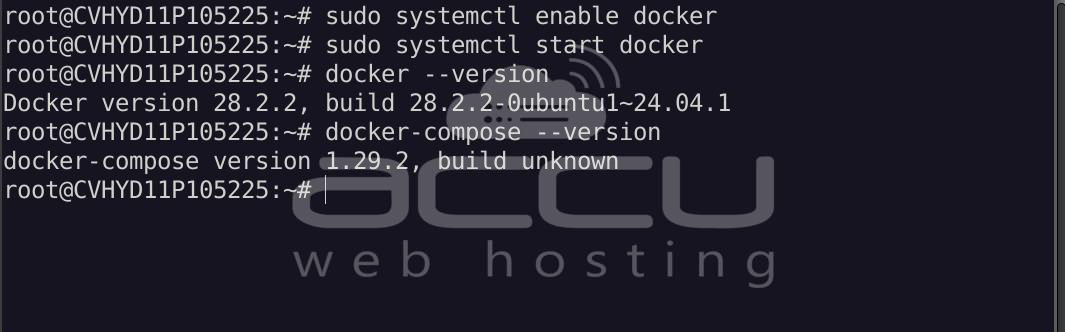
Enable and start Docker:
sudo systemctl enable docker
sudo systemctl start docker
Verify installation:
docker --version
docker-compose --version
Step 2: Create Project Directory
mkdir ampache && cd ampache
Step 3: Create Docker Compose File
nano docker-compose.yml
Paste the following code:
version: '3.8'

services:
ampache:
image: ampache/ampache:latest
container_name: ampache
ports:
- "80:80"
volumes:
- ./data/media:/media
- ./data/mysql:/var/lib/mysql
- ./data/config:/var/www/config
- ./data/log:/var/log/ampache
environment:
MYSQL_USER: admin
MYSQL_PASS: strongpassword
MPACHE_ADMIN_USER: admin
AMPACHE_ADMIN_EMAIL: [email protected]
restart: unless-stopped
Replace the following values:
- MYSQL_USER
- MYSQL_PASS
- AMPACHE_ADMIN_USER
- AMPACHE_ADMIN_EMAIL
Save and exit (CTRL + X, then Y, then Enter).

Why volumes matter:
- /media → your music files
- /var/lib/mysql → database persistence
- /var/www/config → app configuration
- /var/log/ampache → logs
Without volumes, your data may be lost when containers restart.
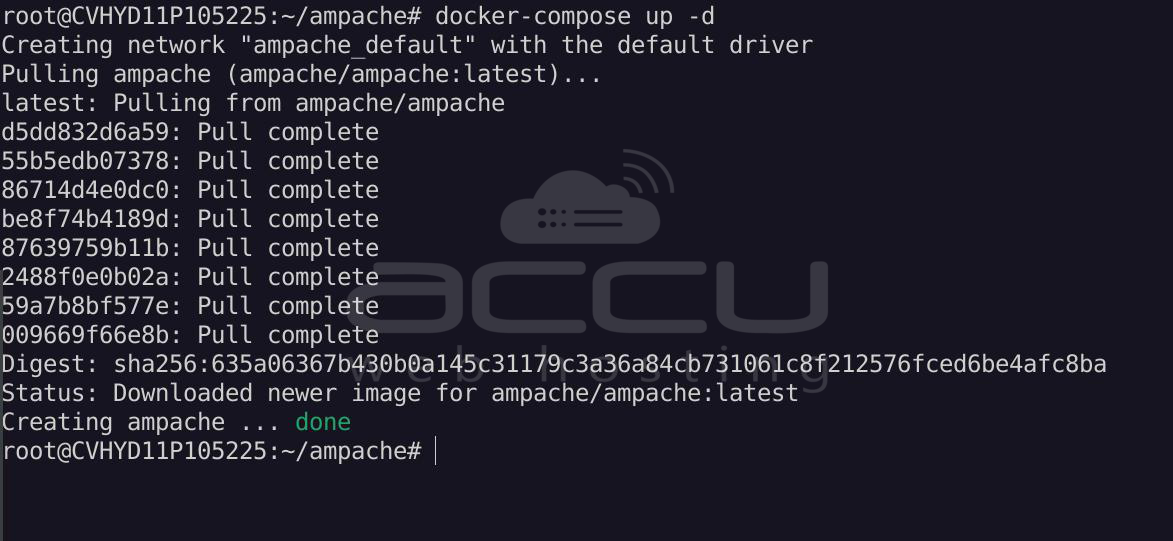
Step 4: Start the Application
Run:
docker-compose up -d
This will pull the Ampache image and start your container.
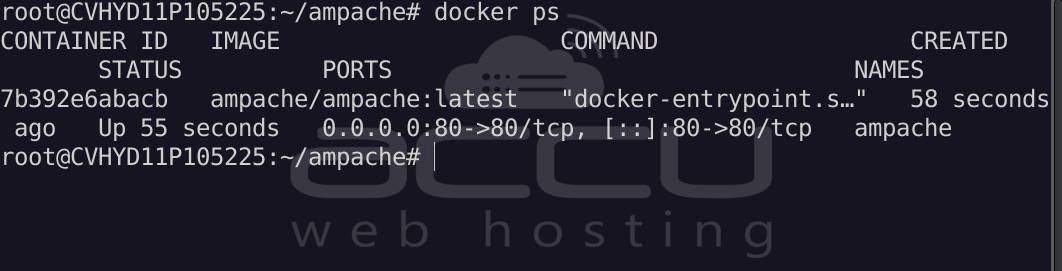
Check status:
docker ps
You should see: ampache
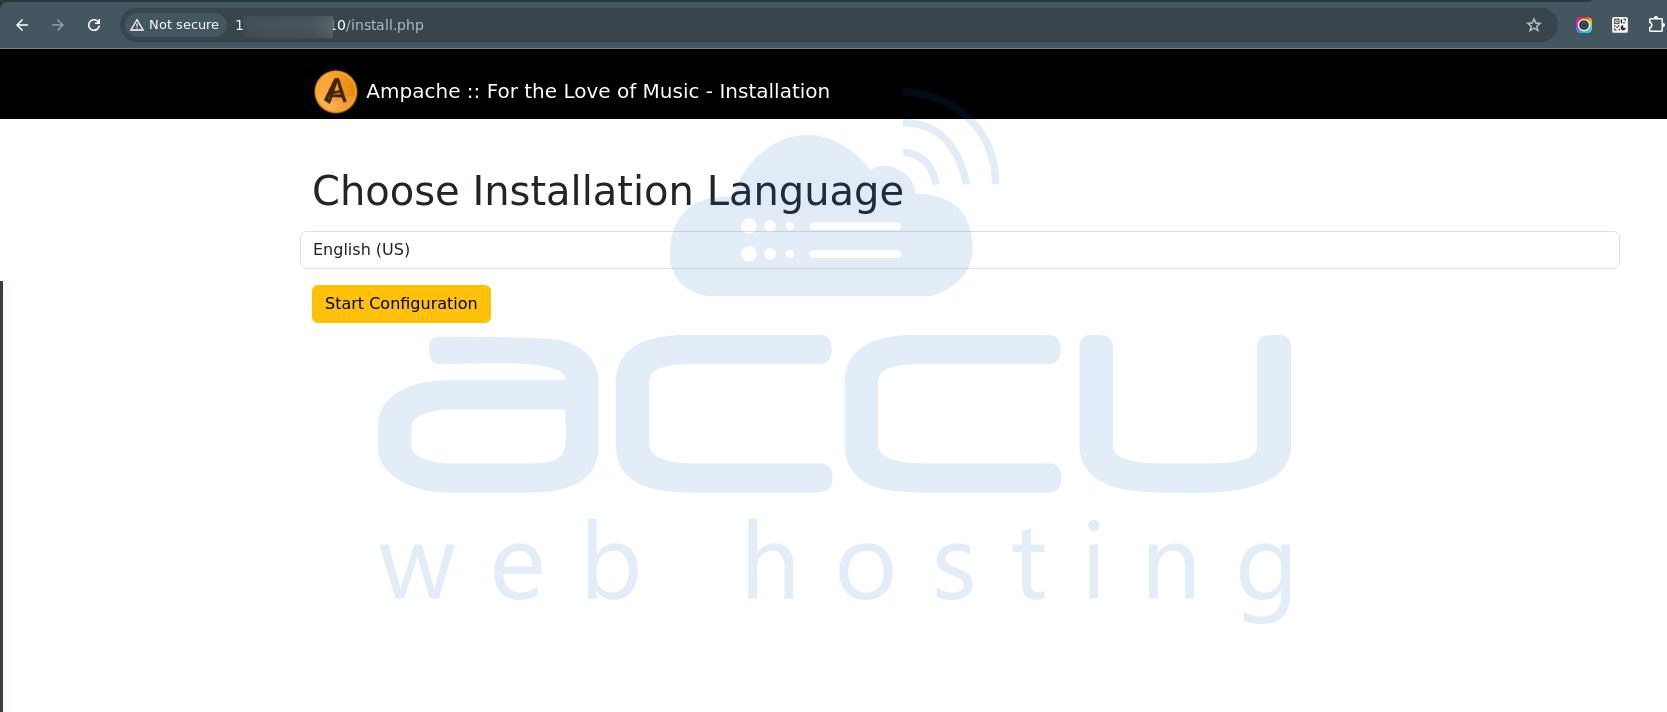
Step 5: Access Ampache Web Interface
Open your browser:
http://your_vps_ip
You will see the Ampache setup wizard.
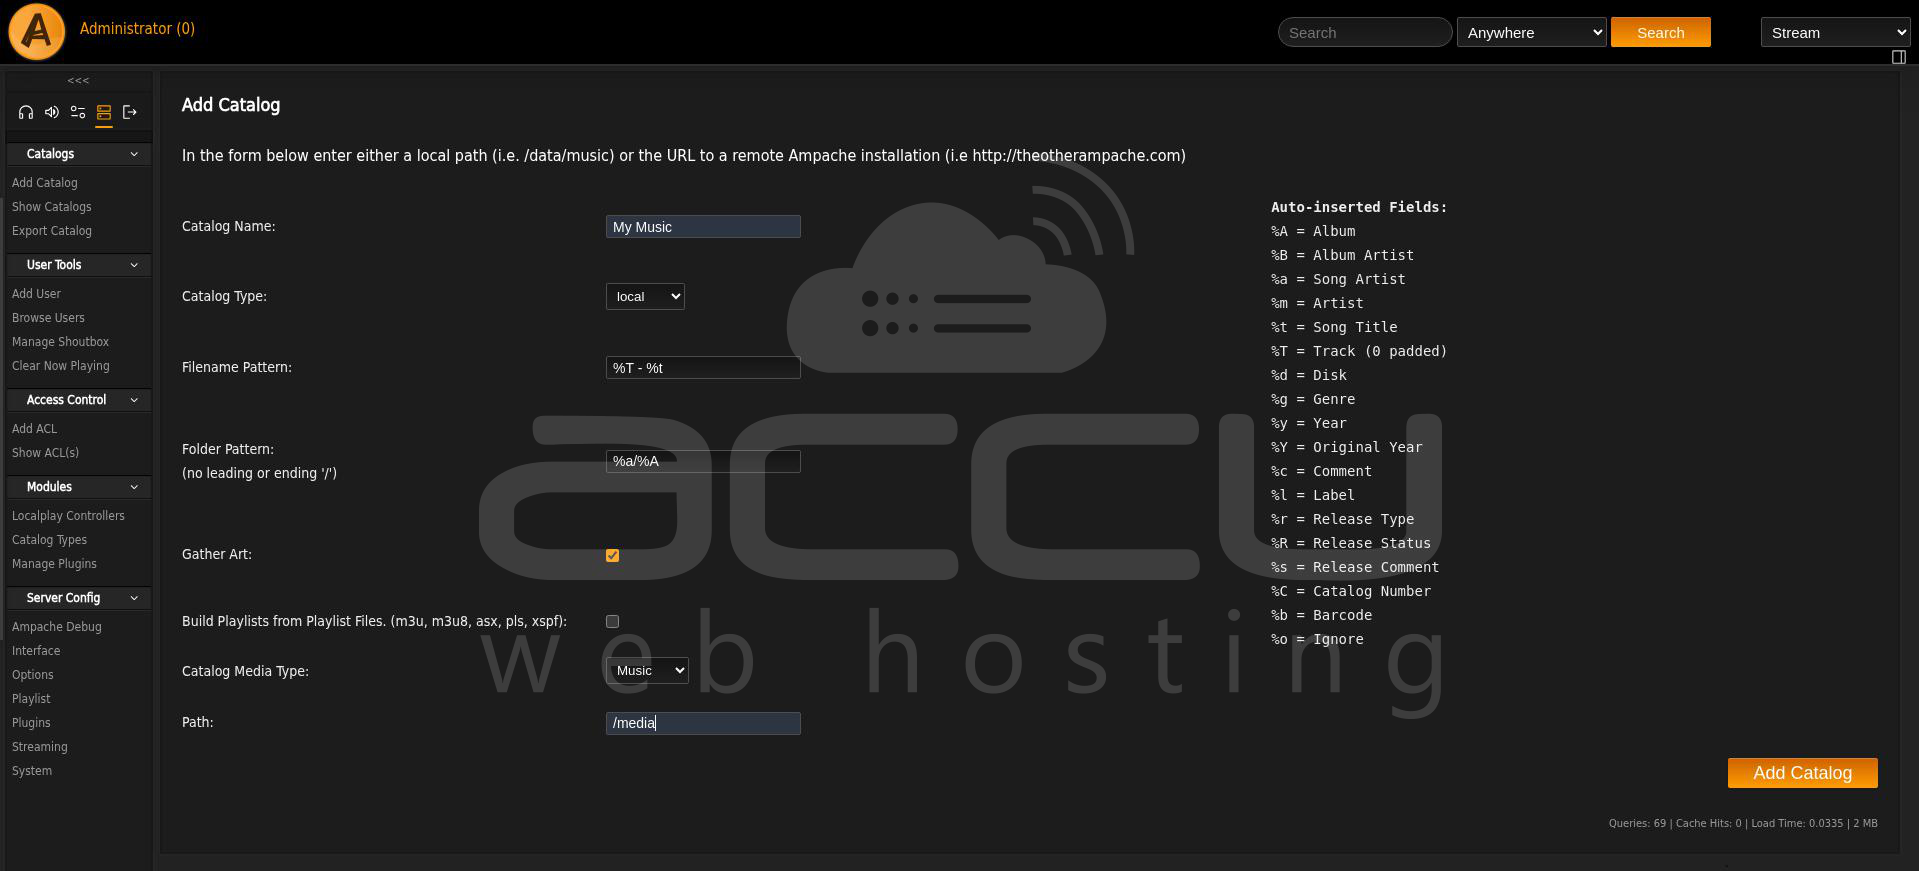
Step 6: Complete Installation
Follow the on-screen steps:
- Create database configuration (auto if env vars used)
- Set admin credentials
- Configure media directory (/media)
- Finish setup
Once you finish the setup, you can see the Login Page as follows:
Login Page:

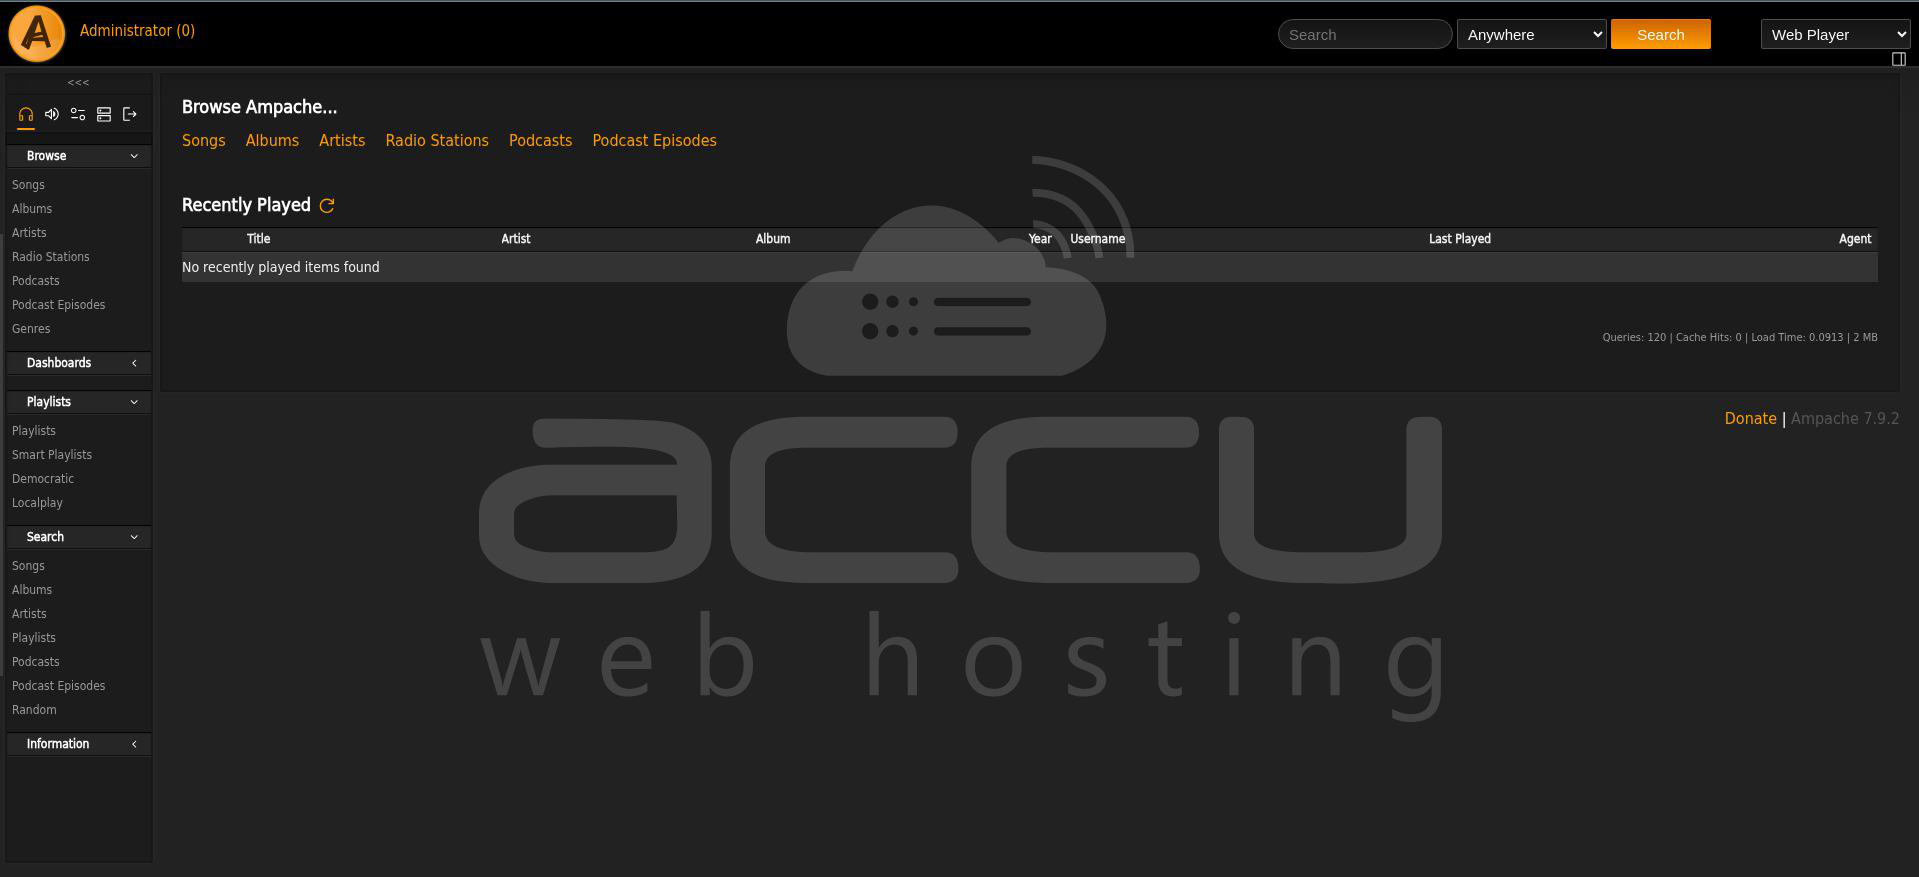
Once you log in to your account, you can see the Ampache Dashboard.
Dashboard:
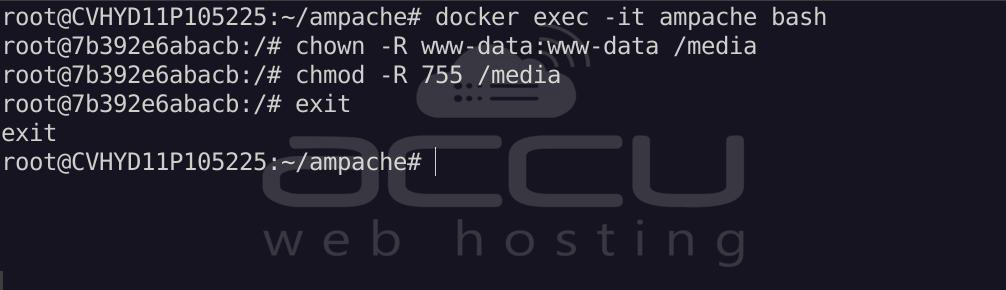
Step 7: Apply Permissions to Media Director
Enter the container:
docker exec -it ampache bash
Run the following commands:
chown -R www-data:www-data /media
chmod -R 755 /media
exit
Restart Ampache Container:
docker restart ampache
Step 8: Add Your Music Library
Upload your music files from your local system:
scp -r /local_server_path root@your_vps_ip:/root/ampache/data/media
Then:
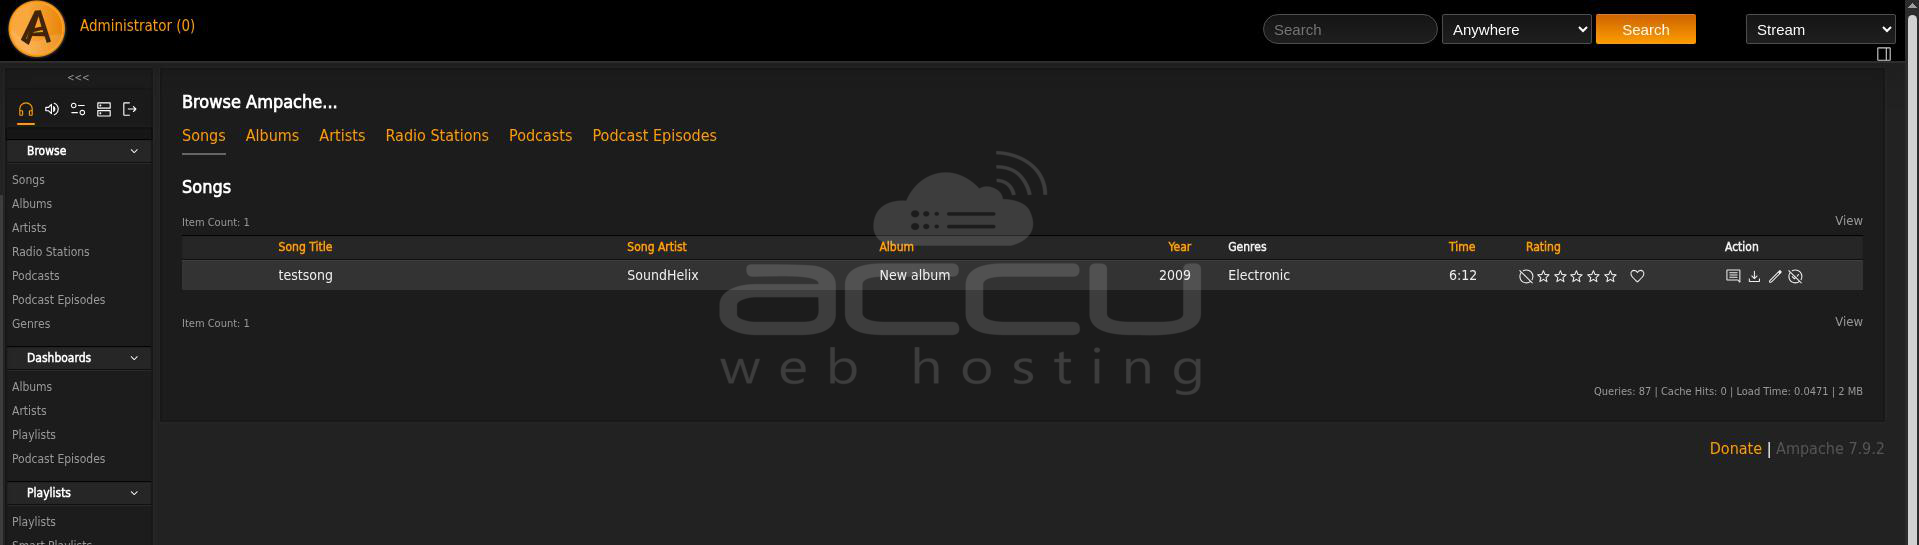
- Go to the Ampache dashboard
- Run catalog update
- Your library will be indexed
Conclusion:
Hosting Ampache on an Ubuntu 24 VPS using Docker is a powerful way to build your own private streaming service. With Docker Compose, deployment becomes simple, scalable, and easy to maintain, while persistent volumes ensure your media and configuration remain safe across restarts.
Whether you're managing a personal music collection or creating a shared family media server, Ampache provides a flexible and open-source solution. By combining it with Docker on a VPS, you get the reliability of cloud hosting with the freedom of self-managed infrastructure.
